你是谁19878
2016-02-01 21:37
今天天气好晴朗处处好风光,好天气好开始,图老师又来和大家分享啦。下面给大家推荐Photoshop简单给古装人物美白,希望大家看完后也有个好心情,快快行动吧!
美白的方法有很多,大家都可以选择自己喜欢的方法去做。美白的时候最好能保持肤色的细节。这样美出来的效果会细腻很多。
原图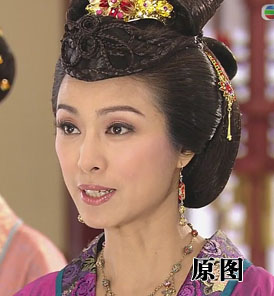
最终效果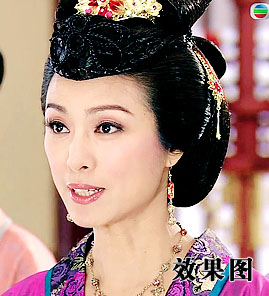
(本文来源于图老师网站,更多请访问http://m.tulaoshi.com/psxpcl/)1、打开原图素材,创建色彩平衡调整图层,选择中间调,数值:-21/-3/+12。
2、创建曲线调整图层,数值:118/139。
3、创建色阶调整图层,选择RGB:0/0.8/245。
4、创建可选颜色调整图层,数值:红:-37/0/0/0;黄:0/0/-33/-100;中性:8/0/4/8;黑:0/0/0/13。
5、创建曲线调整图层,数值:104/145。
6、创建色阶调整图层数值:9/0.93/251. 
7、创建色相/饱和度调整图层,选择全图,把饱和度设置为:+18。确定后盖印图层适当锐化一下,完成最终效果。
(本文来源于图老师网站,更多请访问http://m.tulaoshi.com/psxpcl/)
(本文来源于图老师网站,更多请访问http://m.tulaoshi.com/psxpcl/) 


