生活已是百般艰难,为何不努力一点。下面图老师就给大家分享Photoshop调出外景人物照片朦胧的青绿色,希望可以让热爱学习的朋友们体会到PS的小小的乐趣。
本教程的色调比较特别。作者调色的时候特意把图片调成一种反白的效果,有点朦胧的感觉。调色的过程也比较简单,先是用调色工具调整体的颜色,人物部分可以适当磨皮处理。最后就用白色透明渐变拉上渐变即可。
原图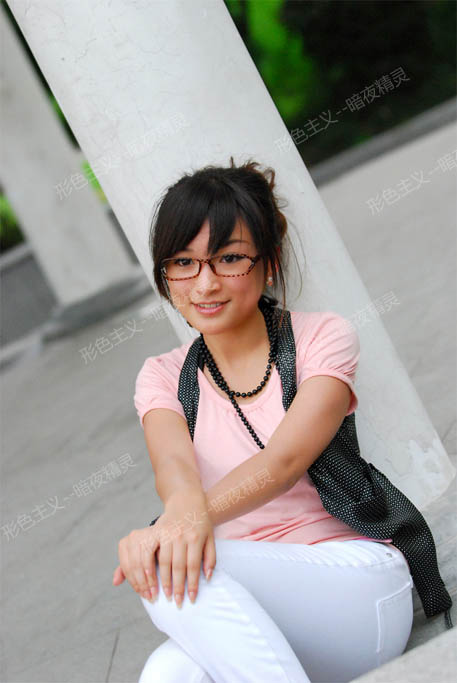
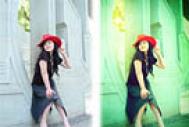
最终效果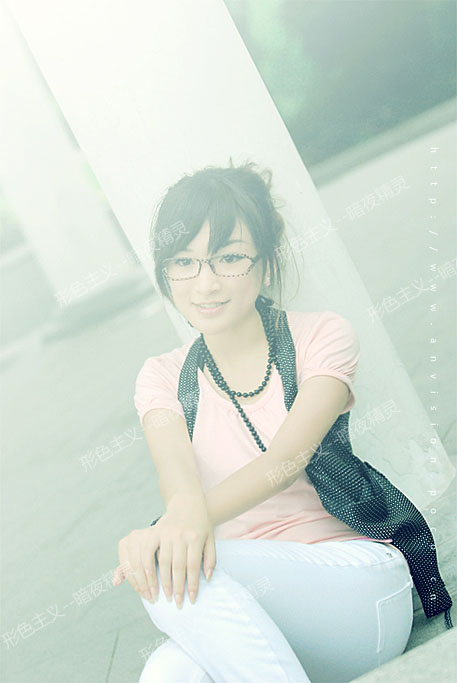
1、打开原图素材,适当把图层锐化一下。
2-5、创建可选颜色调整图层,参数及效果如下图。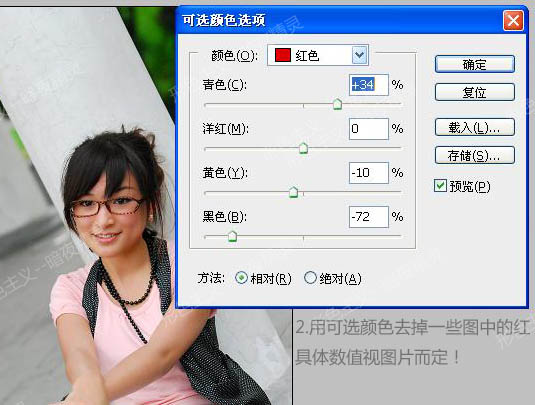

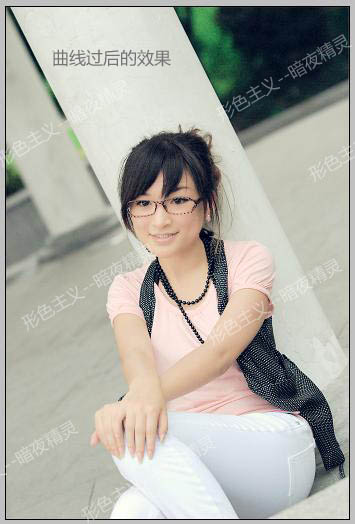
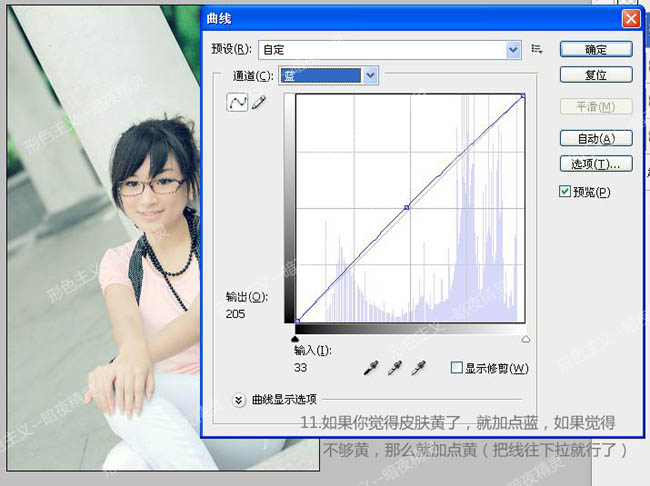
(本文来源于图老师网站,更多请访问http://m.tulaoshi.com/psxpcl/)6,7、创建曲线调整图层,对全图及蓝色进行调整,目的是提亮皮肤。参数及效果如下图。
(本文来源于图老师网站,更多请访问http://m.tulaoshi.com/psxpcl/)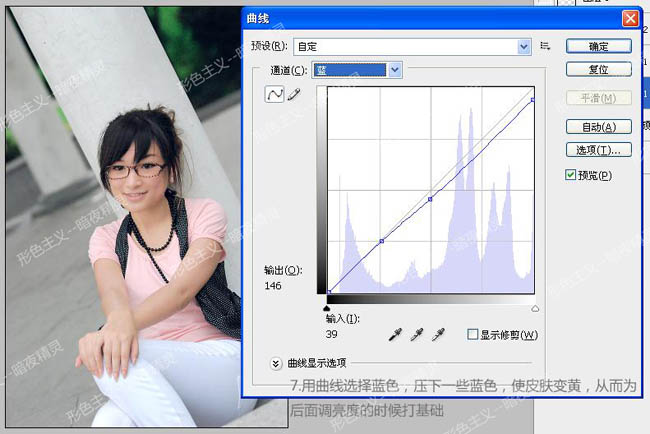
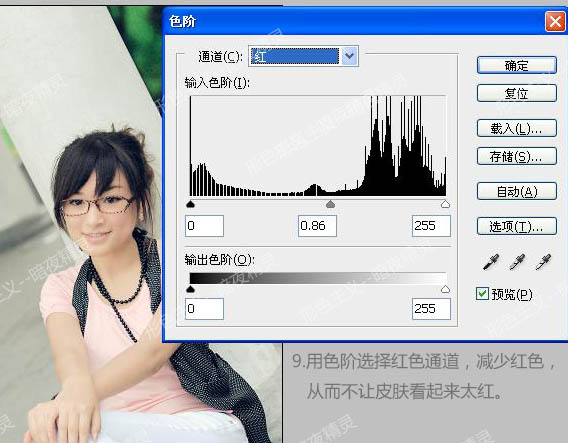
8,9、创建色阶调整图层,参数及效果如下图。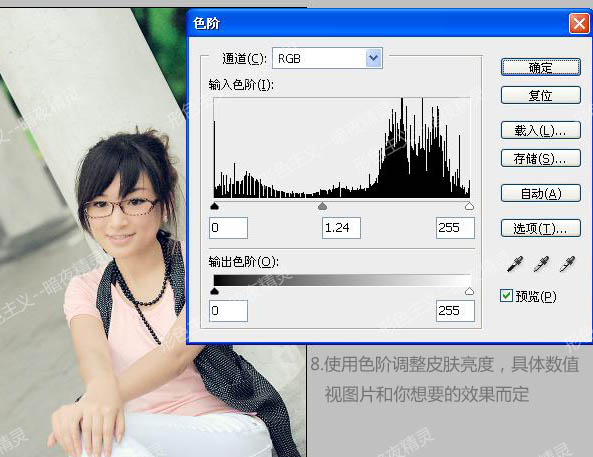

10、创建曲线调整图层,参数设置如下图。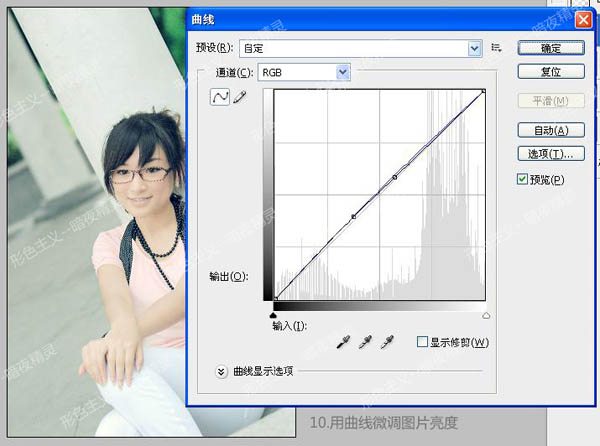
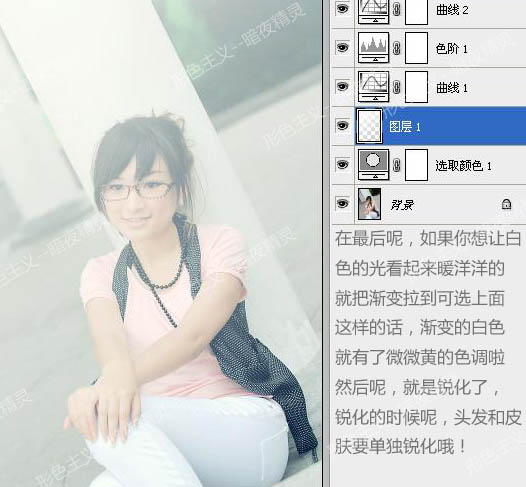
11、最好我们来做最关键的一步,就是加朦胧效果。新建一个图层,用白色透明渐变拉渐变,适当降低图层不透明度。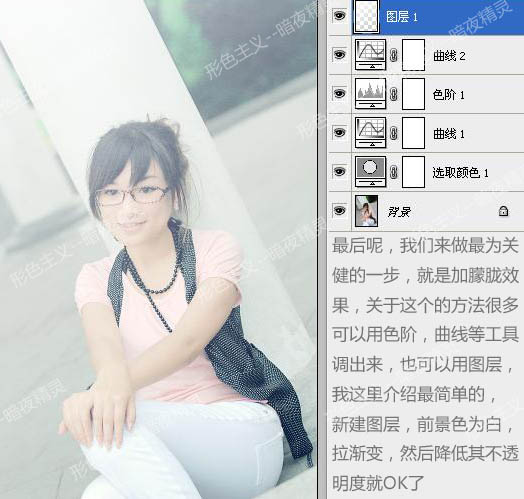
13、最后调整下细节,完成最终效果。