2、新建一个800 * 600像素文件,背景填充黑色,然后选择文字工具打上自己想要的文字,字体最好选大一点的,这样效果会明显一点。

![](http://img.tulaoshi.com/image/20160202/48e2e2310e35c941f2bbb3e82c7c32a1.jpg)
(本文来源于图老师网站,更多请访问http://m.tulaoshi.com/psxg/)
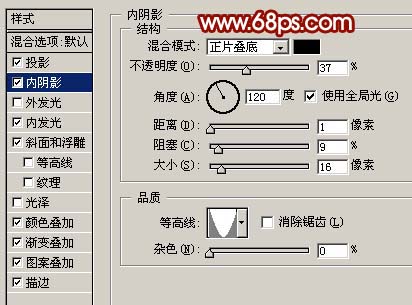
图2 3、双击图层面板,文字缩略图调出图层样式,参数设置如图3-10,效果如图11。![](http://img.tulaoshi.com/image/20160202/2389959456c205bd06f22bacfaca1856.jpg)
图3 投影 ![](http://img.tulaoshi.com/image/20160202/4c379004279c102e234e4ed93f0cfa21.jpg)
图4 内阴影 ![](http://img.tulaoshi.com/image/20160202/3bce58bf1bfb75d8ef5af420bb376564.jpg)
图5 内发光
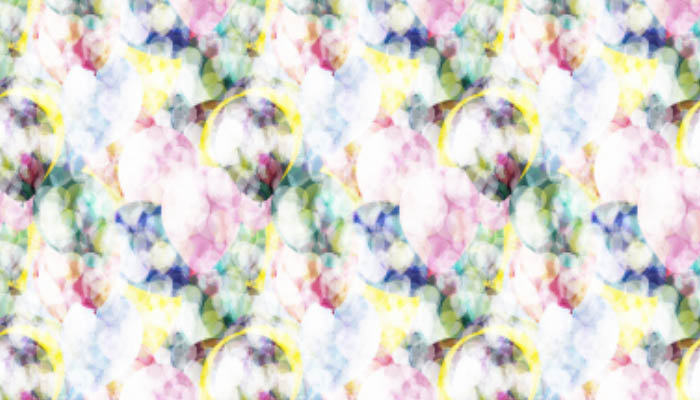
4、打开下图所示的花纹素材,拖进来,放好位置。![](http://img.tulaoshi.com/image/20160202/91b177c0debad30cca855da66059a483.jpg)
图12
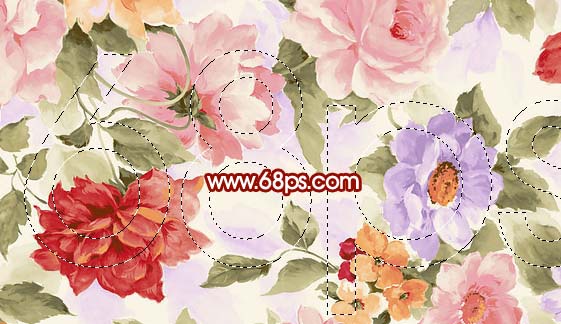
5、按Ctrl点图层面板文字缩略图调出文字选区,如图13,按Ctrl + Shift + I反选,按Delete删除,取消选区后效果如图14。![](http://img.tulaoshi.com/image/20160202/ed1f84eceac54a4d6a87e9a26b901b41.jpg)
图13 ![](http://img.tulaoshi.com/image/20160202/a261cae1f9d291e7efb7ed16f0d73ce2.jpg)
图14
6、双击图层调出图层样式,参数设置如图15,16,确定后把图层混合模式改为“正片叠底”,效果如图17。![](http://img.tulaoshi.com/image/20160202/33a1870bc7ddece56389c9f42eac20fe.jpg)
图15 ![](http://img.tulaoshi.com/image/20160202/a4a286a158afad2d7123d04c191c544b.jpg)
图16 ![](http://img.tulaoshi.com/image/20160202/8a462d8c2b95debb9209b9a2d84a2fd0.jpg)
图17
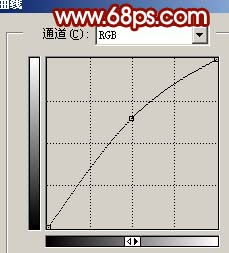
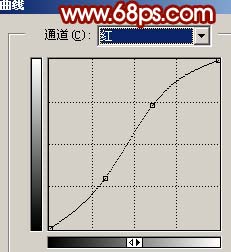
7、创建曲线调整图层,参数设置如图18,19,效果如图20。![](http://img.tulaoshi.com/image/20160202/f0c38c67e548d3d92ab64f75d7579f0b.jpg)
图18 ![](http://img.tulaoshi.com/image/20160202/8c4728ab3abbf1197d192c66e72cabc1.jpg)
图19 ![](http://img.tulaoshi.com/image/20160202/f7e5bf0fd7a7308b98c53cf59f1df537.jpg)
图20
8、创建亮度/对不度调整图层,参数设置如图21,效果如图22。![](http://img.tulaoshi.com/image/20160202/37350b92728f21aeaa68675d830cef39.jpg)
图21 ![](http://img.tulaoshi.com/image/20160202/c463114b187643e564f83d77ecb65dad.jpg)
图22 9、新建一个图层,按Ctrl + Alt + Shift + E盖印图层,执行:滤镜 模糊 高斯模糊,数值为5,确定后把图层混合模式改为“强光”,图层不透明度改为:80%,完成最终效果。![](http://img.tulaoshi.com/image/20160202/67fa41b83e1847fe9dac9f04a9ee7116.jpg)
(本文来源于图老师网站,更多请访问http://m.tulaoshi.com/psxg/)
图23