下面图老师小编跟大家分享Photoshop制作一款精致的古典收音机,一起来学习下过程究竟如何进行吧!喜欢就赶紧收藏起来哦~
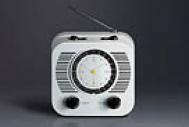
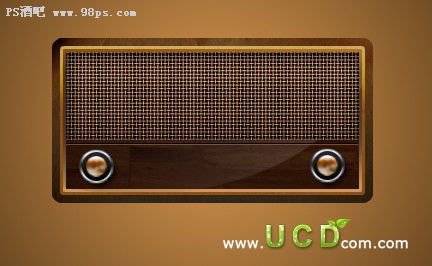
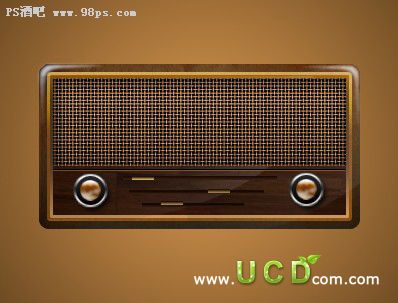
本教程介绍古典风格的收音机制作方法。可能实物构成面有很多,制作的时候先分好图层的顺序。然后分别用钢笔勾出各部分的选区,制作表面的质感材质。部分材质可以直接使用图案素材。 最终效果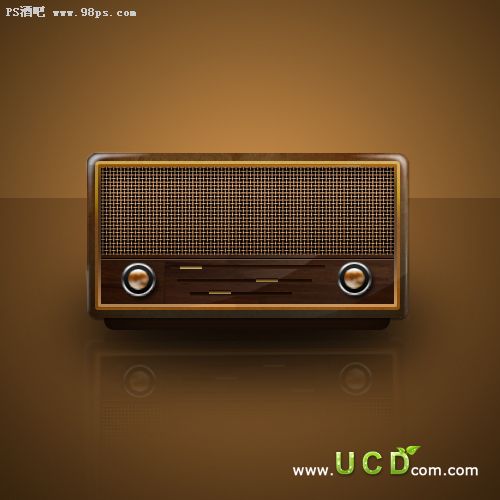
1、打开Photshop, 文件-新建,大小为500*500像素。
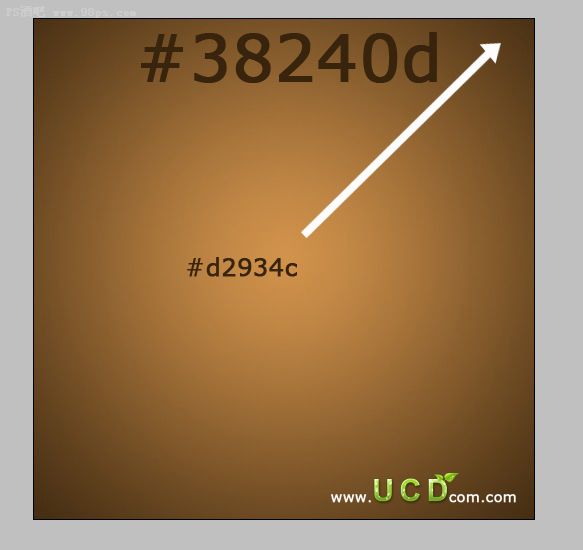
2、新建图层一,绘制一大小沾满画布的矩形,选择渐变工具(G),在上方的选项栏里选择径向渐变。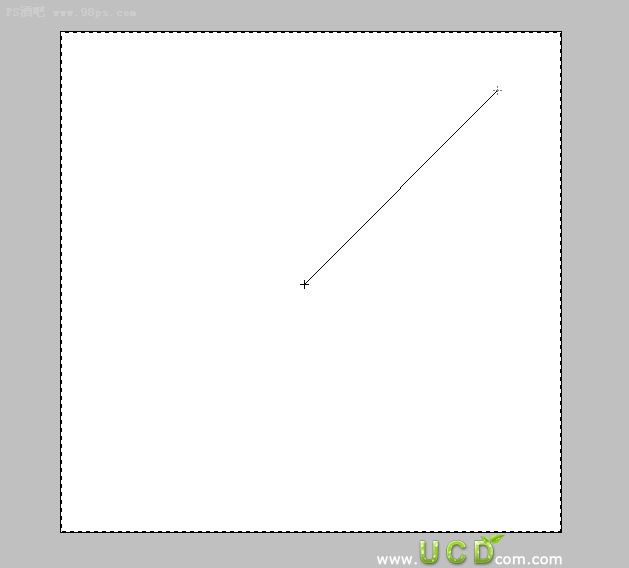
3、新建图层二,使用圆角矩形工具半径为10Px。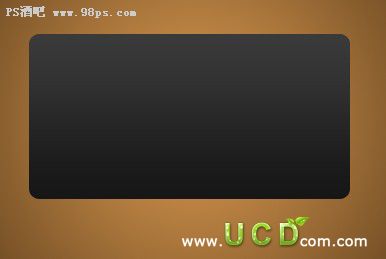
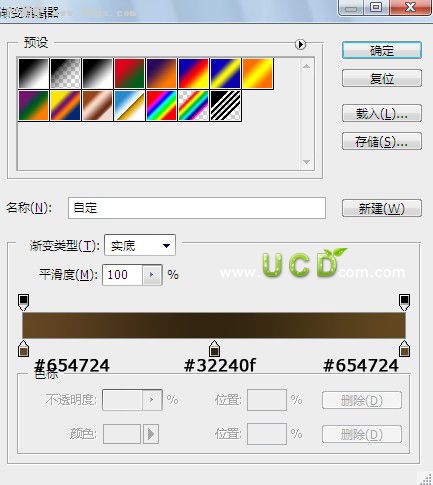
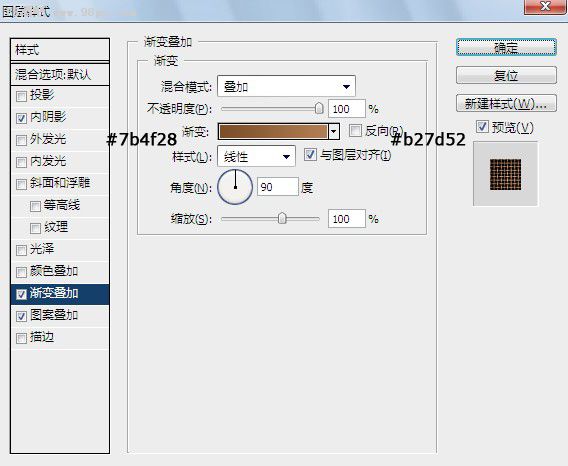
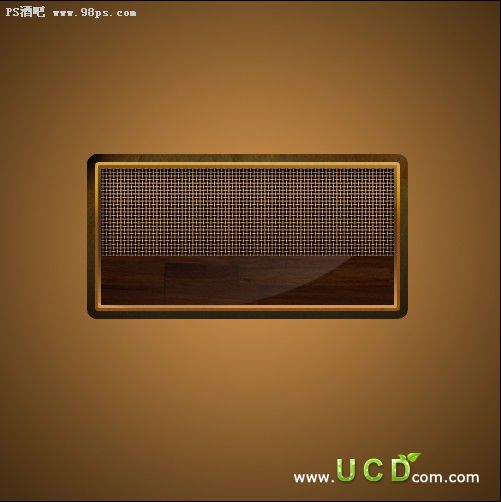
4、添加图层样式。
5、新建图层三,得到图层二的选区,在选区范围内打开照片 “羊皮纸3”。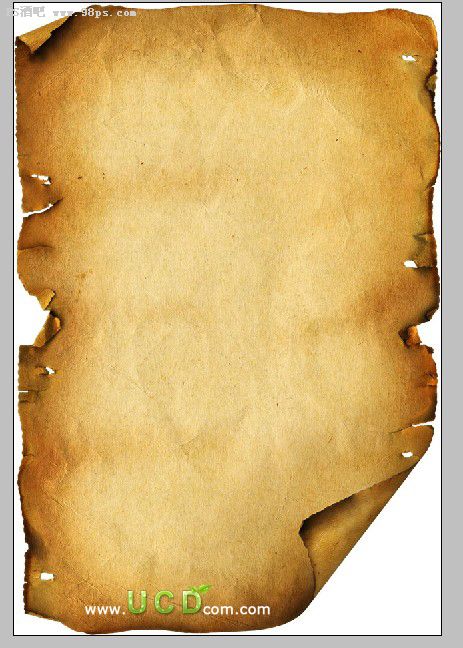
6、减去多余的部分。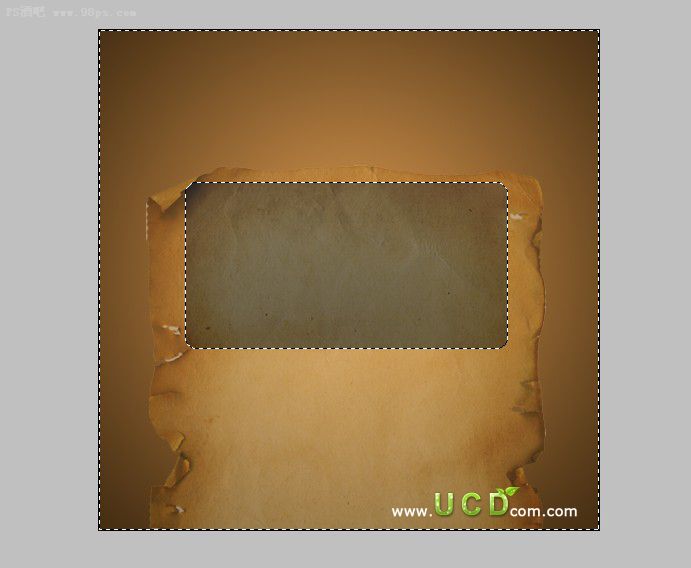
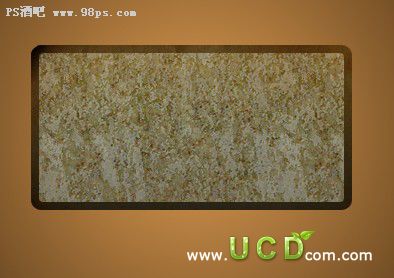
7、把图层的混合模式改为叠加。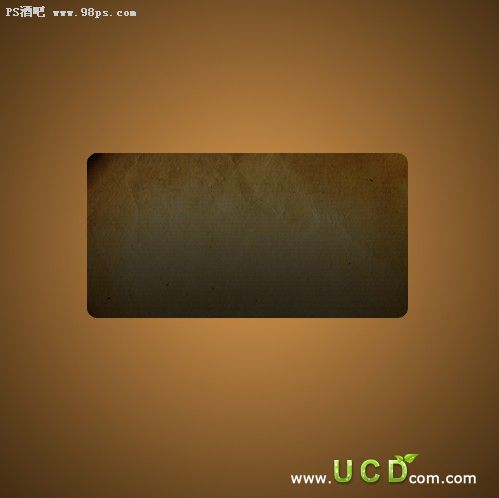
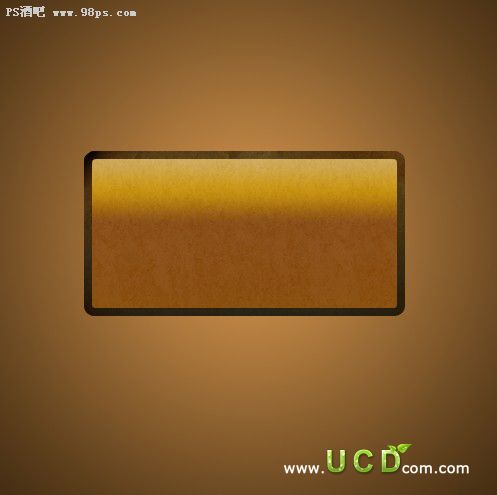
8、新建图层四,绘制一稍小一点的圆角矩形。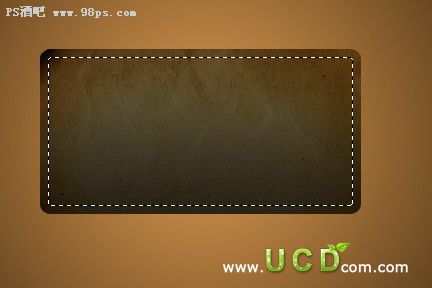
9、添加图层样式。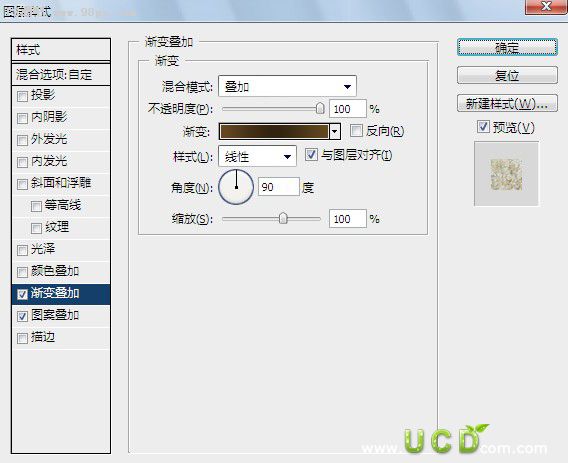

10、新建图层五,复制图层四的选区,添加图层样式。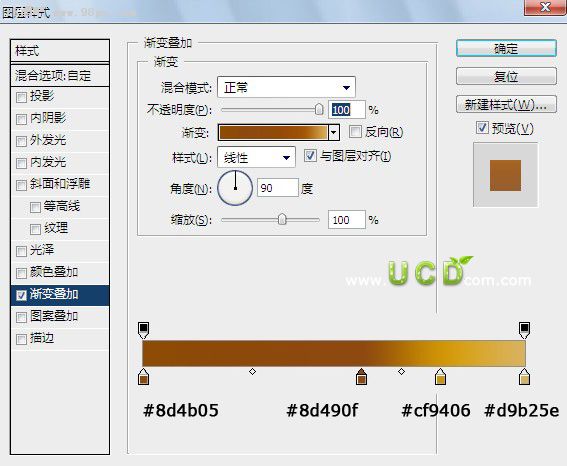
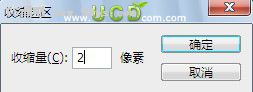
11、新建图层六,复制图层五的选区,单击修改(M)-收缩,2像素。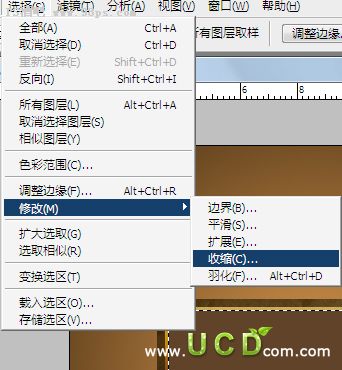
12、Alt+Delete 填充色味#4d311a。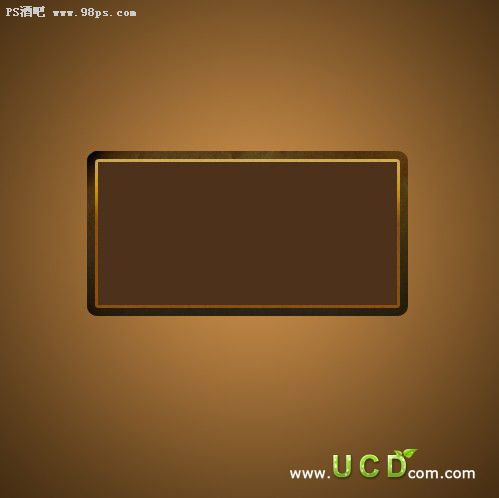
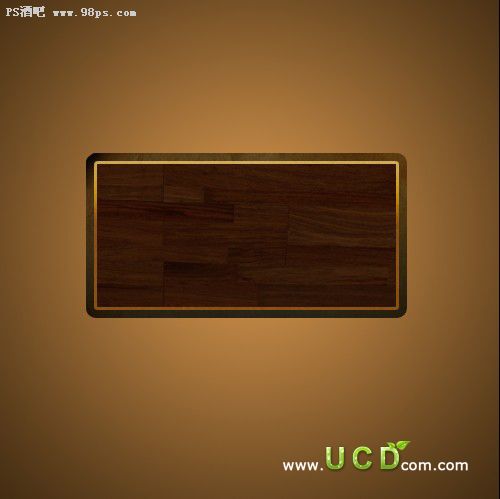
13、新建图层七,导入素材 “木质地板”,复制图层六的选区,减去多余的部分,图层混合模式改为“正片叠底”。
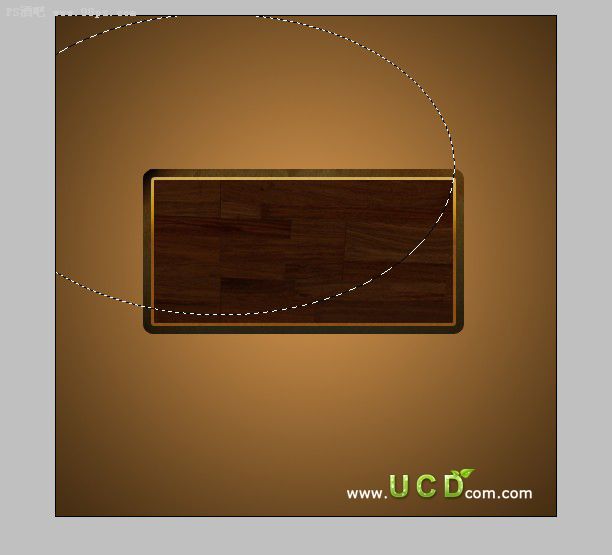
(本文来源于图老师网站,更多请访问http://m.tulaoshi.com)14、这个时候我们来做反光的效果,新建图层八,使用椭圆选框工具绘制一白色半透明的椭圆,透明不为13%
。
15、减去多余的部分。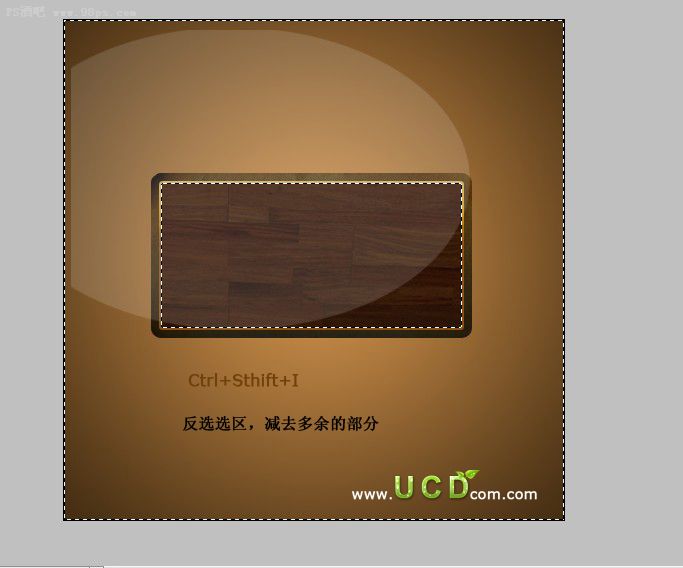
16、填充渐变。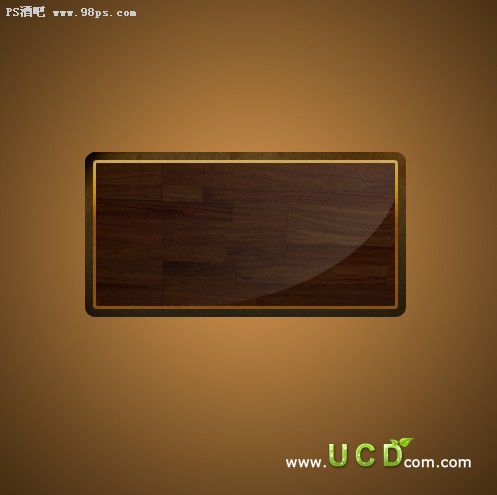
17、新建图层九, 绘制一比图层八扁一点的矩形,添加图层样式。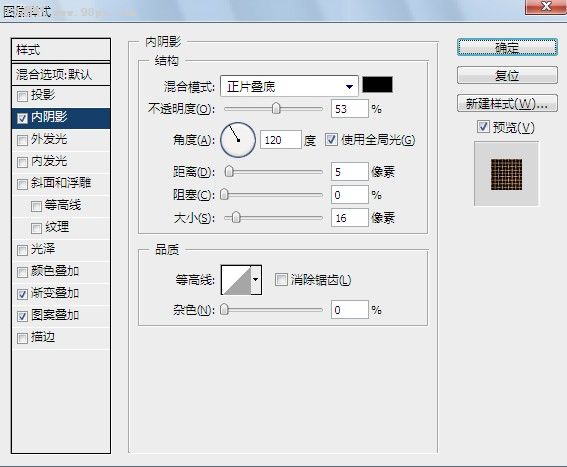

18、按住Shirt键 ,使用直线工具绘制一条黑色,一条颜色为#b88856,的直线(注:两条线分别在两个不同的图层,黑色线在上面)。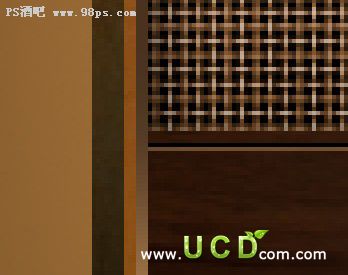

19、这个时候开始绘制按钮。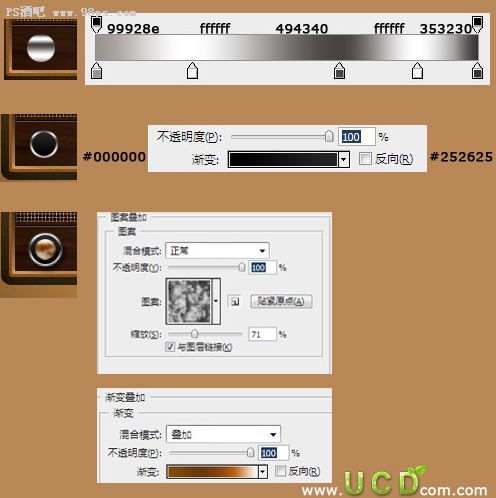
20、使用矩形工具 在两个按钮中间绘制窄的矩形,添加图层样式( 1c0900 381f14)。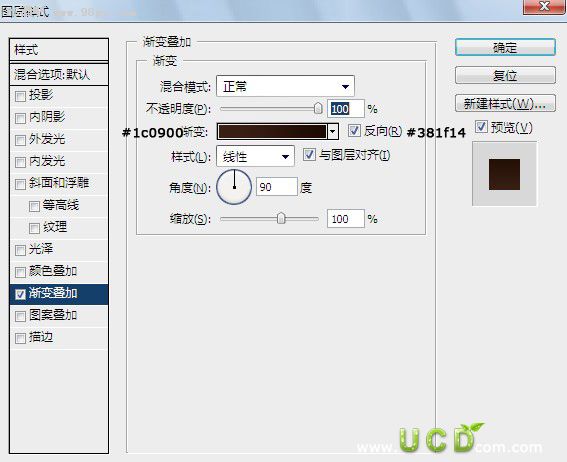

21、复制两个,并排列整齐。
22、拉上渐变色。

23、绘制高光 使用钢笔工具绘制高光。图层不透明度为15%。
24、在背景层的上方新建图层,用圆角矩形绘制一底座。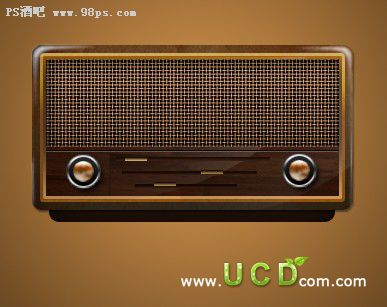
25、用椭圆选框工具绘制一椭圆,羽化30像素,填充黑色。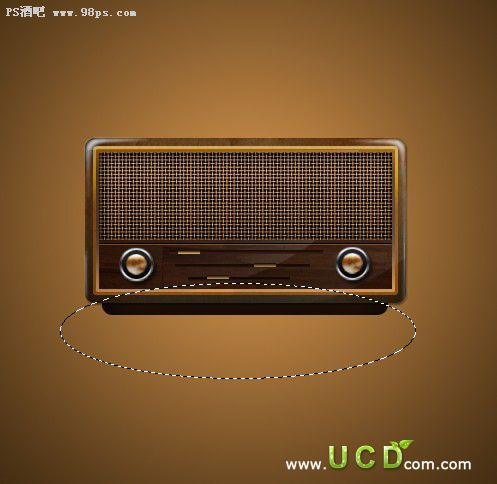
26、这个时候影印就做好了。
27、这个时候我们就差一投影了,用矩形选框共组选中,填充颜色为#4f3517,图层混合模式为,正叠底片。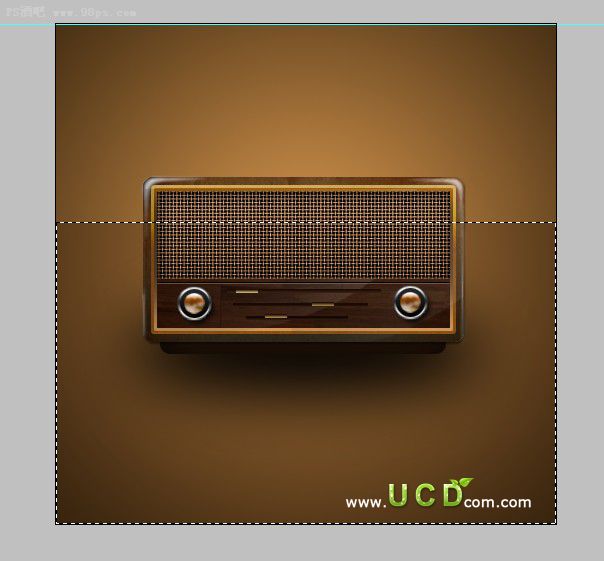
(本文来源于图老师网站,更多请访问http://m.tulaoshi.com)28、复制收音机的图层,并旋转位于元件收音机的底部,调整不透明度为7%。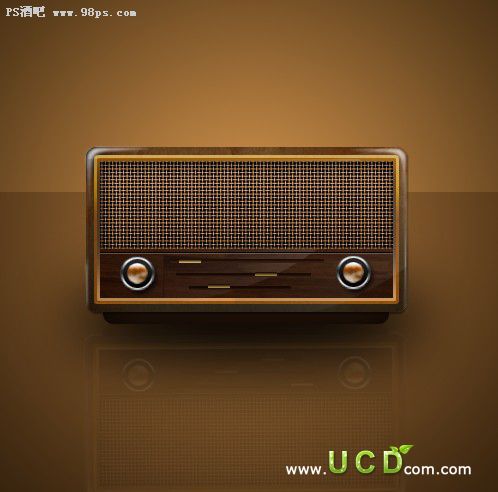
29、使用椭圆选框工具羽化30像素。
最终效果: