yb88888801
2016-02-01 23:46
今天图老师小编要跟大家分享Photoshop打造经典月色下的美女,精心挑选的过程简单易学,喜欢的朋友一起来学习吧!
本教程介绍艺术色彩照片的制作方法。思路:先选择一系列素材图片,素材图片跟主题一致。然后把素材图片整体到同一个文件中,排好位置。这一步非常重要,有的素材需要取舍,还需要调色及局部调整。
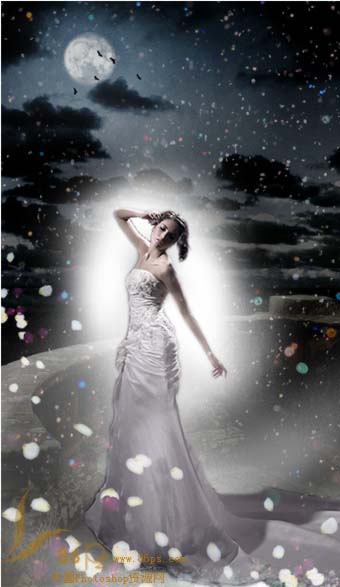
最终效果 
(本文来源于图老师网站,更多请访问http://m.tulaoshi.com/psxpcl/)素材1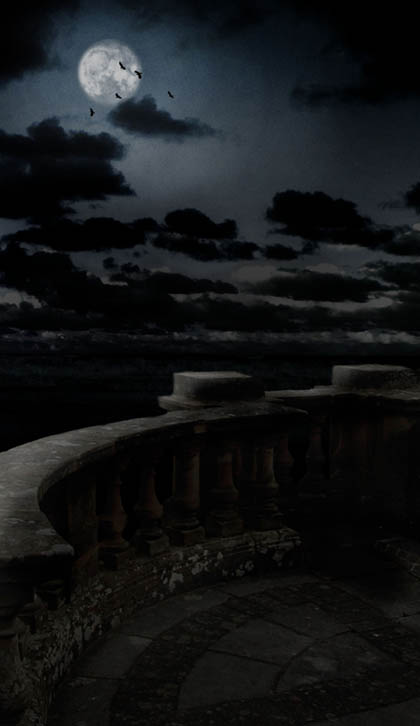
素材2
素材3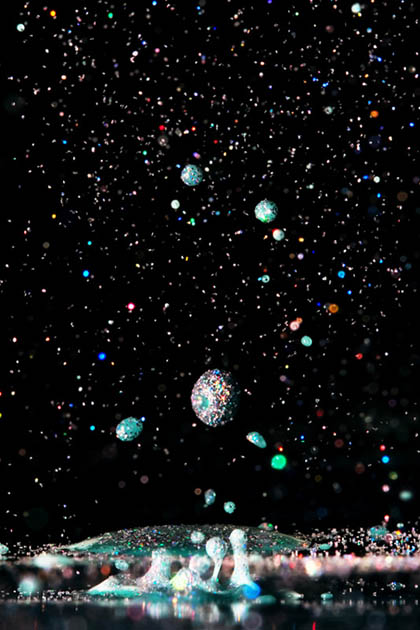
素材4 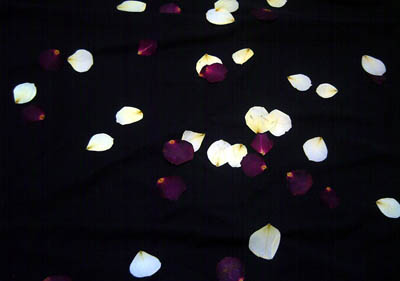
1、打开人物原图,选择索套工具,将人物主体选出。
2、打开素材1,选择移动工具,点住人物拖到素材1上。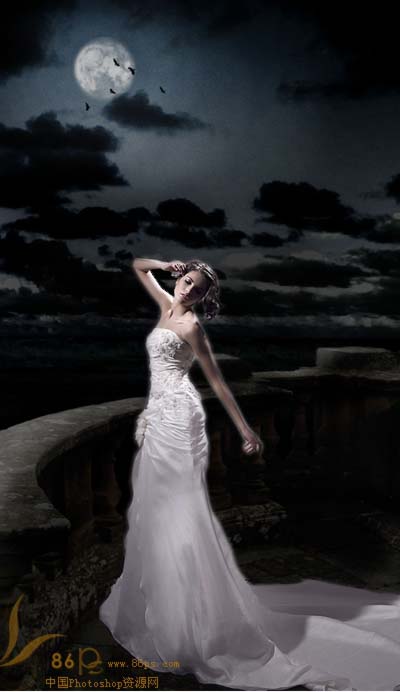
3、现在要做的就是将背景调亮,选择背景图,Ctrl+M打开曲线选项,调整参数如下: 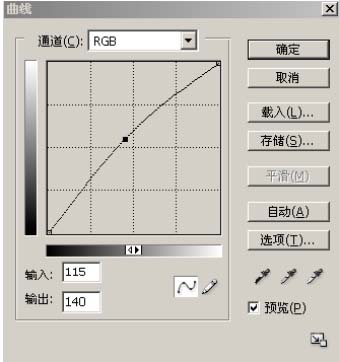
4、选择人物图层,调整色相/饱和度,如下: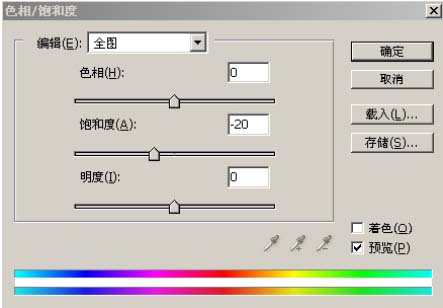
得到效果: 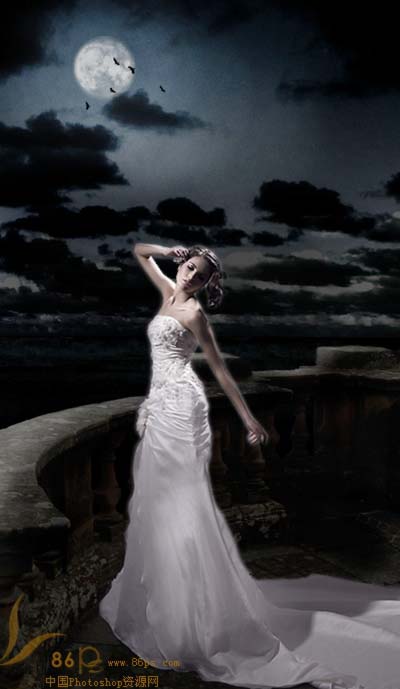
5、打开素材3,拖到人物层上,改变混合模式为滤色,不透明度改为50%。
(本文来源于图老师网站,更多请访问http://m.tulaoshi.com/psxpcl/)6、打开素材4,用魔术棒工具选中黑色背景,Del删掉黑色背景,Ctrl+D取消选区,选择移动工具将剩下的花瓣素材拖到图层上,改变混合模式为滤色.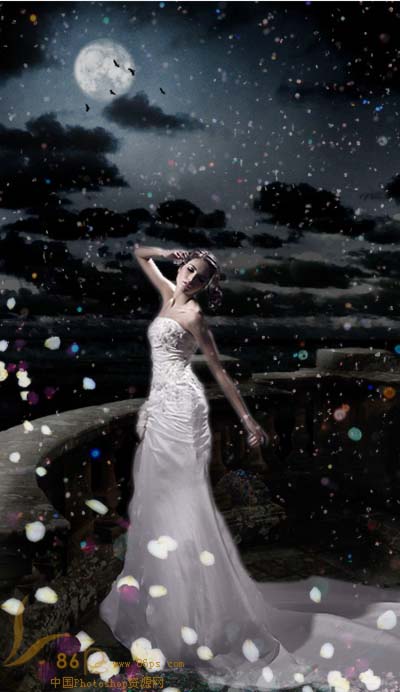
7、新建一个图层,前景色设为白色,用软边画笔在人物周围点出高光,如图:
8、选择滤镜—模糊—径向模糊,数值如下: 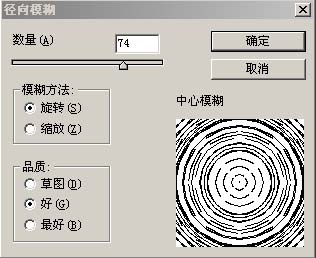
改变混合模式为滤色,得到效果: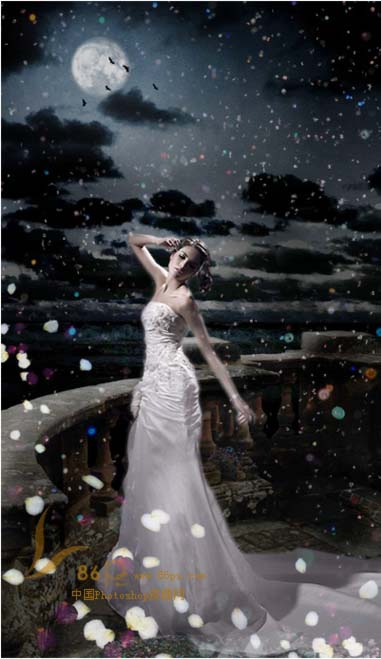
9、再新建一个图层,填充颜色#988675,改变混合模式为叠加,得到效果: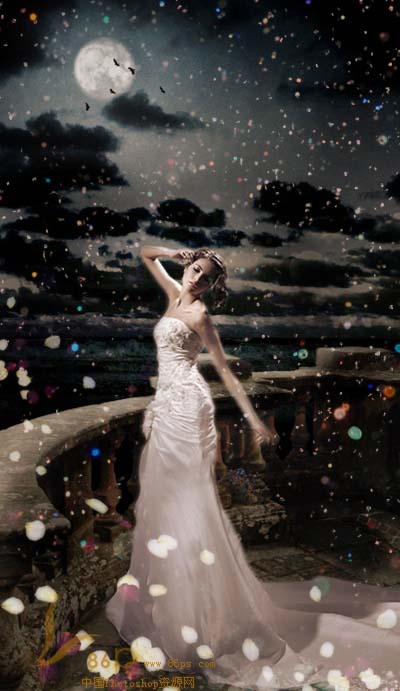
10、合并可见图层,Ctrl+M调整曲线,参数如下: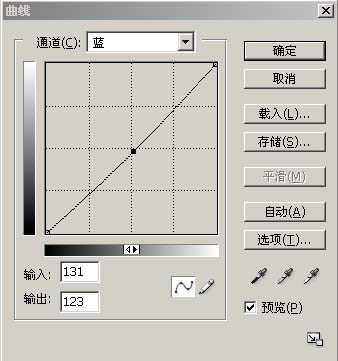
得到效果:
11、Ctrl+M再次打开曲线调整,参数如下: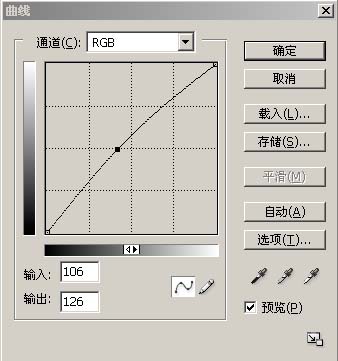
12、这样整个就完成了,最终效果:
(本文来源于图老师网站,更多请访问http://m.tulaoshi.com/psxpcl/) 


