只要你有一台电脑或者手机,都能关注图老师为大家精心推荐的Photoshop制作可爱的水晶边框字,手机电脑控们准备好了吗?一起看过来吧!
在制作本教程的效果时,字体最好选择一些较粗的字体。这样效果会明显一点。制作方法比较简单基本上用图层样式就可以做好,为了美观可以适当加上一些投影及光晕效果。
最终效果 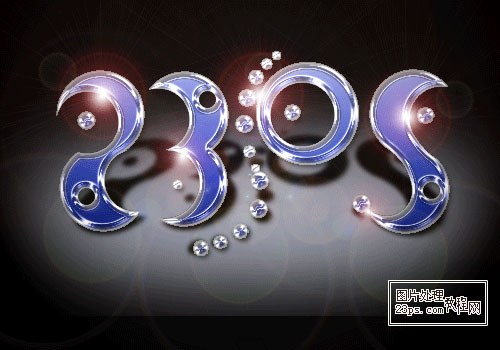
1、打开PS软件,新建文件500*350像素,黑色背景,72像素分辨率,RGB模式。
2、制作一椭圆形选区---羽化,如图: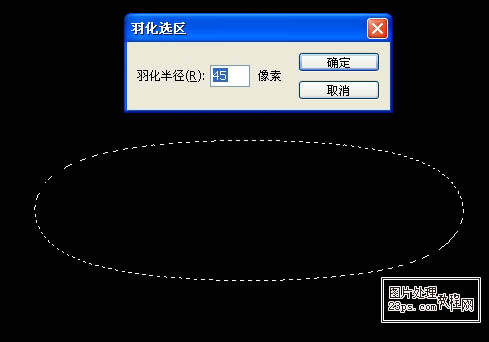
3、新建图层,保持上图的选区,填充颜色,适当减低不透明度,如图:
4、下面开始制作数字“2”,新建图层,使用硬边圆头笔刷---大小85像素---白色,画出形状,如图: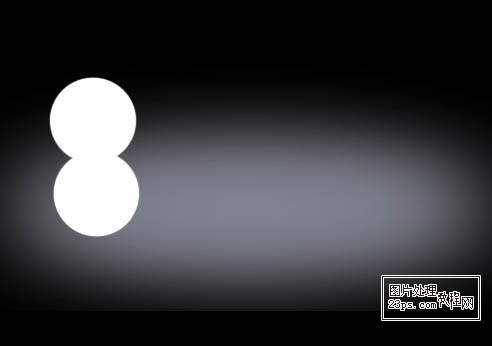
5、选用橡皮工具,硬边圆头笔刷,60像素左右大小,在上图中擦出形状,再选用小号笔刷---点一个圆做点缀,如图:
6、使用同样方法,制作文字“3”、“P”、“S”(其中“P”竖的制作是路径笔刷描边得来的,很简单的,不做说明了),合并文字图层,效果如图:
(本文来源于图老师网站,更多请访问http://m.tulaoshi.com/psxg/)
7、为该层添加图层样式,图层内部填充不透明度为0%,添加投影,参数如图: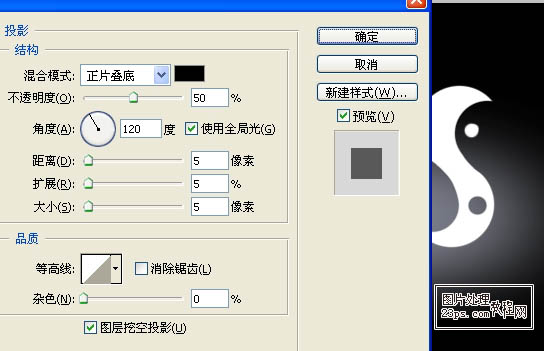
8、为该层添加内阴影,参数如图: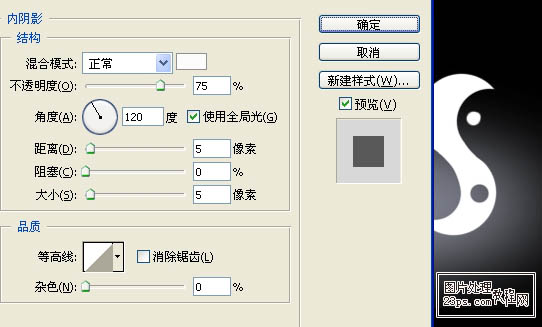
(本文来源于图老师网站,更多请访问http://m.tulaoshi.com/psxg/)9、为该层添加内发光,参数如图: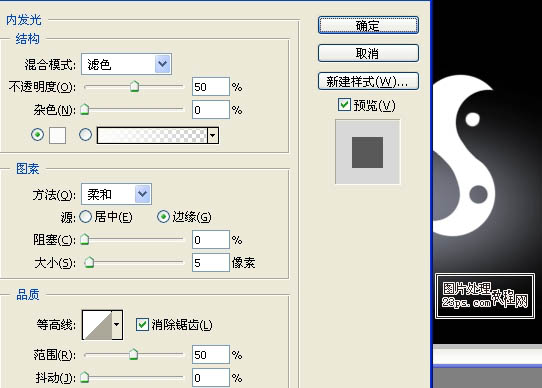
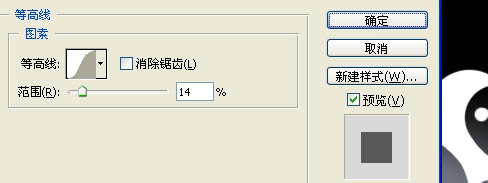
10、为该层添加斜面浮雕和等高线,参数如图: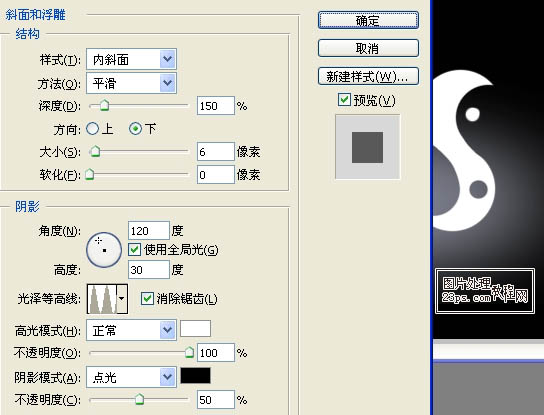
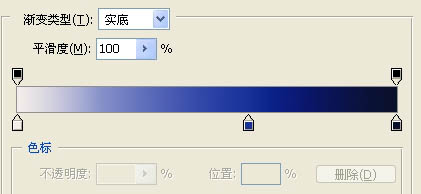
11、为该层添加渐变叠加,参数如图: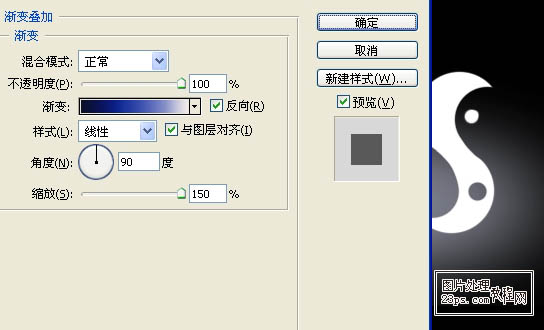
12、为该层添加描边,参数如图: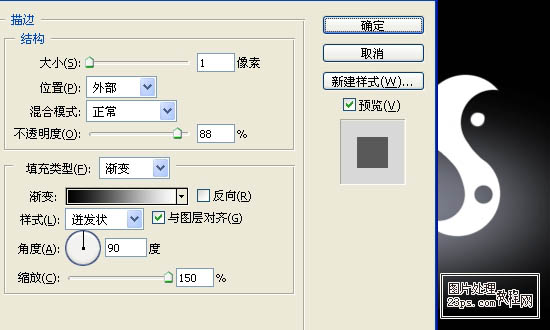
13、此时效果如图:
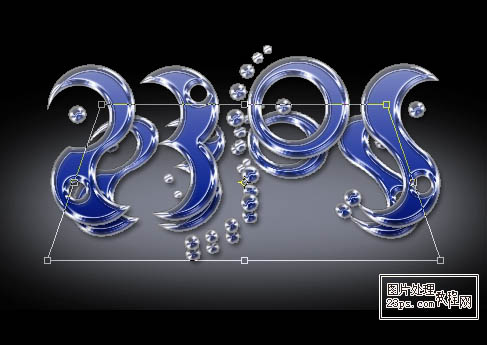
14、复制此层放其下面,执行编辑---变换---透视,调整大小位置,如图:
15、将复制层的图层样式删除掉,并填充黑色,执行滤竟---模糊---高斯模糊,如图: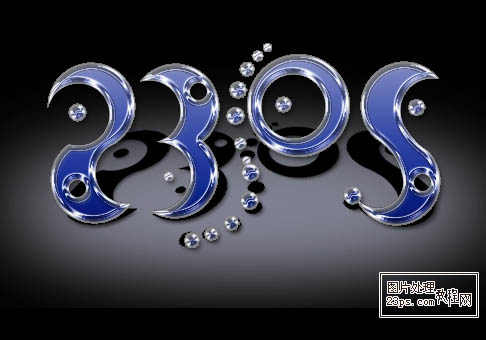
16、盖印图层(CTRL+ALT+SHIFT+E),执行滤竟--渲染--光照,如图: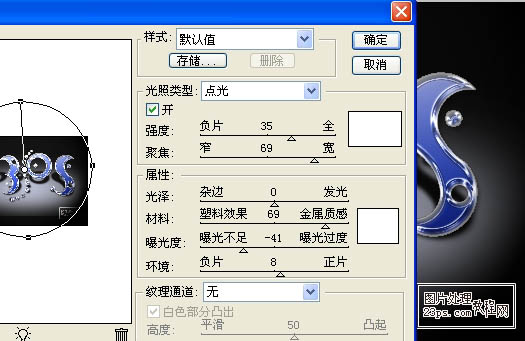
17、执行滤竟--渲染--镜头光晕效果,多添加几个,设置不同大小,如图: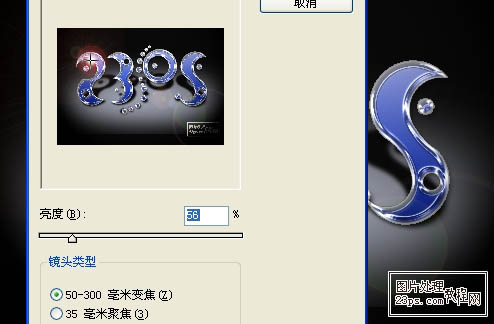
18、最后进行微处理,完成。


