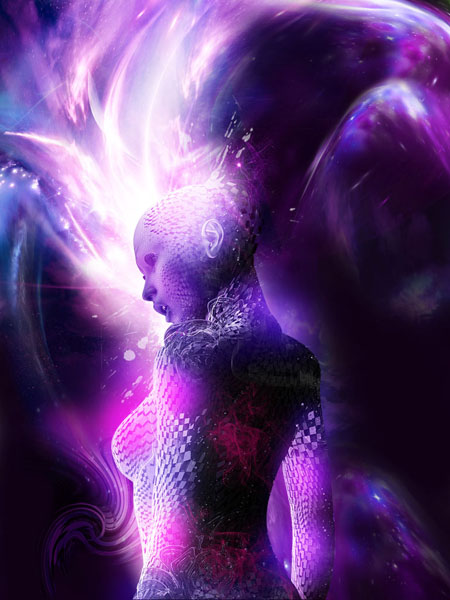
最终效果
1、打开人物模型素材,在人物图层下新建图层,然后用画笔制作一些喷溅效果。调节好喷溅的位置,这时候喷溅的边缘太实,可以为喷溅图层添加蒙版进行调节。喷溅不止一个图层,可以根据自己的审美需要,自行进行设计。


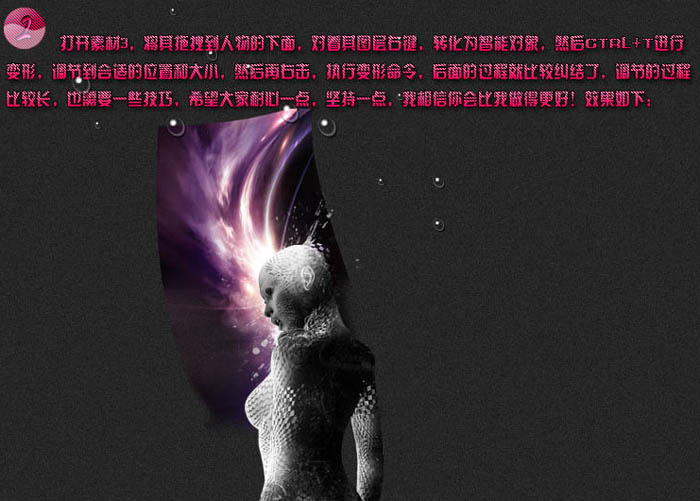
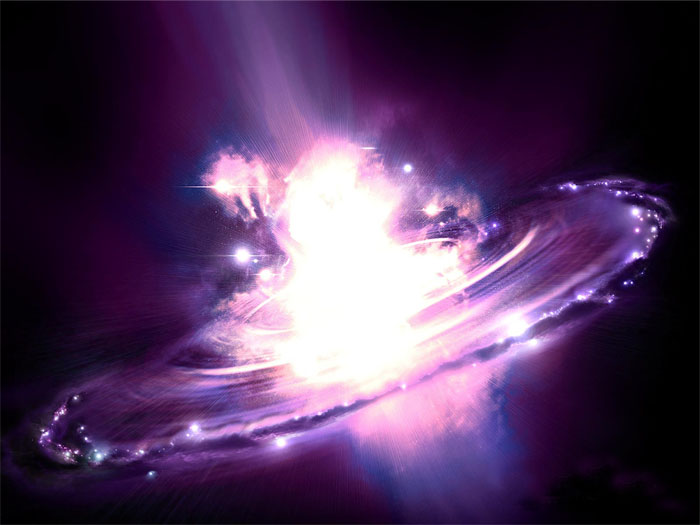
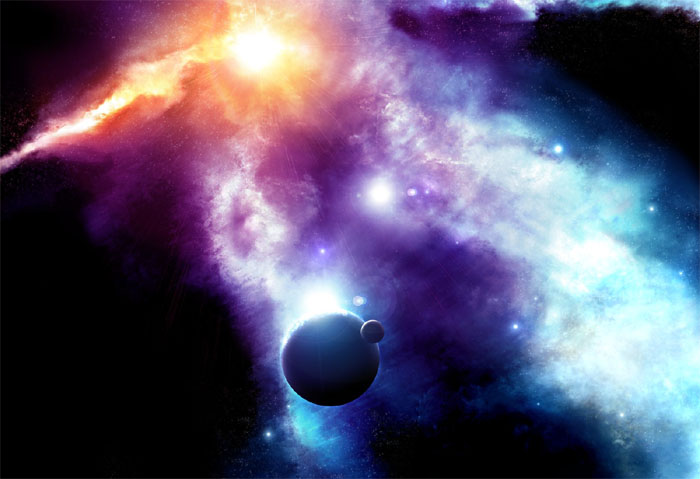
2、打开下图所示的背景素材,拖到人物图层的下面,然后右键转化为智能对象,然后按Ctrl + T 进行变形,调节到合适的位置和大小,然后再右键,执行“变形”命令,调节的过程比较长,也需要一些技巧,希望大家耐心一点。

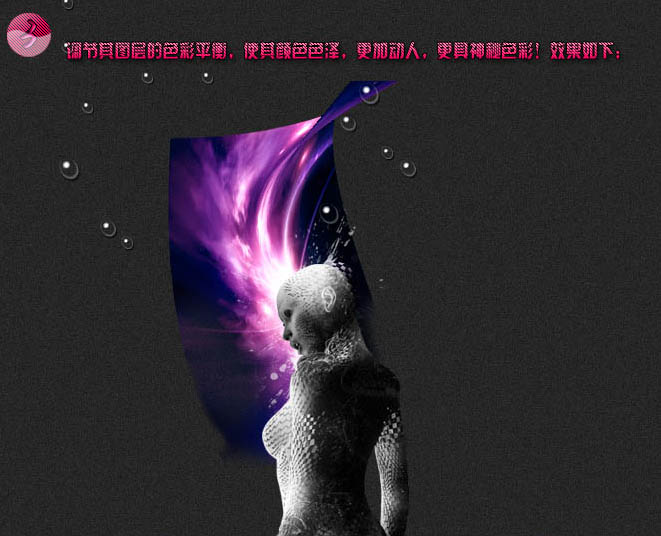
3、调节其图层的色彩平衡,使其颜色色泽更加动人,更具神秘色彩,效果如下图。
5、给人物头部使用相同的方法,添加更多的光圈,使其更加具有观赏性,效果如下图。

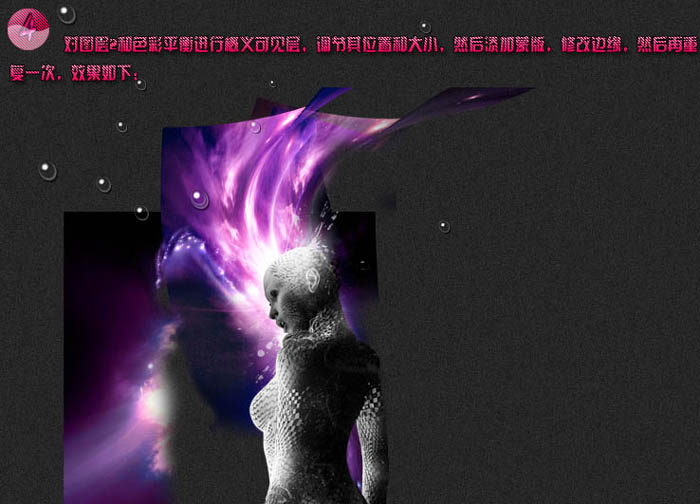
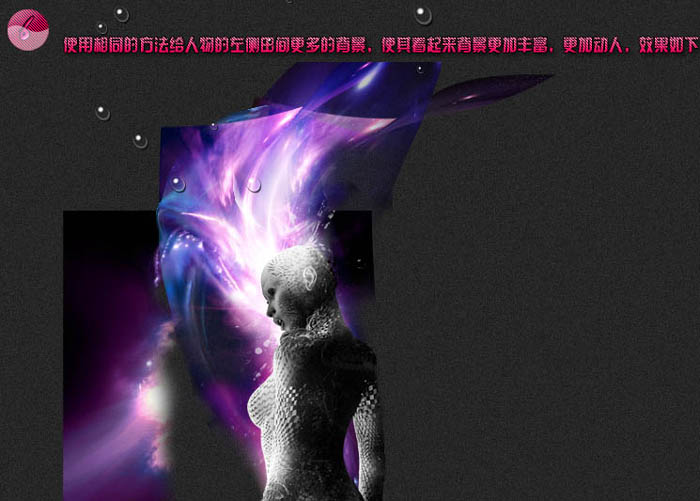
6、使用相同的方法给人物左侧添加更多背景,使其看起来更加丰富。
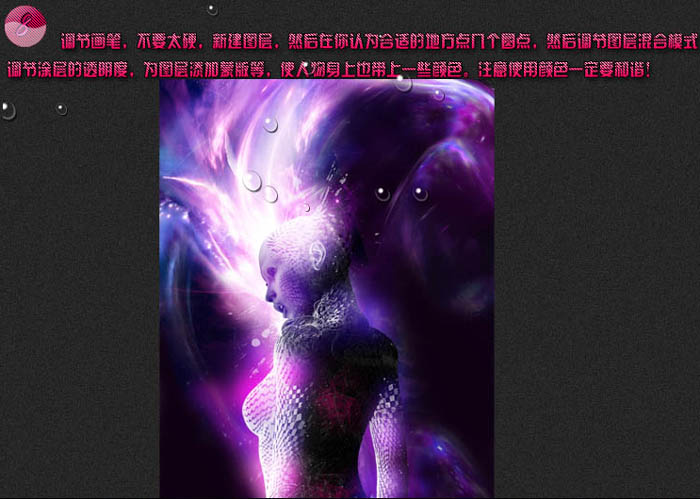
8、调节画笔,新建图层,在您认为合适的地方点几个圆点,然后调节图层混合模式,调整涂层的透明度。为图层添加蒙版等,使人物身上也带上一些颜色,注意使用颜色一定要融合。