有一种朋友不在生活里,却在生命力;有一种陪伴不在身边,却在心间。图老师即在大家的生活中又在身边。这么贴心的服务你感受到了吗?话不多说下面就和大家分享利用画笔制作梦幻漂亮的彩色艺术字吧。
本教程的文字效果非常漂亮,看似有点复制,其实制作过程是比较简单的。先铺好想要的纹理背景,然后自定义一个有立体感的泡泡笔刷,并设置好画笔参数。再用文字的路径描边就可以得到彩色文字。后期再增加一些喷溅等画笔丰富层次感即可。
最终效果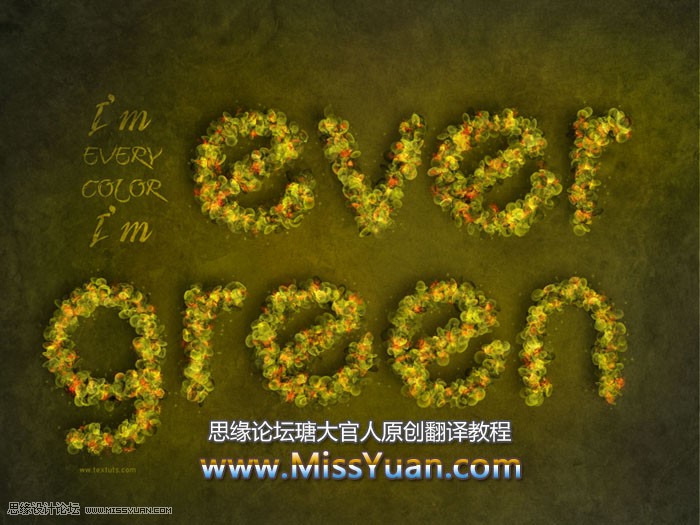
1、首先先制作笔刷。新建一个230*230的新图层,使用椭圆工具做出图示的圆形,填充任意颜色,CTRL+D取消选区。
2、双击图层,添加渐变叠加样式,模式正常,样式径向,缩放120%。
3、创建一个三色的渐变(可以通过点击色标滑块添加颜色),左侧颜色为#e9e9e9,右侧为#636363,中间颜色为#b3b3b3,确保中间颜色的位置是60%。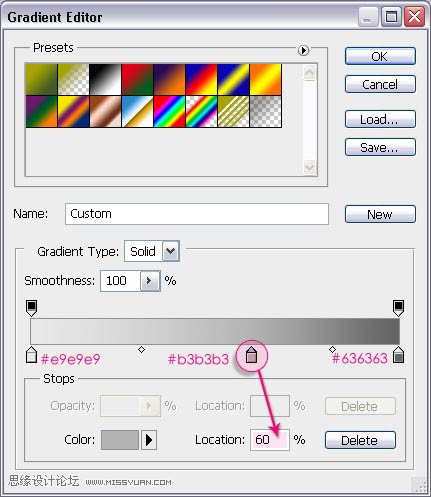
4、点击中间滑块添加颜色#b3b3b3时,会出现两个小方格,一左一右,点击右侧的一个,位置调整为55%。
5、将左侧小方块的位置调整为55%。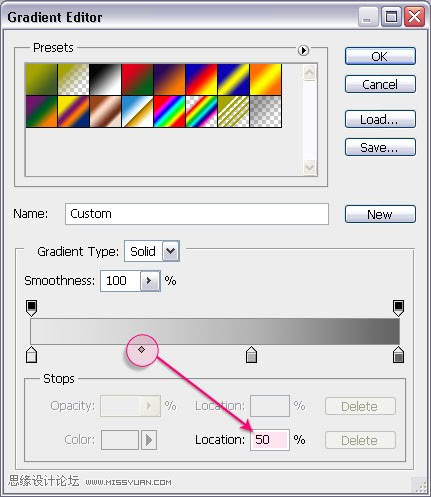
6、现在已完成渐变的编辑,点击确认渐变编辑器,回到图层样式面板,移动渐变效果,达到图示效果。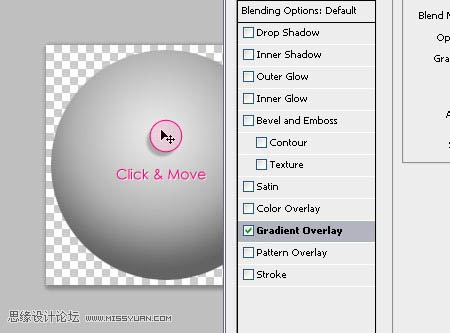
7、达到满意效果,点击确认,执行:编辑-----定义画笔预设,并对其进行命名。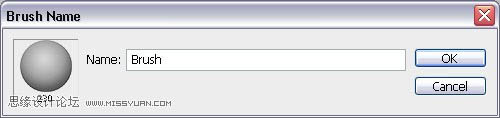
8、创建新的图层,前景色为#a6a301,背景色为486024,从中心想外围创建一个径向渐变。
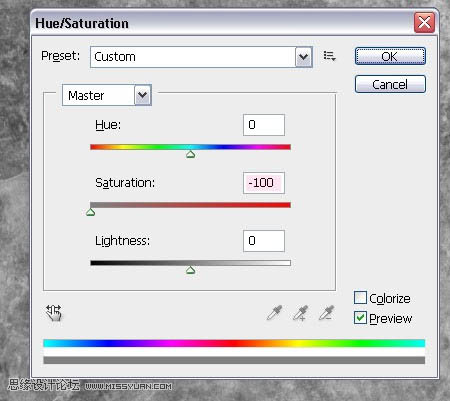
9、拖入纹理素材,放在背景图层上,执行:图像----调整----色相/饱和度,饱和度设置为-100。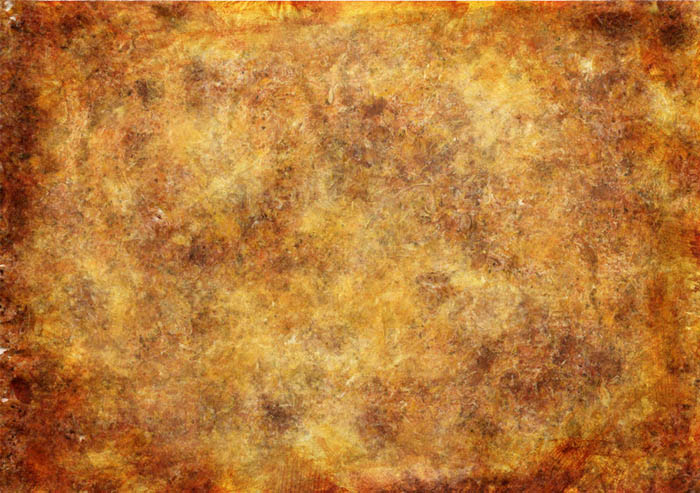
10、图层混合模式更改为柔光。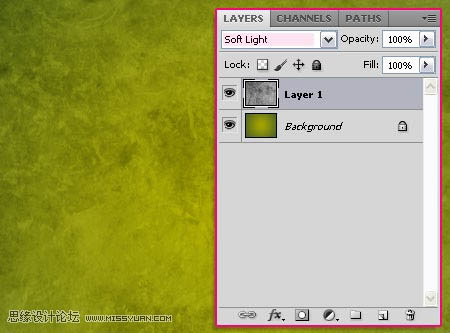
11、按下调色版中的“创建新的填充或者调整图层”,选择色相/饱和度。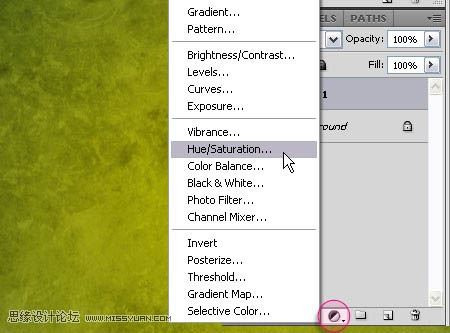
12、色相调整为-10,饱和度为-68。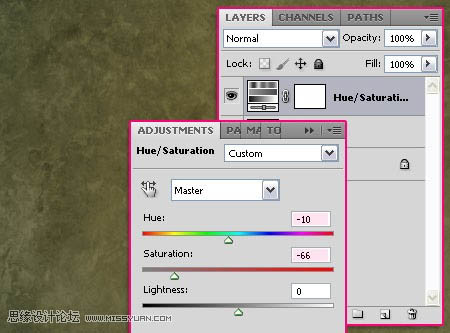
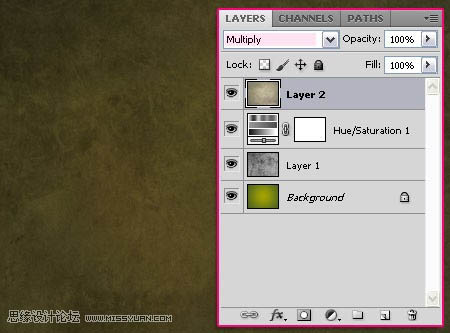
13、打开古怪素材,拖入图层最上方,图层混合模式更改为正片叠底。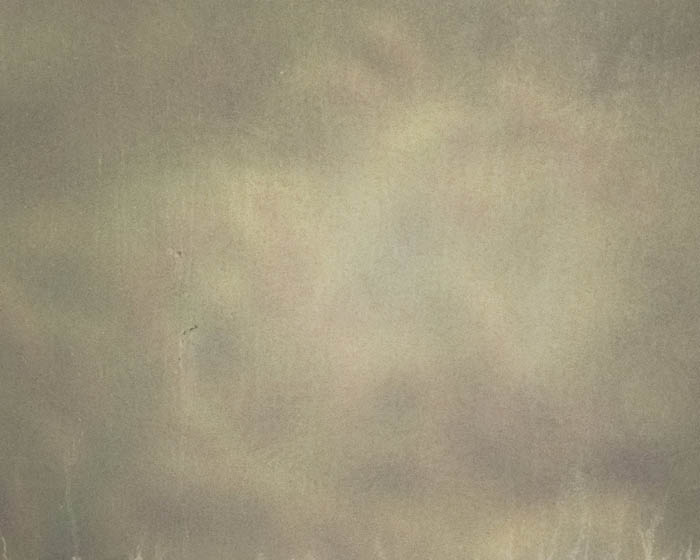
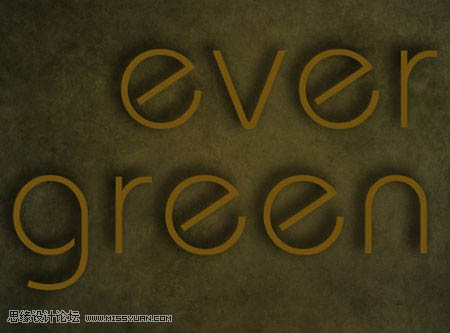
14、创建文字,字体为Brie Light,大小为250像素,颜色为#6f500c,你可以根据实际情况调整文字大小以避免重叠。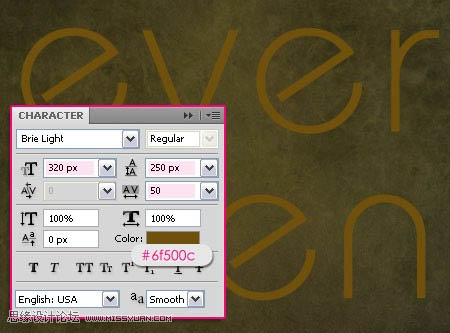
15、双击图层,添加阴影图层样式,模式:正片叠底,不透明度75,取消全局光,角度-36,距离18,阻塞15,大小35。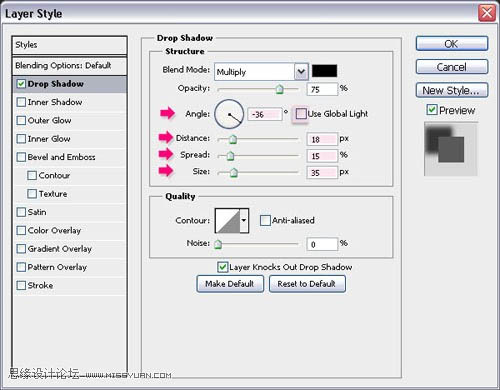
16、下面开始更改笔刷设置,点击窗口----画笔,相关设置如下。可以根据自己的喜好调整字体的大小数值,特别是自己喜欢的字体。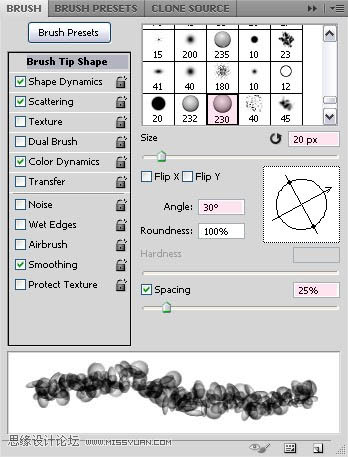
(本文来源于图老师网站,更多请访问http://m.tulaoshi.com/psxg/)17、形状动态。
18、散布。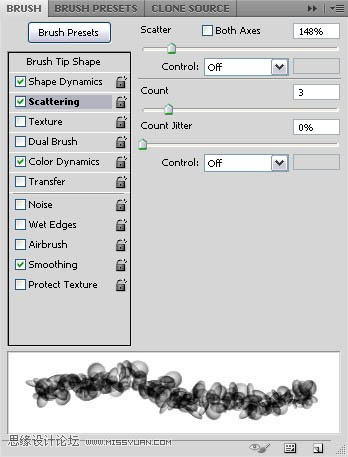
19、颜色动态。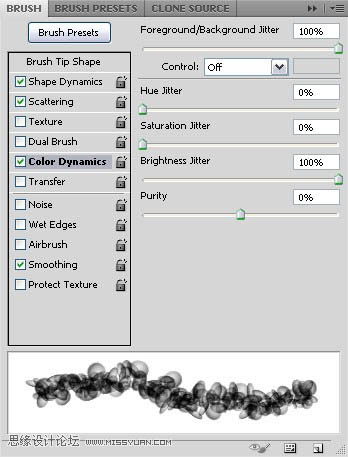
20、返回原来的文件,点击文字图层,选择创建工作路径。
21、前景色设置为#a7a400,背景色设置为#5a5919,使用选择工具,新建一个图层,命名为“绿”。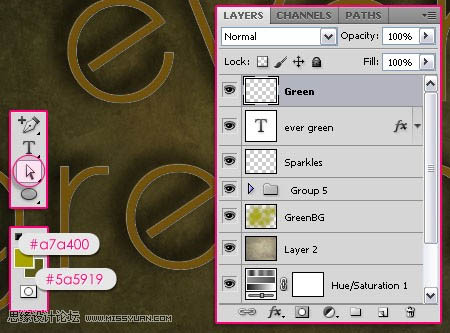
22、右击工作路径,选择描边路径。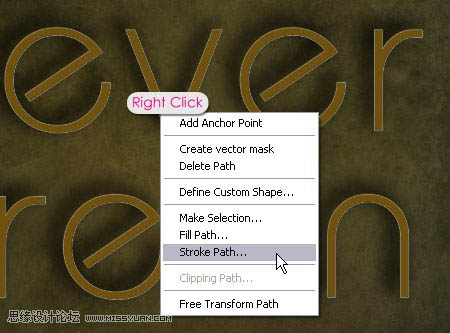
23、选择画笔工具,并确认模拟压力未勾选。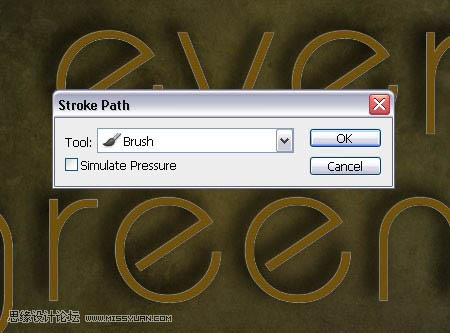
24、这个路径效果如图所示。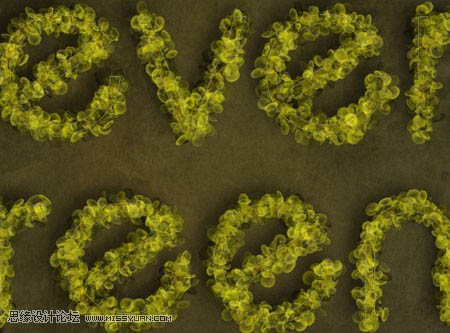
25、选择喷溅笔刷,大小设置为27,画笔设置如下。
(本文来源于图老师网站,更多请访问http://m.tulaoshi.com/psxg/)26、形状动态。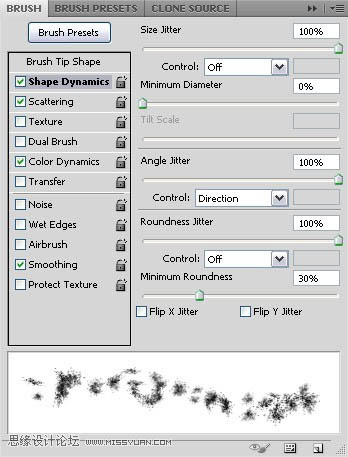
27、散布。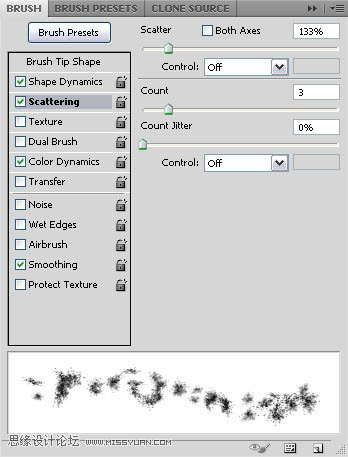
28、颜色动态。
29、创建新图层,命名为“玫瑰色”,前景色为:#f49e9c,背景色为:#df0024,重复描边,效果如下图。
30、图层混合模式更改为颜色减淡,得到一个梦幻的纷彩叶子围绕玫瑰的效果。
31、载入花火笔刷,新建一个图层,放置在文字图层的下方,命名为“花火”,前景色设置为#fef99d。
32、同样方法用花火笔刷描边,增加虚幻的感觉。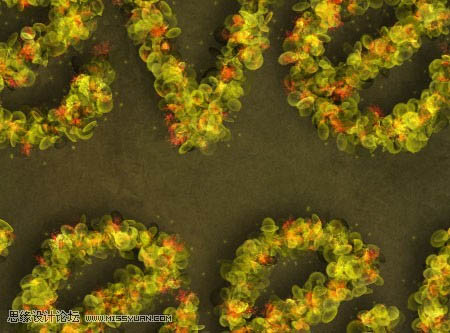
33、用橡皮擦去多余的部分,用柔角笔刷,大小不限,清除其中的一些散点。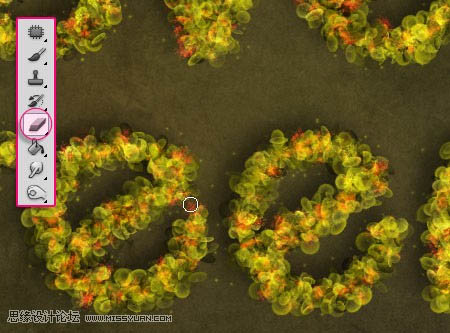
34、最后一步是是增加一些绿色,使得文字看起来通亮。在花火图层下面,新建一个图层,命名为绿色透亮,前景色设置为#a7a400,使用柔角笔刷在文字轮廓周围刷,不要刷满整个画面。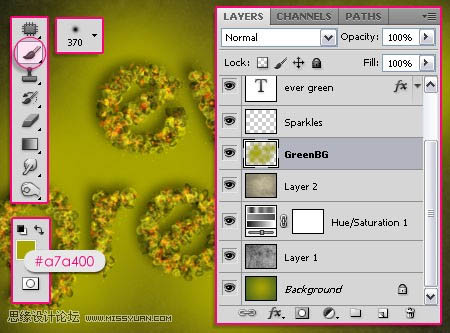
35、绿色透亮的图层模式改为叠加。
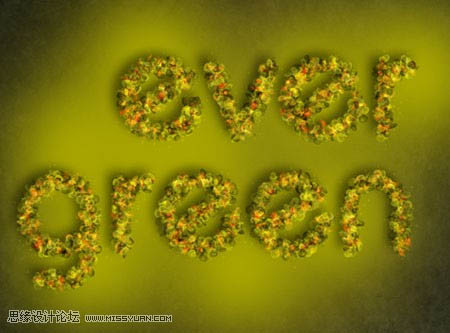
最终效果:


