408346625
2016-01-31 16:22
想要天天向上,就要懂得享受学习。图老师为大家推荐Photoshop给窗户边的人物图片加上柔和暖色,精彩的内容需要你们用心的阅读。还在等什么快点来看看吧!
本教程的调色效果非常不错,不过作者整体调色过程都是在同一层完成,这需要较强的美感,因为一步出错又要返回去调整。建议使用调整图层来调整,这样操作简单,同时也比较好修改。
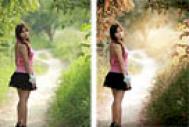
原图
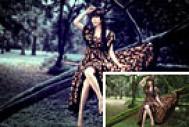
最终效果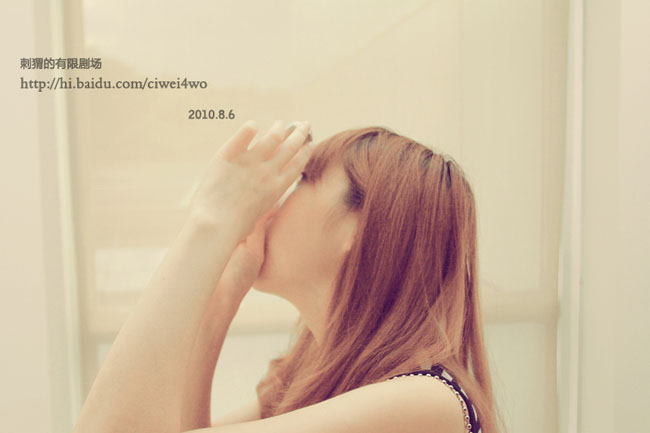
1、打开原图素材,把背景图层复制一层,然后新建一个图层,如下图。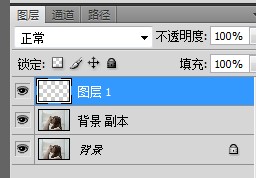
2、然后选中"图层 1",选择"编辑"-"填充" 在RGB数值里输入图片中的数值,然后确定。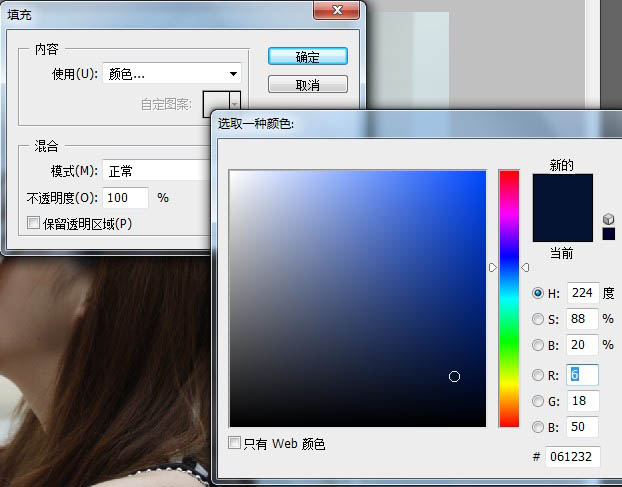
3、接着将"图层 1"的混合模式设置为"排除"。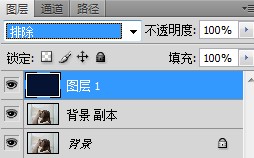
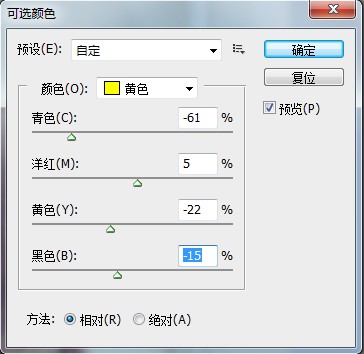
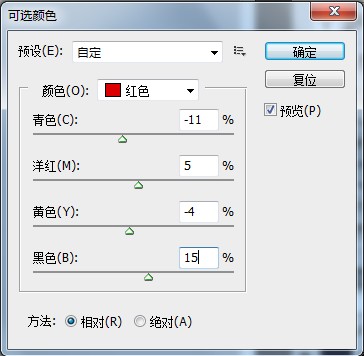
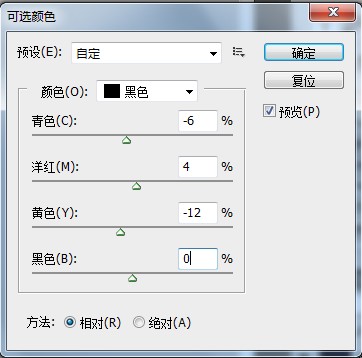
4、然后我们选择"背景 副本"图层,千万别选错了,不然之后调色弄了半天发现效果不对就得重头再来了。选中图层后,点选"图像"-"调整"-"可选颜色",如图:按照图中所示的各项属性调整数值。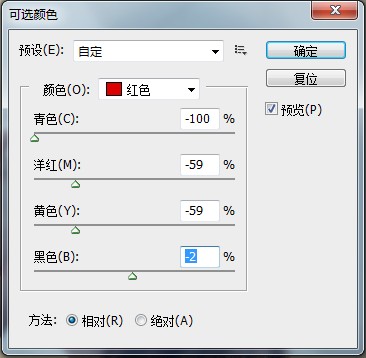
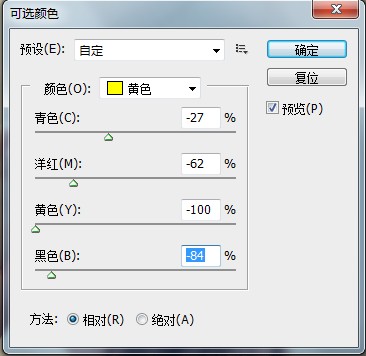
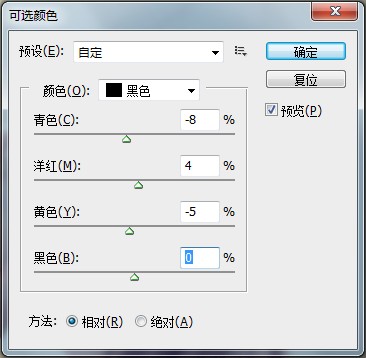
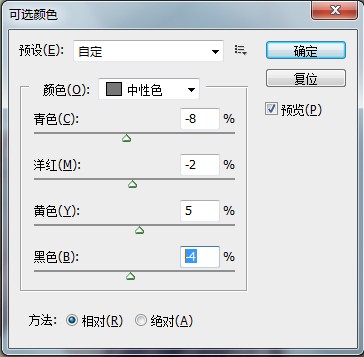
(本文来源于图老师网站,更多请访问http://m.tulaoshi.com/psxpcl/)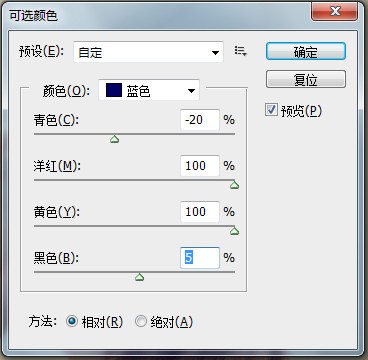
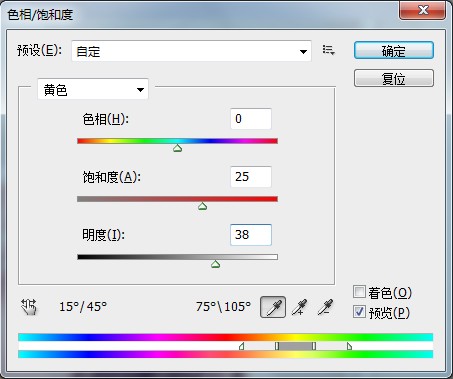
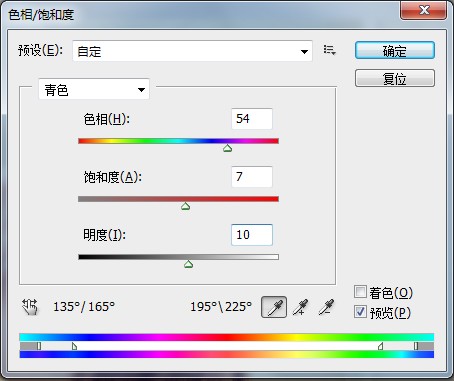
5、"可选颜色"各项属性调整完后,点确定。然后我们进入下一步:选中"图像"-"调整"-"色相/饱和度",如图属性按照图中所示进行调整。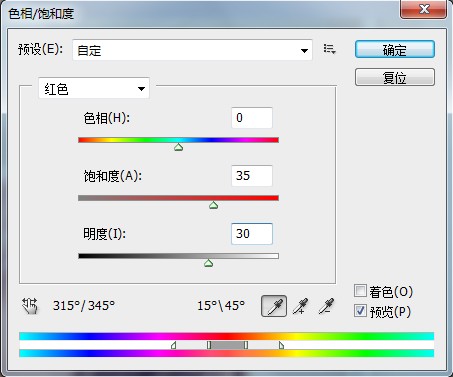

6、按ctrl+M开启曲线功能,如图。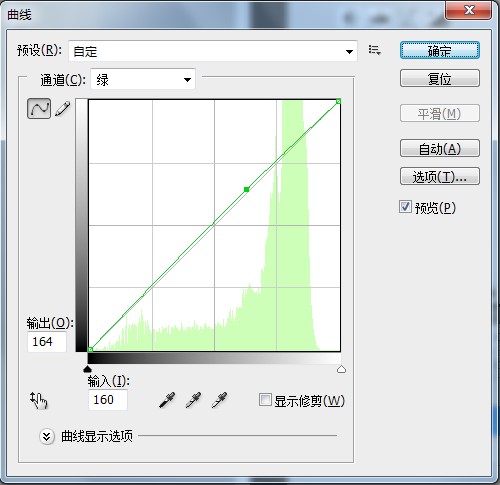
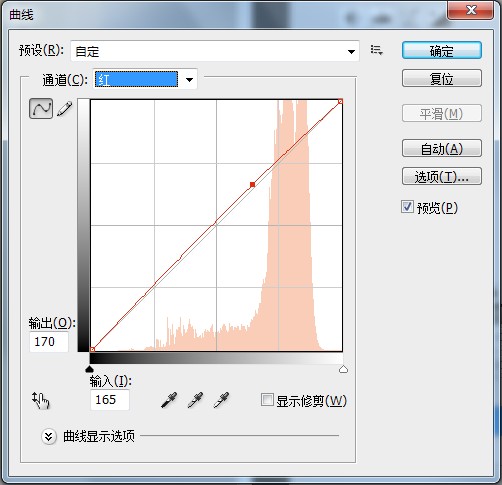
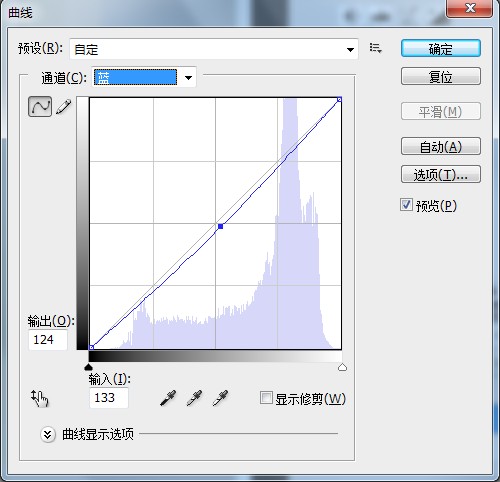
(本文来源于图老师网站,更多请访问http://m.tulaoshi.com/psxpcl/)
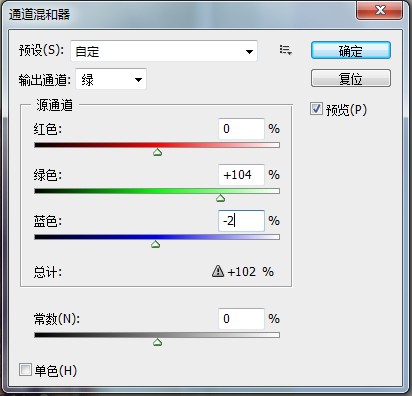
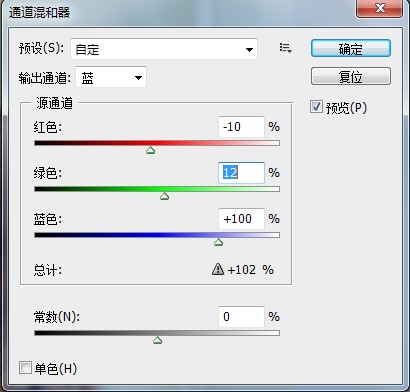
7、然后选中"图像"-"调整"-"通道混合器",如图进行设置。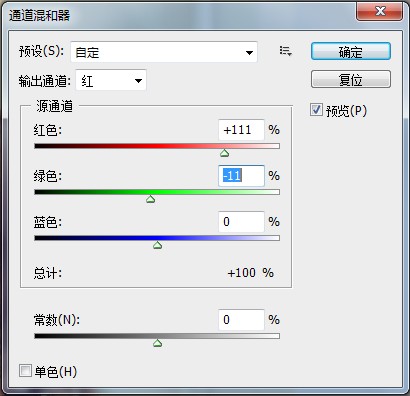
8、我们再次Ctrl + M 打开曲线面板,将RGB曲线稍微拉高点将画面提亮。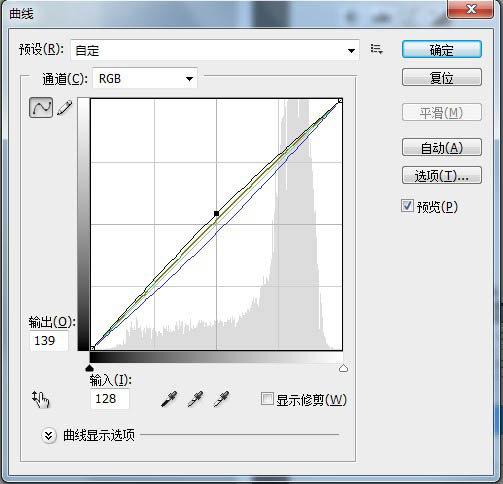
9、再次进入"图像"-"调整"-"可选颜色"进行调整。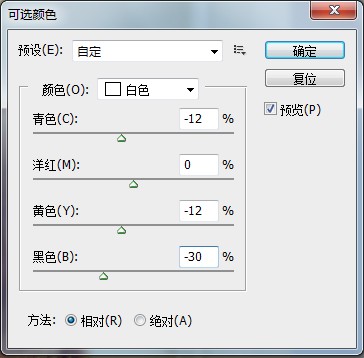
10、调整完后点确定。然后"滤镜"-"锐化"-"U S M锐化"如图: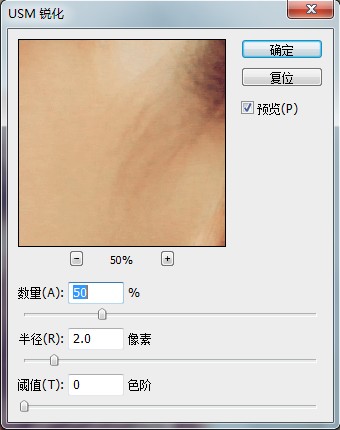
最终效果: