Hacker流星
2016-01-31 16:22
给自己一点时间接受自己,爱自己,趁着下午茶的时间来学习图老师推荐的Photoshop制作漂亮的钢板字,过去的都会过去,迎接崭新的开始,释放更美好的自己。
钢板字制作并不复杂,我们只需要做出一块钢板(用图层样式做出质感,再用滤镜做出细条纹质感即可),然后按照文字的轮廓复制摆放,并在接口部分加上螺丝即可。 最终效果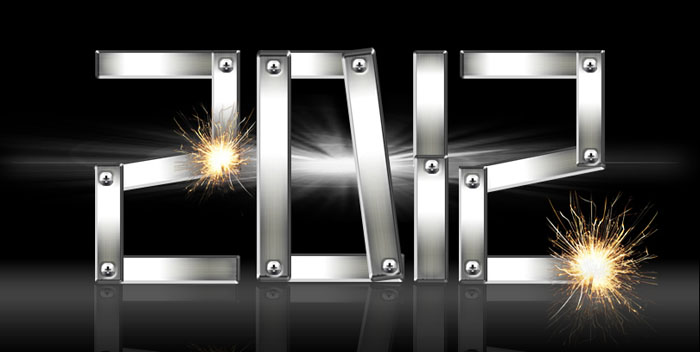
(本文来源于图老师网站,更多请访问http://m.tulaoshi.com/psxg/)
1、新建文件:差不多大就行了。
(本文来源于图老师网站,更多请访问http://m.tulaoshi.com/psxg/)2、输入一个方正的字体作为蓝本来参照,这里我选的是方正稚艺字体。
3、画出一个方框,比原字体要粗一些,具体看你的字体粗细了。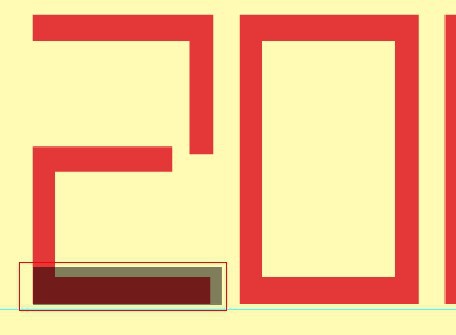
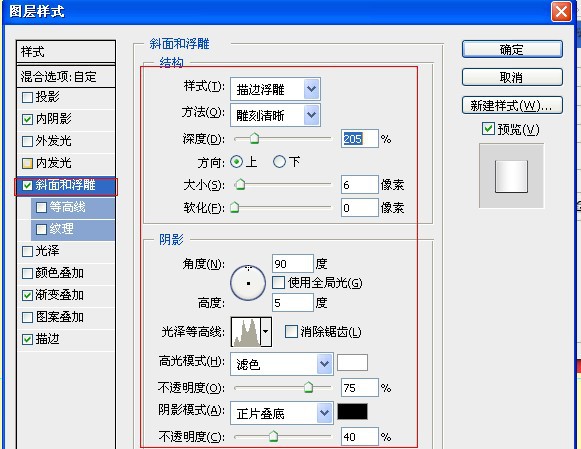
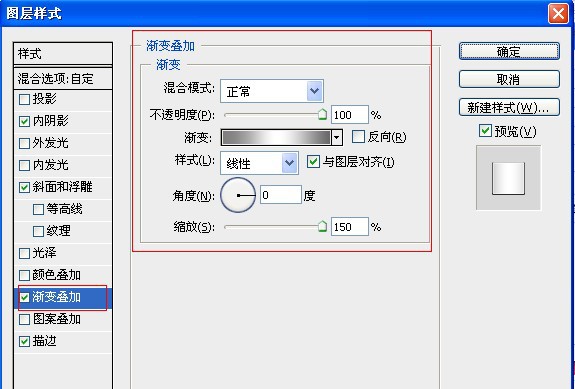
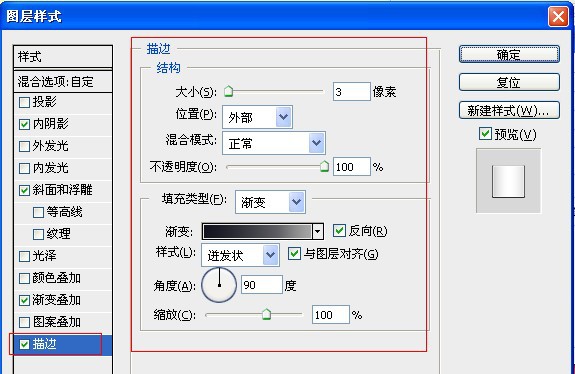
4、对这个方框进行如下参数设置。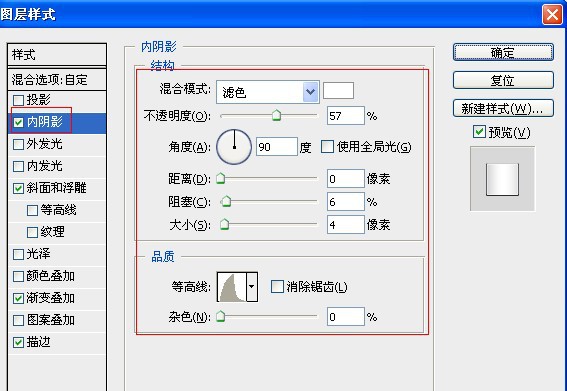
5、方框此时的效果如下。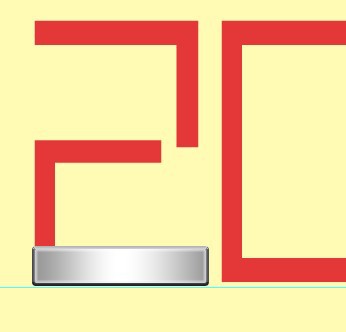
6、载入方框的选区,不要取消选区,新建一个图层填充黑色。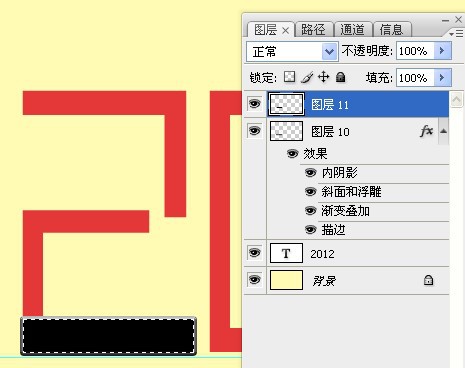
7、执行滤镜-杂色-添加杂色操作。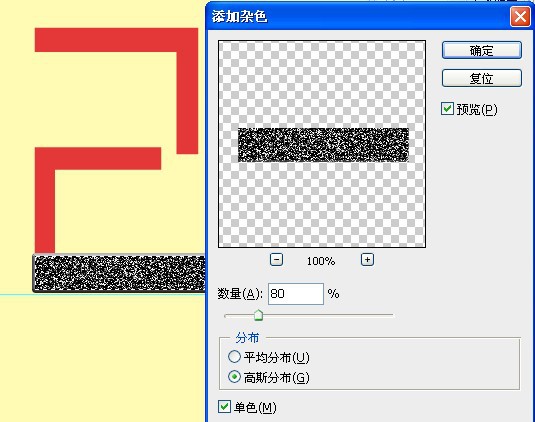
8、再执行滤镜-模糊-高斯模糊操作。
9、取消选区后,把混合模式改为“叠加”。我们看到金属不锈钢拉丝的效果就出来了。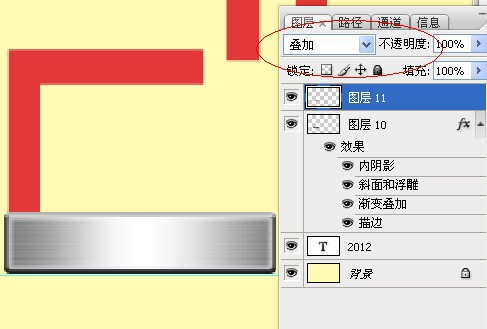
10、合并两个图层,(注意:可以复制一个备份,因为螺丝钉还用得到这个样式)。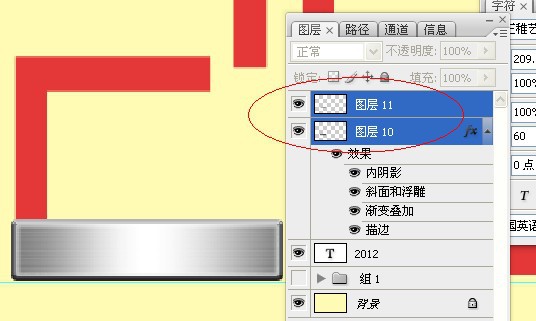
11、根据红色字体的蓝本,依次摆放好金属方框的位置:如下。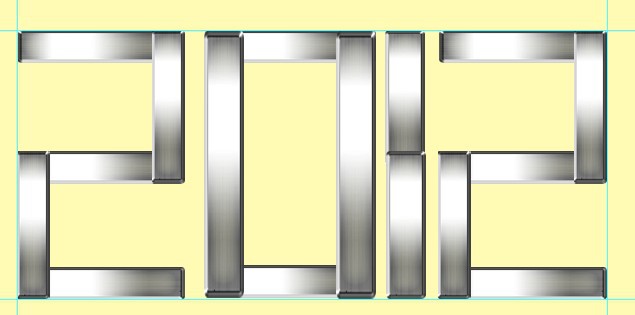
12、现在我们来画螺丝钉:画一个正圆。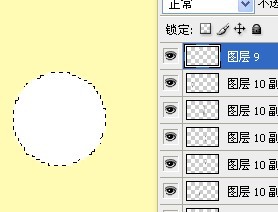
13、把刚才我们做金属的样式拷贝到圆形上,这就是我刚才叫你们备份的原因。这样就可以省事多了。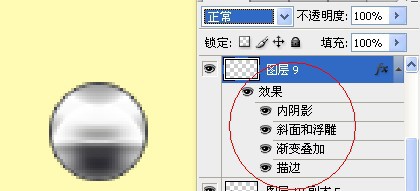
14、画一个十字形在螺丝钉内部。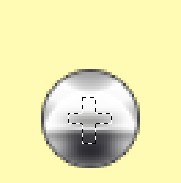
15、随便拉曲一个渐变,自己看着合适就行。
16、合并螺丝钉组件(十字形和圆形,对这个圆形进行浮雕设置)。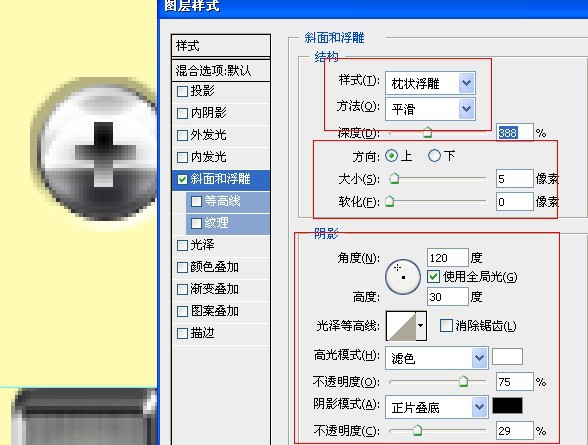
17、把螺丝钉全部放在金属方框的交叉处,完成效果如下。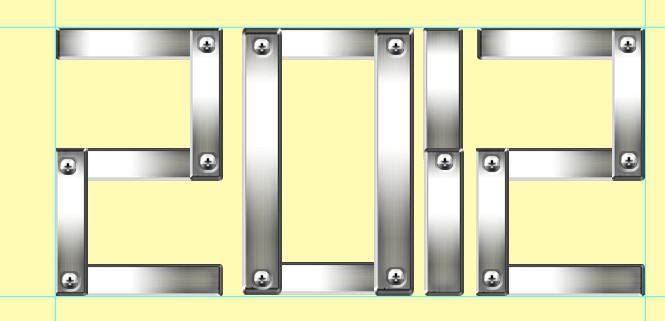
18、为了使整个字体不要那么死板,我稍微的调整了金属方框的位置。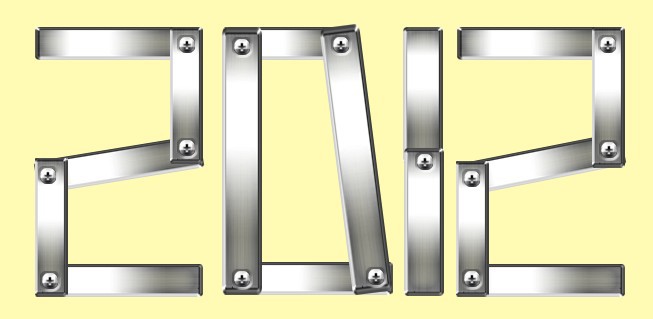
19、找到一个电焊火花的素材(其实要不要火花无所谓,看你的创意了)。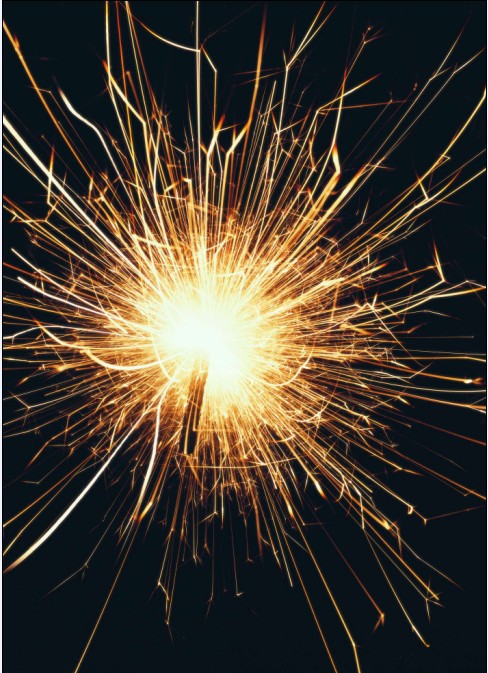
20、放在字体合适的位置。
21、在背景后面添加一个光束素材,素材网上很多了,我就不发上来了。
22、用比黑色浅一些的深灰色制作一个反光底,加上字体的倒影。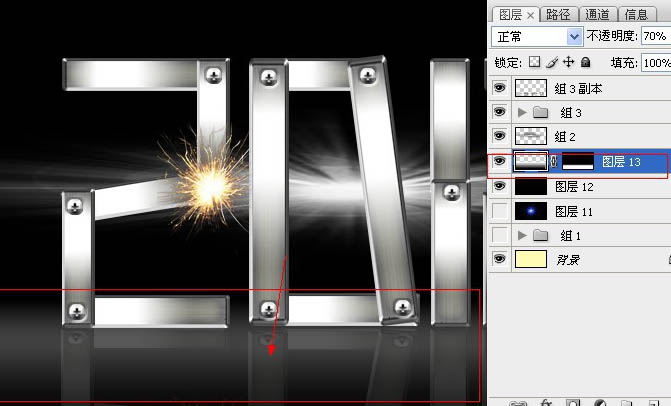
最终效果:
(本文来源于图老师网站,更多请访问http://m.tulaoshi.com/psxg/)