有了下面这个Photoshop快速调出照片的灰度回忆色教程,不懂Photoshop快速调出照片的灰度回忆色的也能装懂了,赶紧get起来装逼一下吧!
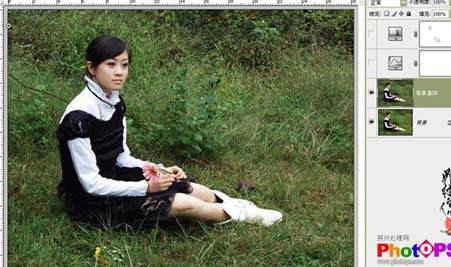
原图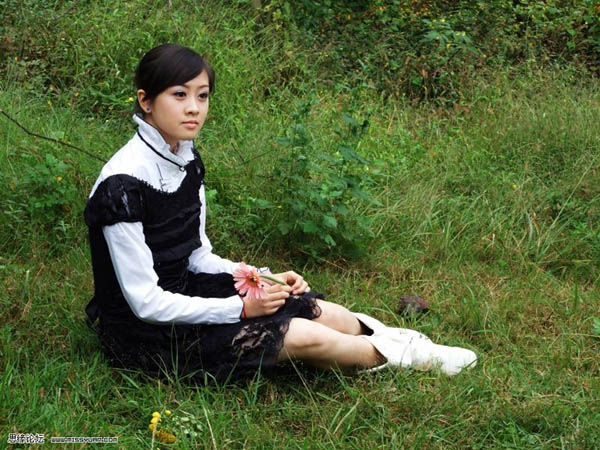
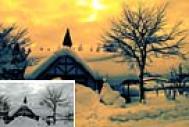
(本文来源于图老师网站,更多请访问https://m.tulaoshi.com/psxpcl/)最终效果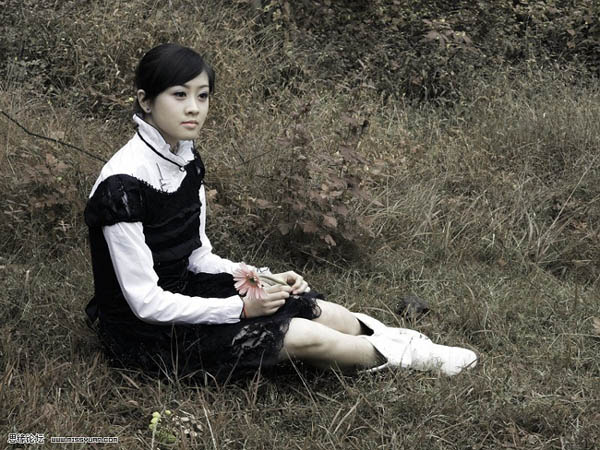
(本文来源于图老师网站,更多请访问https://m.tulaoshi.com/psxpcl/)1、打开素材图片,选择菜单:图像 模式 Lab颜色,把背景图层复制一层,适当的给图片降噪及锐化处理。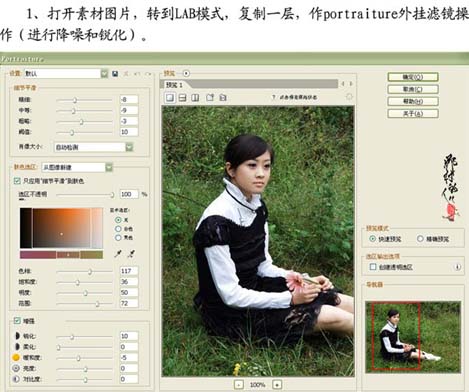
2、创建曲线调整图层,对a通道适当调整。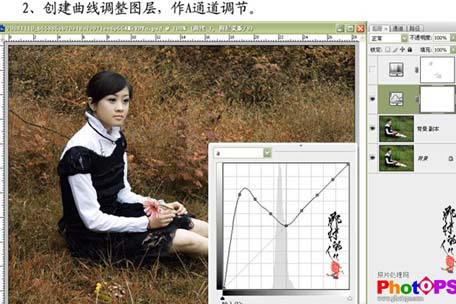
3、创建色相/饱和度调整图层,参数设置如下图。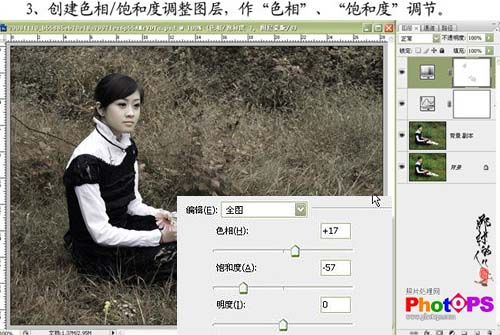
4、选择菜单:图像 模式 RGB颜色,选择合拼,把背景图层复制一层,选择菜单:图像 调整 自动颜色,然后按Ctrl + Shift + F渐隐自动颜色,再减低图层的不透明度。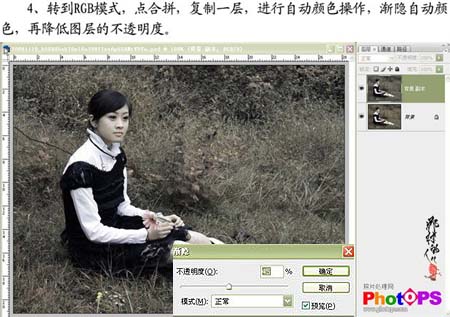
5、创建曲线调整图层,作RGB曲线调整,参数设置如下图,确定后完成最终效果。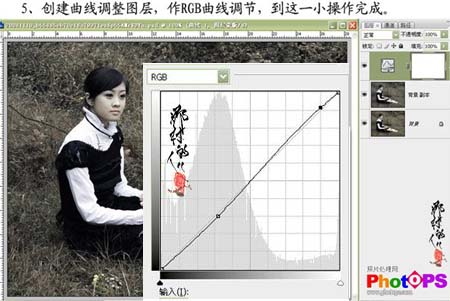
(本文来源于图老师网站,更多请访问https://m.tulaoshi.com/psxpcl/)