get新技能是需要付出行动的,即使看得再多也还是要动手试一试。今天图老师小编跟大家分享的是Photoshop调出室外人像柔美暖色调,一起来学习了解下吧!
本教程介绍室外人像简单调色方法。作者先用通道简单调色后,再根据实际需要调出自己喜欢的色彩。如果有必要人物部分也要适当的美化一下。
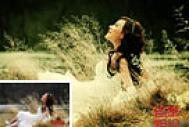
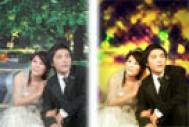
原图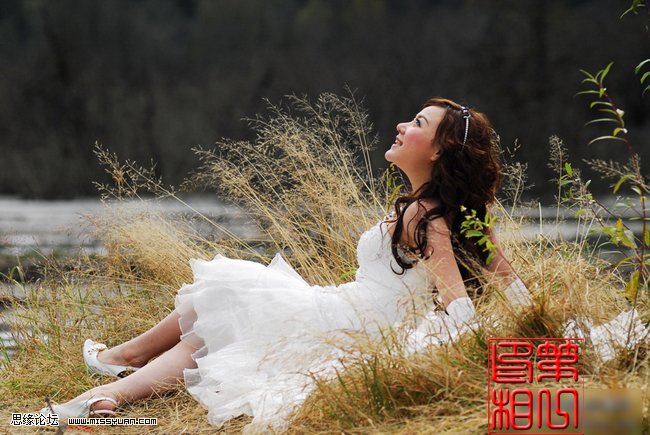
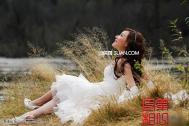
最终效果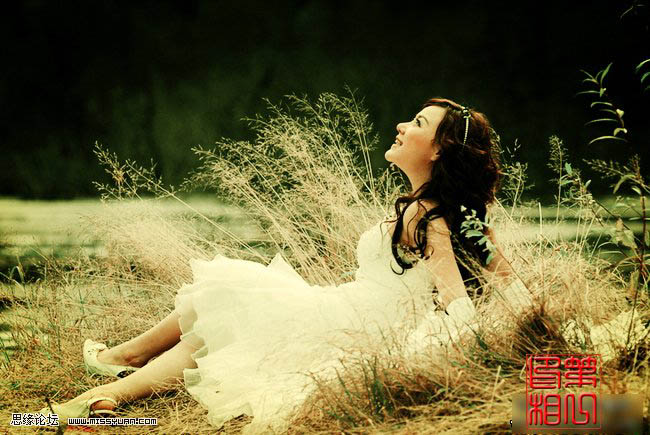
(本文来源于图老师网站,更多请访问https://m.tulaoshi.com/psxpcl/)1、打开原图素材,按Ctrl + J把背景图层复制一层。
2、点通道面版,选择绿色通道,按Ctrl + A全选,按Ctrl + C复制。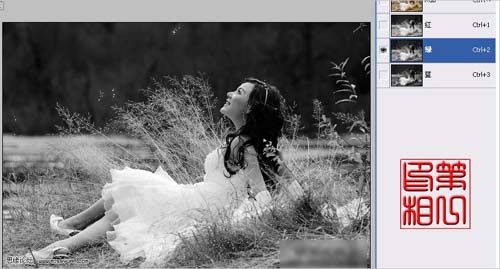
3、选择蓝色通道,按Ctrl + V粘贴。
4、回到图层面版,创建色彩平衡调整图层如图4。
(本文来源于图老师网站,更多请访问https://m.tulaoshi.com/psxpcl/)5、创建照片滤镜调整图层,参数设置如下图。
6、创建通道混合器调整图层,参数设置如下图。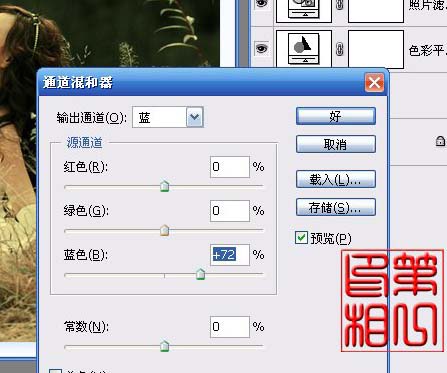
7、新建一个图层,按Ctrl + Alt + Shift + E盖印图层。
8、用圆形选区工具画选区。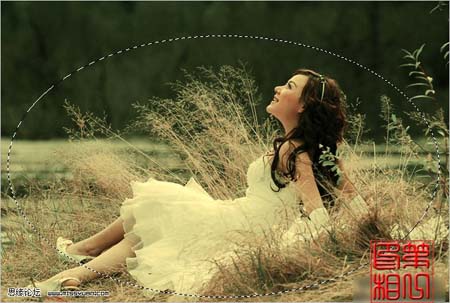
9、按Ctrl + Shift + I反选,按Ctrl + Alt + D羽化,数值为50。
10、创建色阶调整图层,适当压暗一点,参数设置如下图。
11、新建一个图层,盖印图层。
12、把盖印后的图层复制一层,图层混合模式改为“柔光”。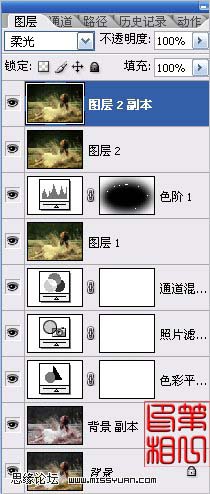
13、创建曲线调整图层,稍微调亮一点,确定后完成最终效果。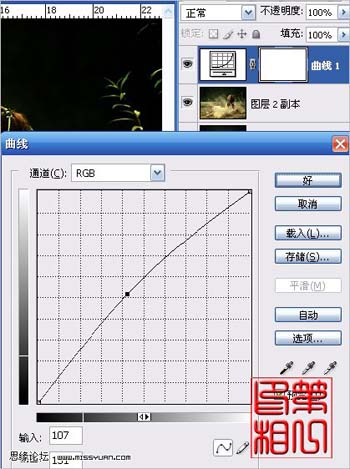
(本文来源于图老师网站,更多请访问https://m.tulaoshi.com/psxpcl/)