本教程的色调有点独特,纯美的单色略带有有点灰色。看上去非常柔美。作者调色也非常讲究,在画面上加上了淡淡的辅助色,画面看上去更美。
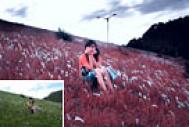
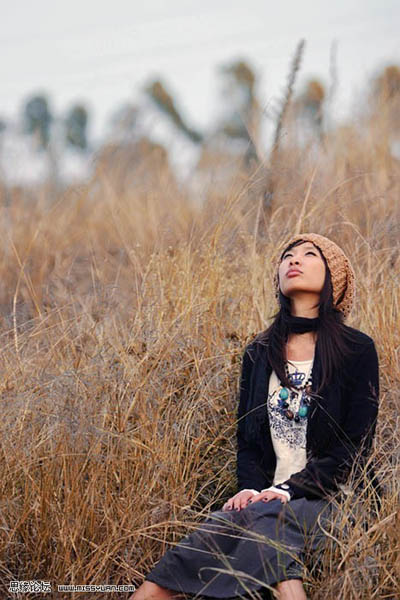
原图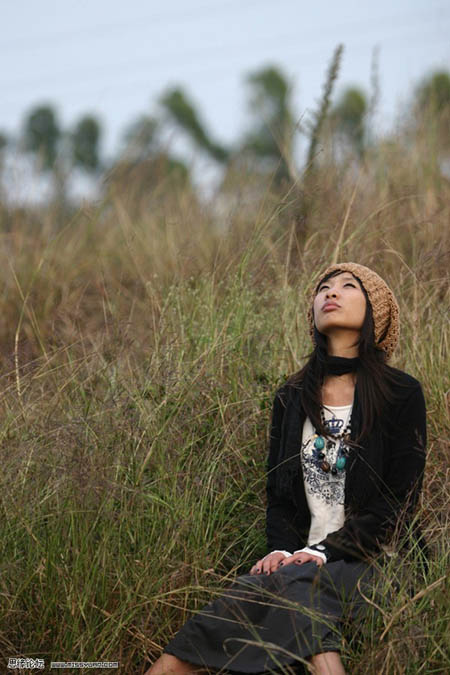
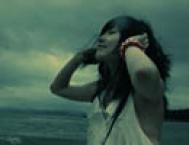
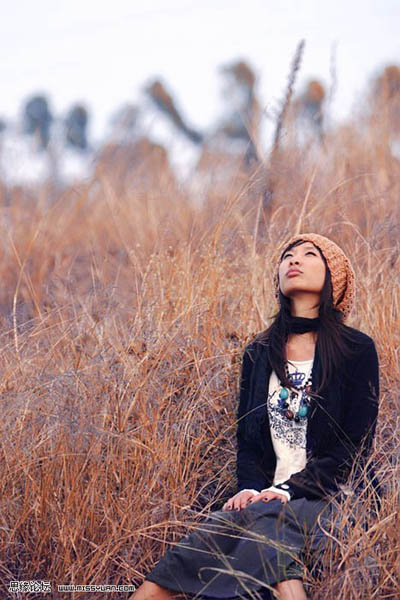
(本文来源于图老师网站,更多请访问https://m.tulaoshi.com/psxpcl/) 最终效果
1、用Photoshop打开原图,复制一层为图层1,为了增加图片的敏感度对比,执行图形-调整-色阶,然后稍微把输出色阶调小一些即可,效果如图: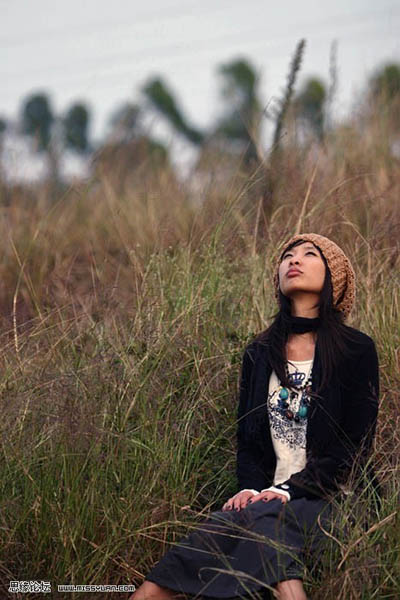
2、建立曲线调整层,来给人物整体调亮,参数如图: PS:这步需要用不透明度为70%-80%的黑色笔刷在图层蒙版上擦拭上面的天空部分,在降低大约在20%不透明度的画笔来擦拭其他背景部分(大家可以看最后的图层截图):

3、新建一个图层,按Ctrl + Alt + Shift + E 盖印图层得到图层2,建立可选颜色调整层,参数如图。PS:使用黑色笔刷把在图层蒙版上面把人物主体擦拭出来。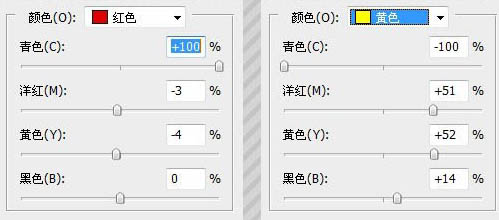

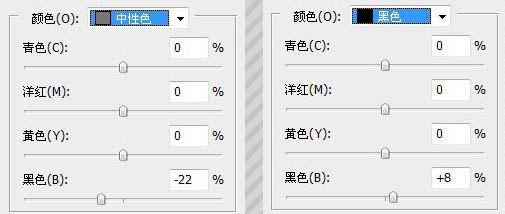
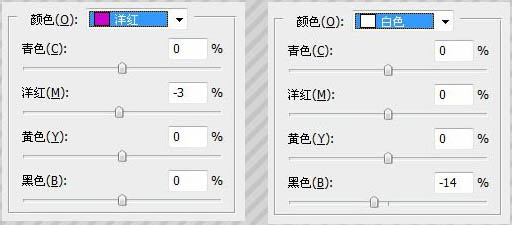
4、再次建立可选颜色调整层,参数如图。和上面一样记得把人物擦拭出来这次不透明度放低一些,参照最好的图层截图。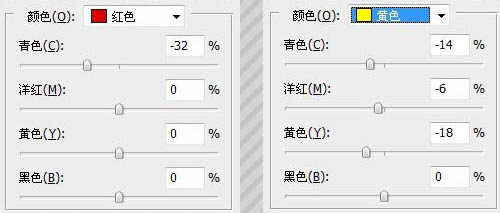
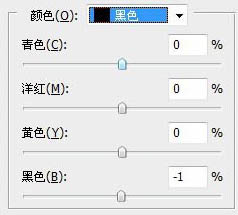
(本文来源于图老师网站,更多请访问https://m.tulaoshi.com/psxpcl/)
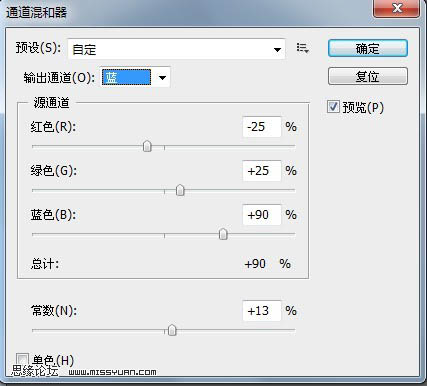
5、建立通道混合器调整层,分别对三个通道进行调整,,参数如下。记得在图层面板上把人物擦拭出来,不透明度在50-60左右。

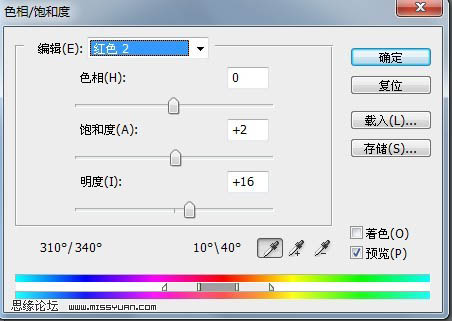
6、新建一个图层盖印图层得到图层3,建立色相饱和度调整层,参数如图:


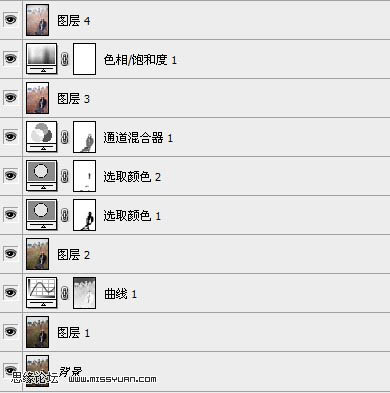
7、最后盖印图层得到图层4,得到最终效果图,如果喜欢暗角的在给照片加一个暗角就可以,这里我就不多说了。下图为图层参照和最终效果。