最终效果


图1
2、把前景颜色设置为白色,选择画笔工具,画笔大小设为10个像素,不透明度为:100%。
![]()
图2 3、选择钢笔工具在路径上面按鼠标右键,选择“描边路径”,如图3,在弹出的菜单选择画笔工具,如图4,然后确定,效果如图5。
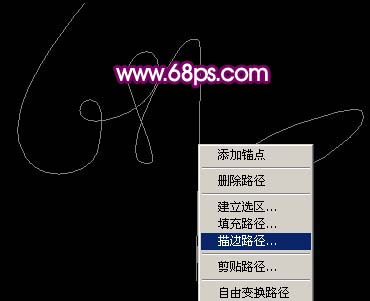
图3

图4

图5
4、锁定文字图层,如图6。
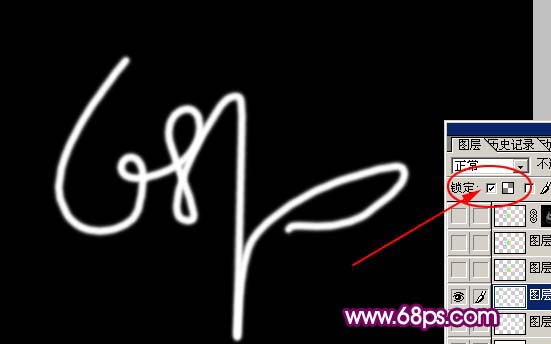
图6 5、选择渐变工具,颜色选择彩虹渐变色,拉出图7所示的线性渐变。
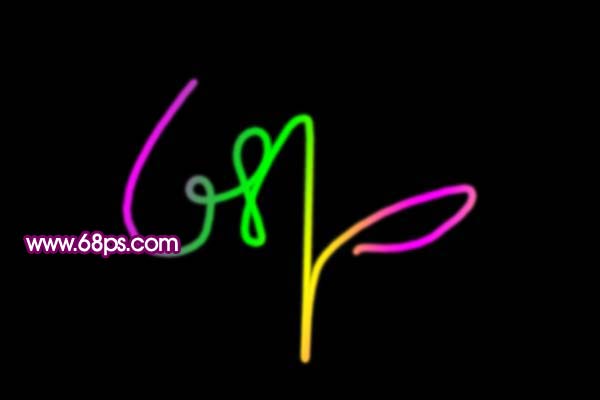
图7 6、把文字图层复制一层,把原文字图层隐藏,把文字副本图层解锁,执行:滤镜 模糊 高斯模糊,参数设置如图8,效果如图9。
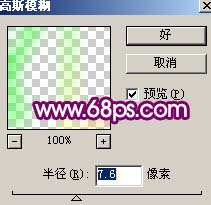
图8
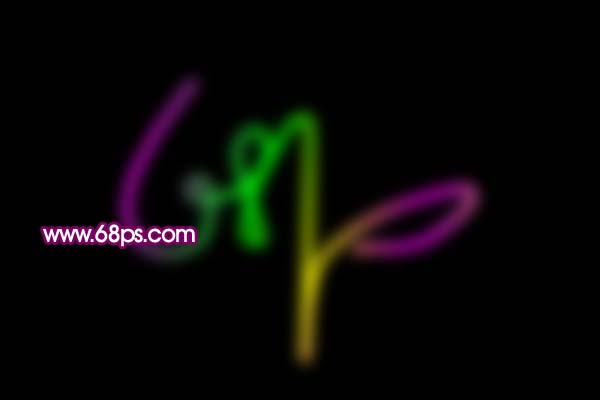
图9
7、把模糊后的文字图层复制一层,图层混合模式改为“颜色减淡”,加上图层蒙版,只保留部分需要增亮的部分,其它部分用黑色画笔擦掉。
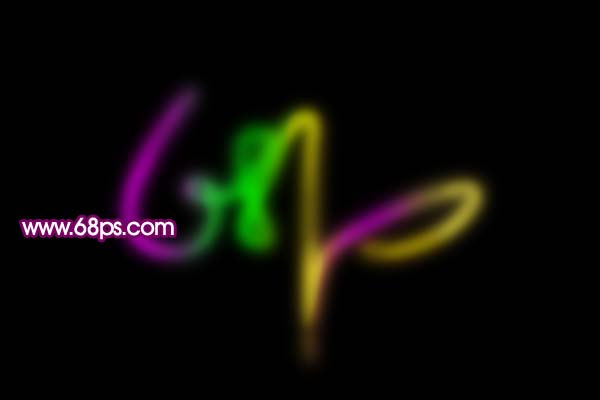
图10 8、新建一个图层,用白色画笔沿着文字路径点上一些连续的白点,也可以定义好画笔描边,效果如图11。

图11 9、新建一个图层,用白色画笔点一个较大的白点,如下图左上。

图12
10、新建一个图层,用椭圆选框工具拉一条较窄的椭圆选区如图13,填充白色,取消选区后如图14。

图13

图14 11、适当调整好位置和角度,再多复制几条,如图15,16。

图15

图16
12、把刚才制作的星光效果的几个图层合并,然后多复制一些放到文字不同位置如图17,18。

图17

图18 13、回到背景图层,适当的用画笔点一些不同颜色的点光,如图19。

图19
14、在图层的最上面创建亮度/对比度调整图层,参数设置如图20,效果如图21。
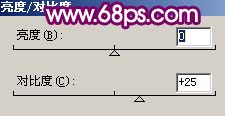
图20

图21 15、最后整体调整下颜色和细节,完成最终效果。
图22