下面,图老师小编带您去了解一下Photoshop调出外景美女图片漂亮的暖褐色,生活就是不断的发现新事物,get新技能~
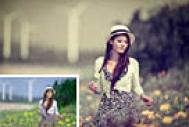
褐色是种非常流行的颜色,调色方法也非常简单。先把图片的大致颜色分出来,用可选颜色等调色工具精确调色,都转为暗红或褐色。后期再加上暗角等即可。 原图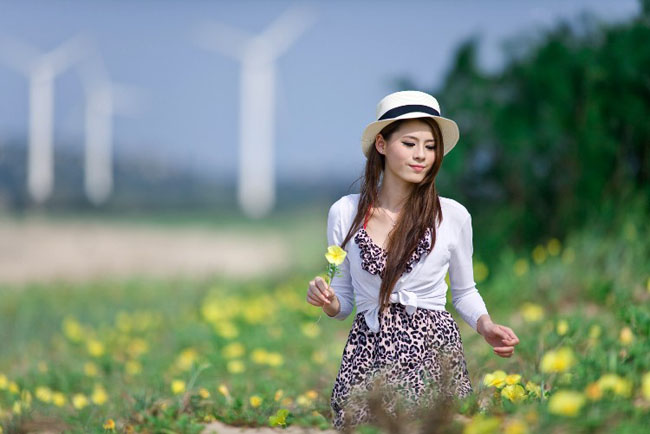
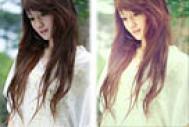
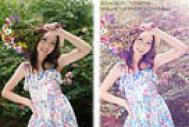
最终效果
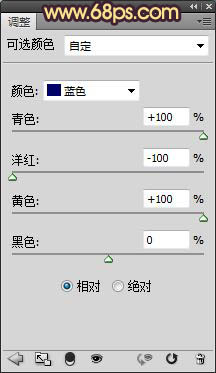
1、创建可选颜色调整图层,这一步使照片中的天空色调及植物绿色变为统一的青色调,参数如图,效果如图。


2、创建色相/饱合度调整图层,选择青色,用吸管工具吸取天空上的青色部分,通过降低饱合度,使其颜色接近下方的色调,参数如图,效果如图。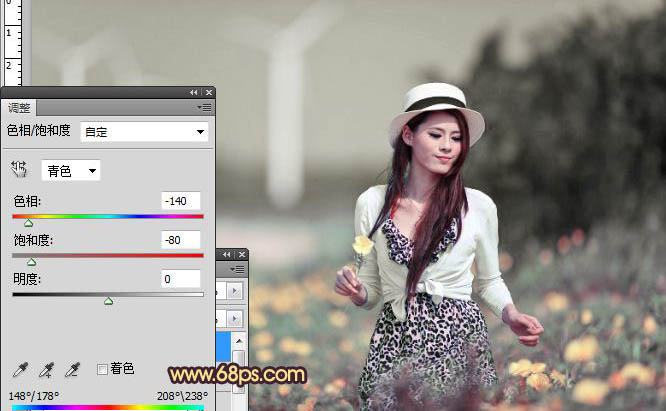
(本文来源于图老师网站,更多请访问https://m.tulaoshi.com/psxpcl/)3、创建照片滤镜,使其颜色更加统一,效果如图。
4、创建曲线调整图层,调整红色及蓝色通道,参数如图,效果如图。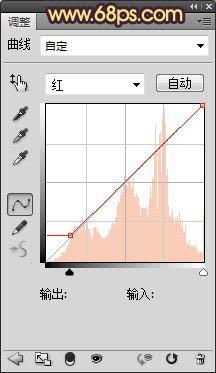

(本文来源于图老师网站,更多请访问https://m.tulaoshi.com/psxpcl/)5、按CTRL+J复制一层曲线调整图层,设置图层的混合模式为正片叠底,图层的不透明度为25%,使用黑白渐变在图层蒙板上擦出人物部分,效果如图。
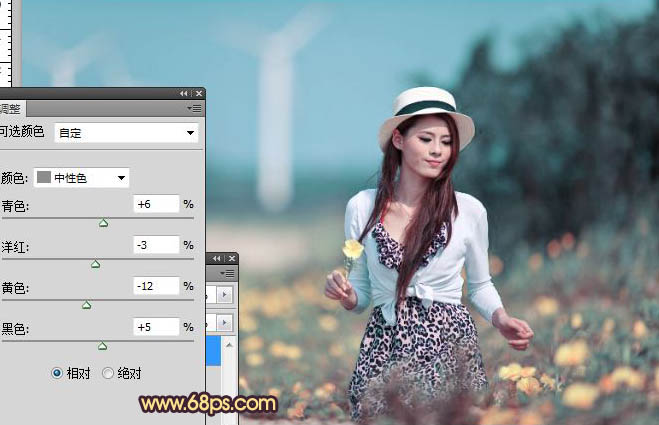
6、创建色彩平衡调整图层,参数如图,效果如图。

7、新建空白图层并填充黑色,为照片添加暗角,效果如图。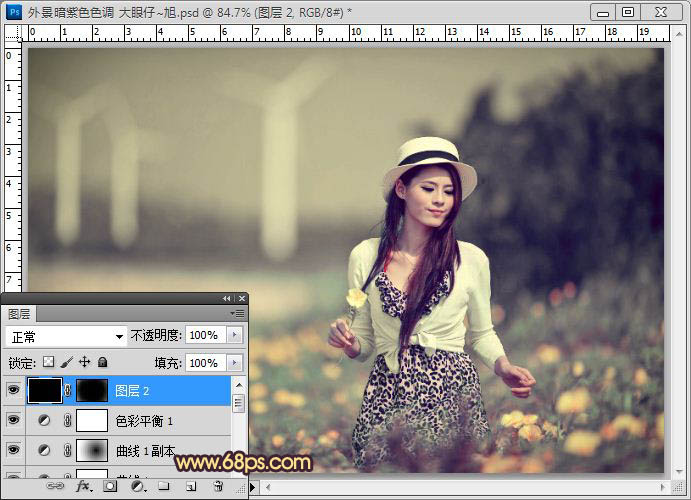
8、新建空白图层,按CTRL+SHIFT+ALT+E盖印空白图层,使用矩形选框工具,绘制椭圆,并羽化30像素,创建曲线调整,提高其亮度,效果如图。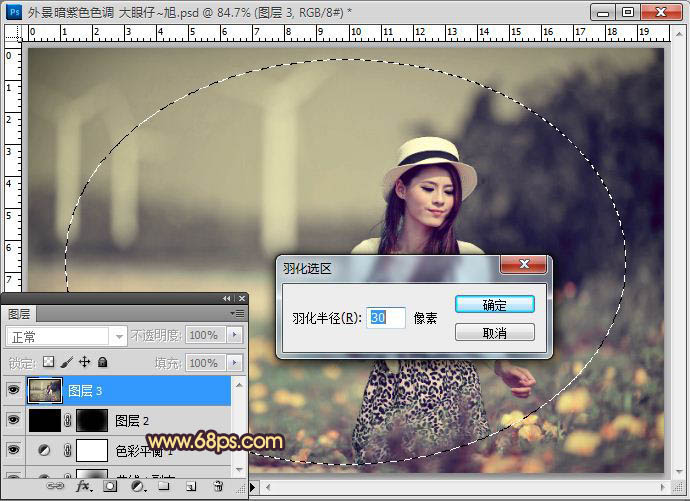

9、再为其创建色阶调整图层,对其进行细节处理完成最终效果。
最终效果: