关注图老师电脑网络栏目可以让大家能更好的了解电脑,知道有关于电脑的更多有趣教程,今天给大家分享Photoshop制作创意的折叠透视字教程,希望对大家能有一点小小的帮助。
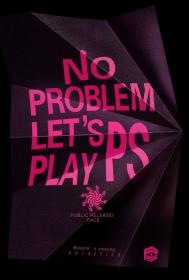
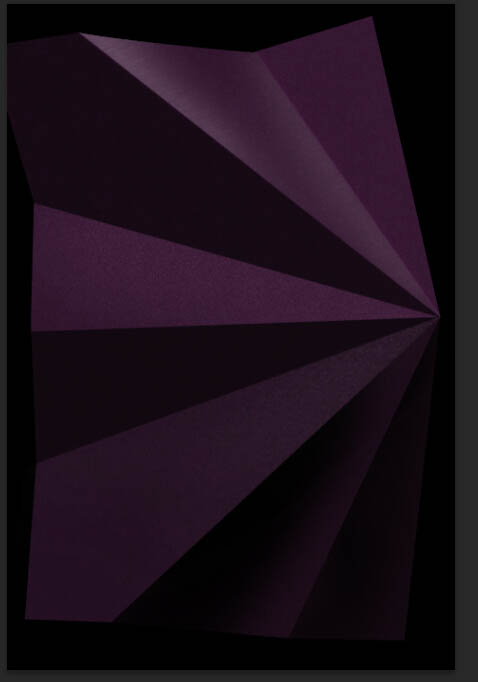
效果图由两个部分构成:折叠背景和折叠文字。折叠背景有点类似折叠的纸张,先勾出整体形状,然后一节一节加上不同颜色做出折叠效果;
文字部分制作相对要繁琐一点,先把文字转为形状,然后简单的变形得到初步透视效果,再把形状转为路径,按住折叠面对文字局部进行路径变换,同时给不同折叠面的文字加上不同的颜色做出透视效果。
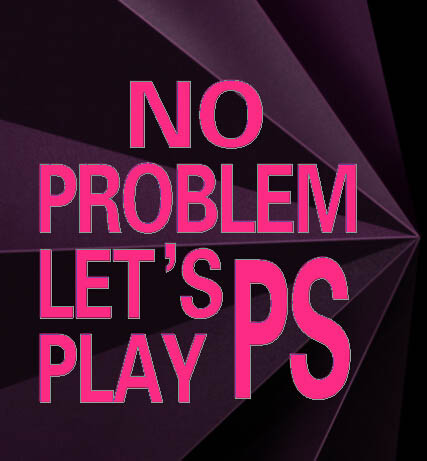
最终效果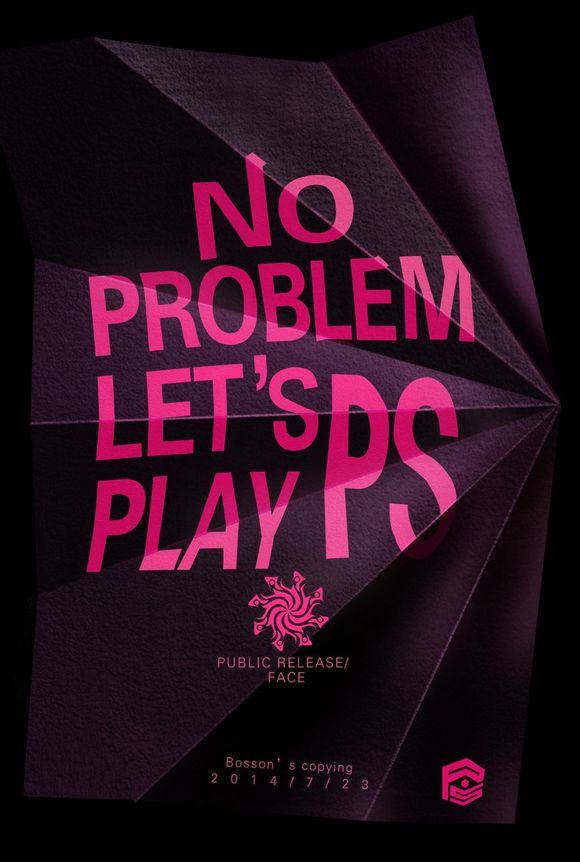
(本文来源于图老师网站,更多请访问https://m.tulaoshi.com/psxg/)
1、用钢笔勾出这张褶皱的纸的外轮廓。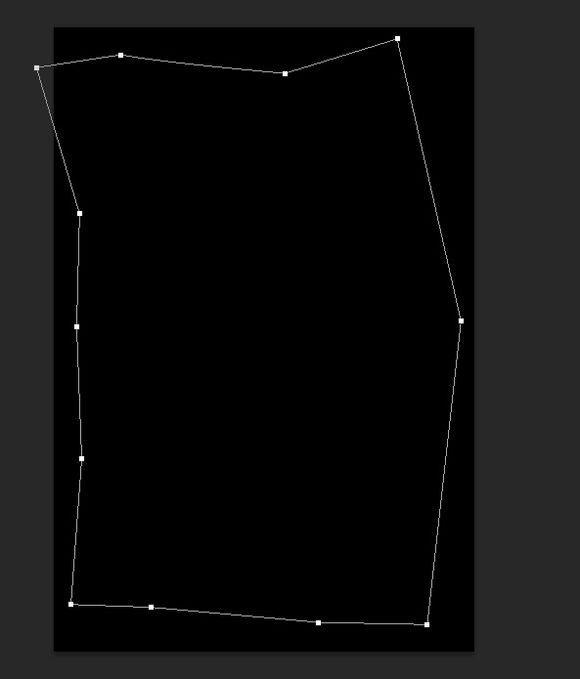
2、吸取一个深紫色,作为基色。
3、然后,我们来用“套索”工具,集合,“曲线”调色命令。来做褶皱。(这里就是一个非常实用的组合技了,教程结束的时候,我还会告诉大家这个东西能做什么)。
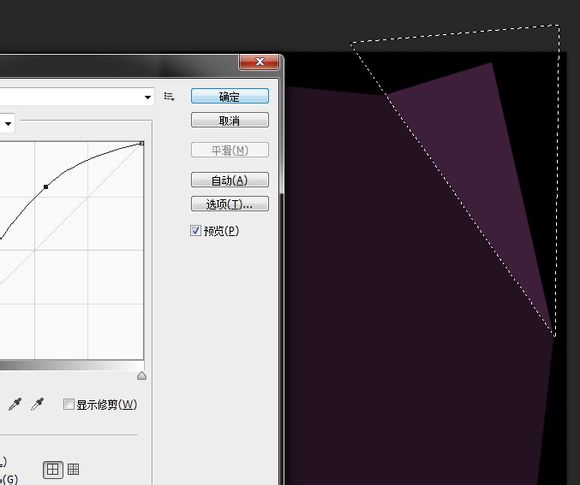


4、一个基本的褶皱就完成了。
对比图:
5、接下来就是来添加基本的光影气氛:
也就是那些白色的类似高光的东西。这里也要用套索来控制选区,然后用柔焦笔刷刷就可以了。模式为滤色。
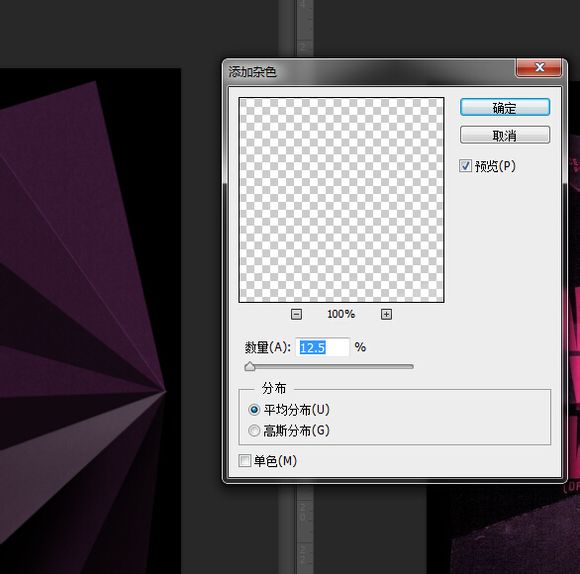
(本文来源于图老师网站,更多请访问https://m.tulaoshi.com/psxg/)6、然后把它保存为智能对象,对其添加杂色。
7、然后在智能对向下的蒙板上来擦拭的柔和一些。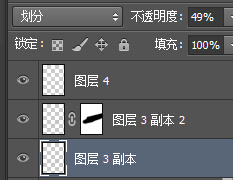
8、然后就是添加这些折痕的地方,添加条形高光。这里直接用钢笔,然后描边就行了。白色即可。
9、调整透明度,用橡皮擦来修整一下。
10、然后就是来创建海报的主体。文字部分。这里为了能够让他们有可调性,能够做出在褶皱处的感觉。我们学习一个技巧——创建组合文字路径。
步骤如下:
先输入文字,不用一次性一个文字层输完。可以看自己排版要求,建立多个文字层的。
11、这里是我的文本。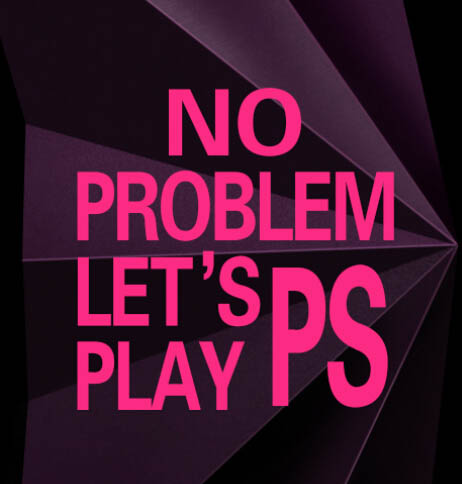
12、然后,选择所有的文字层。
13、点击菜单栏上的”文字“-”转化为形状“,就可以把所有的文字都转化形状了。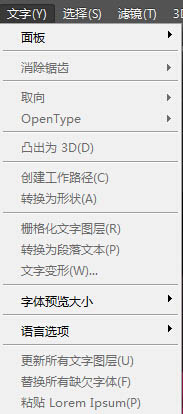
14、如图所示。都成为了形状。这里,重点来了。我们接着选择这些形状层。”ctrl+E“(盖印的快捷键)就可以把这些形状盖印成一个形状了。没错,形状层是可以盖印的哦。
15、复合形状层。
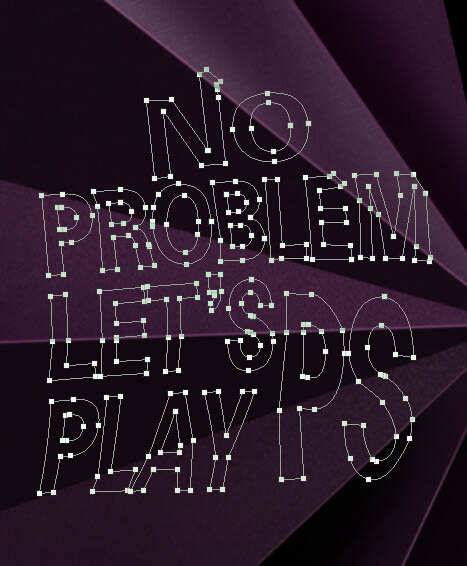
16、然后,矢量工具用起来。我们可以把填充改为空,好得到一个文字路径线。

17、路径线框。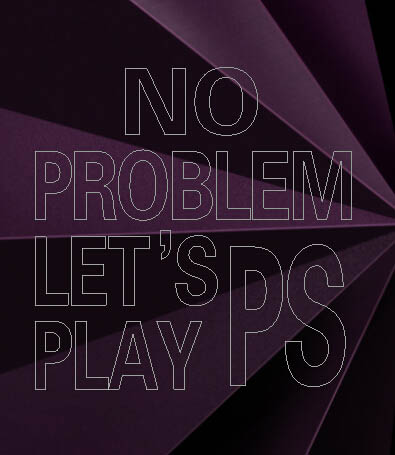
18、ctrl+T,选择变形,做一下基本的变形。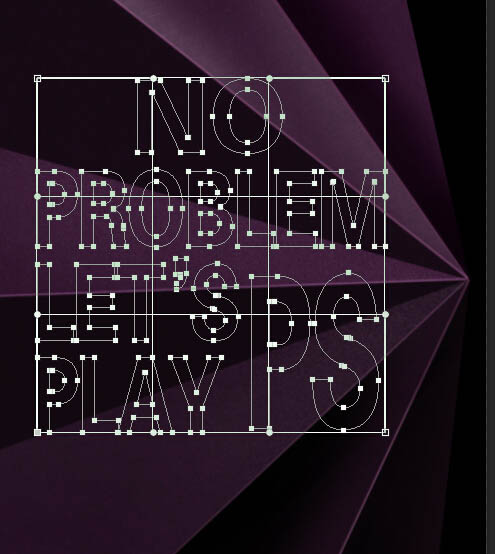

19、过程中可以填充回红色看效果。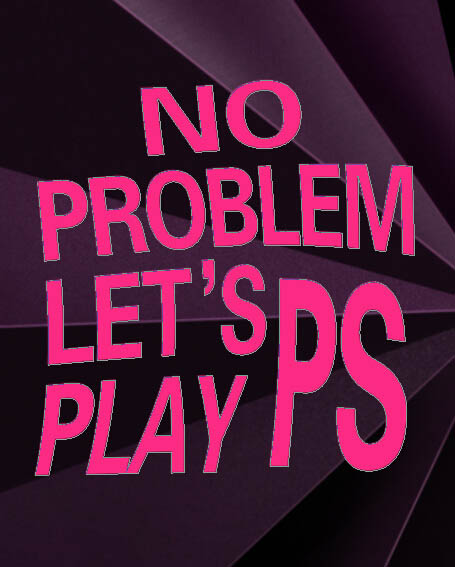
20、然后就是改路径了。使得文字和纸能产生贴合。这里有个小技巧。就是在文字与边缘线的地方,添加锚点,然后变成直角锚点,来进行拖动。主要锚点可以这样处理,其他的锚点,添加根据文字实际情况来。(这里楼主做的不够细致,没有严格按着透视来)。
21、弄完之后的,路径线。
22、然后就是给文字调色了。这里我们要处理的,就死高光的部分,不同的褶皱出的亮暗程度不一样。我要来做亮的部分。这里我们又有一个技巧。我们用剪切蒙板下的渐变映射,可是这里的渐变比较特殊,我们拖一个两端颜色一样的渐变。这个粉色的渐变是比较亮的颜色。
23、然后用蒙板来控制。这里,我也用套索来得到选区。反正就是亮暗明显一些。
24、然后在文字上添加一层高光,方式如上一样。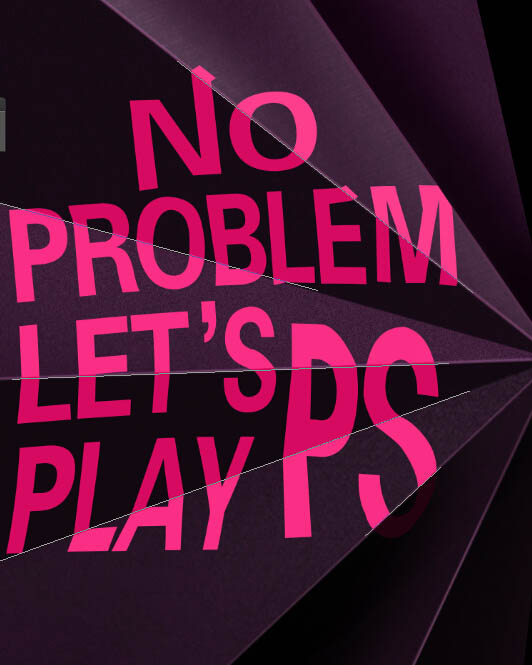

25、这里我觉得没有纹理的纸有些空洞,这里就给纸的那一层,添了一个纹理,用剪切蒙板。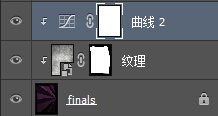
26、进行最后的装饰和调整。用笔刷,来用些高光,和暗部。记得用套索工具来辅助建立选区,让控制精确。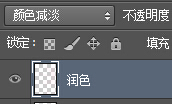

27、最后,添加文本和logo。然后加上“p大点S”的logo放在右下角,稍微做下变形,添上作者和时间。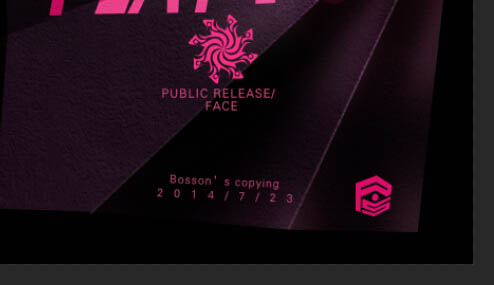
最终效果:
(本文来源于图老师网站,更多请访问https://m.tulaoshi.com/psxg/)