FENGDOU1969
2016-01-31 12:09
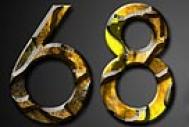
今天图老师小编给大家介绍下Photoshop制作散发蓝色颗粒的的岩石字,平时喜欢Photoshop制作散发蓝色颗粒的的岩石字的朋友赶紧收藏起来吧!记得点赞哦~
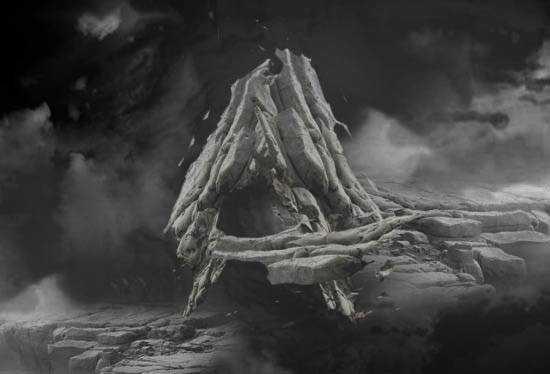
作者制作岩石字的方法非常不错。过程:直接使用山岩素材,截取局部按文字轮廓摆放,边缘部分用橡皮或蒙版处理自然,然后调色并增加一些装饰即可。 最终效果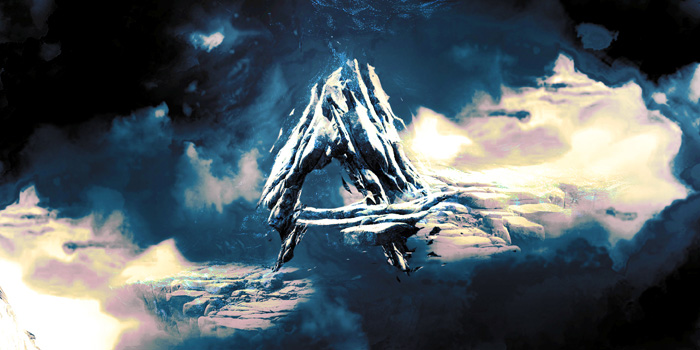
1、创建一个新的文档大小的1440 px * 720 px和黑色背景。使用云笔刷,在画布涂抹。您可以选择您喜欢的任何云笔刷,效果如下。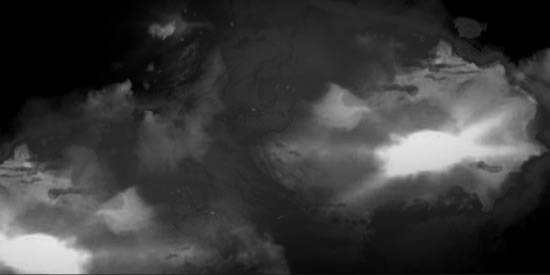
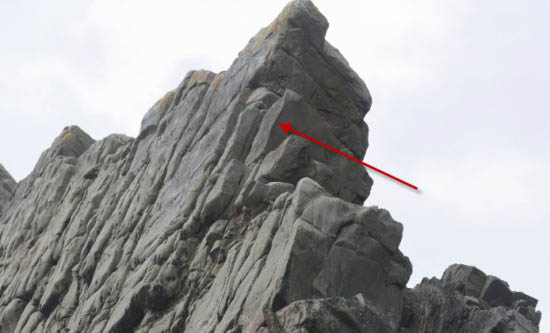
2、岩石结构加载到Photoshop并选择岩石的顶端,如下所示。
(本文来源于图老师网站,更多请访问https://m.tulaoshi.com/psxg/)
3、选择复制并粘贴到我们的文档,调整大小和方向。
4、用软橡皮擦除边缘的岩石,因此混合到云背景。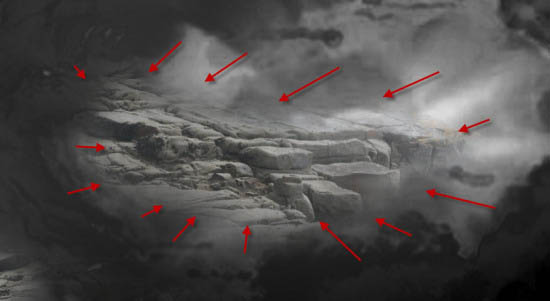
5、重复上面的过程并添加另一块岩石画布的左边。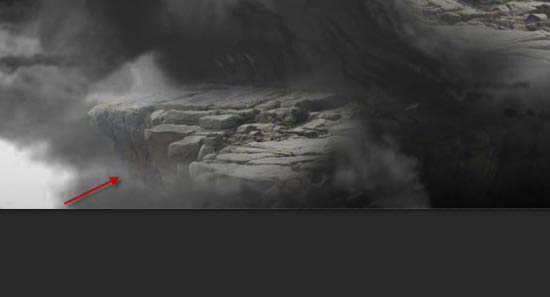
6、写上文本在这一步。使用您喜欢的任何字体,添加到我们的文档。
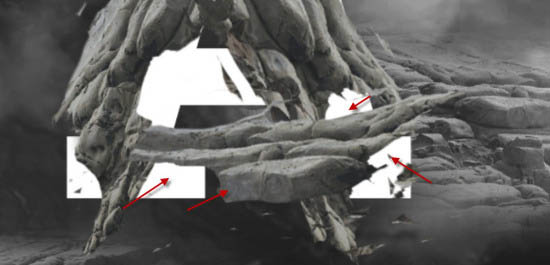
7、按照图上提示用快速选择工具选择一块岩石结构。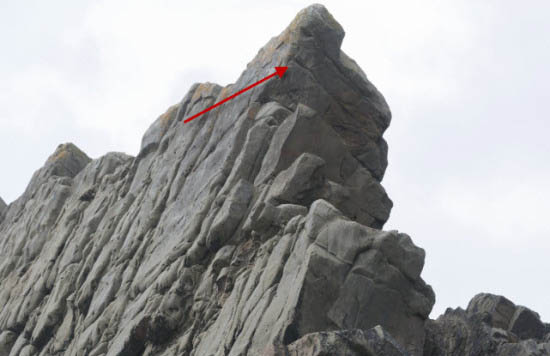
8、复制和粘贴选择,如下所示。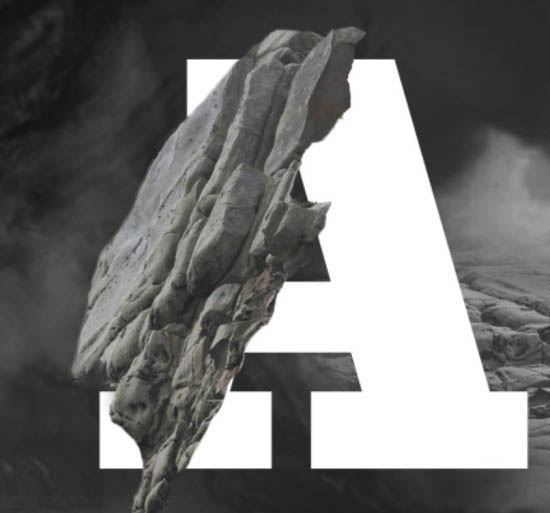
9、使用粉笔擦橡皮擦,去除部分岩石结构如下所示。

10、重复以上过程,添加另一个岩石,再一次我们使用粉笔刷去除部分的结构。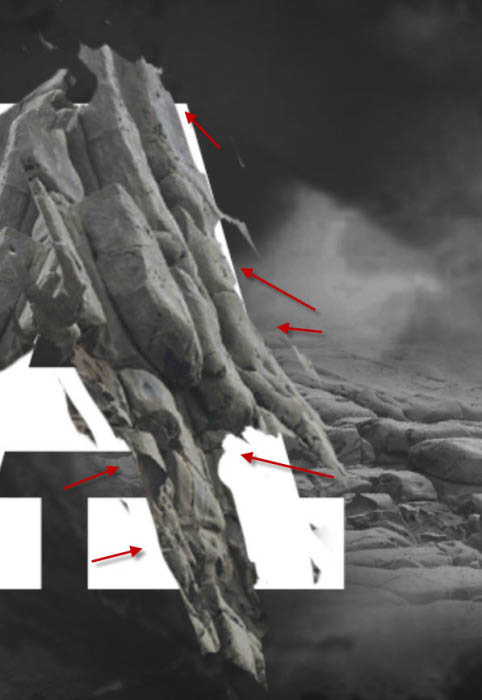
11、添加以下这组调整图层:
黑白: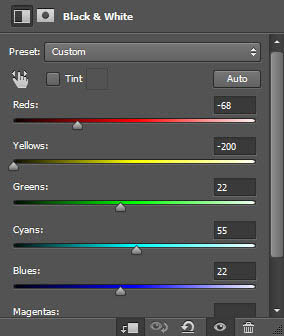
色阶: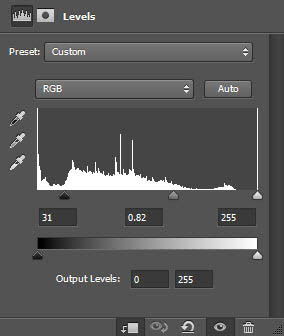
曲线: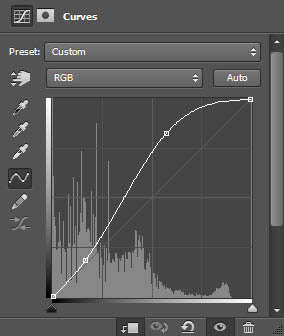
这是图层顺序: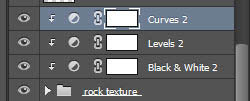
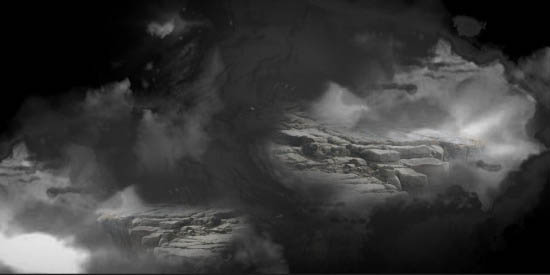
效果如下: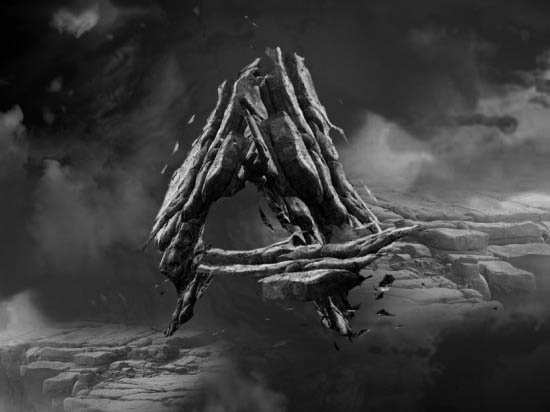
12、我们将创造神秘的能量流在这一步。河素材图像加载到Photoshop和选择选区内容。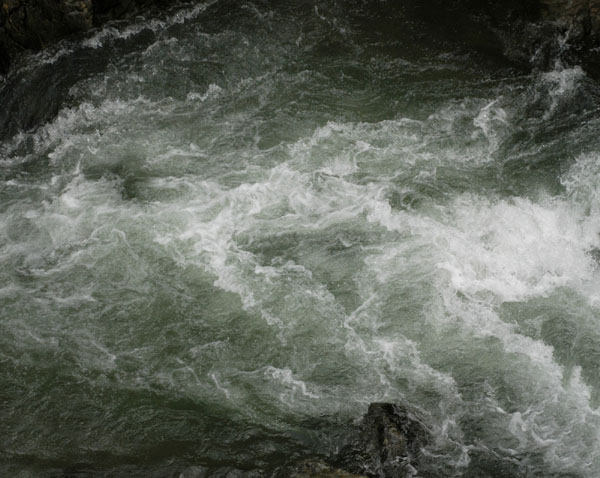
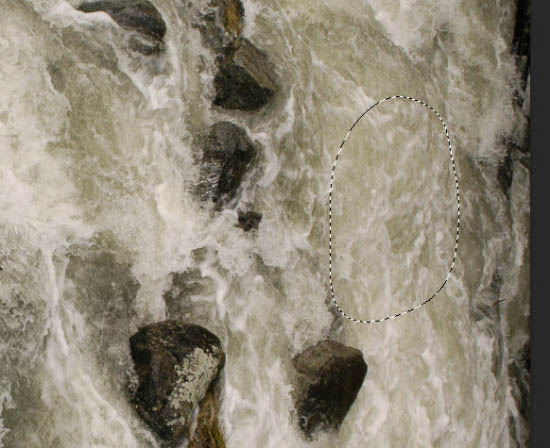
13、选择复制并粘贴到我们的文档。使用自由变换工具来扭曲它,如下所示。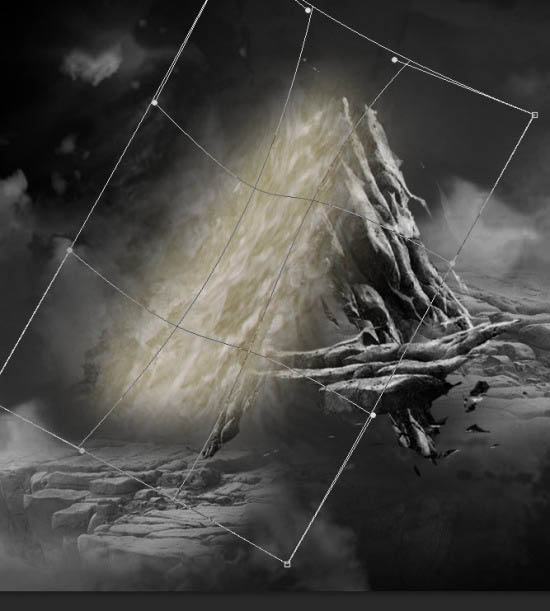
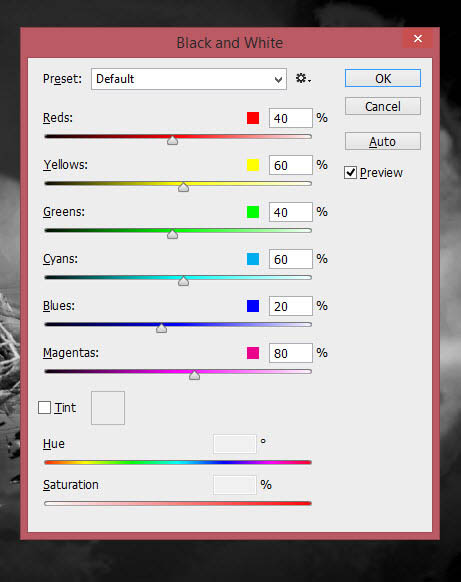
14、应用下图调整这一层: 黑白:
色阶: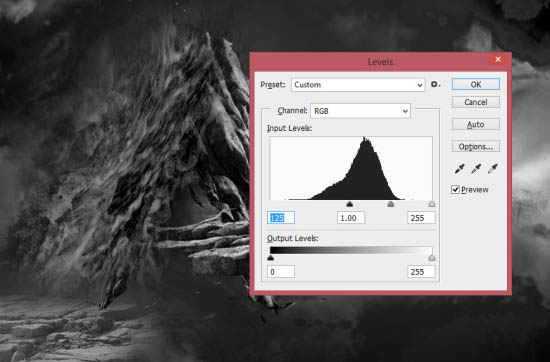
然后应用以下usm锐化3次: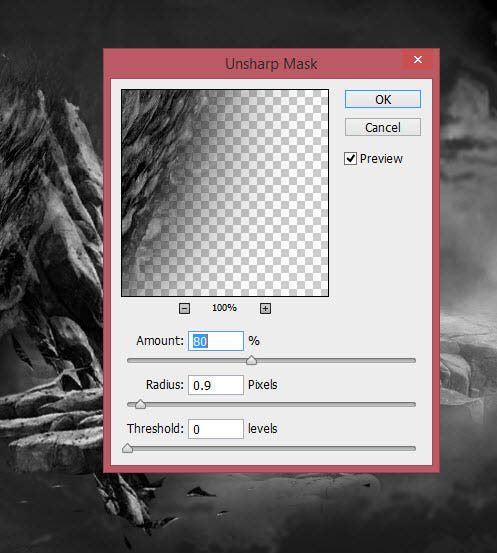
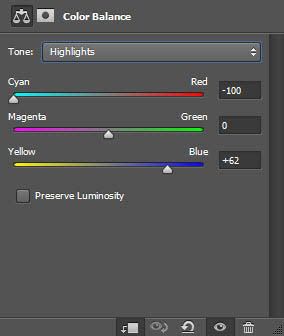
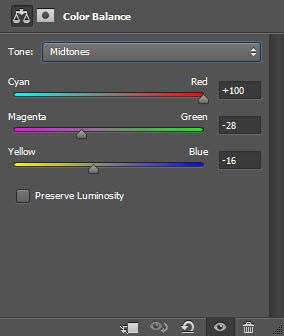
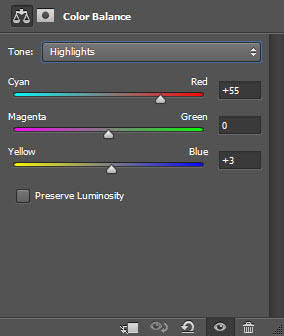
添加色彩平衡调整图层分别对阴影,高光,中间调做如下调整: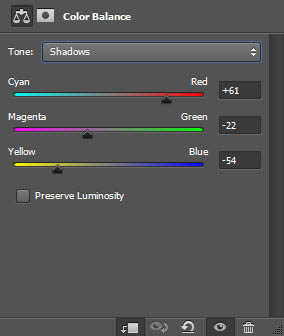
(本文来源于图老师网站,更多请访问https://m.tulaoshi.com/psxg/)
改变图层混合模式为“颜色减淡”: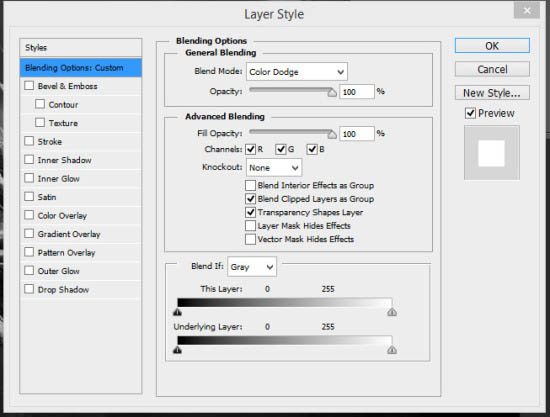
你将有以下效果——你可以使用自由变换工具调整其体形如你所见: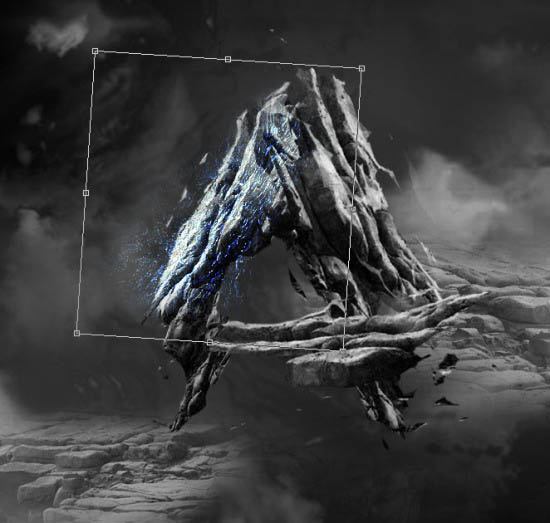
15、重复上述过程,并添加更多的能量效应在画布上。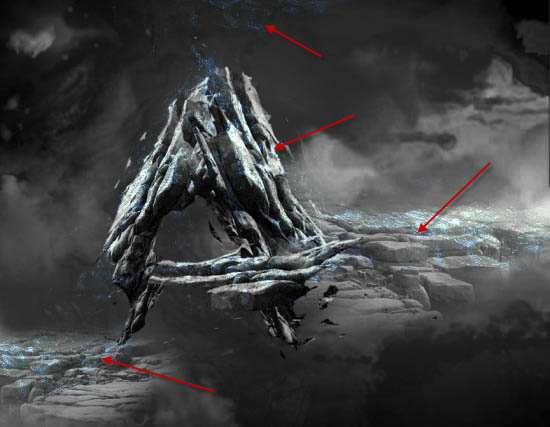
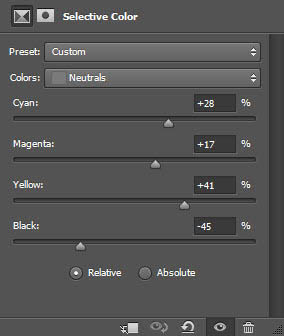
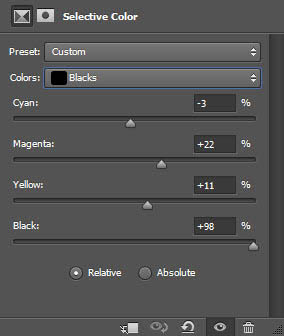
16、即将完成了,在这个步骤中通过添加颜色来影响我们的色调。我们可以这样做以下调整图层之上:
色彩平衡: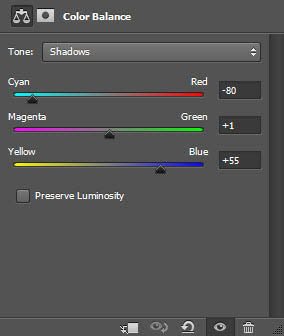
可选颜色: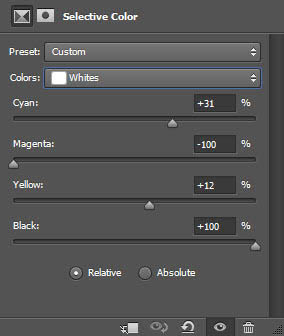
色阶: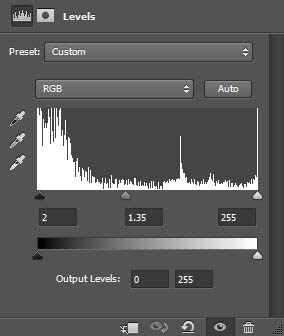
曲线: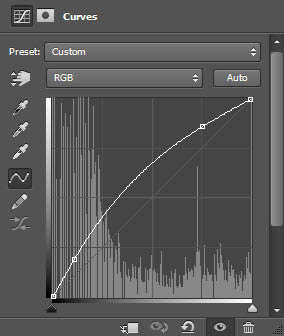
饱和度/自然饱和度: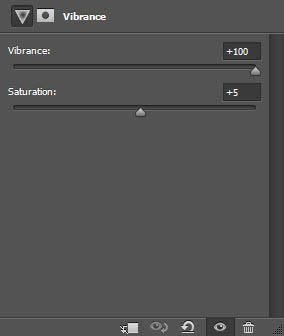
最终效果: