下面图老师小编要跟大家分享高清人像的美化及双曲线磨皮,简单的过程中其实暗藏玄机,还是要细心学习,喜欢还请记得收藏哦!
高清人物修图过程是非常繁琐的。不仅仅是磨皮及调色,还需要根据自己的美感不断调整人物脸型、身体轮廓、头发、服饰等,让人物看上去完美。
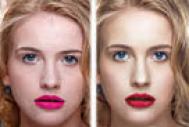
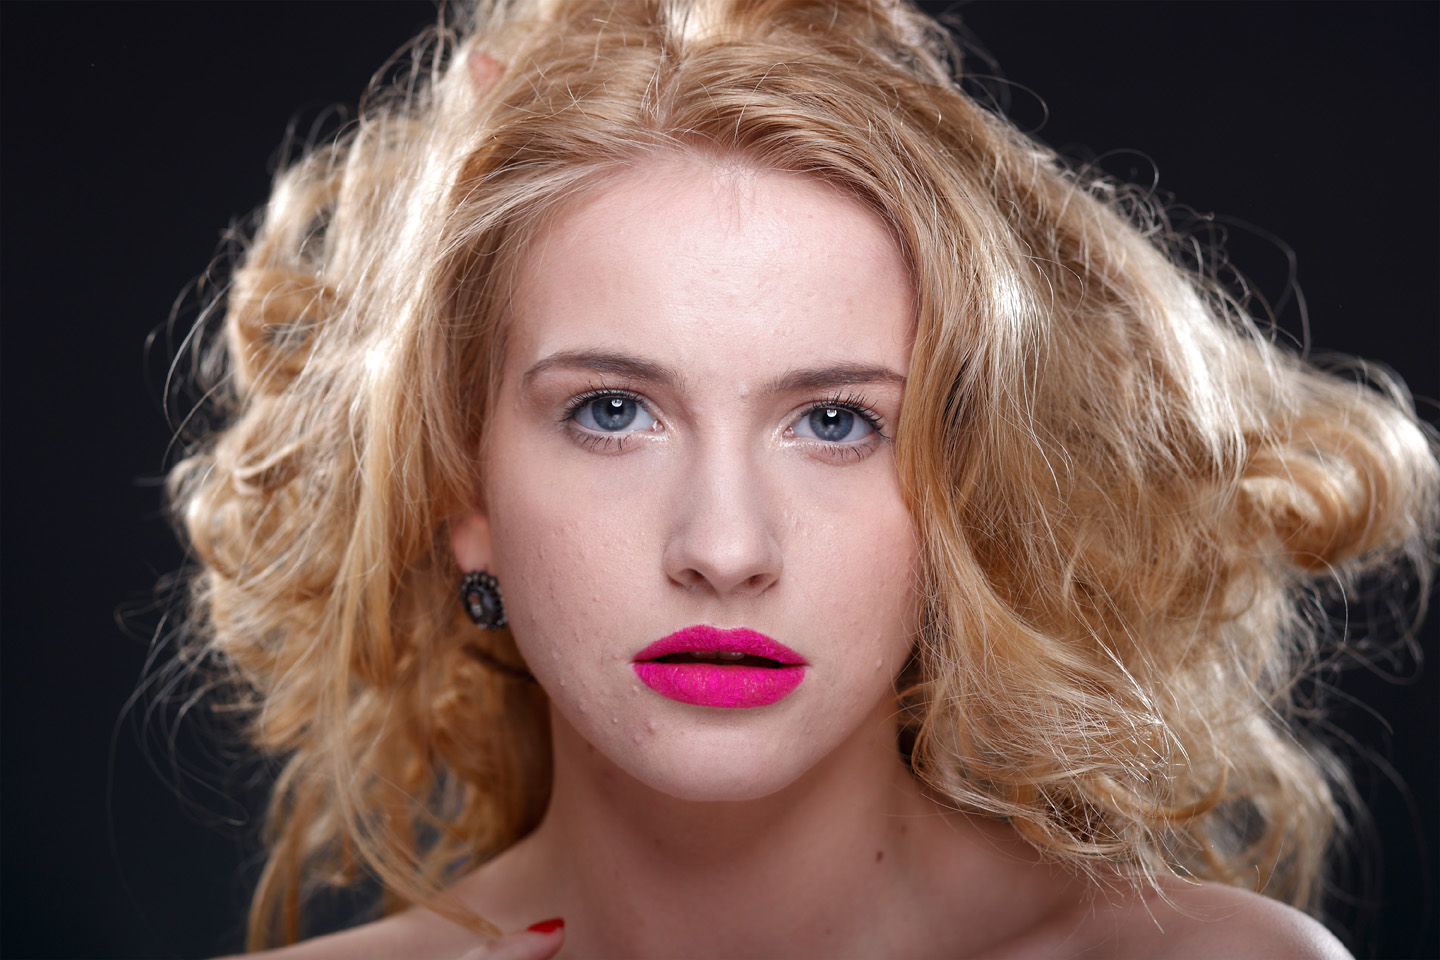
原图
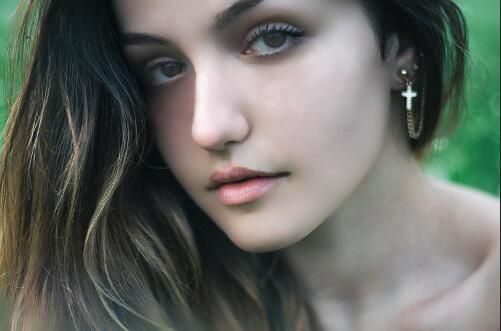
最终效果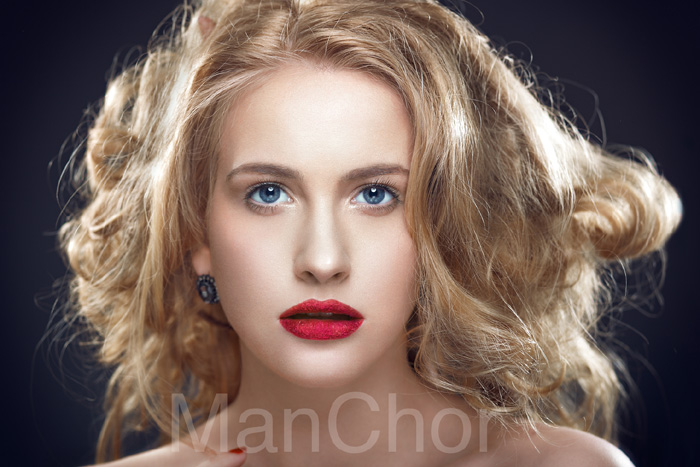
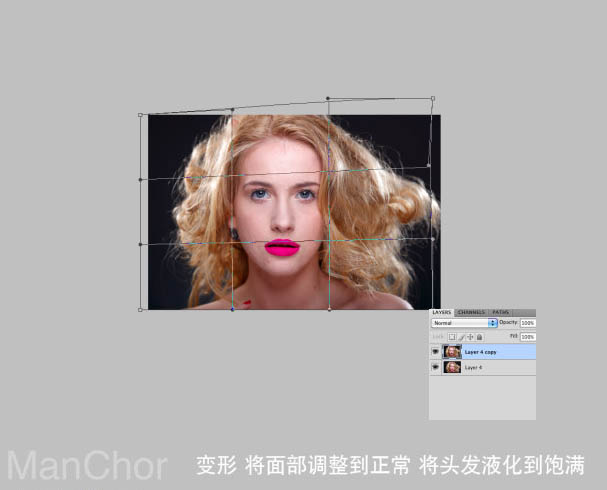
1、打开素材图片,把背景图层复制一层,先确定需要调整的部分,面部需要变形,头部部分需要液化处理。如下图所示调整。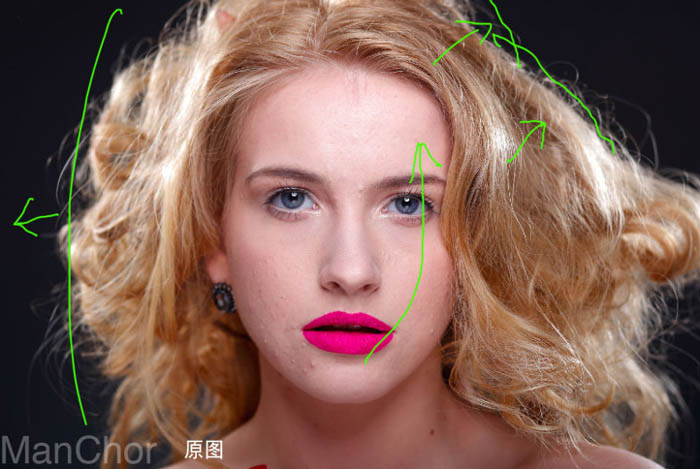
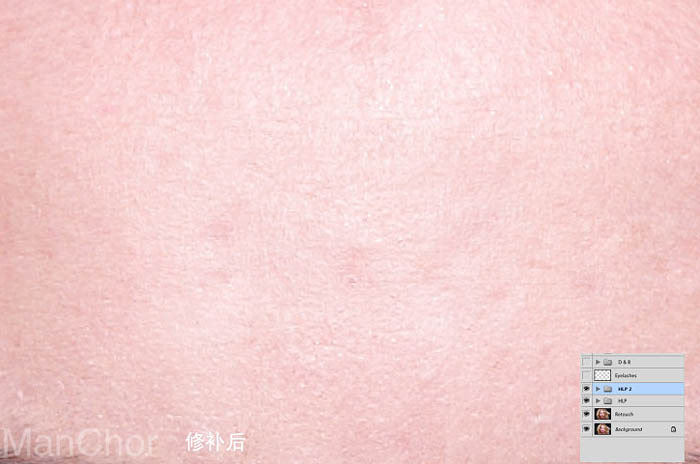
2、变形后用修复画笔工具消除瑕疵与杂点。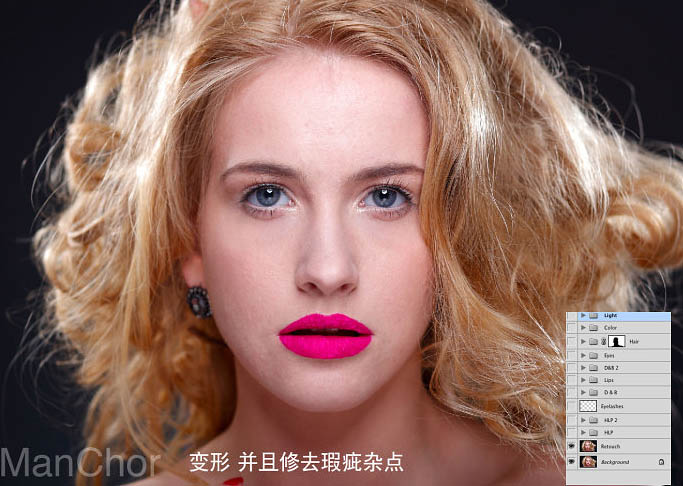
3、额头部分有一些纹路也需要修复一下。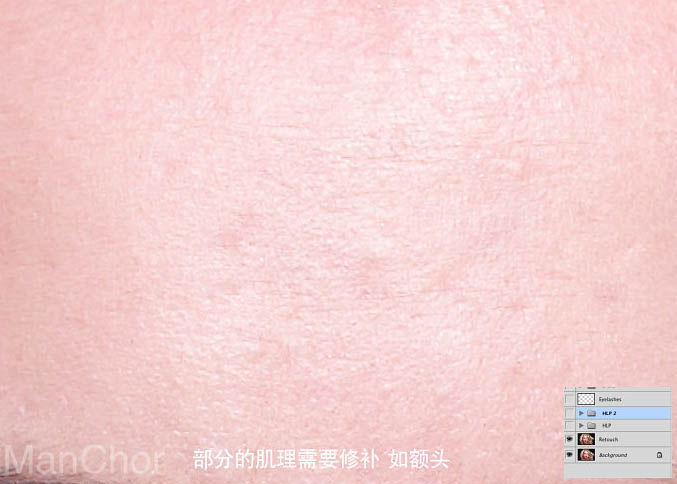
4、睫毛有些凌乱,部分粘在一起,需要修改。
(本文来源于图老师网站,更多请访问https://m.tulaoshi.com/psxpcl/)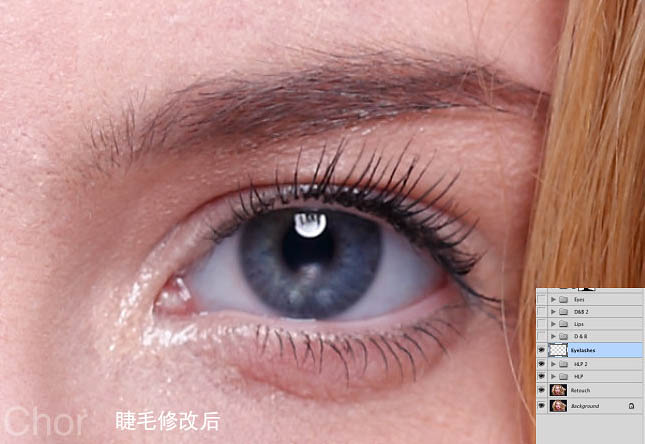
5、开始修改皮肤。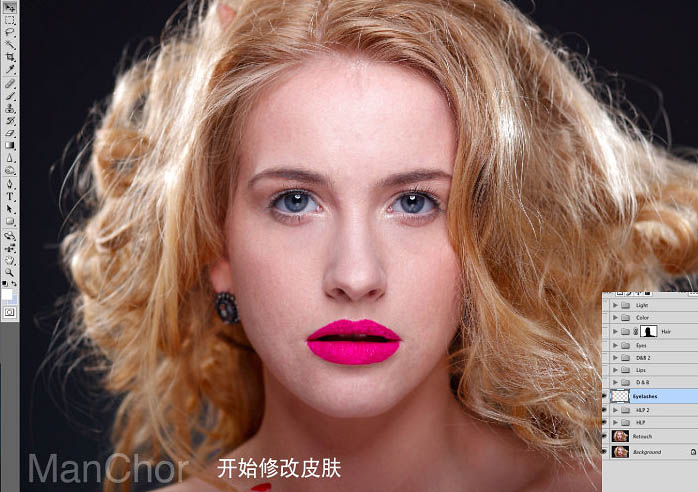
6、在图层的最上面新建一个组命名为“观察组”。在组里新建一个图层填充黑色,混合模式改为“颜色”,左右是去色,只观察明暗效果。
创建一个曲线调整图层,适当加强一下对比,确定后把混合模式改为“柔光”。 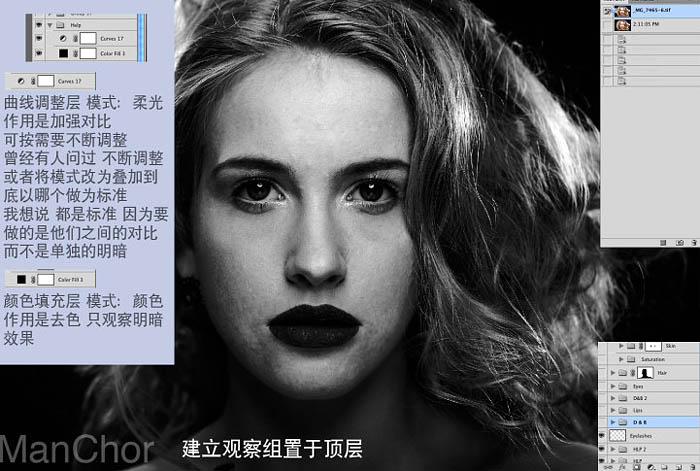
(本文来源于图老师网站,更多请访问https://m.tulaoshi.com/psxpcl/)7、在观察组下面新建一个组,命名为“双曲线”,然后在组里创建两个黑色蒙版曲线调整图层,分别调暗,调亮,如下图。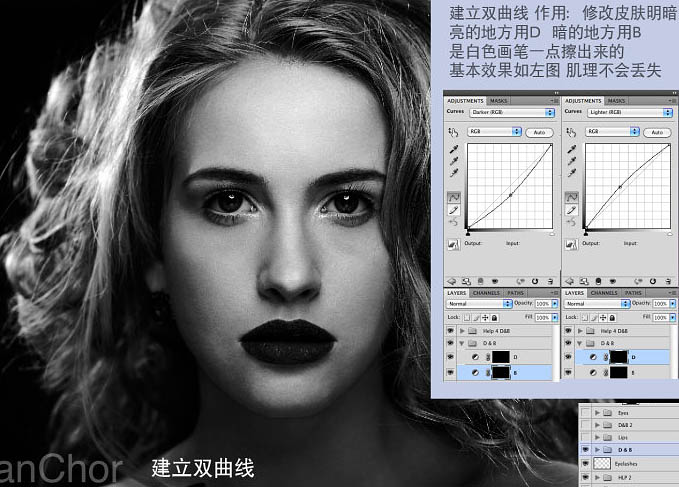
8、双曲线修图,先在较暗的曲线调整图层上用透明度较低白色画笔涂抹较亮的区域,在较亮的曲线调整图层中涂抹较暗的皮肤区域。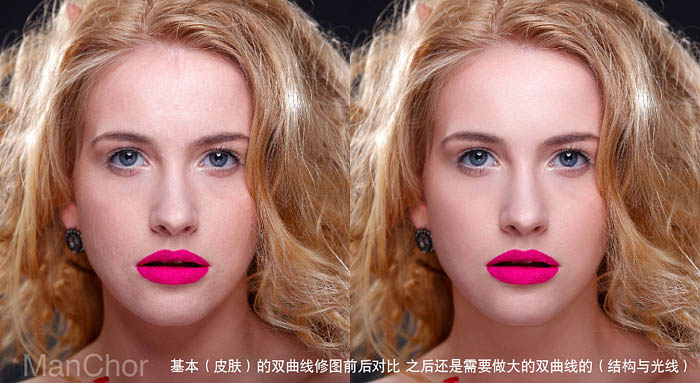
9、嘴唇部分也需要处理。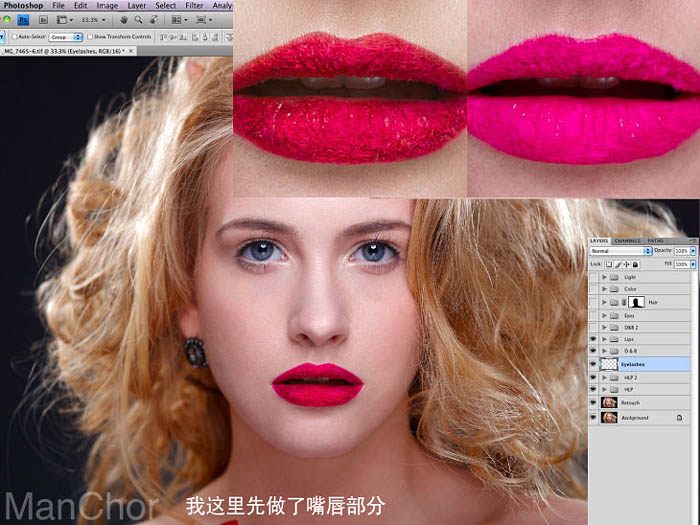
10、再构建双曲线做局部的明暗。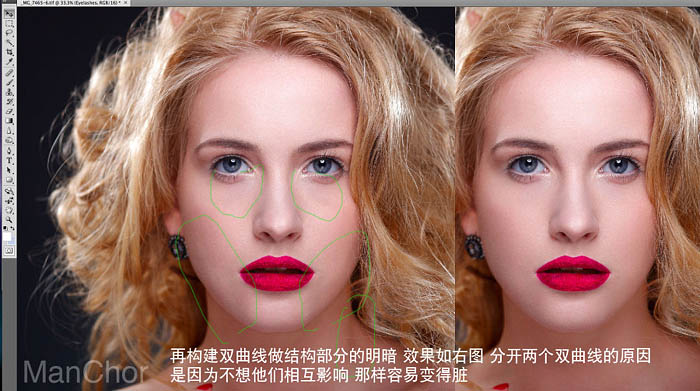
11、眼睛部分的修饰。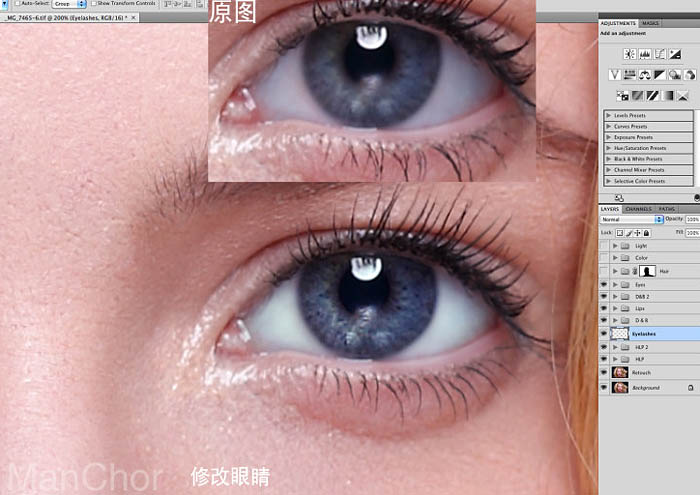
12、修改头发明暗、颜色,光泽。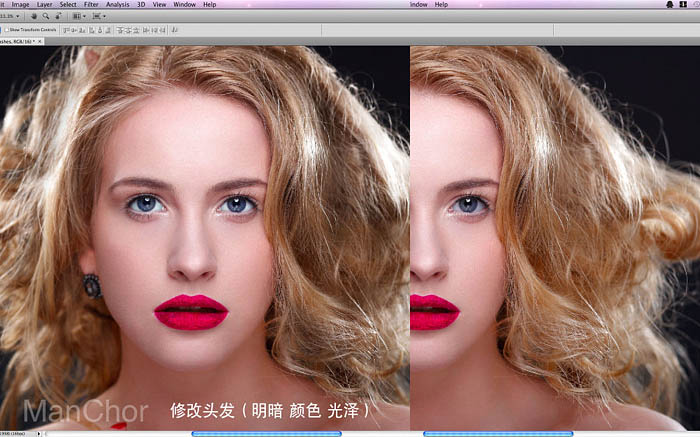
13、调整肤色。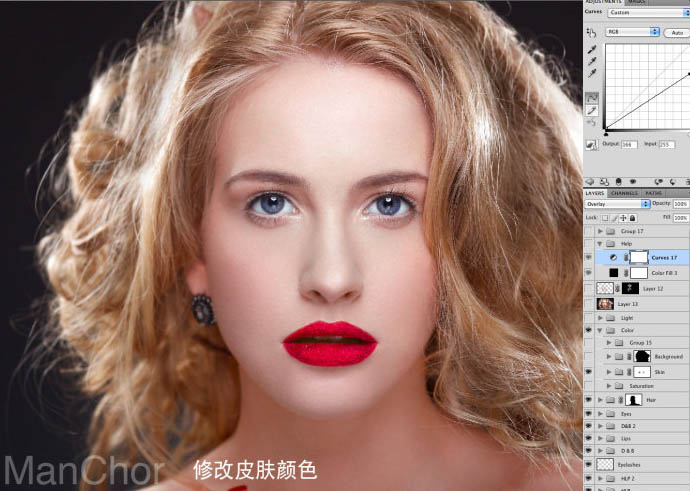
14、调节整体颜色。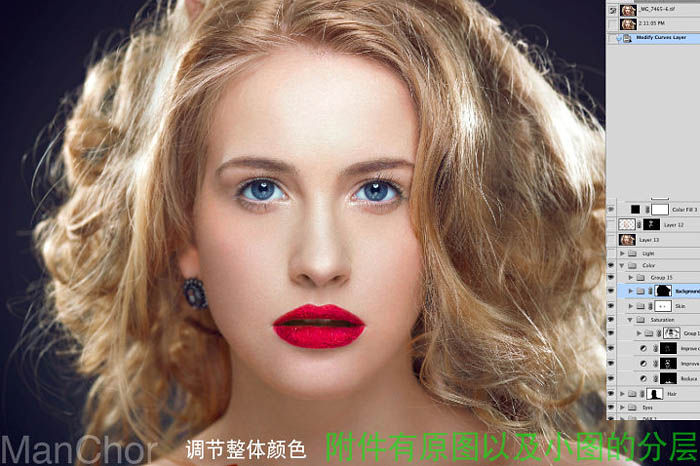
最终效果: