ps调色淡雅柔美外景照片
这次的photoshop调色教程是学习用ps调出淡雅柔美的外景照片,主要用了液化工具瘦脸,曲线调整图层提亮画面,还有一系列的调整图层来改善色调。最后调色出来的照片淡雅柔美,十分清新。喜欢这个照片效果的人不妨学习看看,加油吧
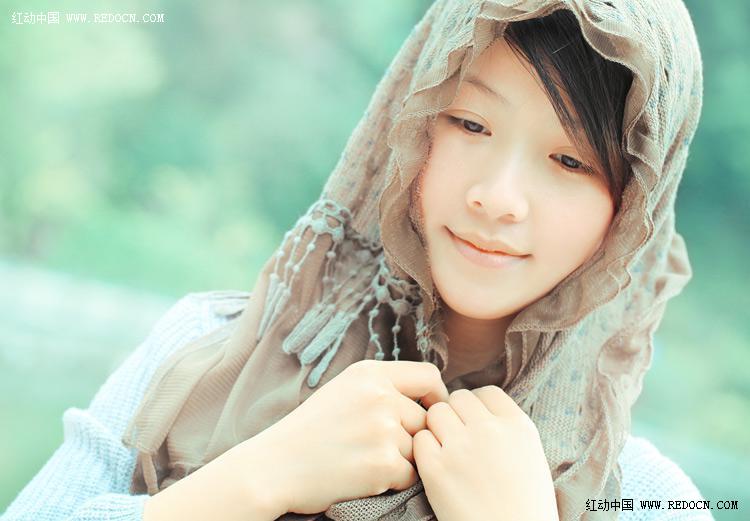
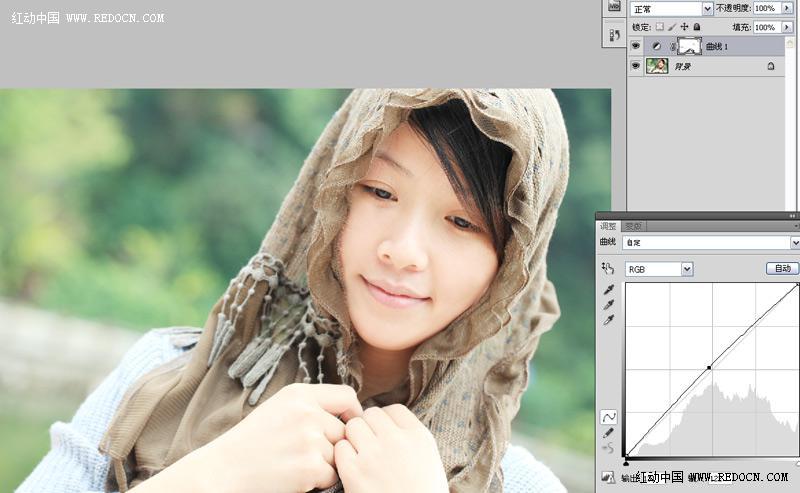
原图
具体调色步骤如下:$ q7 ^; n x6 W8 X5 N
; F8 V4 g, U7 a9 L5 Q% e: N
步骤1$ O: T; g; V- Y7 m) i7 z
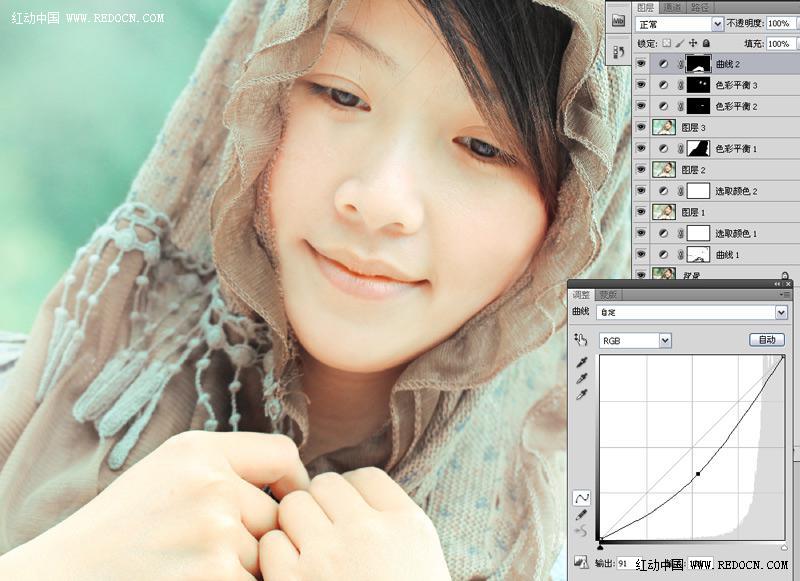
打开女孩照片,新建曲线调整图层。
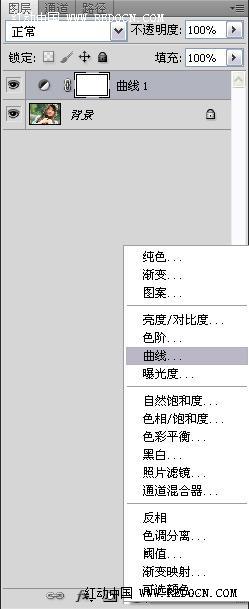
向上拖动曲线,适当提亮一下照片。
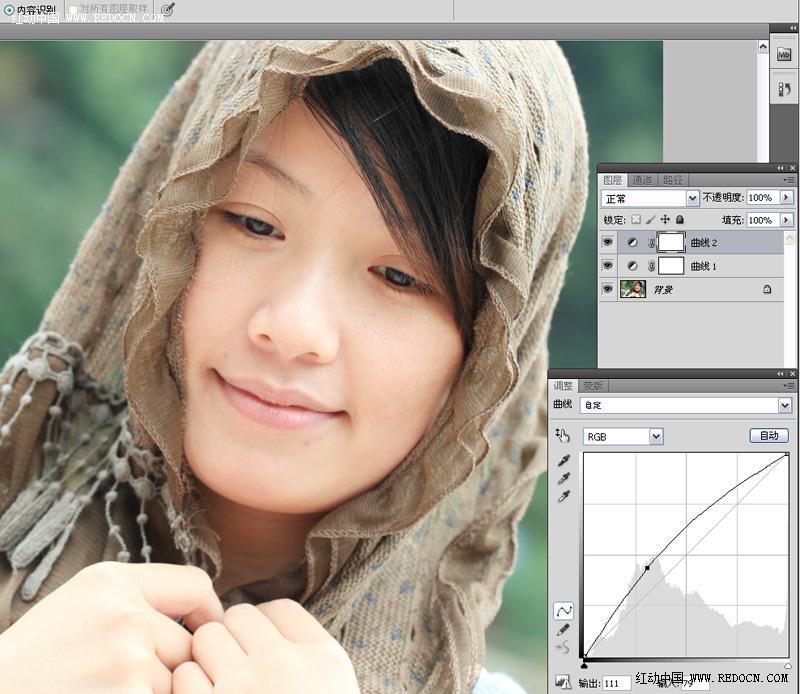
然后合并曲线图层和背景图层。
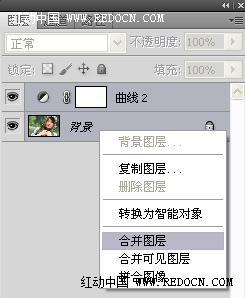
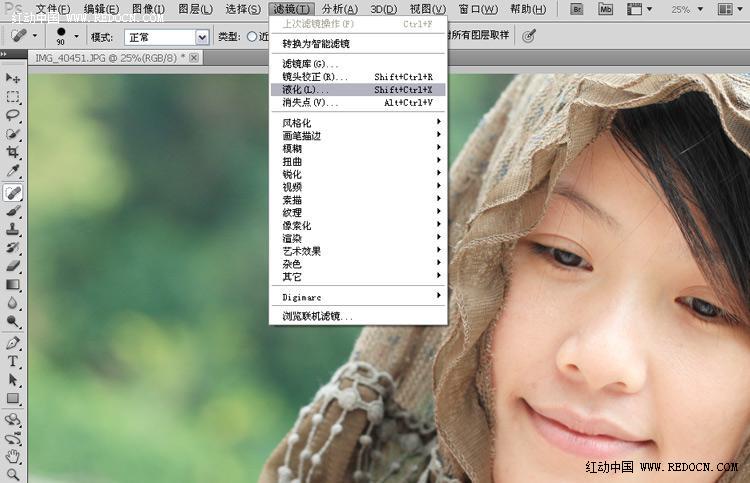
步骤2
执行滤镜液化。
选择左边第一个液化工具,向前变形工具,由外向里推,修瘦人物的脸部轮廓。
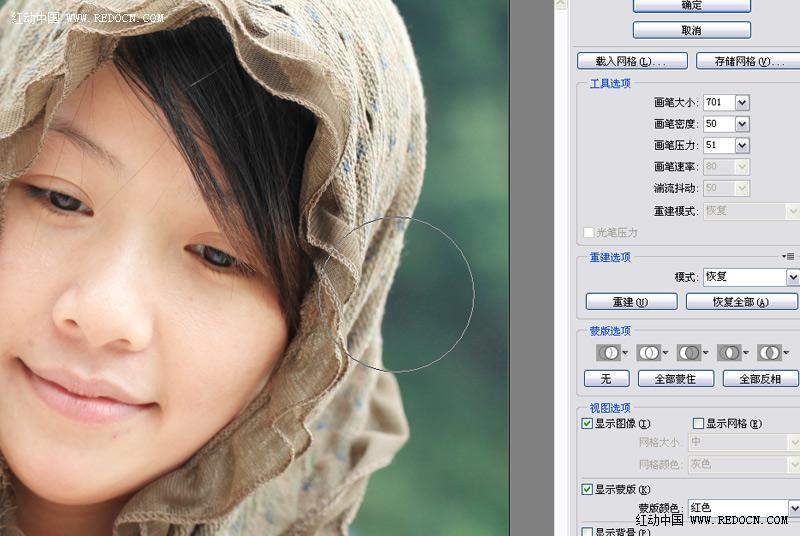
选择图章工具,不透明度设置30%,修去女孩皮肤上的瑕疵。
(本文来源于图老师网站,更多请访问http://m.tulaoshi.com)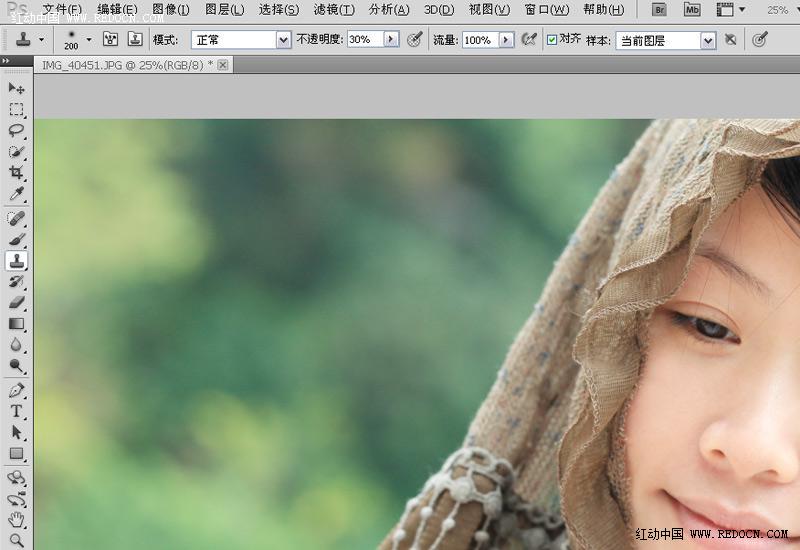
步骤3; x& C3 Z: o3 x9 s+ Q% h7 N
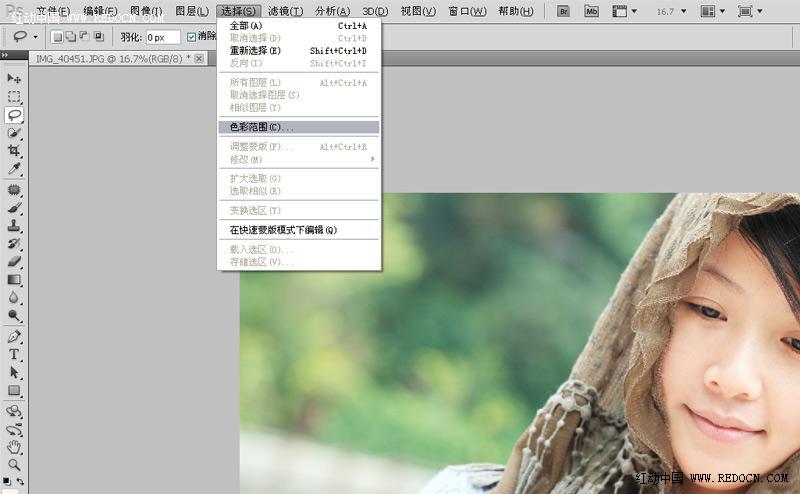
执行选择色彩范围。
用吸管吸取女孩脸部最亮的区域,颜色容差27。
(本文来源于图老师网站,更多请访问http://m.tulaoshi.com)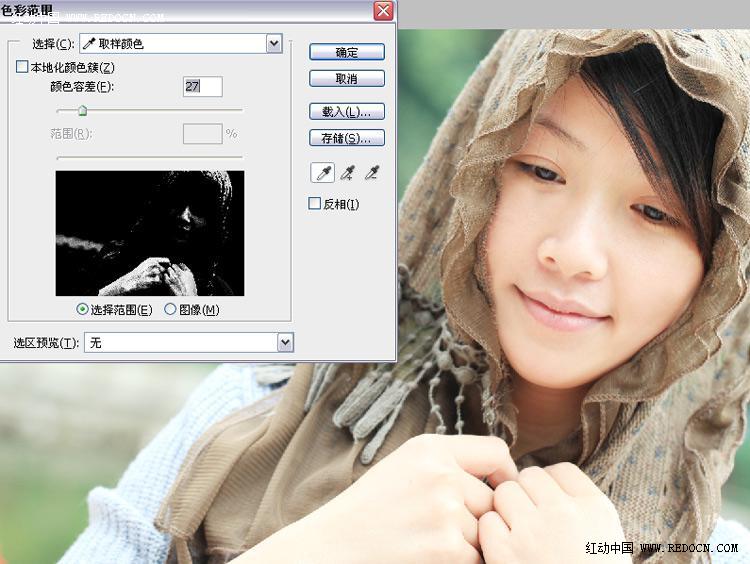
步骤4图老师+ k' {9 {7 P* k1 p' t
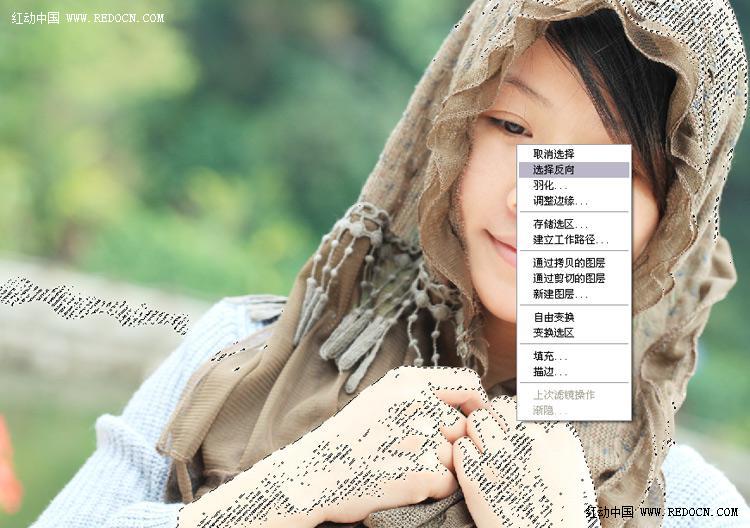
选区生成,右键鼠标,选择反向。
新建曲线调整图层,适当提亮选区内的亮度。
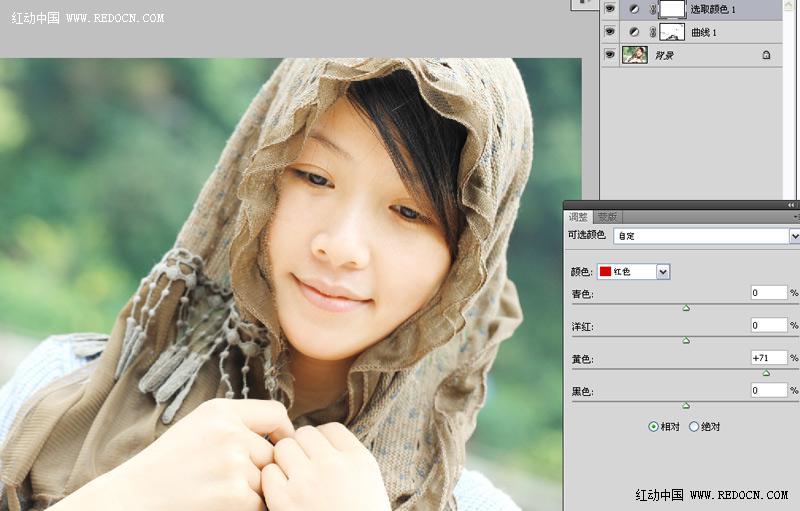
步骤5/ [" u6 H& ` C/ f% j
新建可选颜色调整图层,对红色进行设置,只修改黄色71。
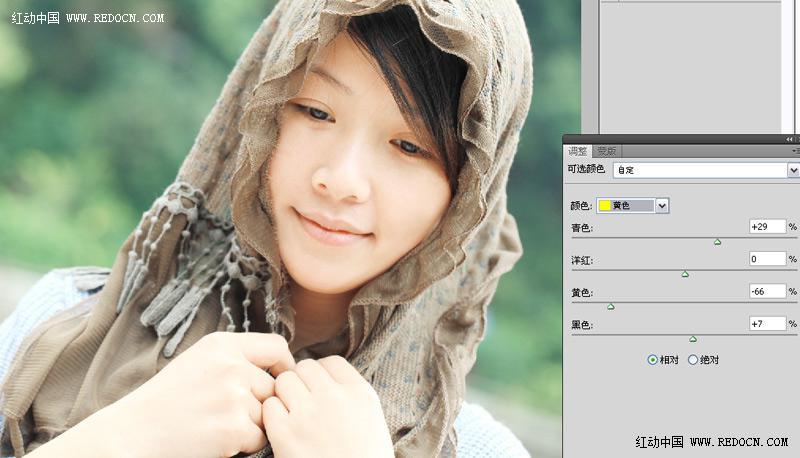
黄色设置。青色29,黄色-66,黑色7。
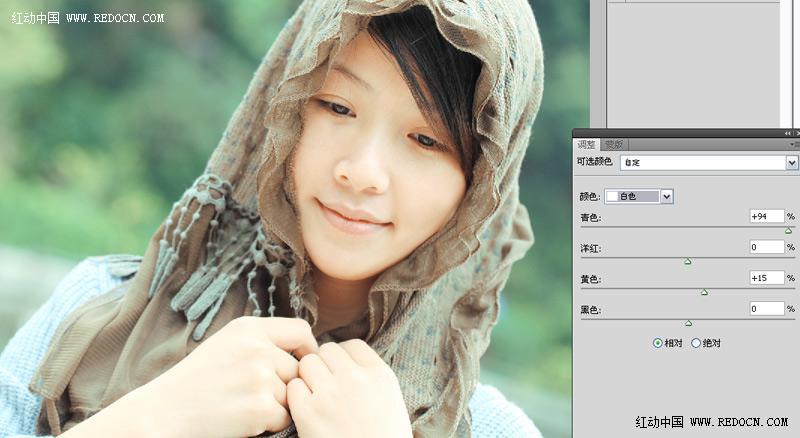
白色设置。青色94,黄色15。
步骤6! }2 F6 I/ k4 n5 y3 H% s6 ~: L
新建一个图层,按ctrl + shift +alt + E盖印图层。
A选择渐变工具,选择前景色到透明渐变,径向渐变。
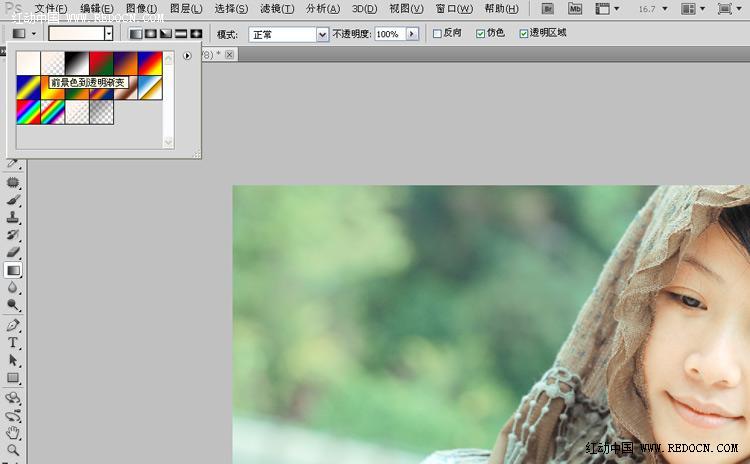
颜色设置#f8dccb。
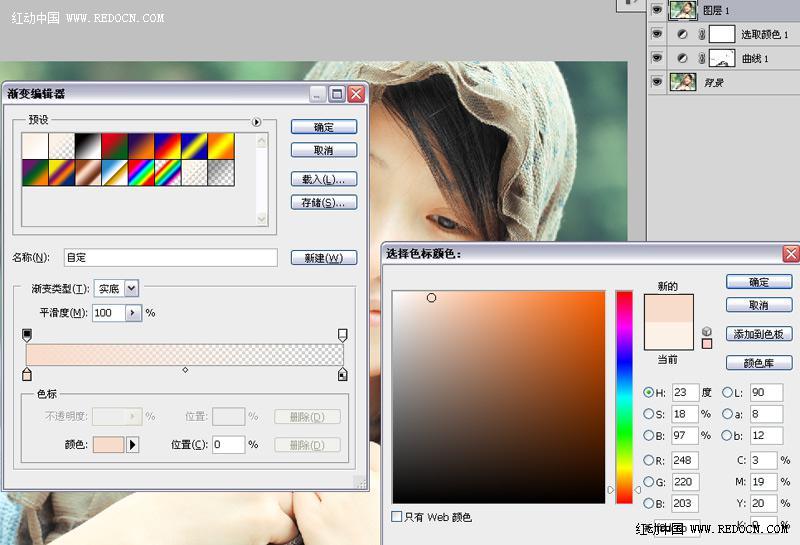
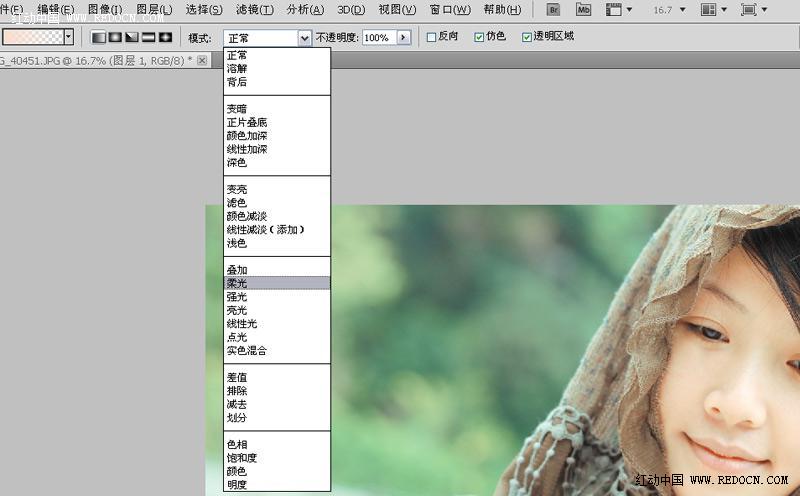
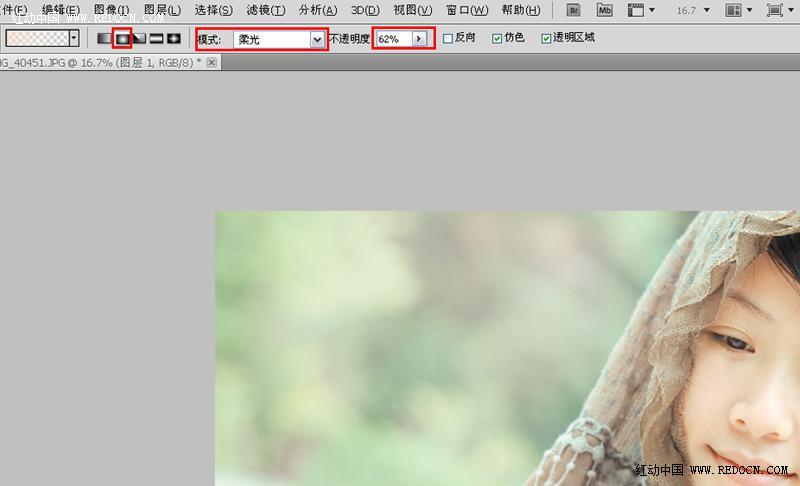
混合模式改为柔光。
不透明度设置62%,用渐变工具拉一个径向渐变,效果如果所示。照片四周淡粉色包裹。
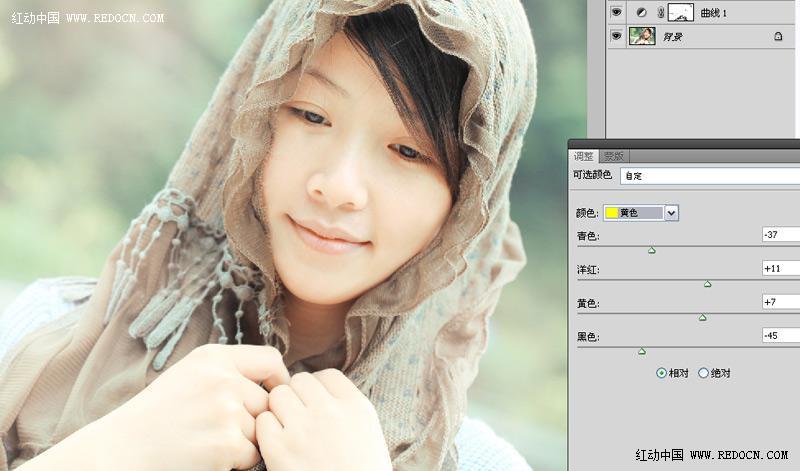
步骤7/ Q) r6 b( [4 c2 ^) {- ^- @4 ~; s
新建可选颜色调整图层。
黄色设置。青色-37,洋红11,黄色7,黑色-45。
ps调色淡雅柔美外景照片(2)
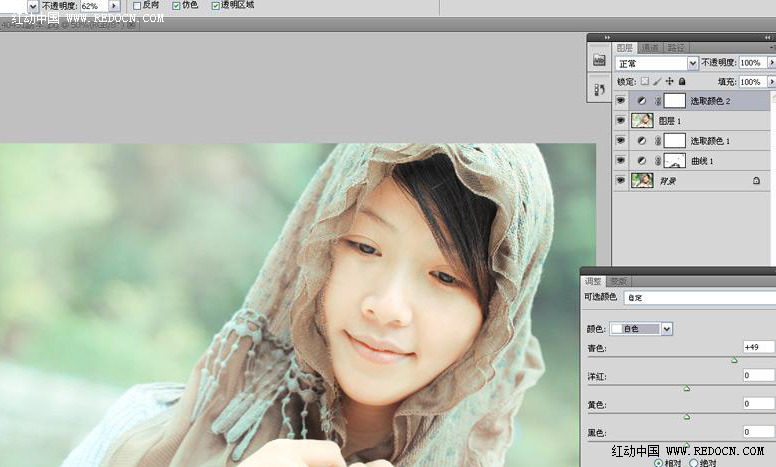
白色设置。青色49,其他不变。
 www.Tulaoshi.com
 步骤8- U' R2 R% A7 i+ @" l5 n
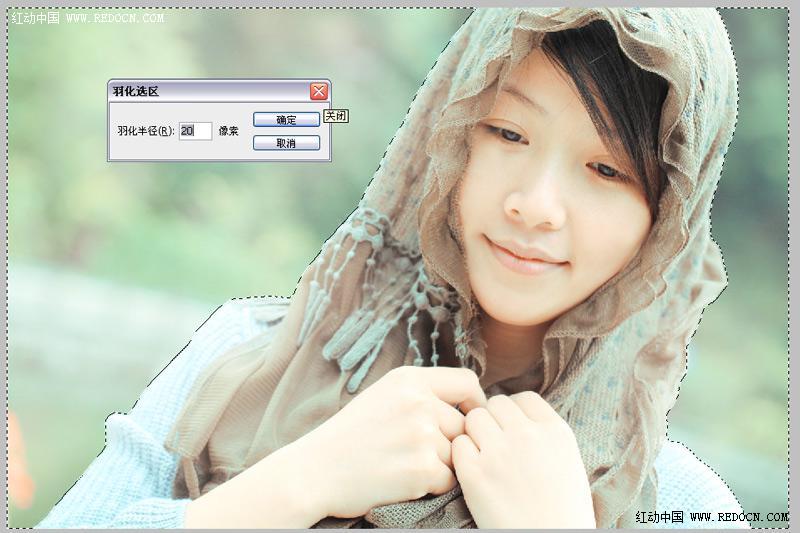
新建一个图层,盖印图层。
用快速选择工具,选中背景,羽化20像素。
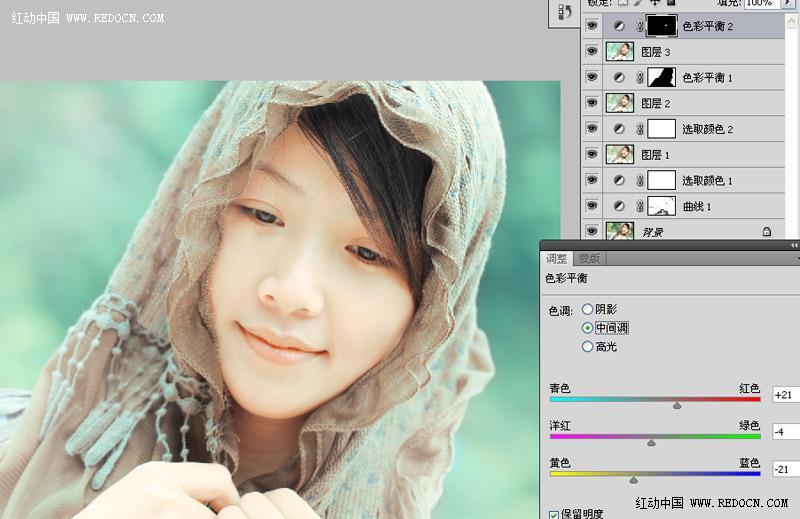
新建色彩平衡调整图层,对中间调进行设置。红色-38,绿色36,蓝色25。照片变得更加清透。

步骤96 g5 M/ |$ d2 N4 n+ c& f# e2 H0 O* ^
盖印图层。用钢笔工具绘制嘴唇轮廓。
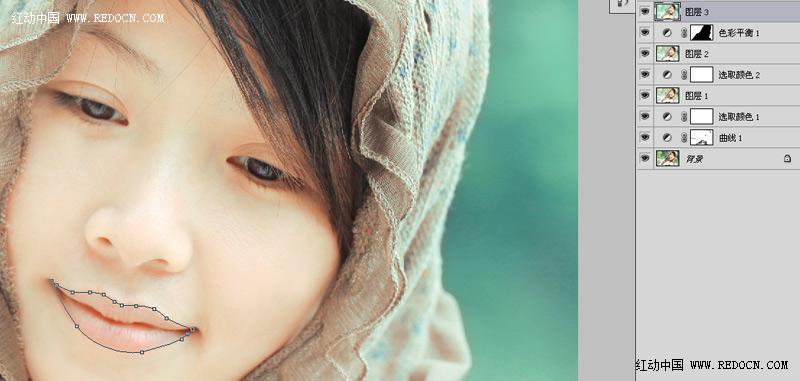
选区生成后进行羽化,羽化半径10像素。
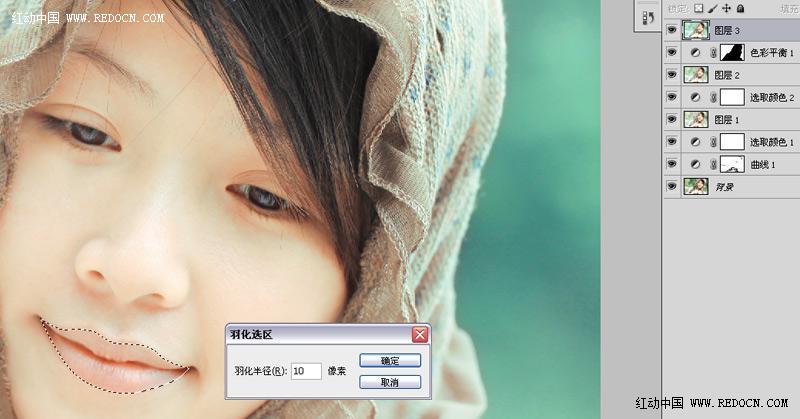
新建色彩平衡调整图层,对中间调进行设置。红色21,绿色-4,蓝色-21。这一步主要针对嘴唇来调色。
步骤10
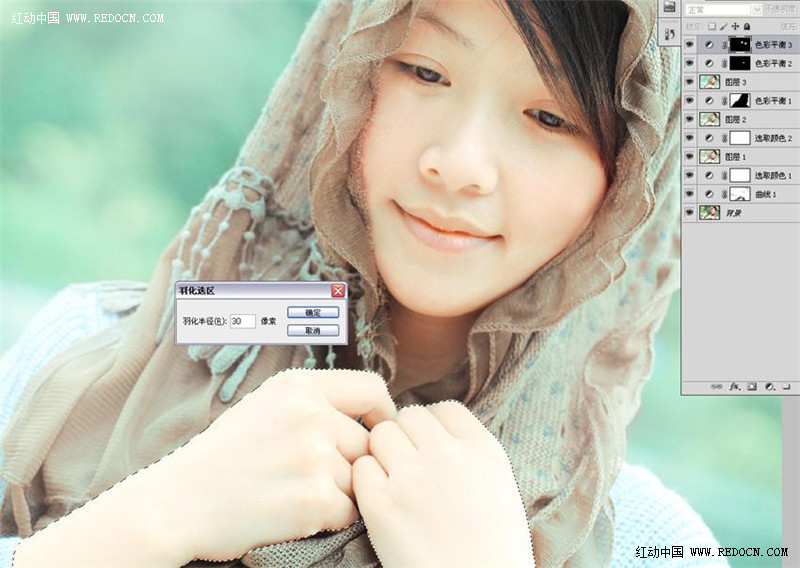
选择套索工具,绘制如图所示的脸部选区,做腮红效果,羽化半径100像素。
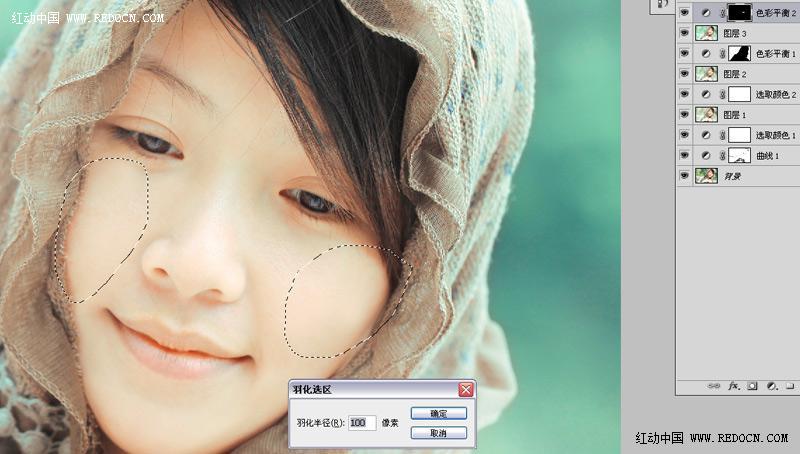
新建色彩平衡调整图层,对中间调进行设置。红色25,绿色-30,蓝色-21。
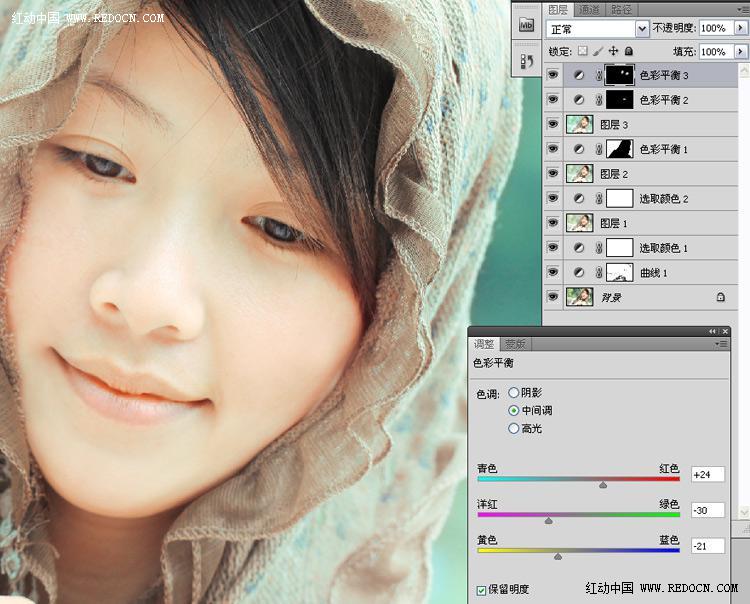
步骤11
用快速选择工具选中女孩手臂,羽化30像素。
新建曲线调整图层,向下拖动曲线,让手臂变暗一些,和人物整体协调。0 Z4 ^5 h! u1 R8 f7 ^
步骤12
合并所有图层,用图章工具去除女孩身上的瑕疵。
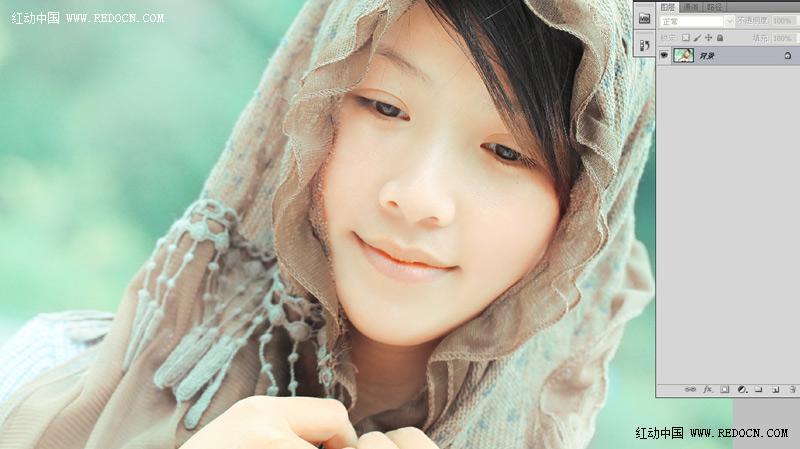
大功告成!