get新技能是需要付出行动的,即使看得再多也还是要动手试一试。今天图老师小编跟大家分享的是利用图层样式制作可爱的宝石质感按钮,一起来学习了解下吧!
本教程介绍非常通透的宝石质感按钮的制作方法。大致过程:先用选区工具做出想要的形状,调色后用一些图层样式做出纹理和质感效果。然后再加上高光和文字即可。
最终效果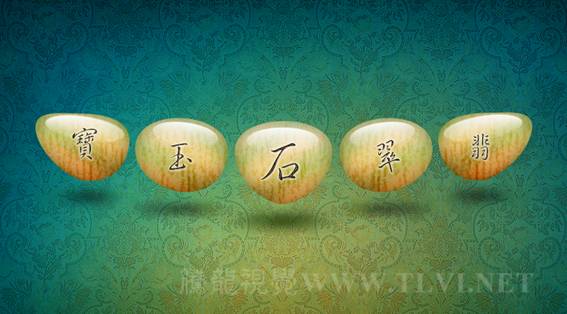
1、打开下图所示的背景素材。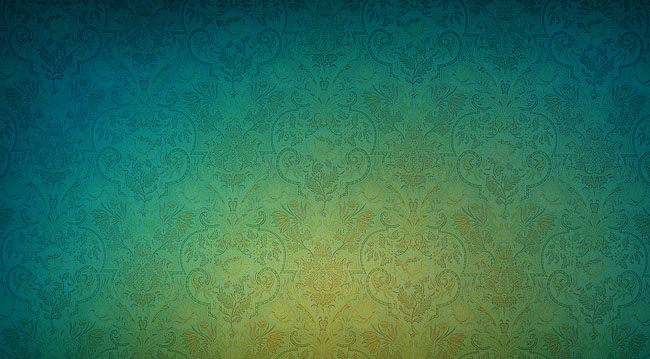
2、选择“椭圆”工具进行绘制。
3、双击图层缩览图,设置打开的“拾取实色”对话框。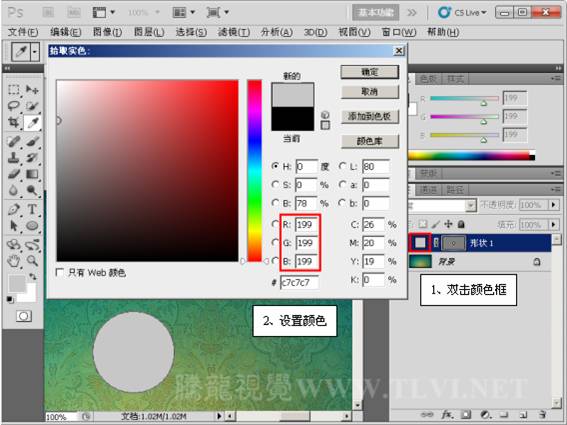
4、执行“编辑”→“变换”→“变形”命令。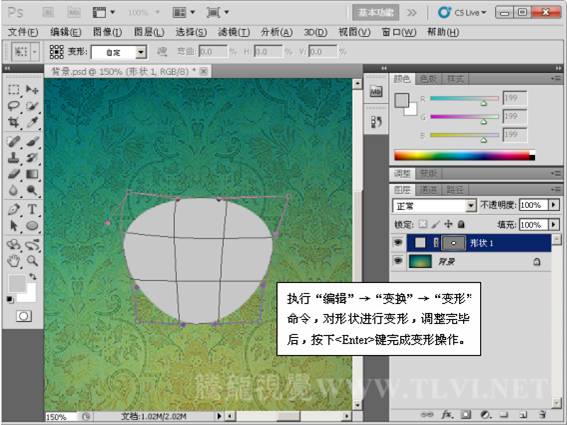
(本文来源于图老师网站,更多请访问http://m.tulaoshi.com/ps/)5、为“形状 1”添加“内阴影”图层样式效果。
6、设置“图案叠加”图层样式。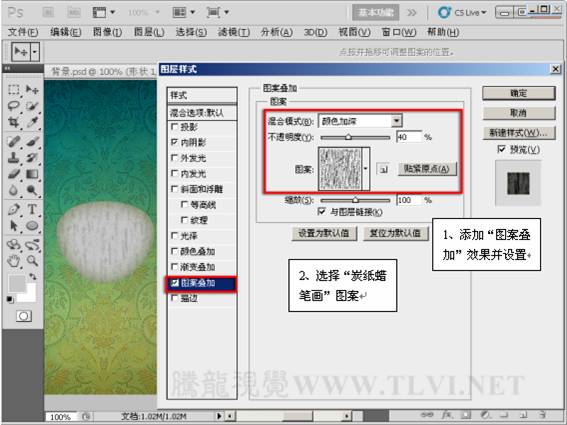
7、新建“图层 1”,选择“矩形选框工具”绘制选区。
8、设置渐变色,并填充选区。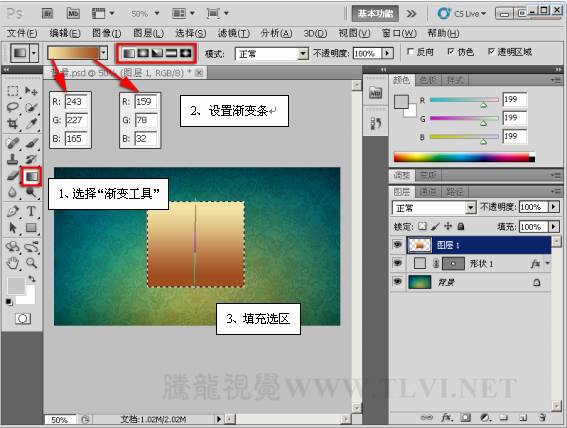
9、新建“图层2”,设置渐变色并填充选区。
10、设置“图层2”的混合模式为“柔光”。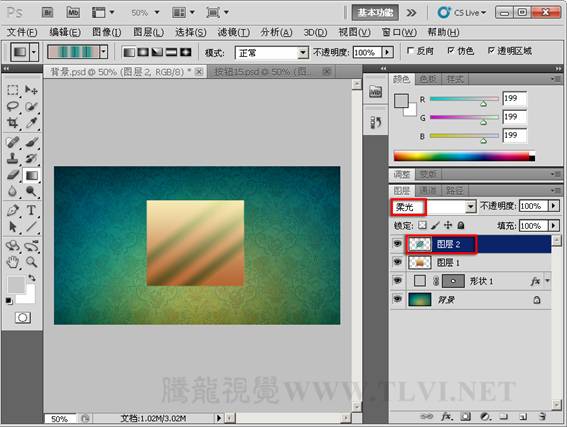
11、设置“图层1”的混合模式为“强光”。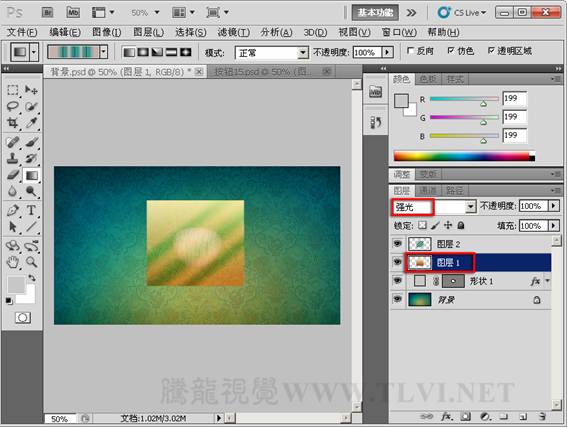
12、选择“图层 1”图层,执行“图层”→“创建剪贴蒙版”命令。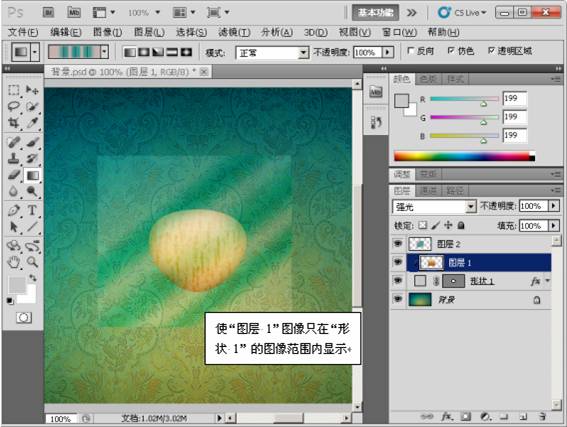
13、为“图层 2”创建剪贴蒙板。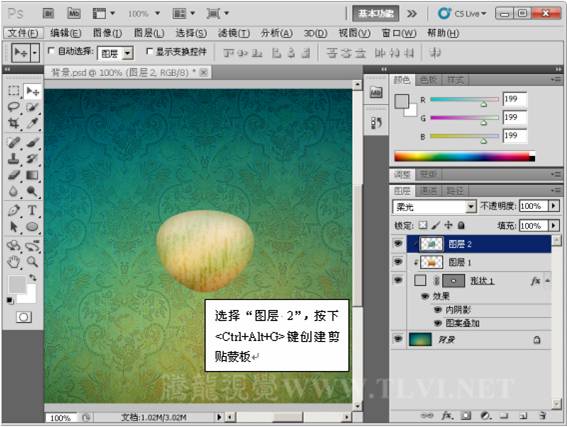
14、选择“椭圆”工具进行绘制。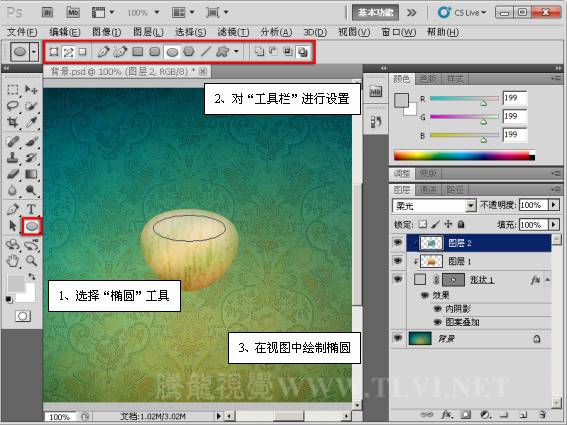
15、切换到“路径”调板将路径作为选区载入。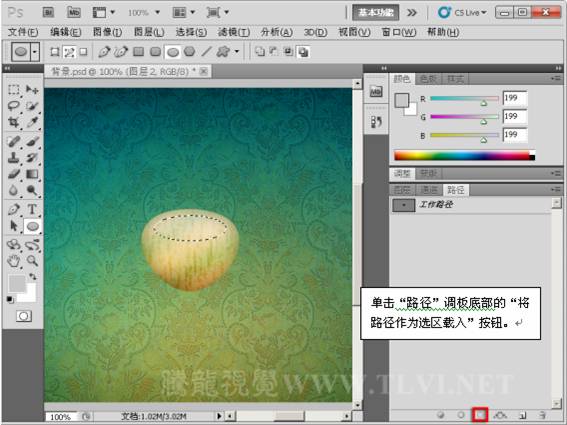
(本文来源于图老师网站,更多请访问http://m.tulaoshi.com/ps/)16、切换回“图层”调板,新建图层并填充渐变色。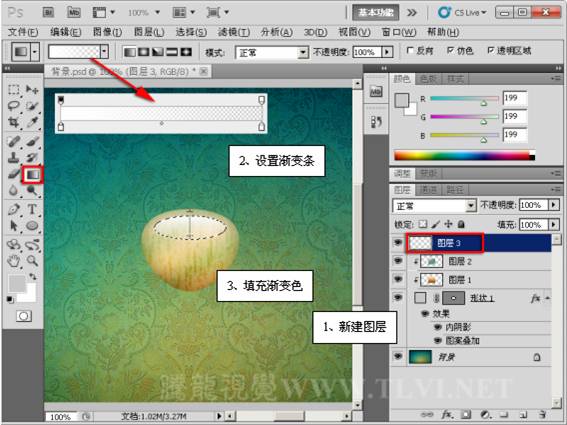
17、使用横排文字工具,创建文字。
18、为文字添加“外发光”图层样式效果。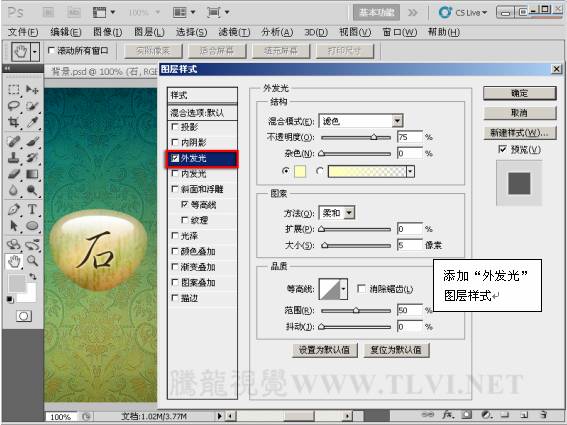
19、设置“斜面和浮雕”图层样式。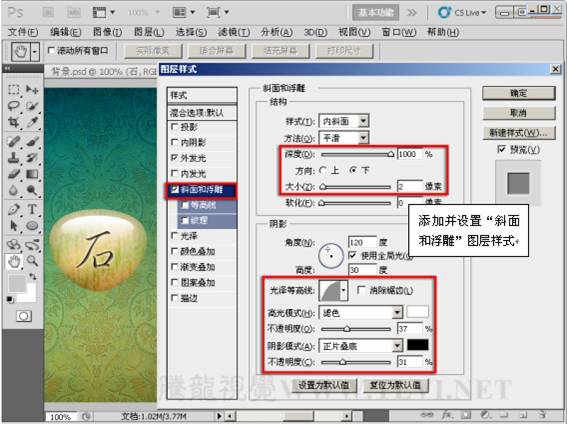
20、设置“等高线”。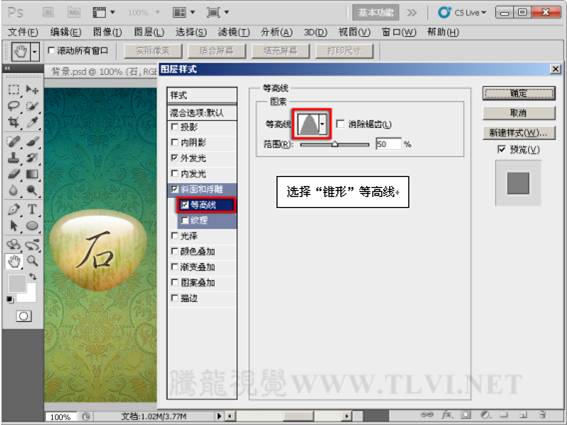
21、设置“描边”图层样式。
22、为图像添加阴影。
23、参照以上方法制作出其他图像,完成最终效果。


