只要你有一台电脑或者手机,都能关注图老师为大家精心推荐的PS经典合成荒凉的都市,手机电脑控们准备好了吗?一起看过来吧!
本教程合成的步骤比较多。大致过程:先开始溶图,把需要的素材分别加进来,
做一些溶图及局部细节处理。用到的素材也比较多,处理的时候要细心。素材添加好后就开始渲染色彩,这一步也很重要,好的作品离不开好的颜色。
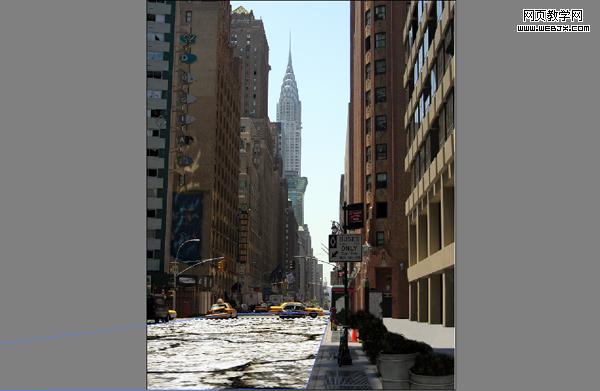
最终效果 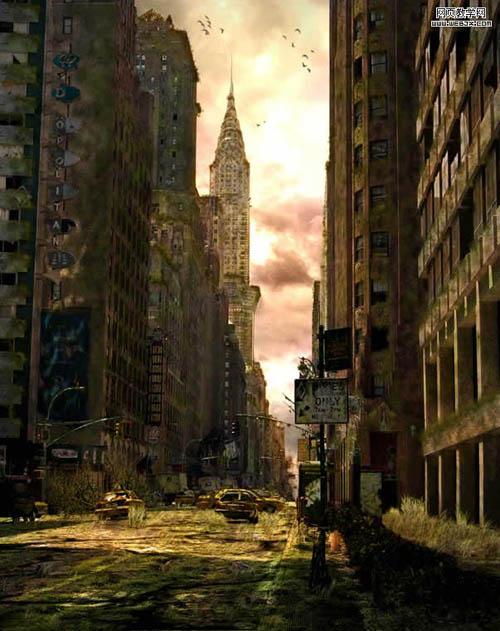
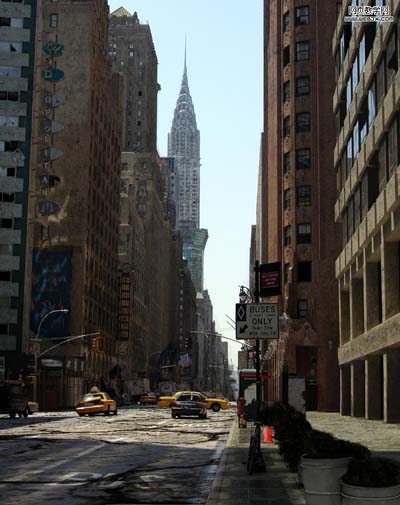
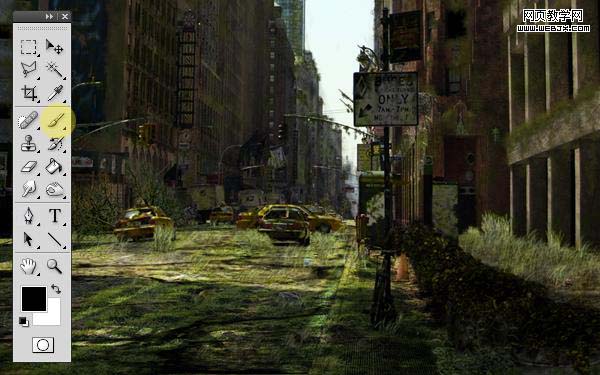
1、首先打开一幅城市的图片。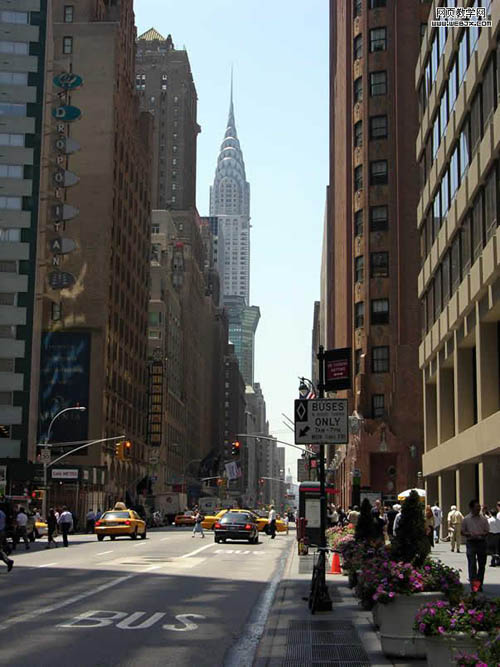
2、然后我们用柔边的克隆图章工具和画笔工具把图中的人物都去掉。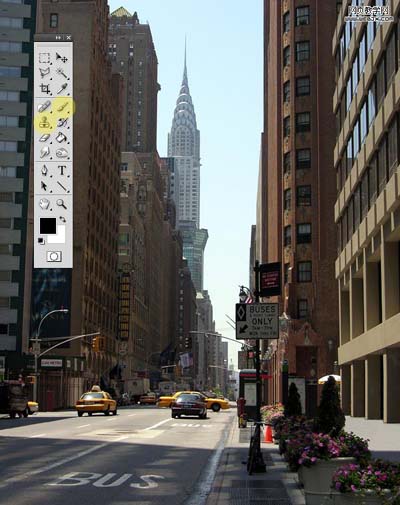
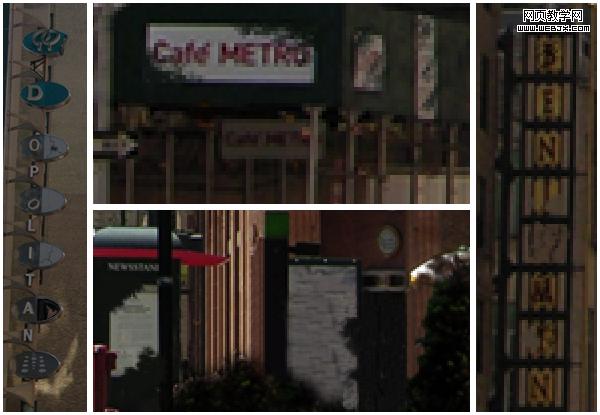
3、为了使照片变暗一些,用画笔工具擦去大部分的金色字符,用克隆图章工具移去花。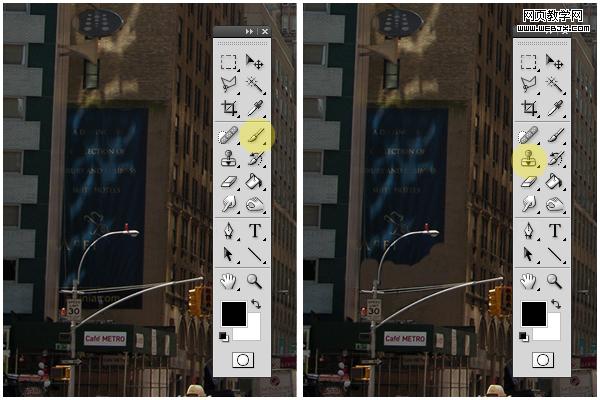
4、然后打开一幅旗帜的素材。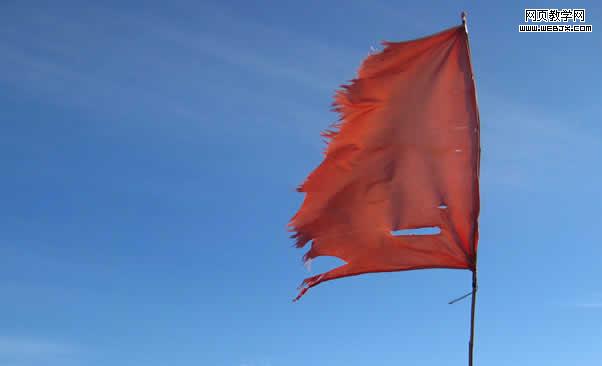
5、然后设置颜色范围。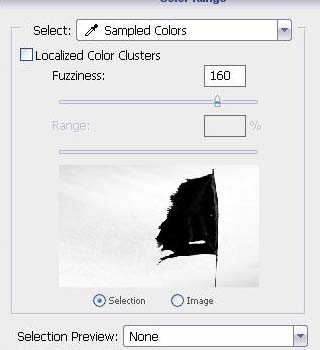
6、使用橡皮擦工具(大的,硬度设置为0%),做出下面效果。
7、然后调整 Black & White。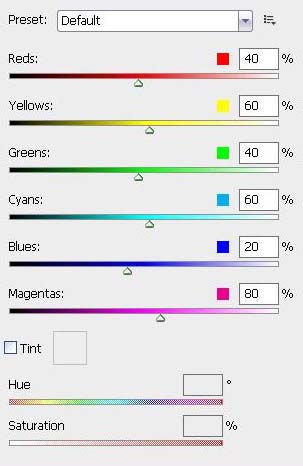
8、然后使用移动工具移动到主画面里面,使用橡皮擦擦除不需要的部分。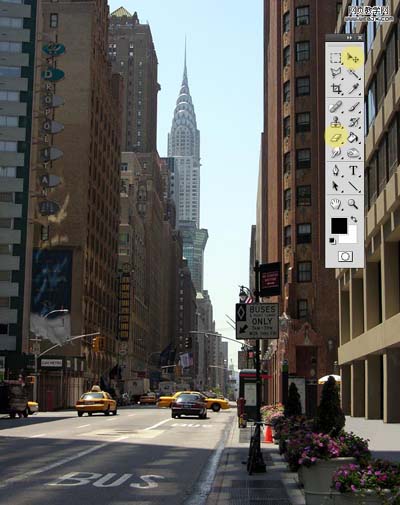
9、调整色阶。
10、我们使用下面的工具:克隆图章工具、橡皮擦、画笔工具、加深和减淡工具处理图片。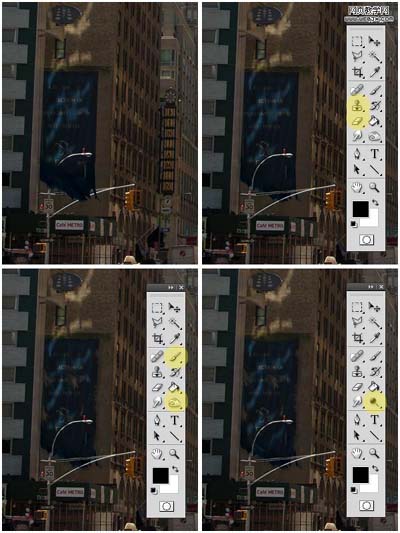
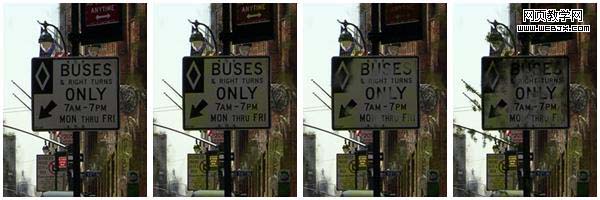
11、使用画笔工具对所有旗帜和标语操作。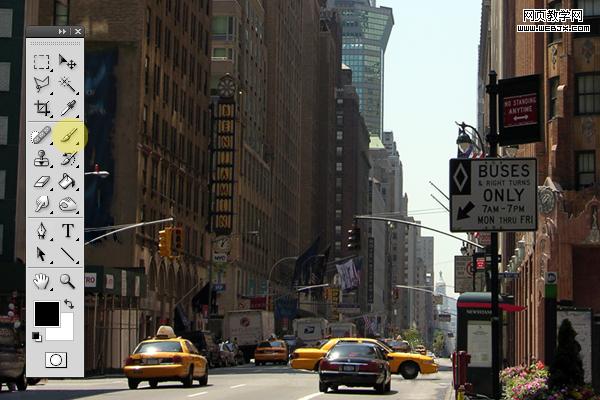
12、放大窗口,使用画笔工具移除一些玻璃和一些细节,我们用多边形套索工具移除不需要的部分。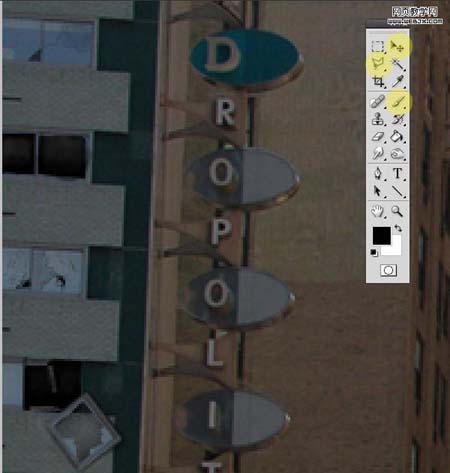
13、观察整个画面,我们使用套索工具,移动工具和画笔工具处理细节。
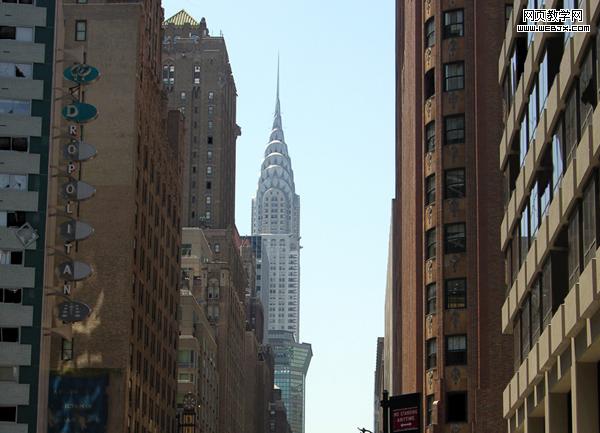
14、消除图像中的花,使用画笔工具克隆图章工具和加深工具对花进行处理。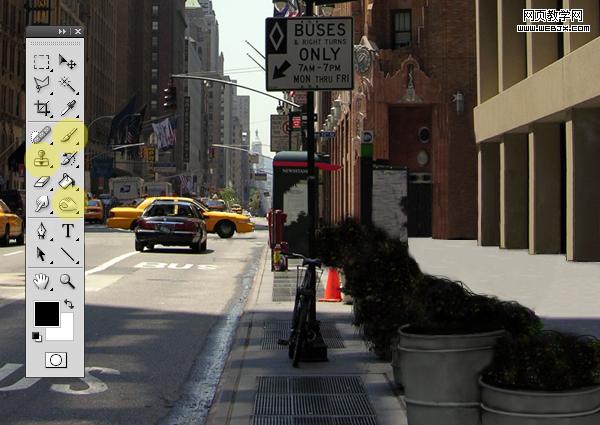
(本文来源于图老师网站,更多请访问http://m.tulaoshi.com/pskoutu/)15、现在打开一幅新的素材。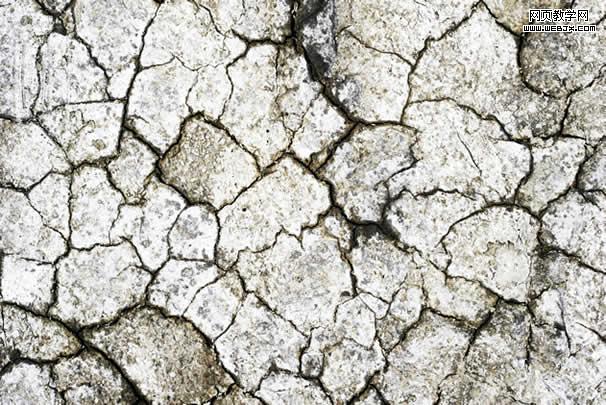
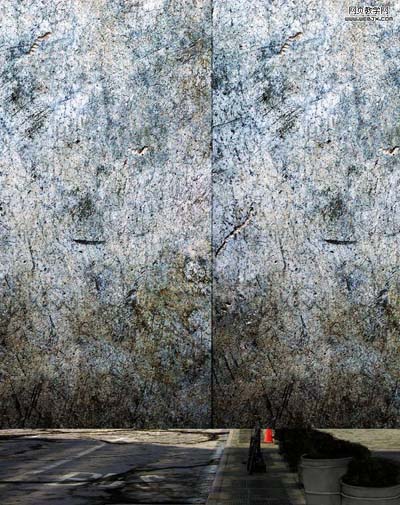
16、新建一个图层,执行滤镜-消失点命令然后应用上面的材质。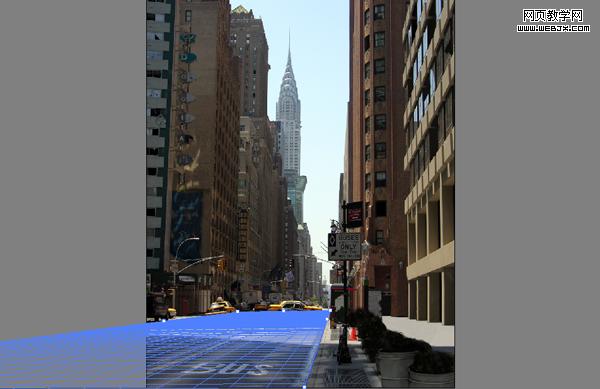
17、然后改变图层模式为正片叠底,选择橡皮擦工具去掉一些不需要的部分。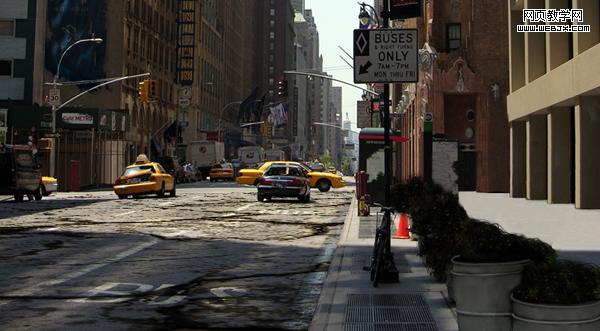
18、然后再对素材2按上面步骤进行同样的操作。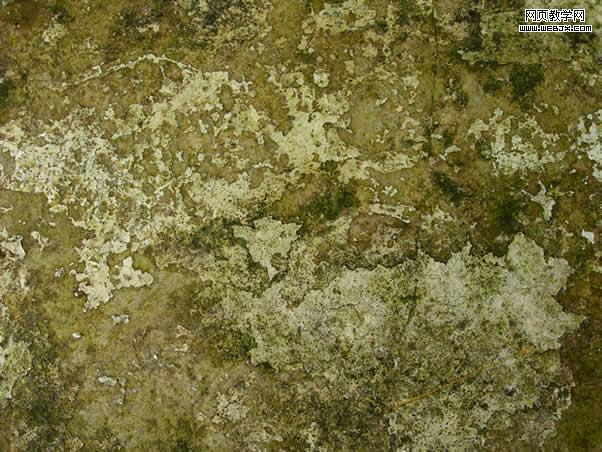
(本文来源于图老师网站,更多请访问http://m.tulaoshi.com/pskoutu/)19、然后我们把素材3应用到建筑物上面,给街道也添加该材质,你不需要用消失点滤镜。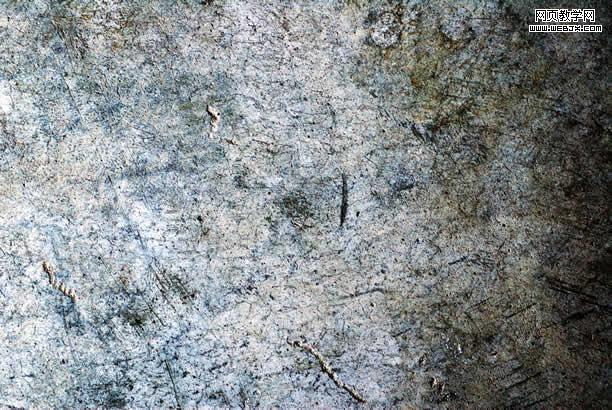
20、然后打开一幅草地的素材。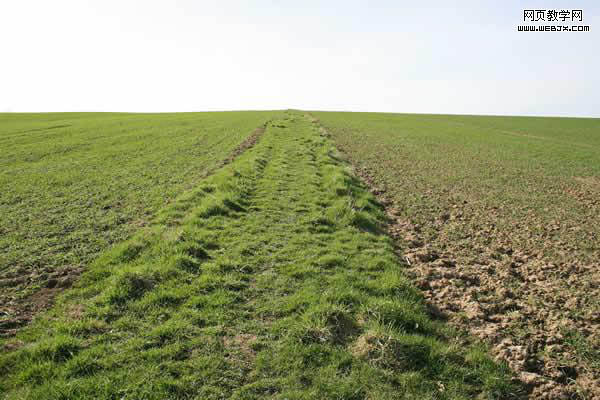
21、图层模式设置为叠加。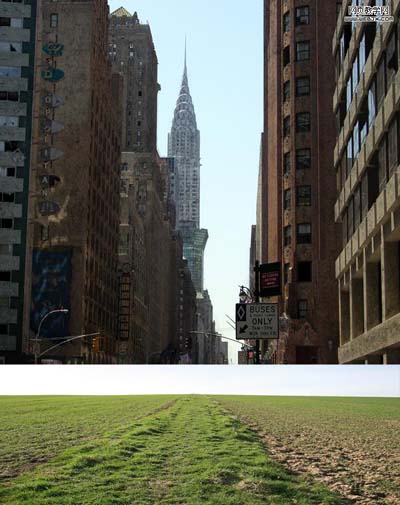

22、然后我们使用其他的一些素材:盒子、易拉罐、香蕉皮、破报纸、草笔刷、树笔刷、花笔刷等添加杂质特效。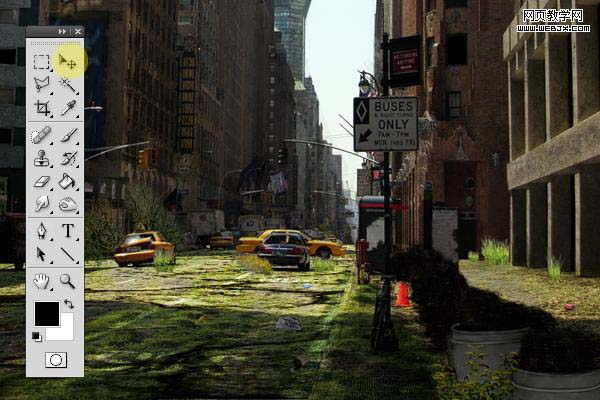
23、使用加深工具添加一些阴影。
24、然后使用画笔,模式为颜色,调整杂质的颜色。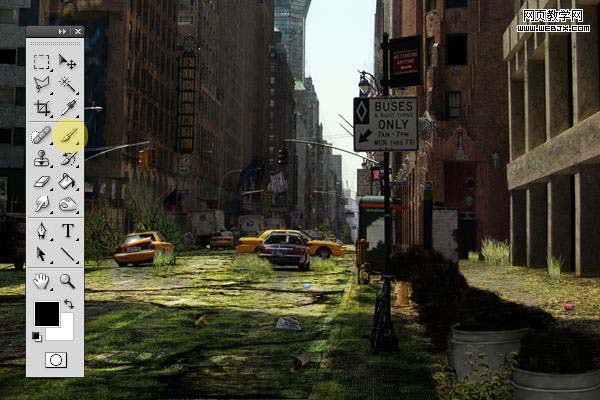
25、选择画笔工具,模式改为正常黑色,然后设置画笔面板。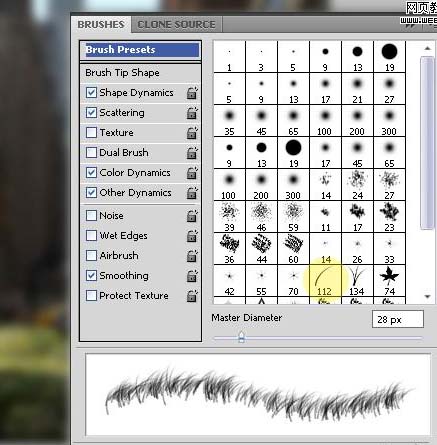
26、绘制一些草。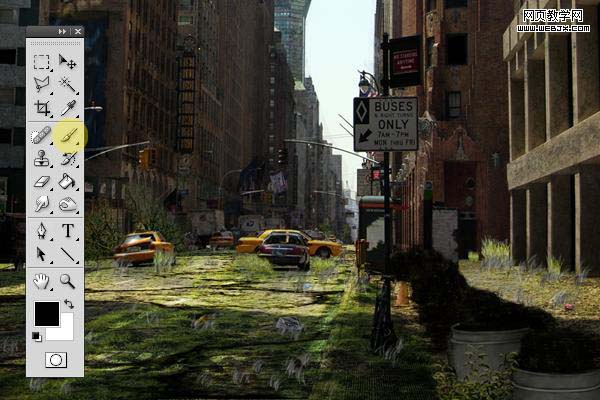
27、调整色相和饱和度。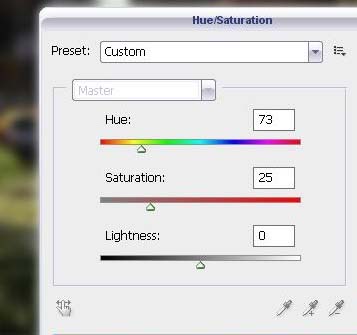
28、用画笔工具、加深工具和模糊工具制作背景的层次。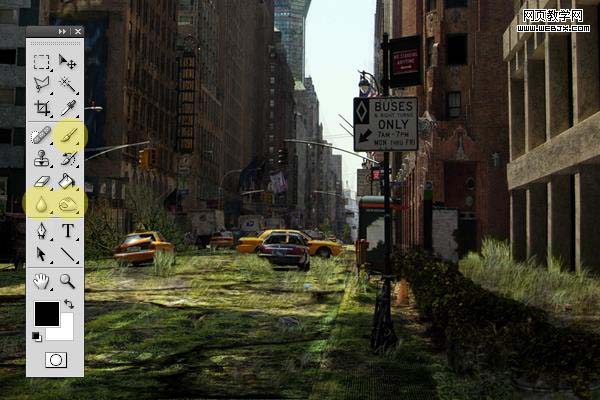
29、使用加深工具给墙添加一些阴影。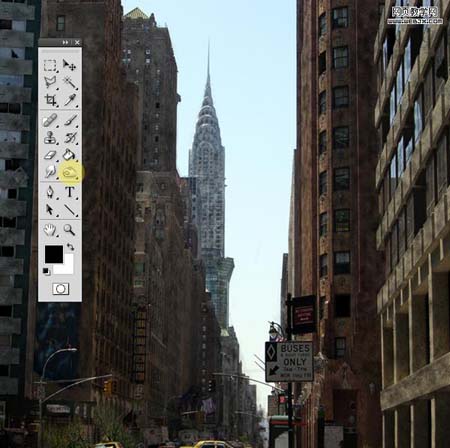
30、然后使用画笔工具,模式为颜色,给墙面添加一些草绿色。像苔藓一样。
31、改变画笔模式为正常黑色,再次打开画笔面板设置如下。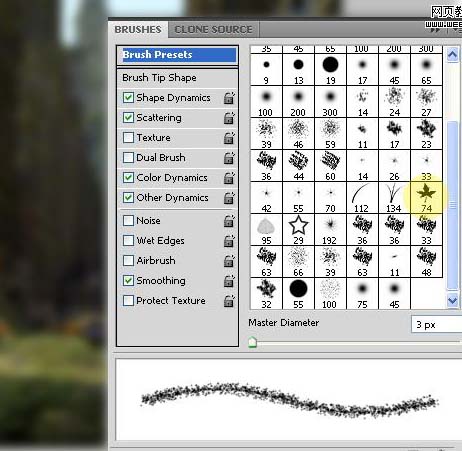
32、用绿的颜色在墙面上继续添加。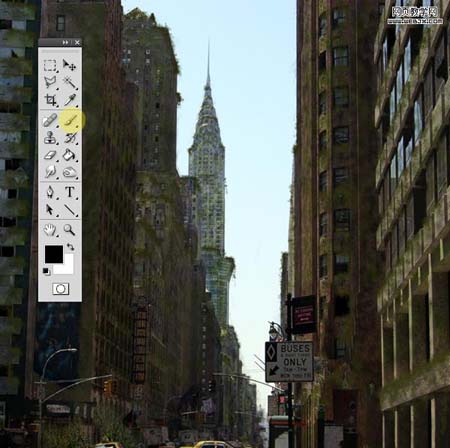
33、使用加深和减淡工具添加一些阴影效果。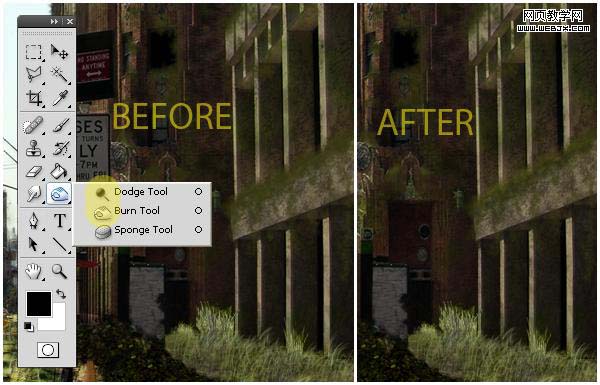
34、同样方法给汽车、标志、花添加上面的绿色效果。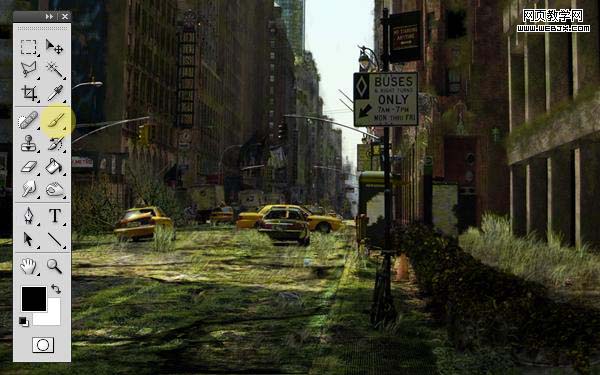
35、然后打开一幅天空素材。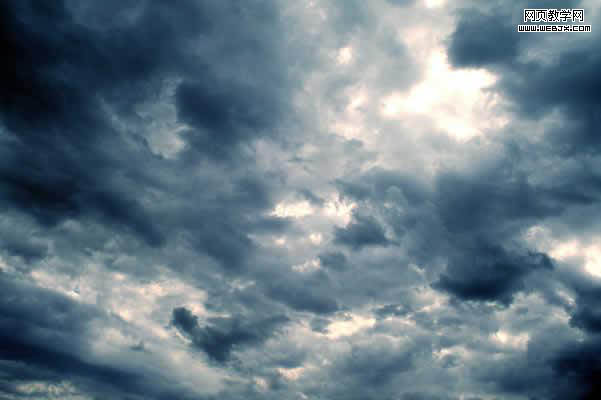
36、放到最上面。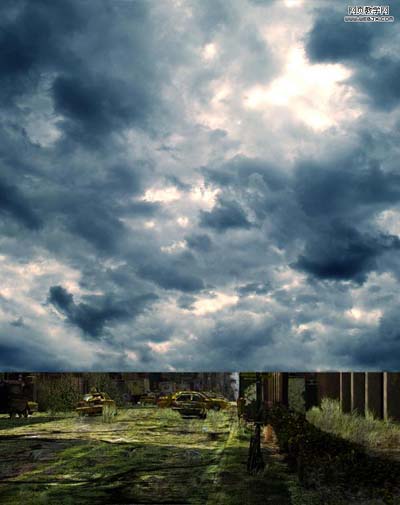
37、然后添加图层蒙板,我们使用钢笔工具或者魔术棒工具给天空制作一个选区,然后反选,填充选择区域。达到下面效果。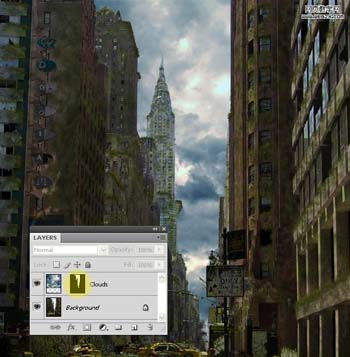
38、然后调整 Black & White 使用默认值。
39、之后使用加深和减淡工具改变云的对比度,然后使用画笔工具添加一些新的云彩。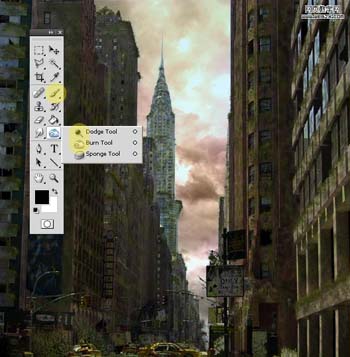
40、然后我们改变画笔设置,给建筑物和街道添加暖色彩,效果如下。
41、然后网上找一些鸟画笔,绘制一些飞的鸟类。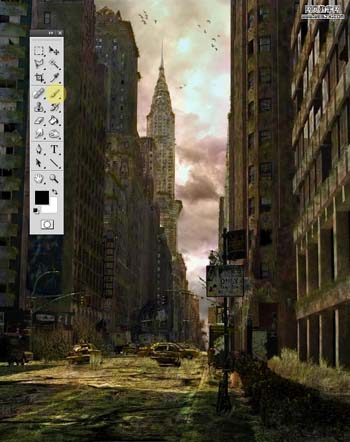
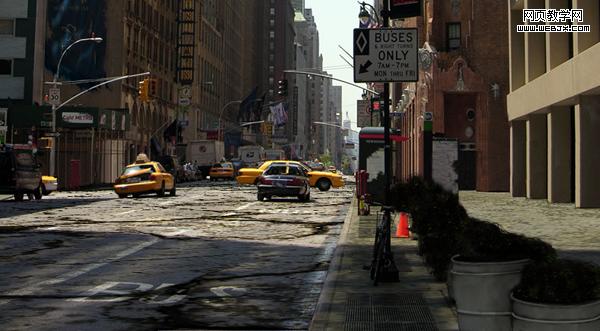
42、到这时我们已经得到最终效果了。合并所有图层,然后调整色阶。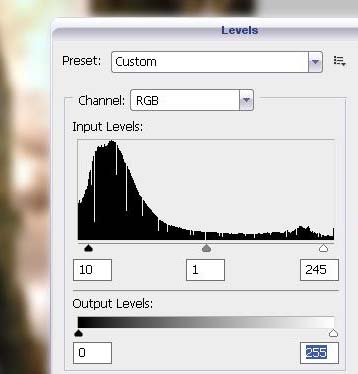
43、最后在设置光效,我们使用光效滤镜进行渲染。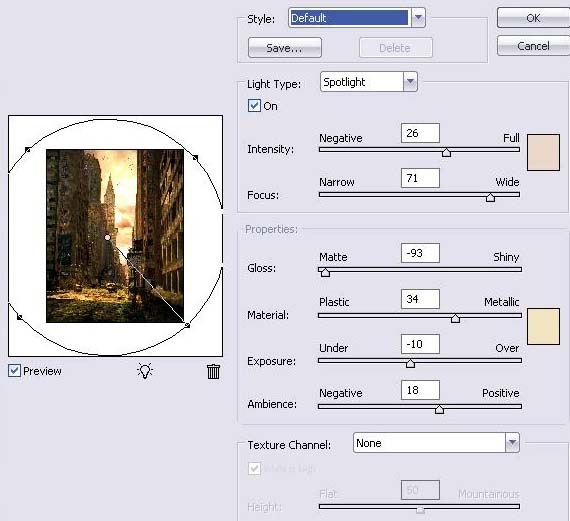
最终效果如下。


