有了下面这个PS精彩合成超强的静思者教程,不懂PS精彩合成超强的静思者的也能装懂了,赶紧get起来装逼一下吧!
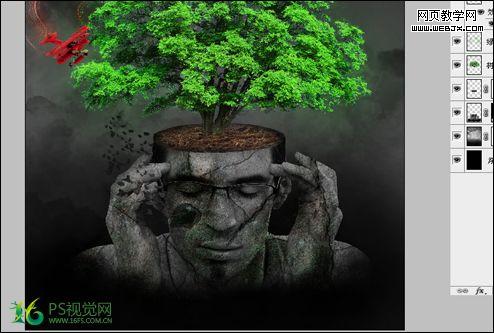
本教程合成效果非常夸张,作者意图是要表现一个正在努力思考的狂人。合成的时候作者特意把人物石化,再在人物头顶加上了树木等装饰。效果非常不错。
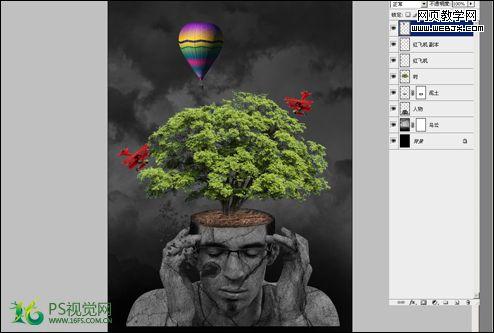
最终效果 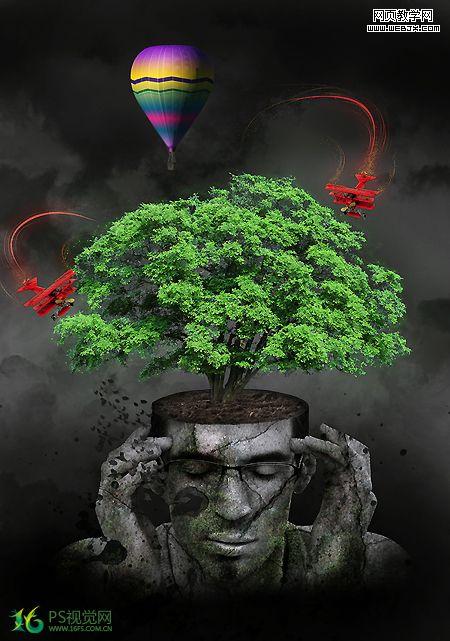
1、新建画布,大小200*285mm,分辨率300。
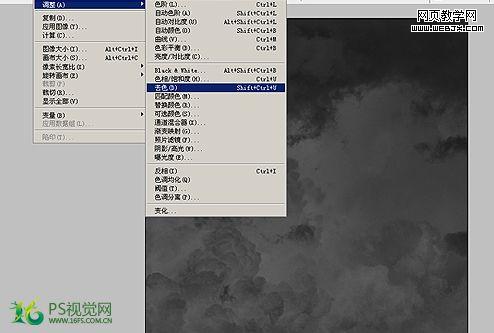
2、导入背景素材,执行图像-调整-去色。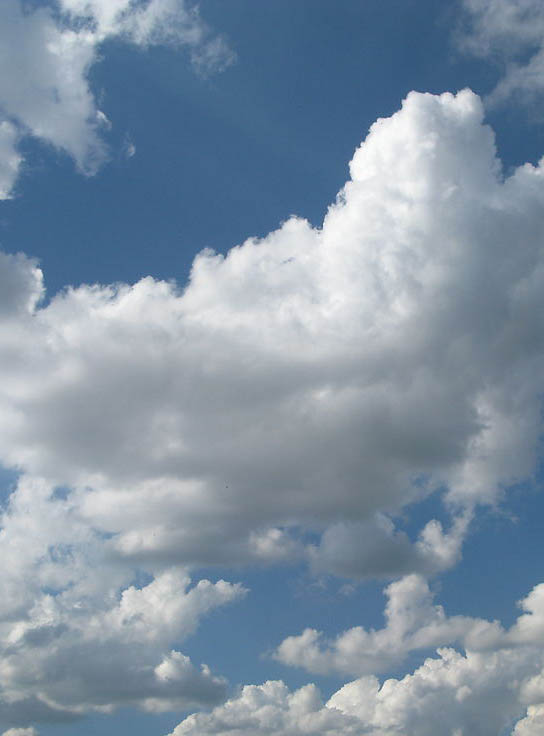
3、导入已经抠出的人物图,并调整好位置和大小。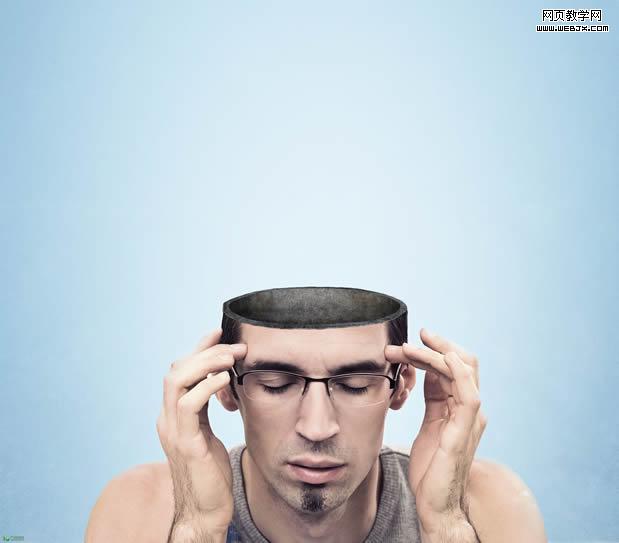
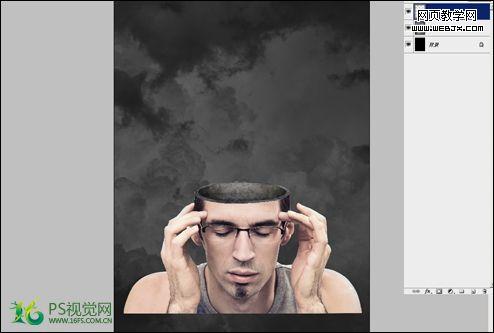
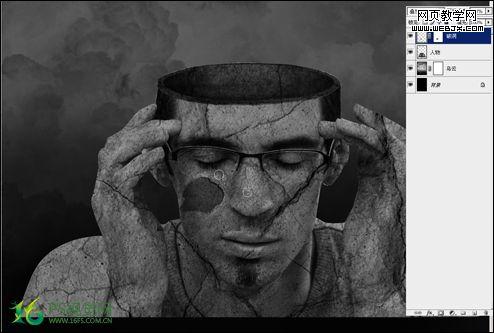
4、对人物图层执行去色。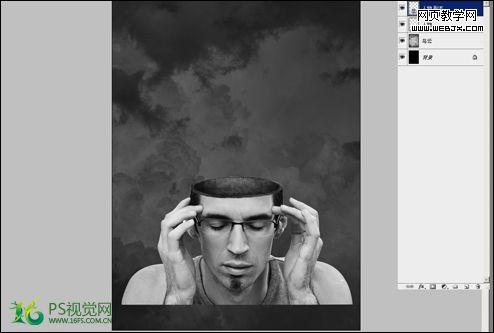
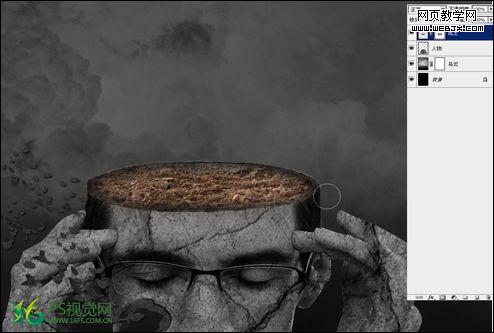
5、导入裂痕素材,调整好大小,模式改为正片叠底。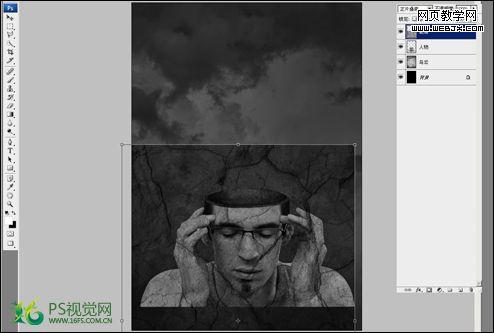
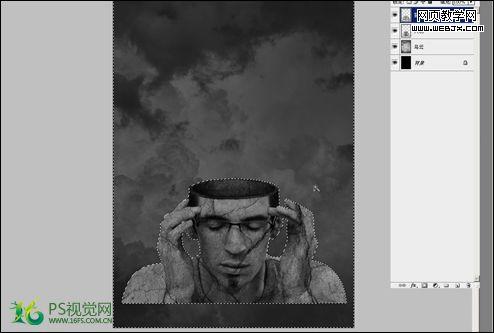
6、用魔棒工具在人物图层空白处点击,然后回到裂痕层,将选区裂痕清除。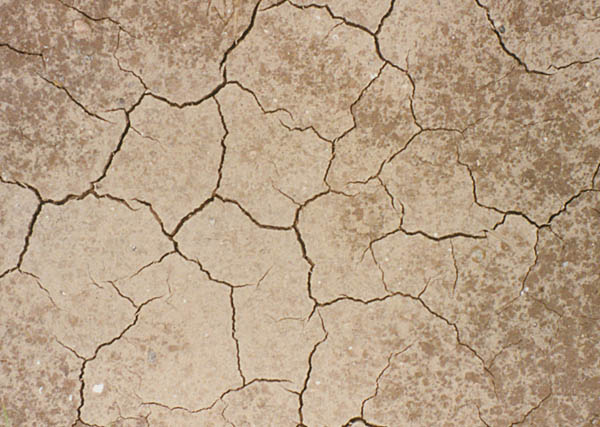
7、ctrl+L弹出色阶对话框,调整色阶(数值如图),使裂痕对比度更明显。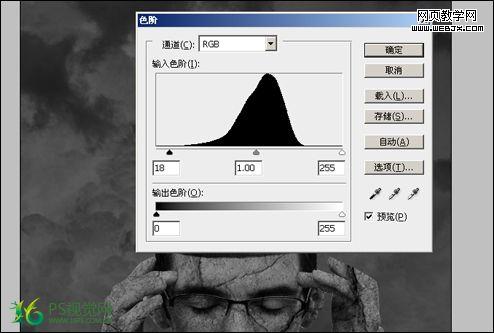
8、对云层图层添加蒙版,用黑色画笔覆盖不需要的地方。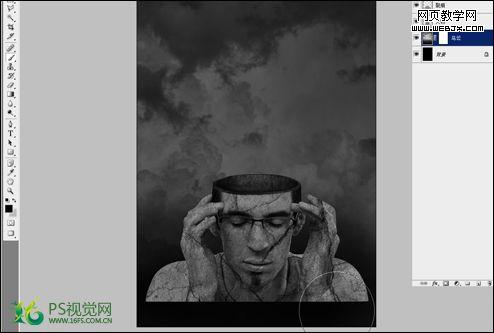
(本文来源于图老师网站,更多请访问http://m.tulaoshi.com/pskoutu/)9、导入破洞素材,模式为叠加。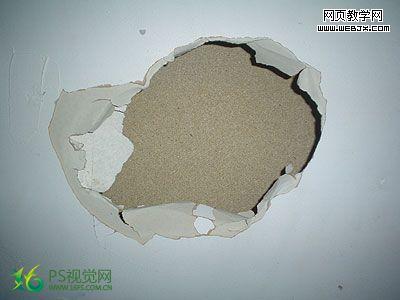
10、多边形选取工具不规则地选区出一块破洞,然后移动。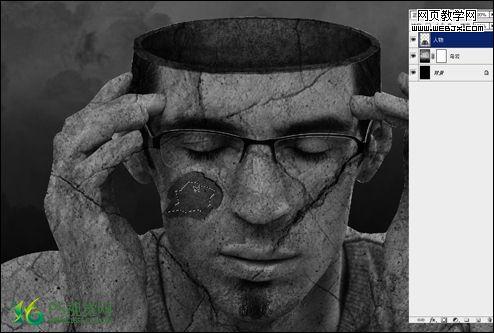
11、结合复制,粘贴,以达到分散效果。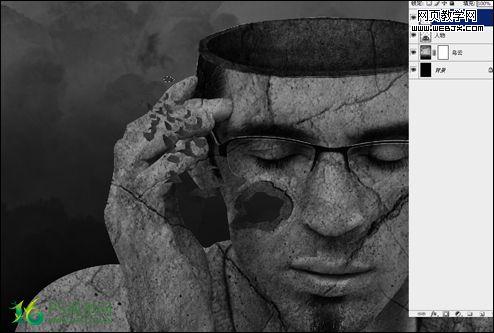
12、载入泥土素材,将泥土移到人物头部,并用橡皮擦将不需要的地方擦除。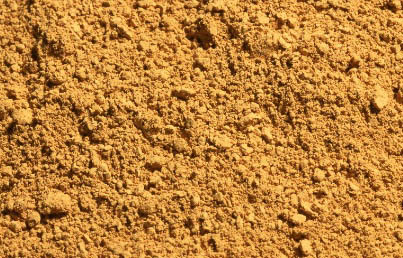
13、打开树素材,用通道抠图方法将树木抠出来。

14、将抠出来的树木导入(思想者)里面,然后调整好大小和位置。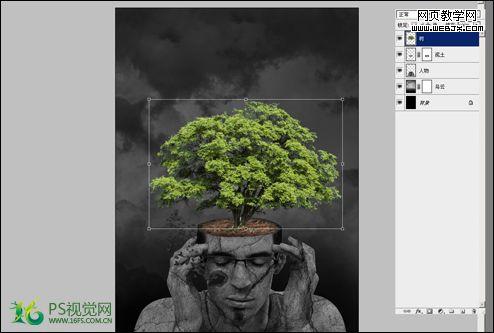
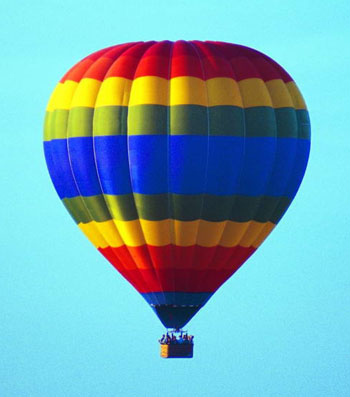
15、将飞机和热气球分别抠出来,然后放置到合适位置。
16、新建光线图层,然后用钢笔工具画出弧线,并使用模拟压力描边,描边像素自定。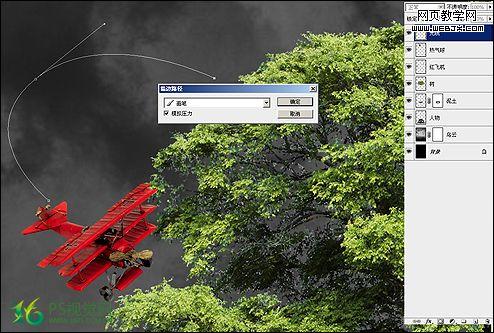
17、新建光晕图层,用画笔沿着弧线周围随意涂抹。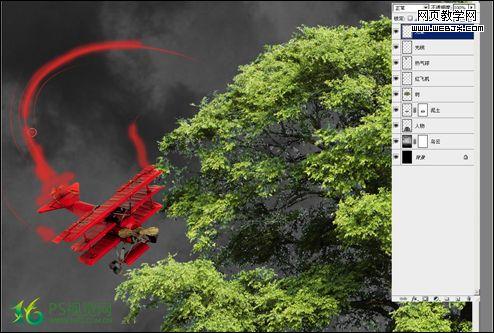
18、对光晕图层执行-滤镜-模糊-高斯模糊,数值如图。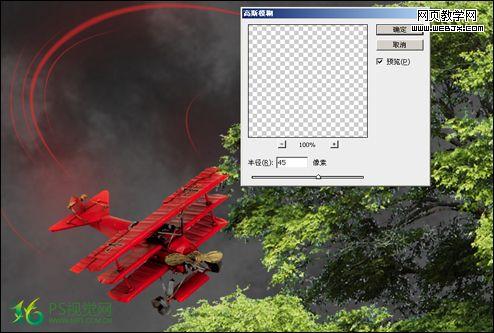
19、继续用钢笔画弧线,像素自行调整。
20、新建星光图层,设置散布画笔,沿着弧线画上星光。
21、再次画出几条弧线,用黄色描边,描边像素略小。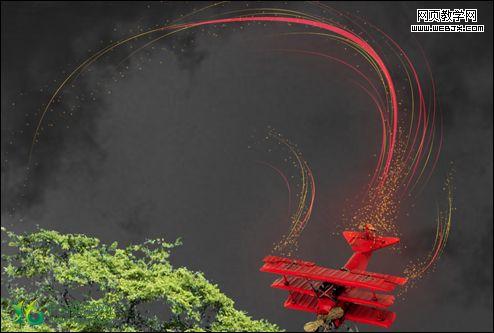
22、对人物图层添加蒙版,用黑色画笔将人物最底下覆盖起来。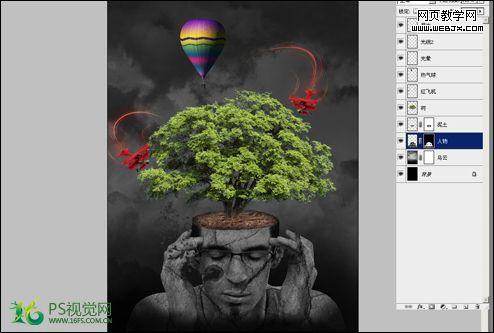
23、对树木图层执行色相饱和度,数值如图。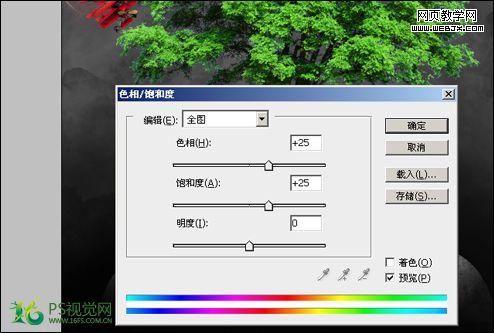
(本文来源于图老师网站,更多请访问http://m.tulaoshi.com/pskoutu/)24、导入苔藓素材,将素材移动到合适位置,叠加模式改为柔光,将其他不需要的地方擦除。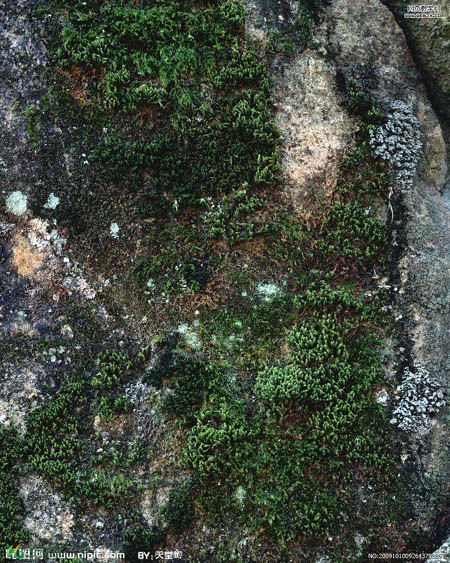
25、最后一步回到泥土图层,弹出曲线窗口,降低曲线。 最后的最后当然是综合调整图片,用加深减淡工具擦出一些光感,保存就完成了。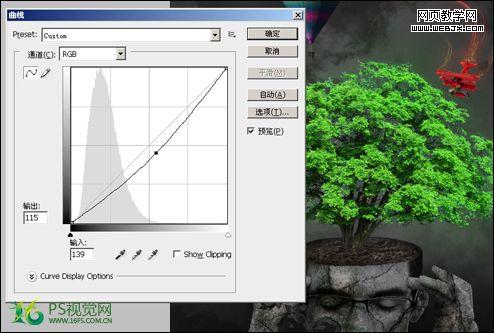
最终效果:


