今天图老师小编要跟大家分享巧用滤镜制作五彩霓虹灯效果,精心挑选的过程简单易学,喜欢的朋友一起来学习吧!
本教程制作一种类似霓虹灯效果的教程。思路:先把照片模糊处理,然后选择滤镜中的查找边缘把图片的轮廓找出来,再反相调下颜色,五彩的效果就出来了!
原图 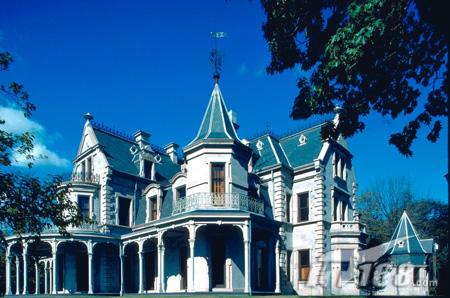
(本文来源于图老师网站,更多请访问http://m.tulaoshi.com) 最终效果 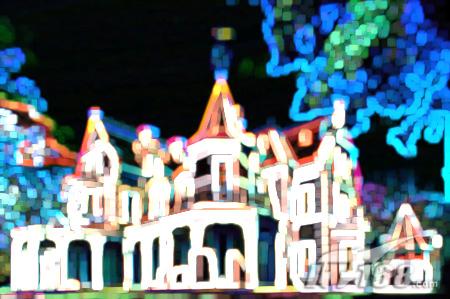
1、执行“滤镜”(Filter)|“模糊”(Blur)|“高斯模糊”(Gaussian Blur),在弹出来的对话框中设置“半径”(Radius)为“1”,如图1所示: 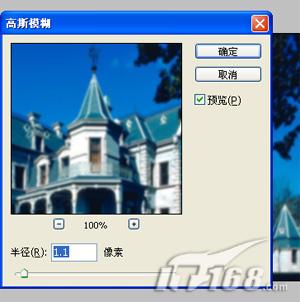
图1 这时的图片看上去稍有模糊,如图2所示 
图2 2、执行“滤镜”(Filter)|“风格化”(Stylize)|“查找边缘”(Find Edges),将整个图像的轮廓勾勒出来,如图3所示 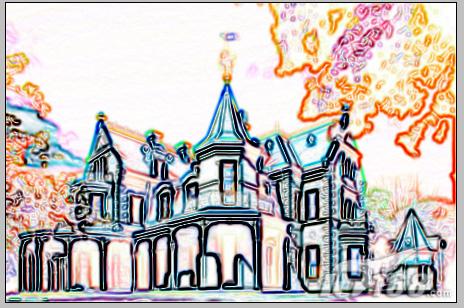
图33、按Ctrl+I进行反向操作(图像|调整|反相),图4所示 
图4 4、执行“滤镜”(Filter)|“其它”(Other)|“最大值”(Maximum),如图5所示 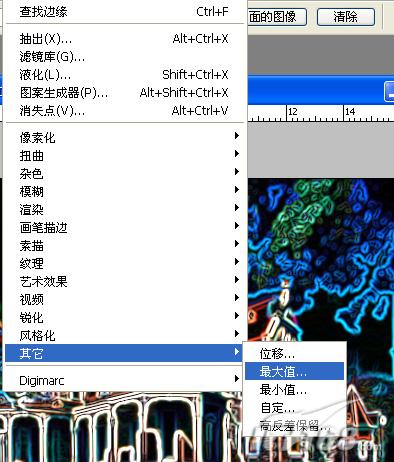
图5在弹出来的对话框中,设置值为2,以增强霓红的效果,如图6所示 
(本文来源于图老师网站,更多请访问http://m.tulaoshi.com)
图65、最后可使用工具栏中的模糊工具将图片模糊一下,看看我们效果图
图7 


