本教程介绍简单的立体图标的制作方法。大致过程:先绘制好想要的图层,然后利用图层样式做一些质感效果。然后再透视,做成立体效果。
最终效果 
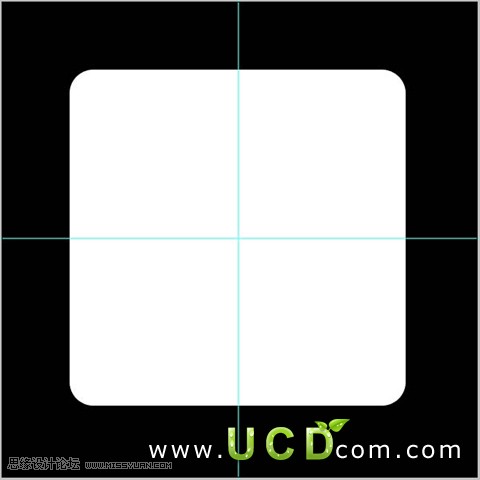
(本文来源于图老师网站,更多请访问http://m.tulaoshi.com)1、新建文件,然后选择矩形工具(U)半径为30px。 2、选择标尺(ctrl+R);拉两条辅助线,吧矩形平均一分为四。
3、选择矩形工具,颜色为红色: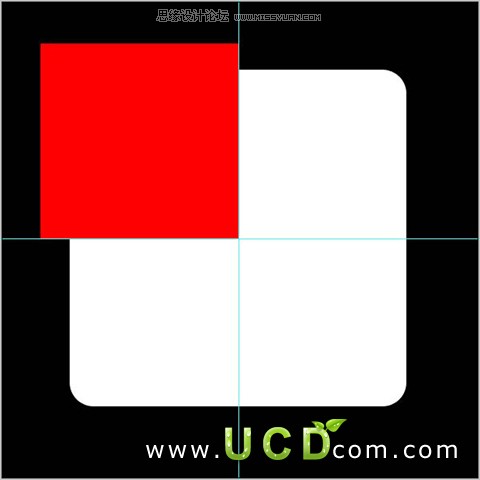
4、载入圆角矩形选区,反选(shift+ctrl+i)选择矩形层,删除多余部分;重复步骤3次。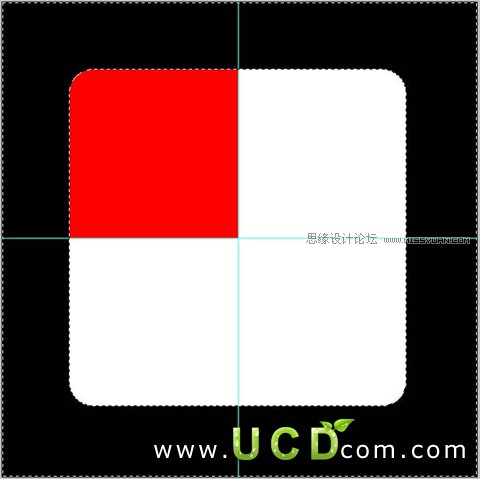

5、新建层,选择钢笔工具(P)做一个小图标如图。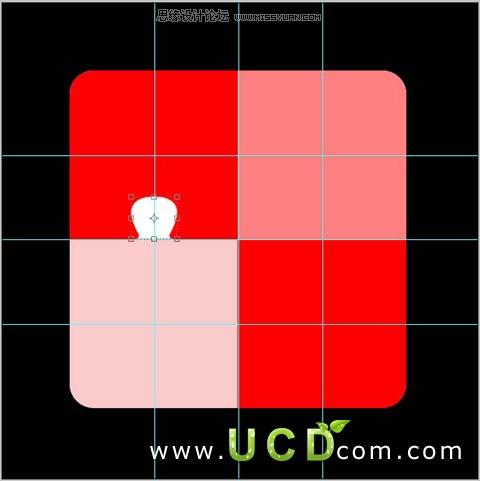
6、重复层3次,如图所示。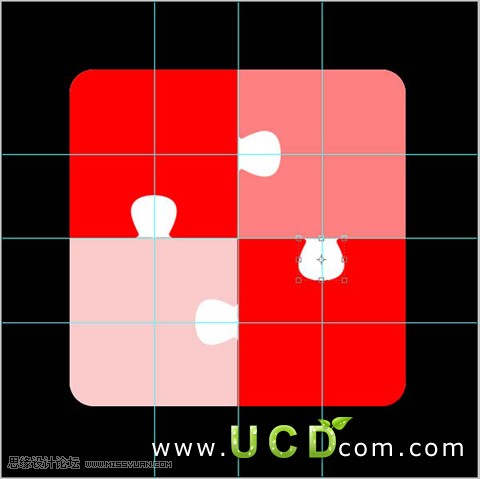
7、载入小图标选区,然后选择相对应的矩形删除、合并;如图: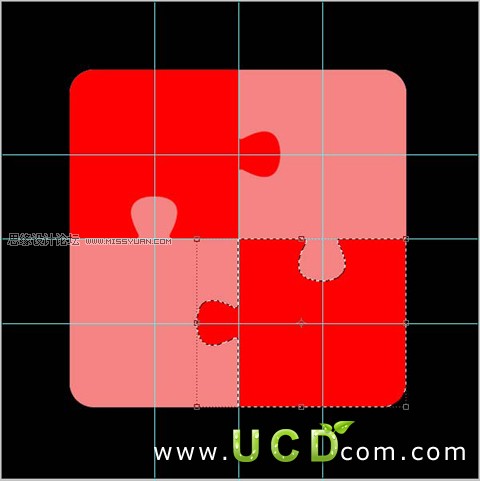
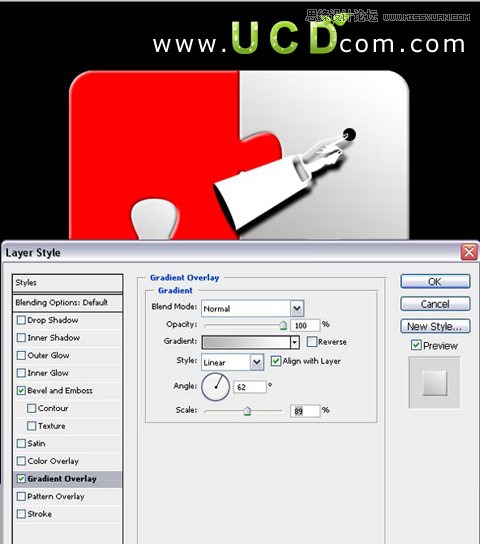
8、选择图层样式,做一下设置: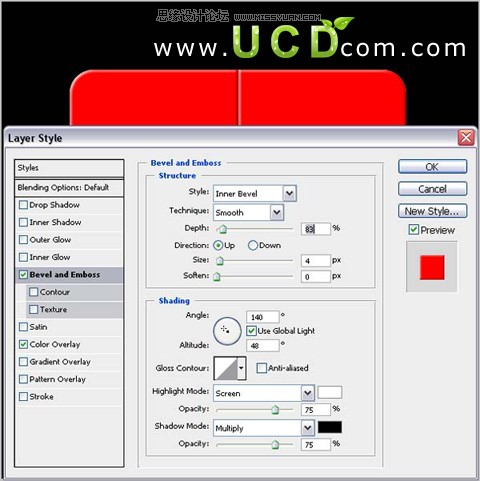
9、复制所有层,合并副本层,如图: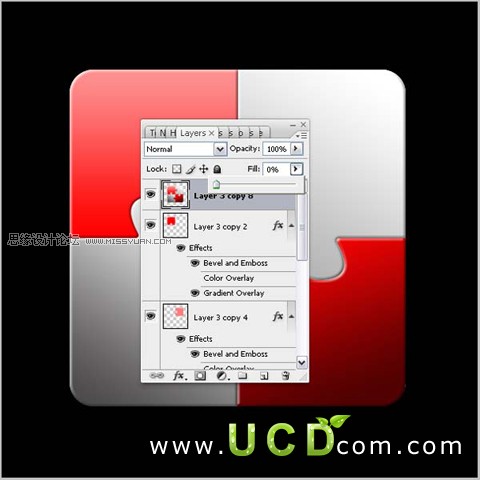
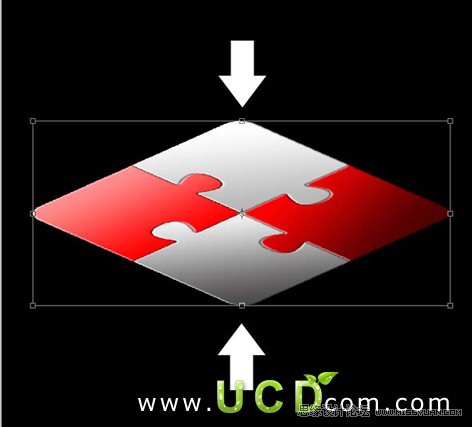
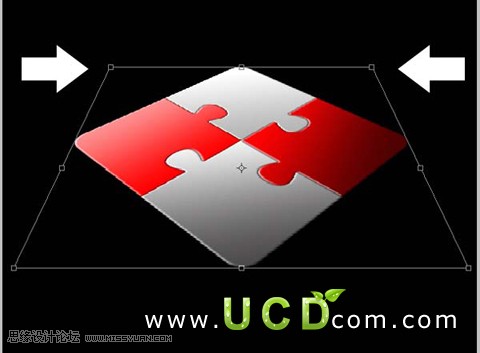
10、选择变换工具(ctrl+T)效果如图:
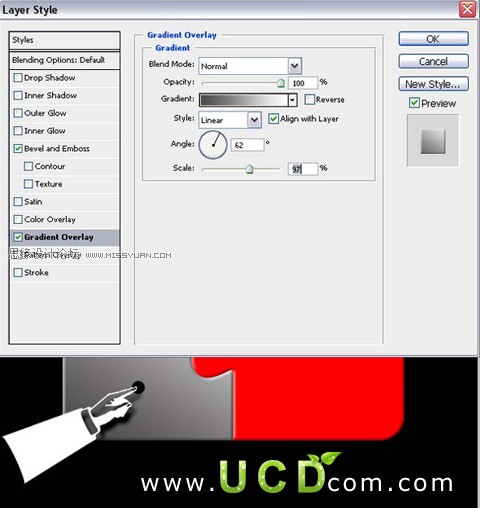
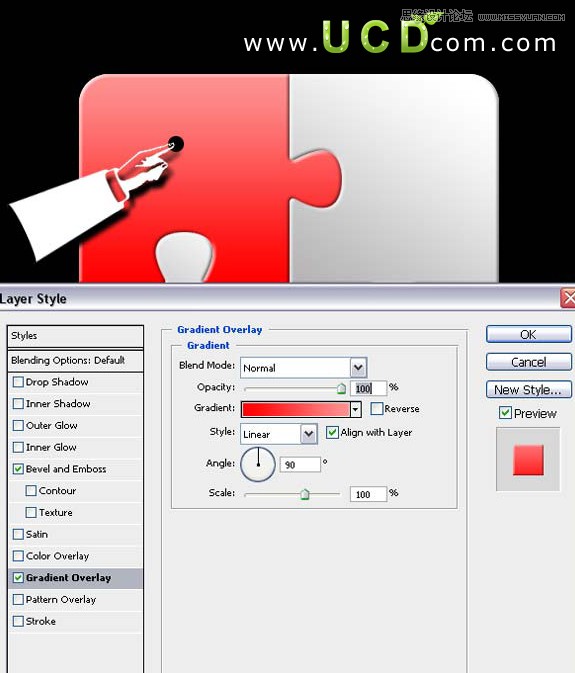
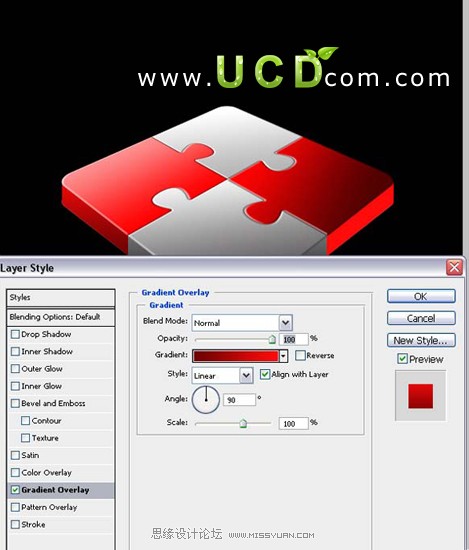
11、选择加深、减淡工具给矩形价反光效果, 12、载入选区,新建层填充红色,向下移动20px ; 悬着图层样式 渐变 ,如图:

(本文来源于图老师网站,更多请访问http://m.tulaoshi.com)
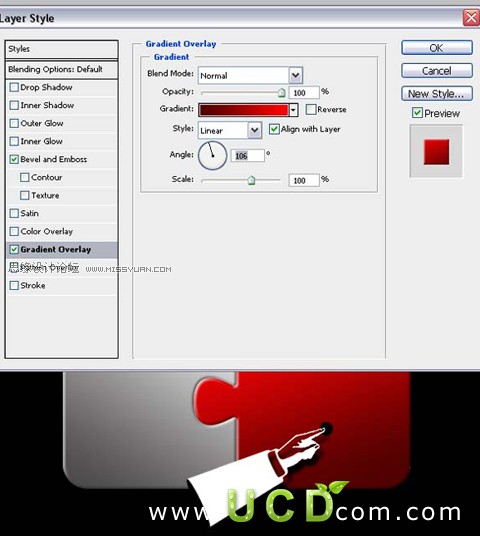
13、新建层选择选区工具(M)创建一条矩形选区,选择变换(ctrl+T)斜切,加图层样式 渐变,效果如图:

做个倒影完成最终效果:
(本文来源于图老师网站,更多请访问http://m.tulaoshi.com) 


