今天图老师小编给大家展示的是Photoshop制作简单的半月立体图形,精心挑选的内容希望大家多多支持、多多分享,喜欢就赶紧get哦!
本教程介绍不规则立体图形的制作方法。过程更立体字等制作方法类似。先按照合理的透视做出图形的各个面。然后再分别渲染高光和暗调,做出质感和光感即可。
最终效果![](http://img.tulaoshi.com/image/20160202/8cc42ed360128a76acb87f465831e373.jpg)
1、首先打开老外提供的初始PSD文件,解压后我们可以看到,名为BASIC的组里有3个矢量层,Moon1,MOON,和BLUE。(如果没有PSD文件,可以按住下图所示效果自己用PS做出来)![](http://img.tulaoshi.com/image/20160202/a86c4945bd7231e5e88c3f8ca54a8014.jpg)
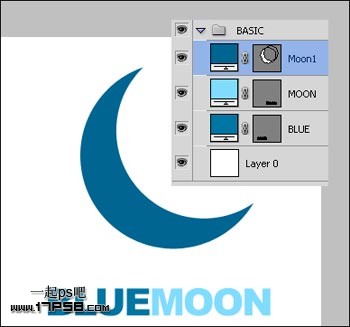
2、选择Moon1,复制一层,得到Moon1副本层。![](http://img.tulaoshi.com/image/20160202/339be032137c3bfc59c380e4e9a07d91.jpg)
(本文来源于图老师网站,更多请访问http://m.tulaoshi.com)
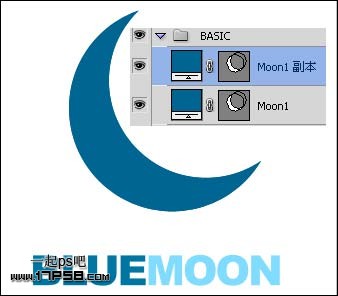
3、将副本层往左下方挪动一段距离,改变颜色为# 0077a2。 ![](http://img.tulaoshi.com/image/20160202/e1ba1025acce0936c4d5405eb353ab05.jpg)
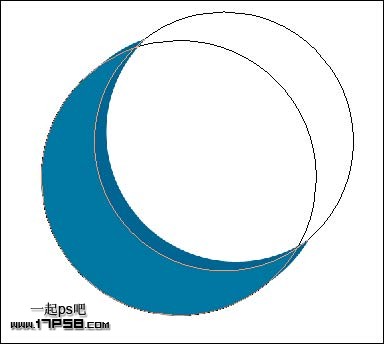
4、选择钢笔工具,将红框内的节点分别向上向右挪动一段距离,效果如下。
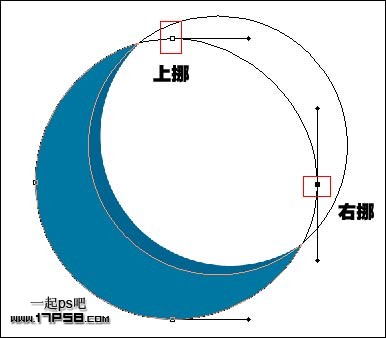
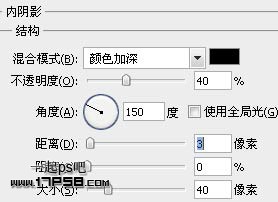
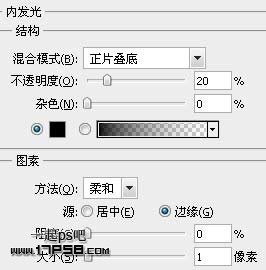
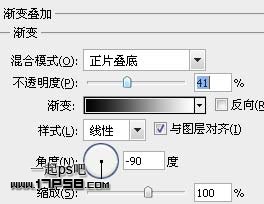
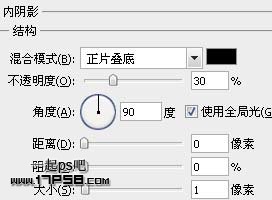
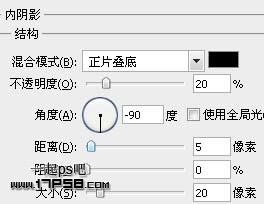
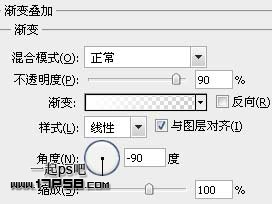
![](http://img.tulaoshi.com/image/20160202/4a26ebf1c996db440004c26a9785594c.jpg)
5、添加图层样式。![](http://img.tulaoshi.com/image/20160202/04efdba2c1fb0205f54e26f6ed92cc03.jpg)
![](http://img.tulaoshi.com/image/20160202/456e8d6d14cda710250ac6e022820345.jpg)
![](http://img.tulaoshi.com/image/20160202/7bcbb269013f116e908b49d06eb48c40.jpg)
![](http://img.tulaoshi.com/image/20160202/09d9a56625dd8ec2621227630fb94558.jpg)
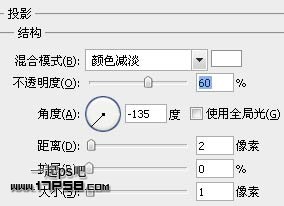
6、建新层,命名高光,调出Moon1副本选区,用白色柔角笔刷在红色区域涂抹,图层模式改为叠加。
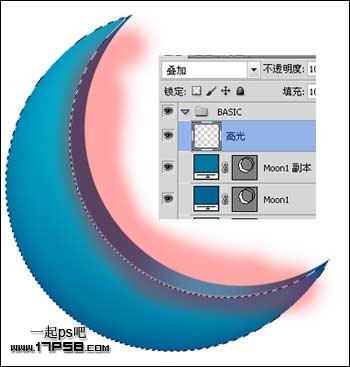
![](http://img.tulaoshi.com/image/20160202/60a4049be02041d96900a7ccb131414a.jpg)
7、调出Moon1选区,按住crtl+alt键点击副本图层,我们会得到一个月牙选区,用白色柔角笔刷在红框内的位置涂抹,类似下图效果。
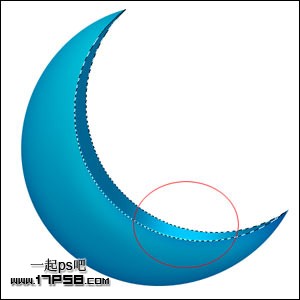
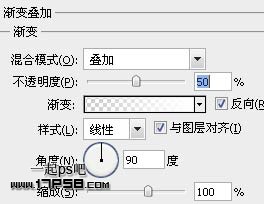
![](http://img.tulaoshi.com/image/20160202/c861413291344787b957bcdbdf364c93.jpg)
8、选择Moon1层,添加图层样式。![](http://img.tulaoshi.com/image/20160202/a9ccb2edf5b2ab5e06d71704194eadbb.jpg)
(本文来源于图老师网站,更多请访问http://m.tulaoshi.com)![](http://img.tulaoshi.com/image/20160202/ae216766249d26cc1705983a5bd8f0aa.jpg)
![](http://img.tulaoshi.com/image/20160202/16a7581764211c60073d43c07e0b2cf5.jpg)
![](http://img.tulaoshi.com/image/20160202/e0d9582e2b2f931fae61d36ba9fa9084.jpg)
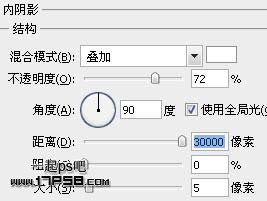
9、新建图层1,画一椭圆选区,填充黑色,去掉选区,高斯模糊10像素,图层不透明度30%,这是月牙的倒影。
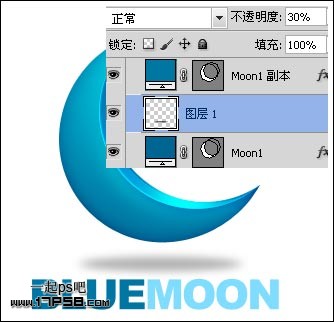
![](http://img.tulaoshi.com/image/20160202/92a0de2706b0e970a4d81b8f171fec72.jpg)
![](http://img.tulaoshi.com/image/20160202/8ae4e561e8019ff1238d04b3a21ff58e.jpg)
![](http://img.tulaoshi.com/image/20160202/3aa7be80b22ea308ed99da8f34c6c7e3.jpg)
![](http://img.tulaoshi.com/image/20160202/6e95fd8a6f5c185cc0d22e9b215a588f.jpg)
10、Ctrl+J复制一层,往底部挪一定距离,添加及修改样式。![](http://img.tulaoshi.com/image/20160202/5fd52d5b3274ea798c0b8fcf811056f8.jpg)
![](http://img.tulaoshi.com/image/20160202/fc0a270e0506ba728fbcf3a6726091d2.jpg)
![](http://img.tulaoshi.com/image/20160202/89f0a25c37c0fbe25b059e333dbd8603.jpg)
![](http://img.tulaoshi.com/image/20160202/167fe9a3e06869d0ab8f92cdacc18d60.jpg)
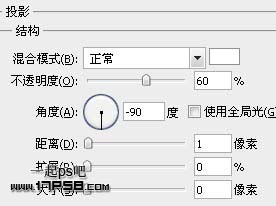
11、复制BLUE和BLUE副本层,然后把复制层合并,得到副本3,ctrl+T垂直翻转,挪到底部,图层不透明度25%。![](http://img.tulaoshi.com/image/20160202/e2187dd4b180a4babca559ed81e2b700.jpg)
同样方法处理MOON层,选择layer0层,前景色#48d7ff背景白色,做一直线渐变,最终效果如下。![](http://img.tulaoshi.com/image/20160202/8cc42ed360128a76acb87f465831e373.jpg)