下面图老师小编跟大家分享Photoshop制作一块华丽的红色桌布,一起来学习下过程究竟如何进行吧!喜欢就赶紧收藏起来哦~
本教程介绍一些静物的绘制方法。最好最快的方法就是找一些类似的静物实物图来参考,然后根据受光情况来绘制暗部和高光,这样绘制的作品才逼真。
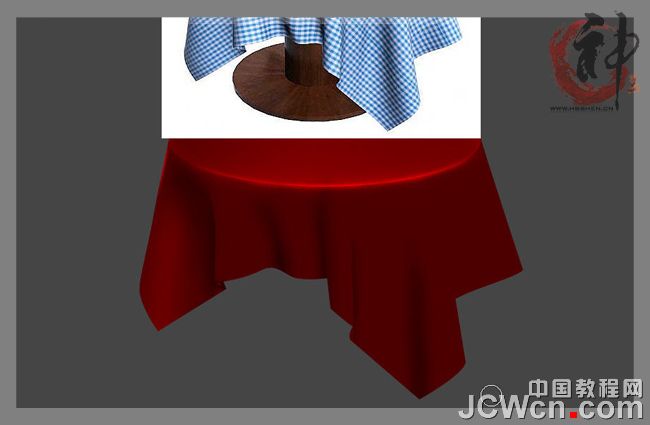
最终效果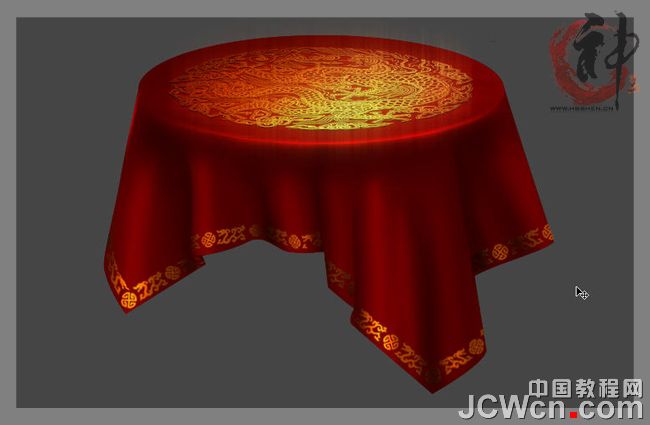
(本文来源于图老师网站,更多请访问http://m.tulaoshi.com)1、新建桌布,能大绝对不要小,最起码1000像素起,大幅作品3K往上。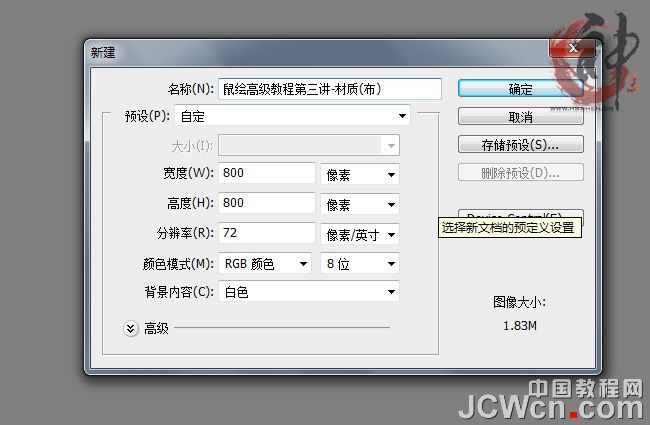
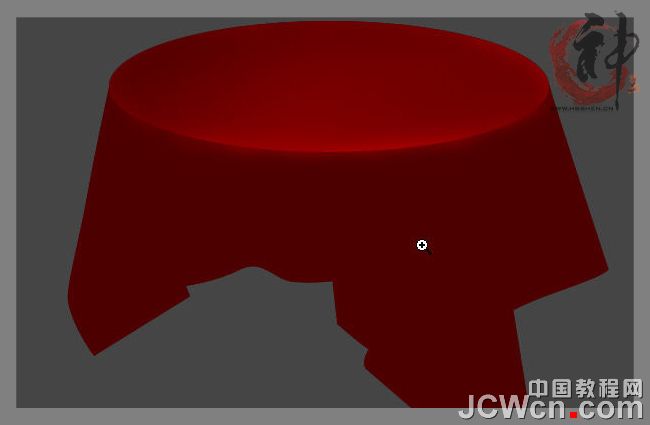
2、新建图层,弄个桌面。
3、参考实物,钢笔工具画出整体桌布。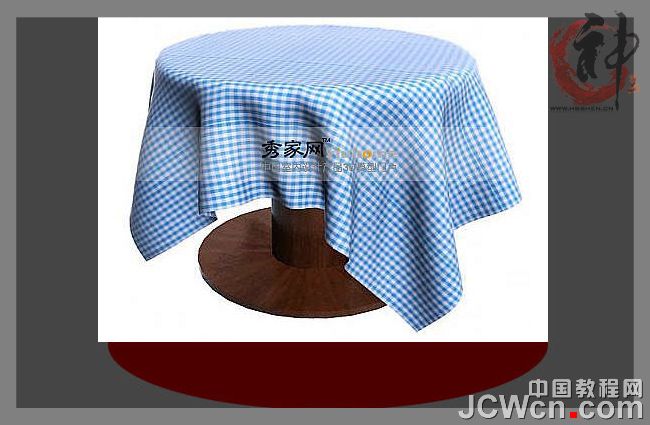


4、减淡工具,擦亮桌面。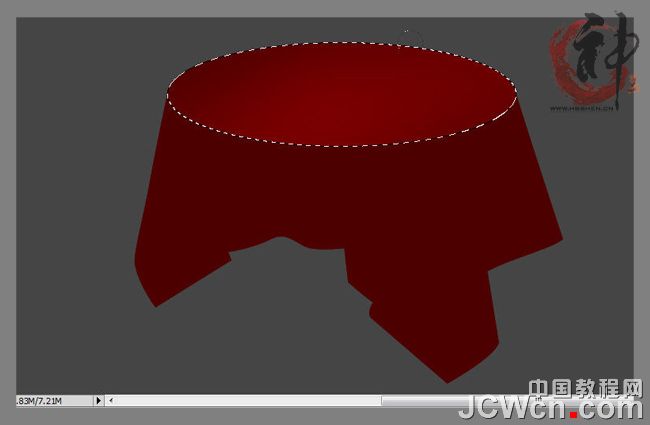
5、减淡工具的三种不同范围,自己捣鼓下看看有什么不同。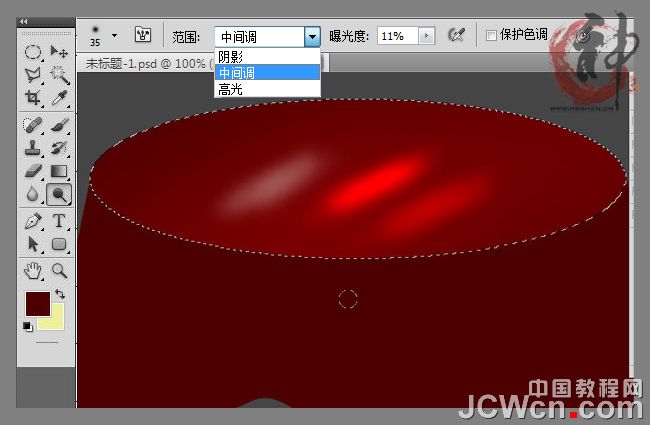
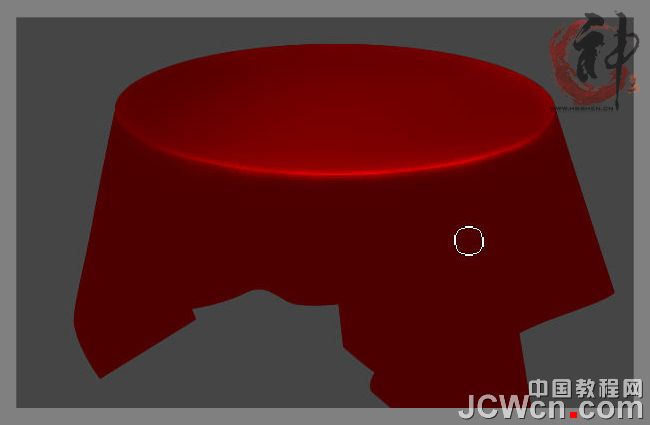
6、将选区变成边界~减淡工具擦亮选区内部(桌面边缘) ,然后模糊一点点。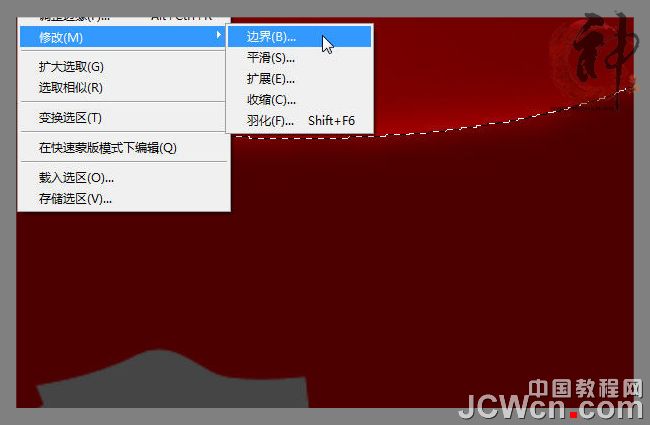
7、对比实物,结合选区使用加深工具擦出褶皱阴影。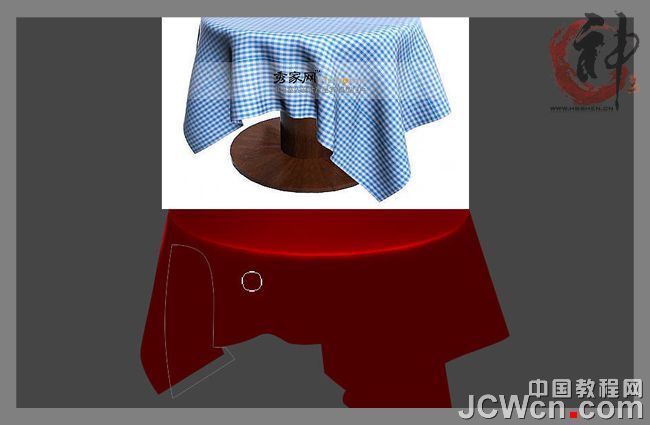
8、加深工具也有三种范围。

9、注意细节,这个不要偷懒了。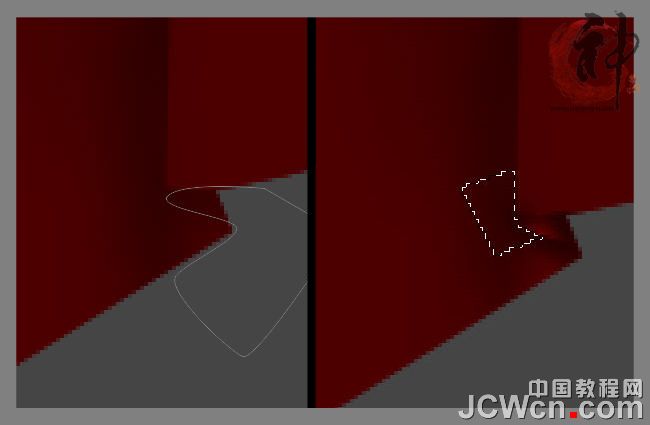
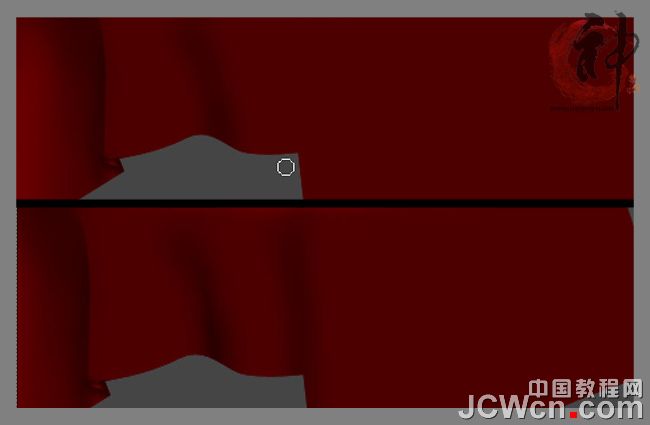
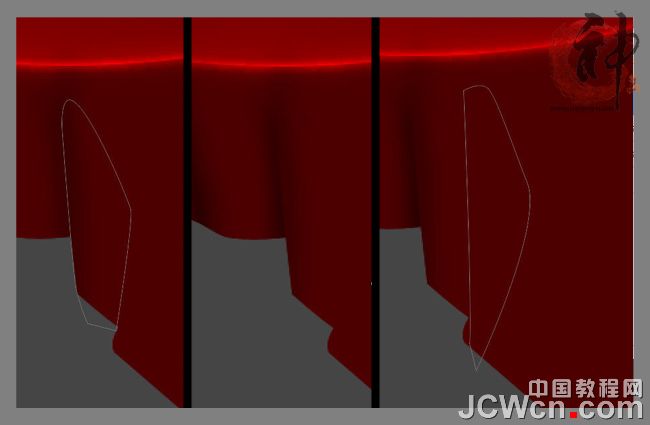

10、减淡工具,范围高光。擦出高光区域。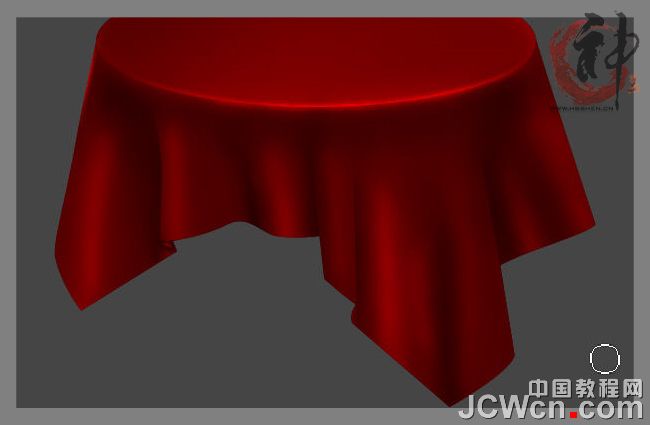
11、涂抹工具小压力,“走”一下褶皱,这样可以柔和一些。这也是一个很重要的技巧,画头发什么的都用到这个。
12、选择合适的贴图素材这才是重点,很多专业人士画画也都用贴图的哦。并不是全部动手去画,累死了都。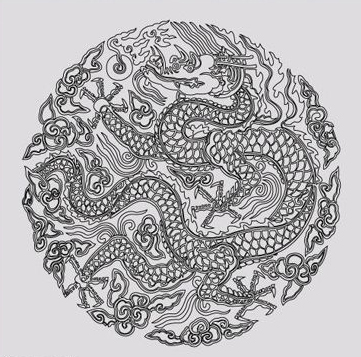
13、抠图,留下需要的部分。方法很多,自己网上找找。这里我用色彩范围抠图。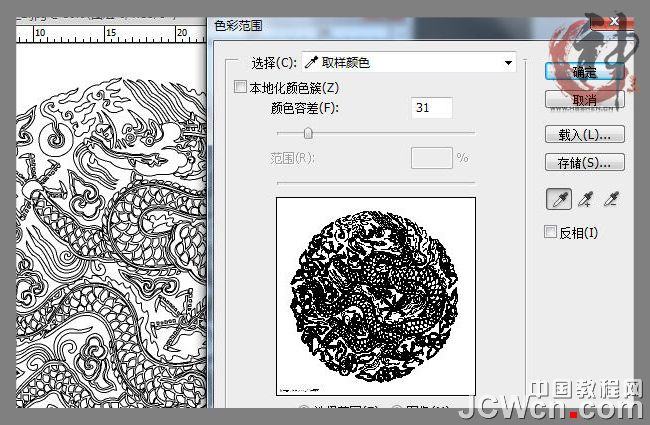
14、调整颜色,ctrl+T 变形,放置于桌面之上。注意不要违背物理规律哦。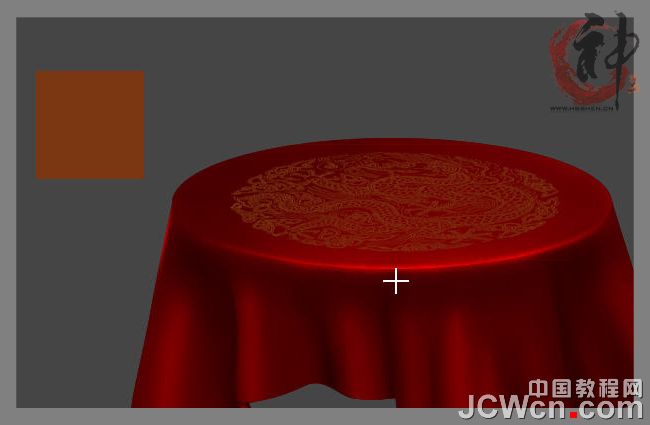
15、减淡工具擦出高光区域,图层样式,弄个小投影。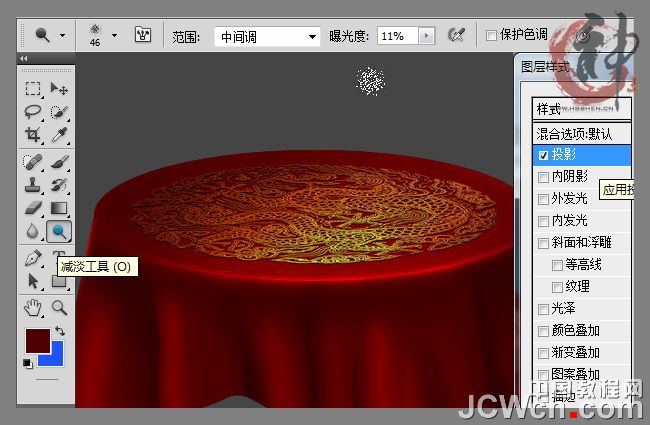
(本文来源于图老师网站,更多请访问http://m.tulaoshi.com)16、复制两个花纹图层,分别使用不同角度的动感模糊滤镜。这是为了弄点闪闪的效果,自己创意。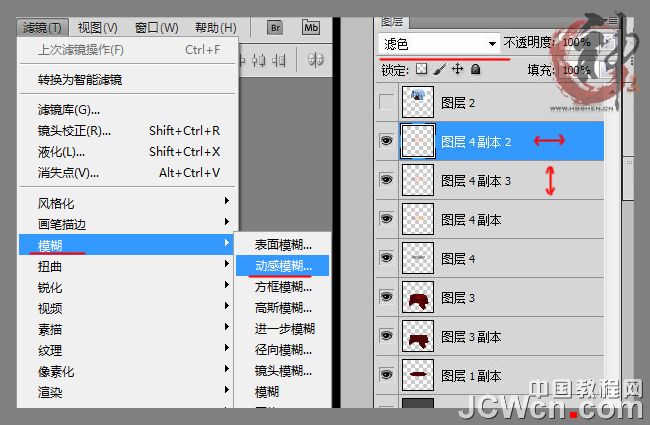
17、两个复制的图层更改~图层模式:滤色。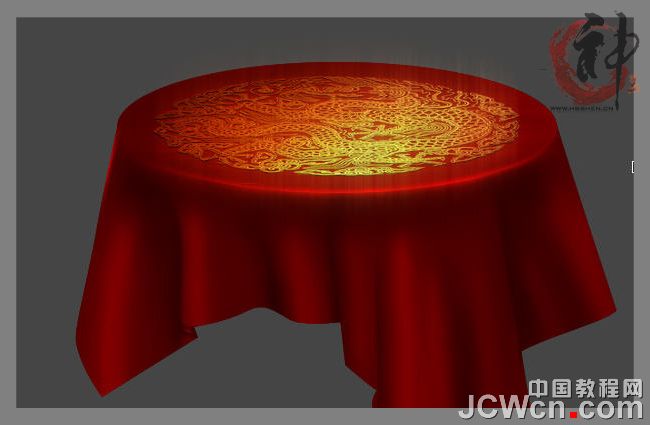
18、寻找合适的贴图素材,使用变形和液化功能,使之契合褶皱纹理。这个过程很麻烦,要睁大你的眼睛,慢慢调整。多练习~ 变形调。
19、液化调整。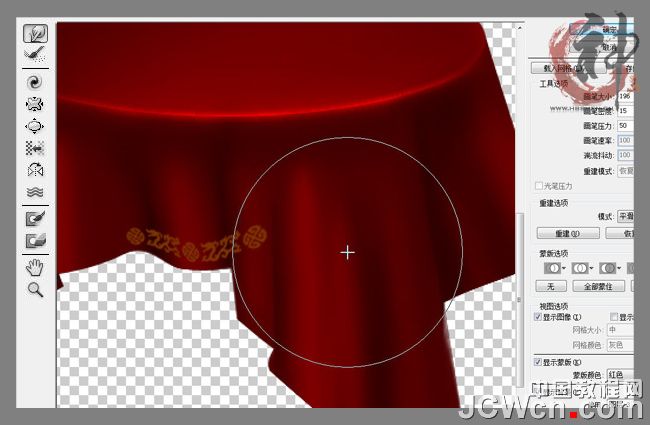
20、大块贴图不好控制,就裁剪成小块的。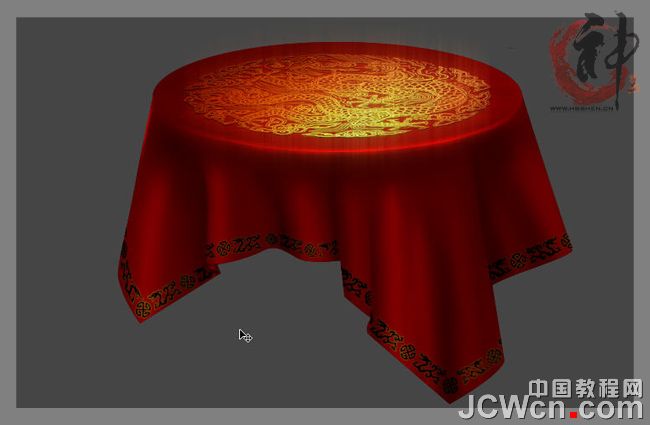
最终效果:
(本文来源于图老师网站,更多请访问http://m.tulaoshi.com) 


