今天图老师小编给大家精心推荐个Photoshop打造超酷的火焰美女壁纸教程,一起来看看过程究竟如何进行吧!喜欢还请点个赞哦~
效果图并不复杂,不过细节部分比较难。首先需要用画笔等把地面部分渲染出来。加入人物后还需用火焰素材等增加动感火焰效果,用到的火焰需要截取并变形处理。后期再配合火焰渲染烟雾并加入装饰素材即可。
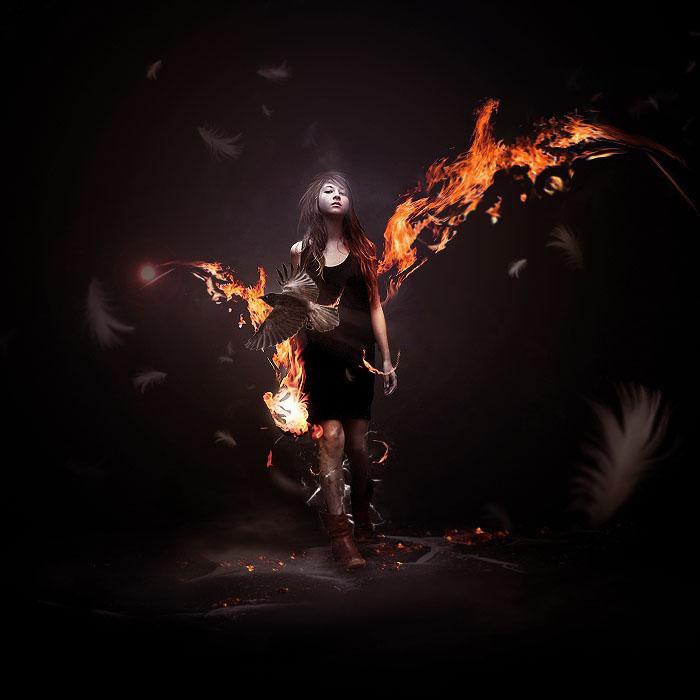
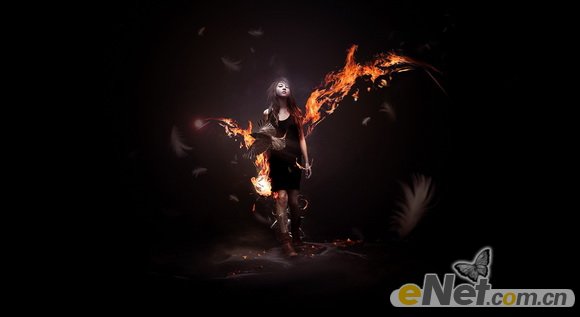
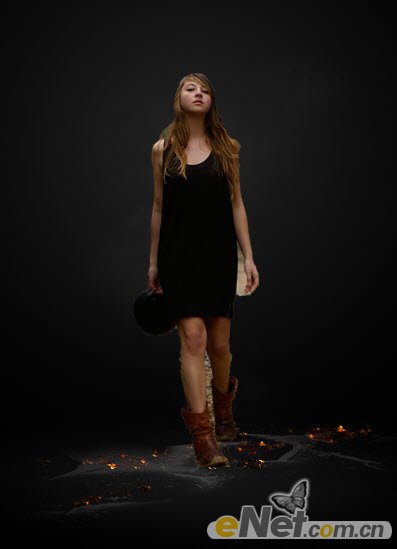
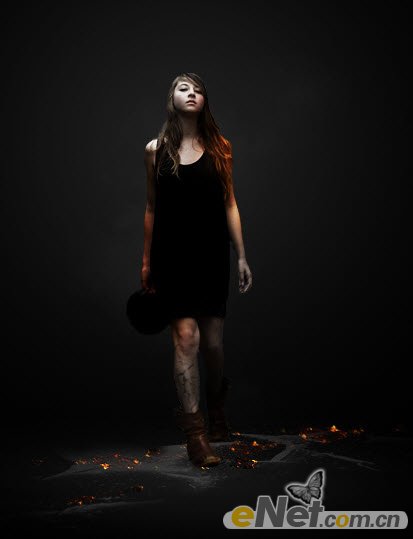
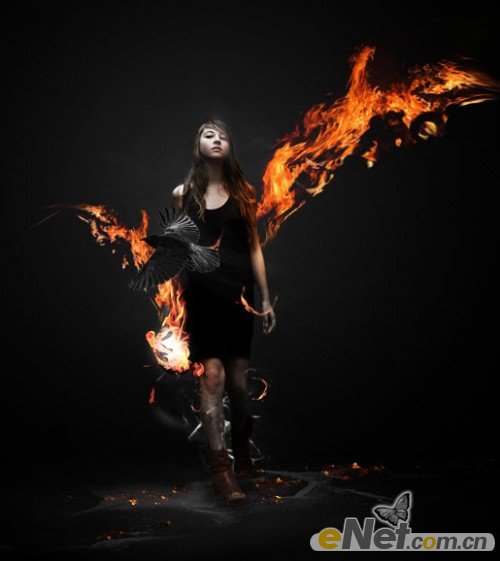
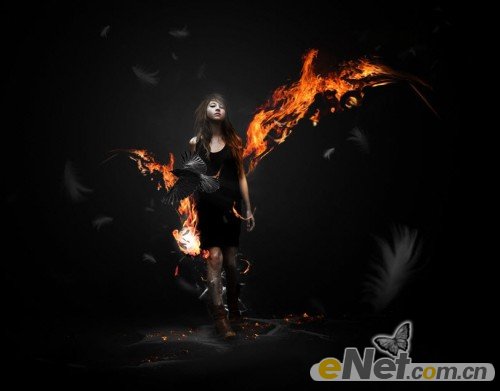
最终效果
1、创建一个新文件大小为1280*700像素,背景为黑色。新建层用软白色笔刷在画布上绘制光的背景,这里需要使用“自由变换”工具来调整光团的形状及大小。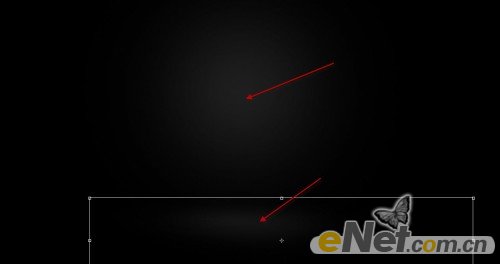
2、新建层,使用裂痕刷,在底部绘制裂痕来做背景地面。

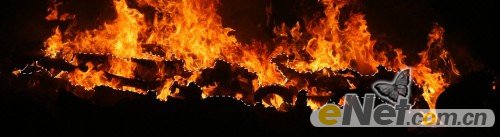
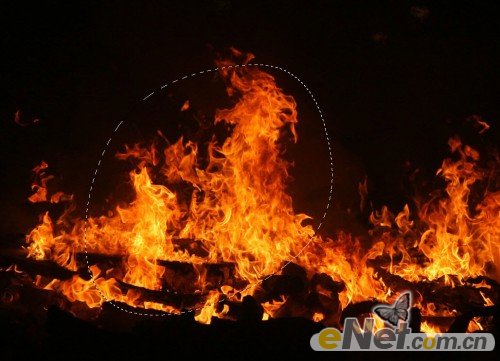
3、下载一些火的图片素材,使用“快速选择”工具,选择火元素放入画布地上,来给地面添加火的效果。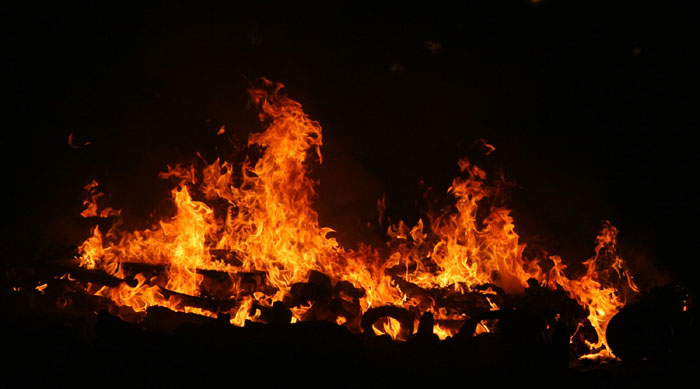
(本文来源于图老师网站,更多请访问http://m.tulaoshi.com)4、复制并粘贴到画布,使用“自由变换”点击右键使用“扭曲”如下图调整。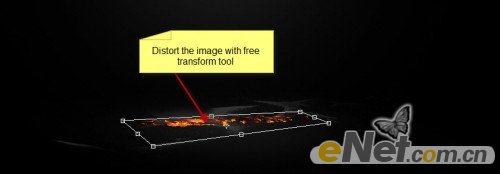
5、CTRL+L调出色阶,如下调整。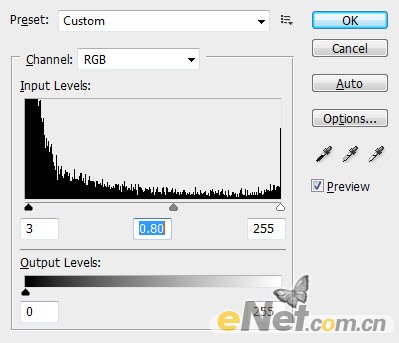
6、在这个层将不透明度设置为80-90%然后用橡皮擦删除过多的火元素。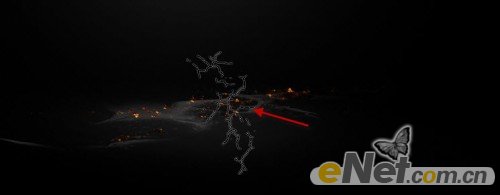

7、将人物模型粘贴到画布上,如下图所示。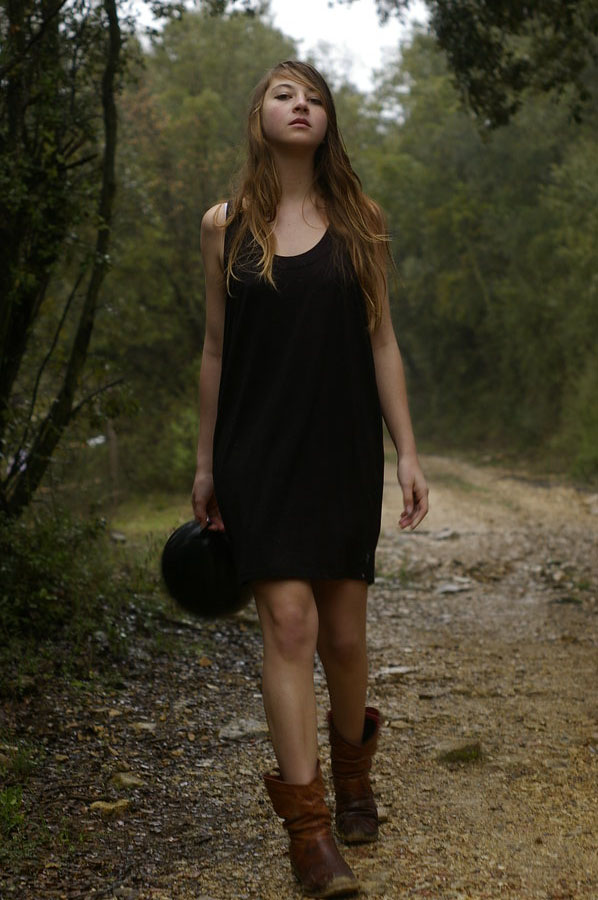
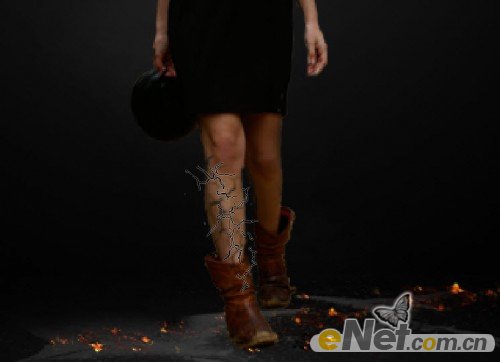
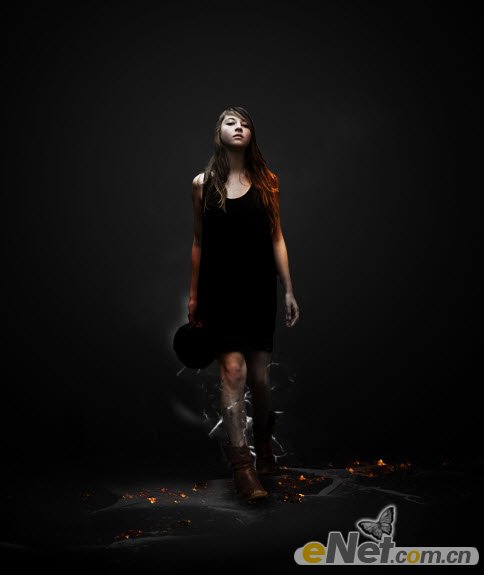
8、用裂缝笔刷在腿部绘制裂缝,然后用橡皮擦擦除多余部分。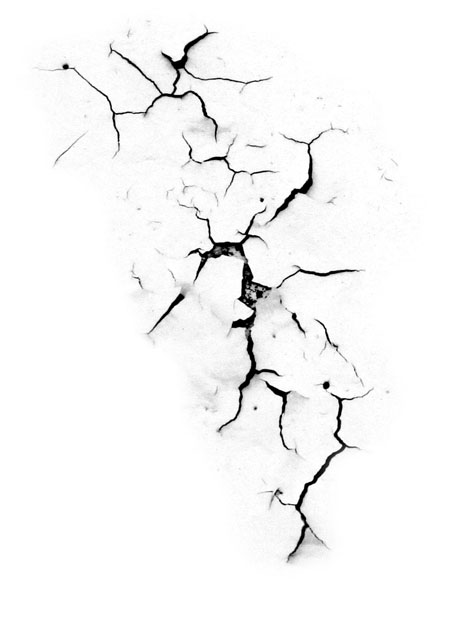
9、给图层添加调整层:黑白。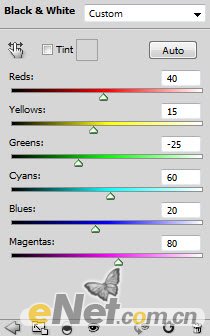
10、在黑白图层蒙版中涂抹。
11、色阶。
(本文来源于图老师网站,更多请访问http://m.tulaoshi.com)12、在色阶蒙版中涂抹。
13、曲线。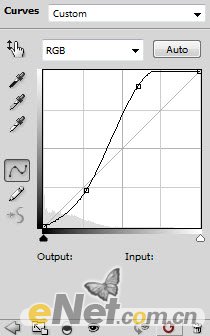
14、用白色笔刷绘制一些光源在腿部,然后用裂纹笔刷在另一条腿上绘制阴影。
15、下面添加一些飞火,让图像看起来具有超自然效果。使用套索工具羽化设置30%左右,如下图套取选区。
16、复制并粘贴到画布上,并用“自由变换”工具做下图变换。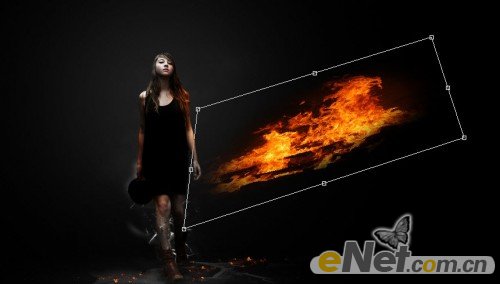
17、变形。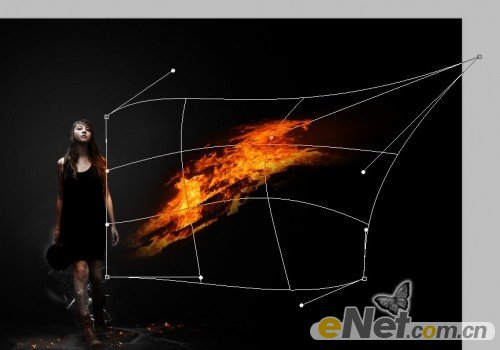
18、使用“滤镜液化”对火做出调整。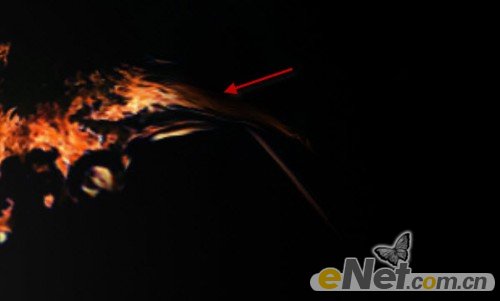
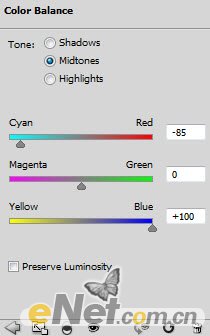
19、给图层添加调整层设置,选择曲线和色彩平衡。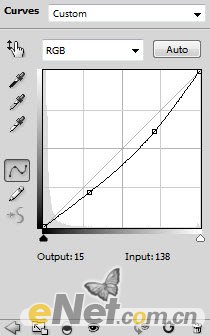
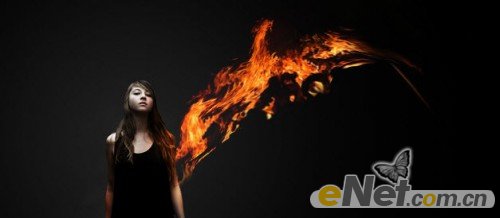
20、选择火层翻转调整大小,放到人物的另一侧。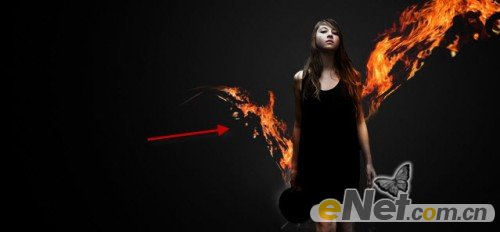
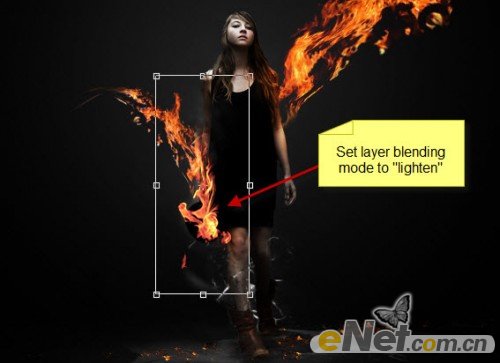
21、添加一些火在右胳膊,并将混合模式设置为“变亮”。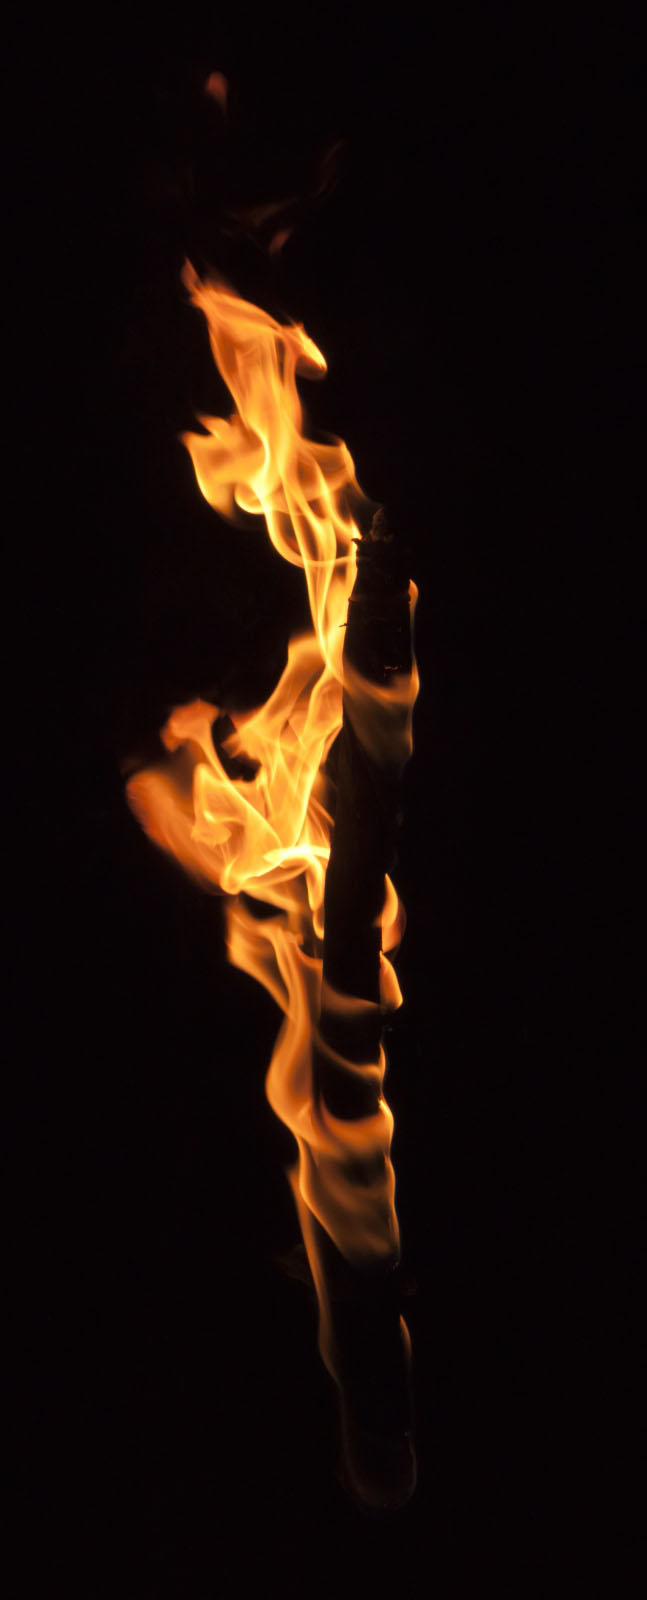
22、如上步调整新添加的火层颜色。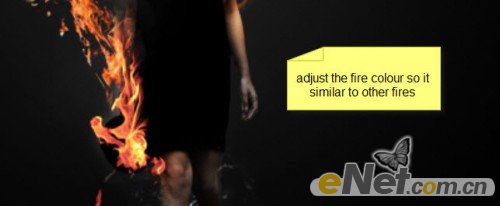
23、在另一只手添加一些火元素。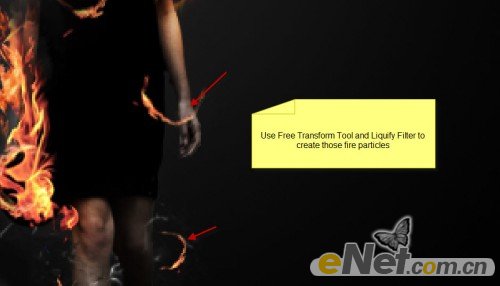
24、使用白色软笔刷,在火的中心刷出亮光。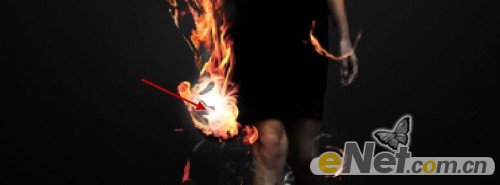
25、添加乌鸦模型,调整大小和位置,如图所示。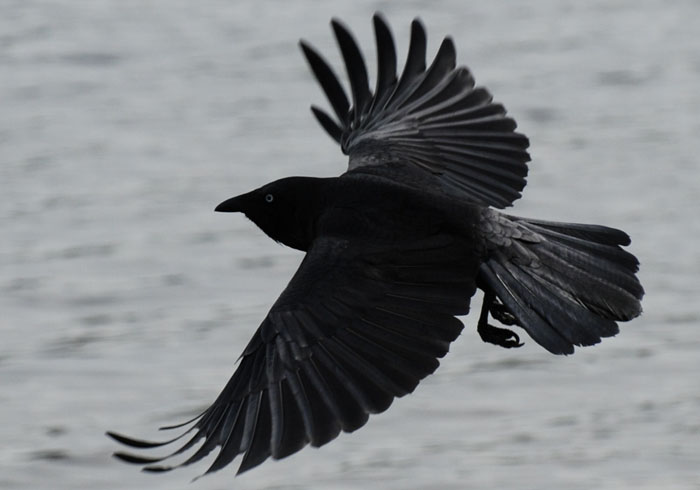
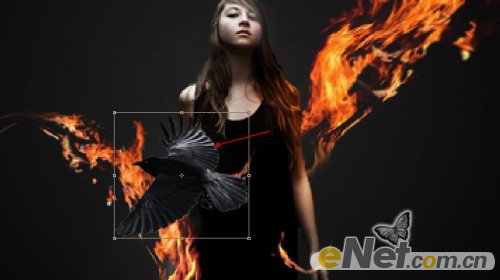
26、用一些云雾笔刷,在乌鸦的后面绘制飞行产生的气流。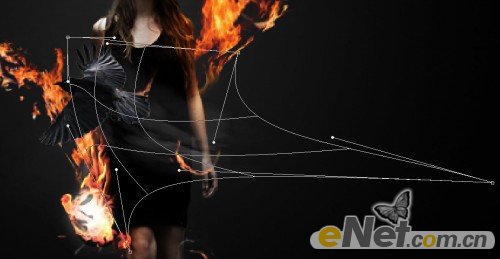
27、将乌鸦的不透明度减少到60%。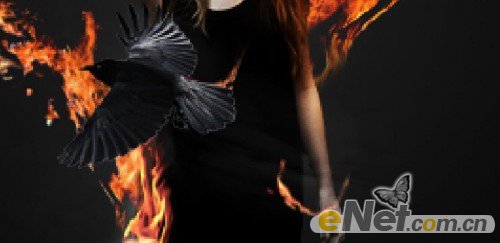
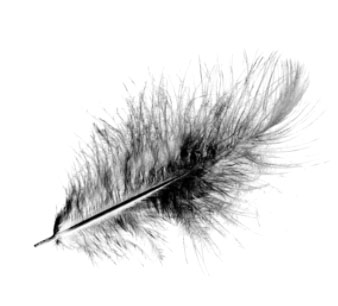
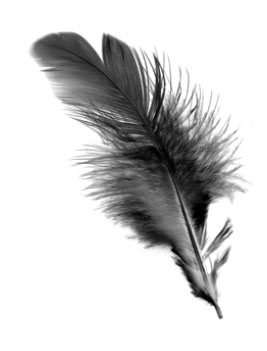
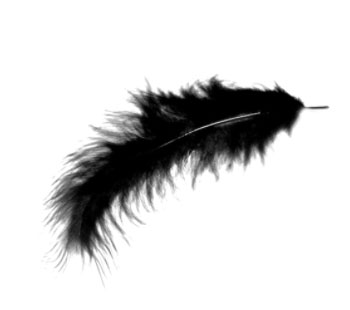
28、使用羽毛刷,在画布上绘制羽毛纷飞的效果。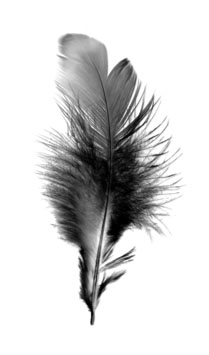

使用曲线和色彩平衡如前面所示,你喜欢冷色就调成冷色喜欢暖色就调成暖色。


