想不想get新技能酷炫一下,今天图老师小编就跟大家分享个简单的Photoshop打造燃烧的火焰美女教程,一起来看看吧!超容易上手~
原图 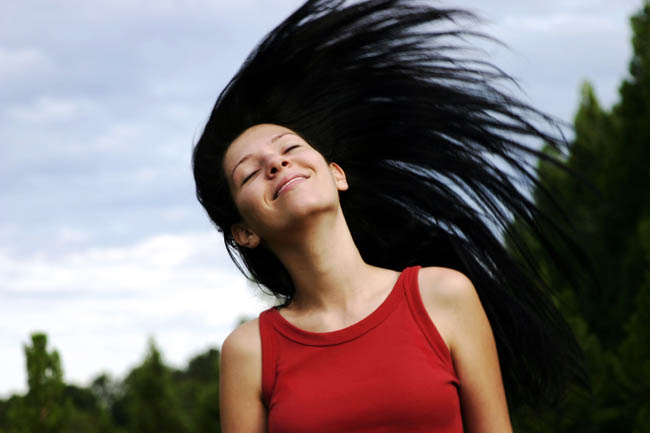
最终效果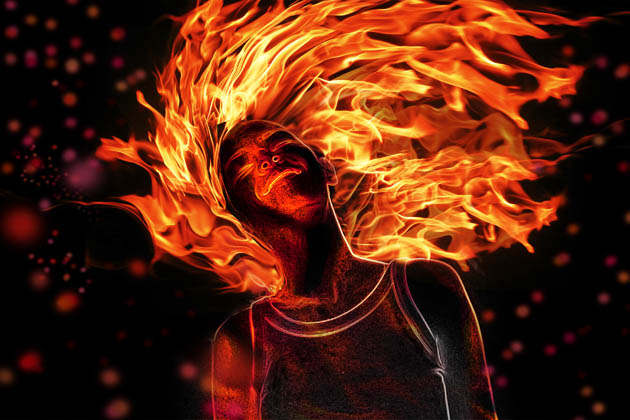
1、打开原图素材,按Ctrl + J把背景图层复制一层。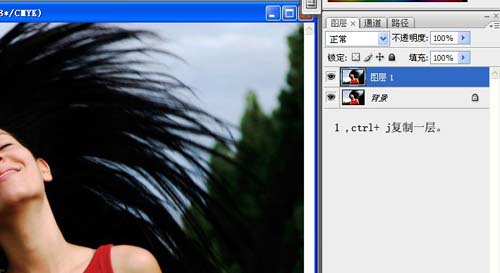
2、把背景图层填充黑色。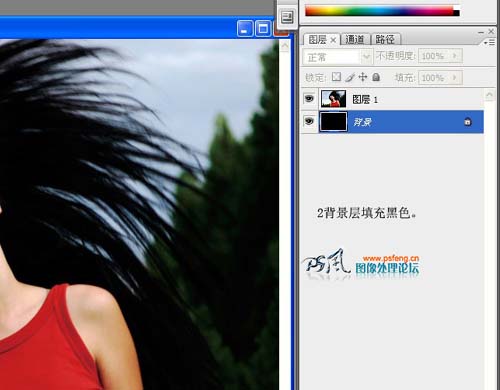
3、回到图层1,按Ctrl + Shift + U去色。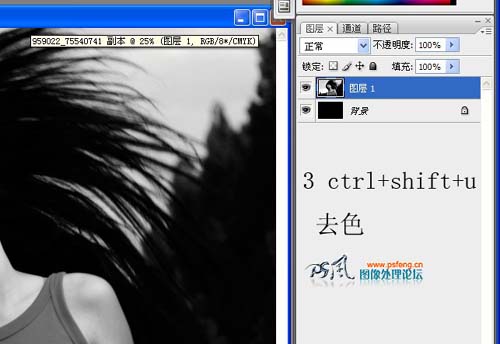
(本文来源于图老师网站,更多请访问http://m.tulaoshi.com/psxpcl/)4、按Ctrl + I反相。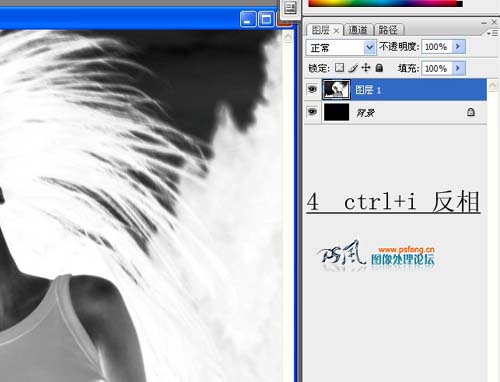
5、执行:滤镜 风格化 查找边缘。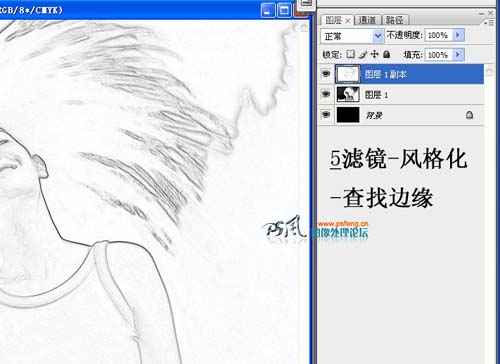
6、把图层1复制一层,按Ctrl + I反相,然后把图层混合模式改为“强光”。
7、图层1副本复制一层,图层混合模式改为“滤色”。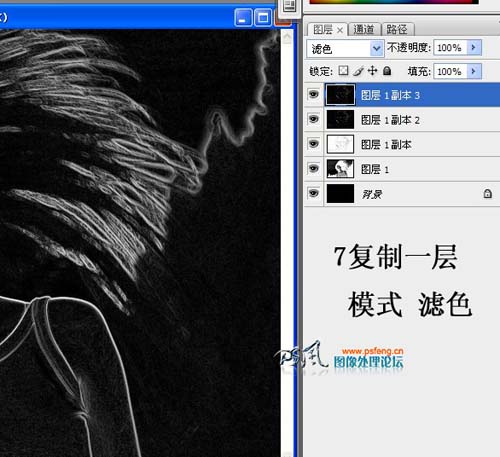
(本文来源于图老师网站,更多请访问http://m.tulaoshi.com/psxpcl/)8、打开下图所示的火焰素材,拖进来,并复制一层,隐藏原图层。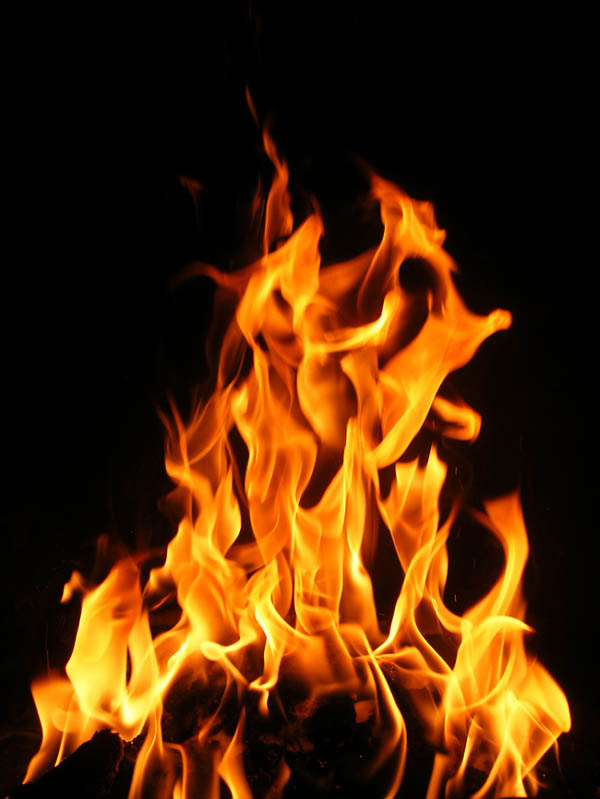

9、应用变形和液化调整火焰素材,让火焰跟头发能够很好的融合,然后把图层混合模式改为“滤色”,火焰层需要多复制几层。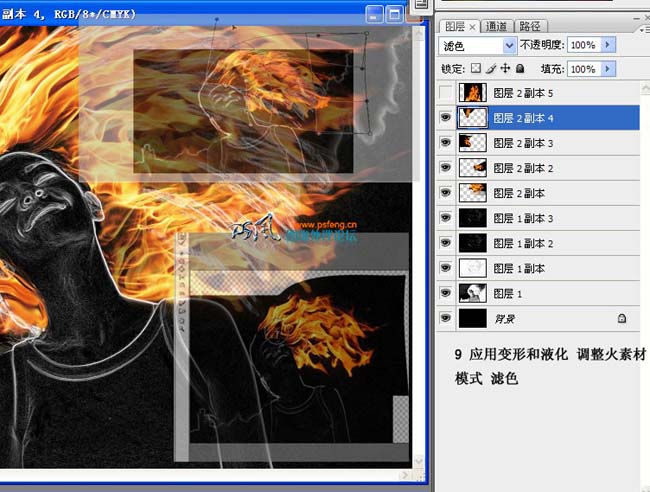
10、打开没有变形火焰素材,把图层混合模式改为“亮光”。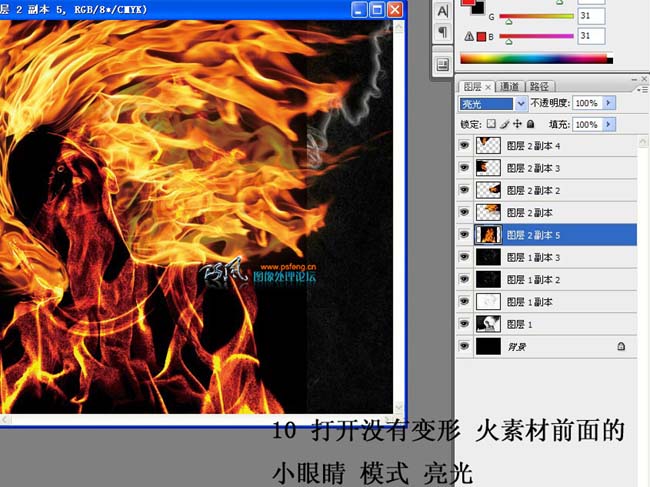
11、变形移动到合适的位置。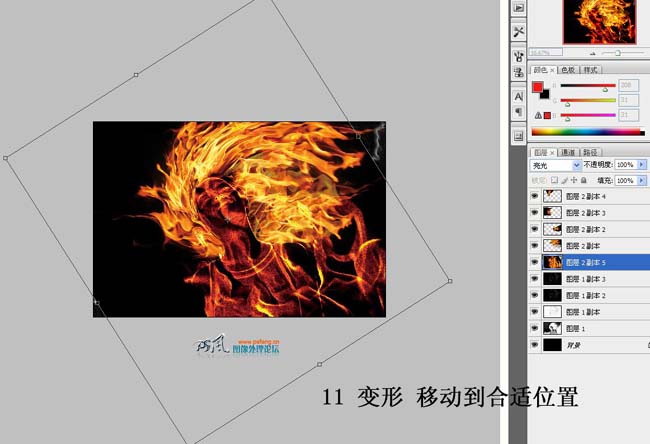
12、执行:滤镜 模糊 高斯模糊,数值为13。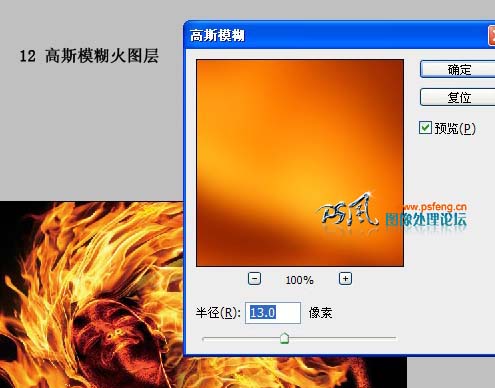
13、加上图层蒙版,擦去身体外的火焰。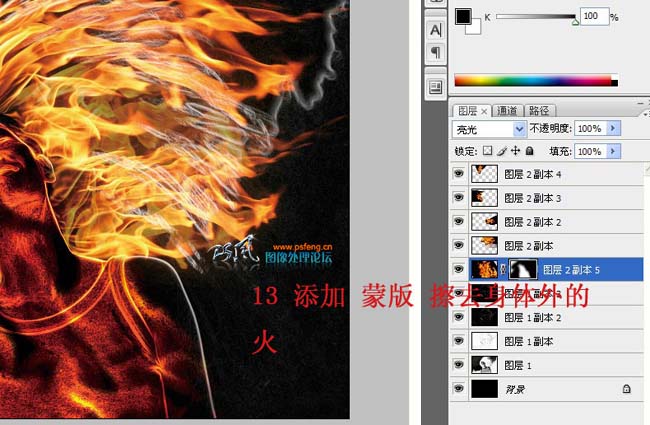
14、新建一个图层,填充黑色,加上图层蒙版,用画笔擦出身体,目的是遮盖下面的白色,然后再把图层混合模式改为“亮光”。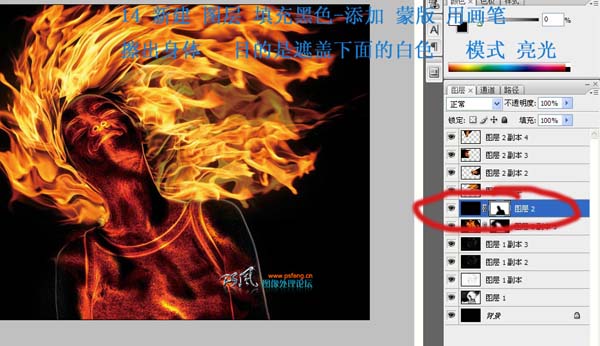
15、创建色相/饱和度调整图层,参数设置如下图。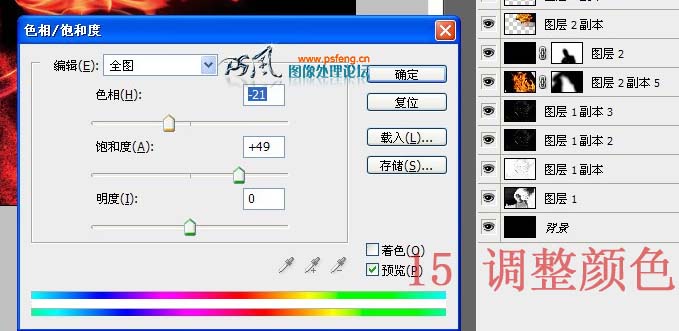
16、创建亮度/对比度调整图层,参数设置如下图。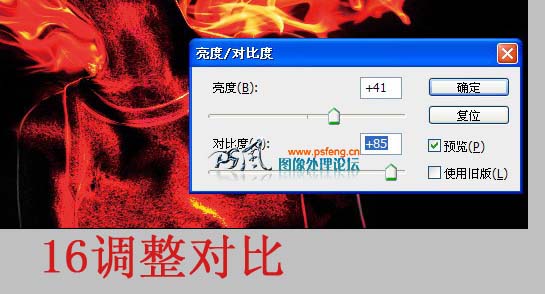
17、新建一个图层,按Ctrl + Alt + Shift + E盖印图层,关闭调整图层的眼睛,把图层不透明度改为:60%。
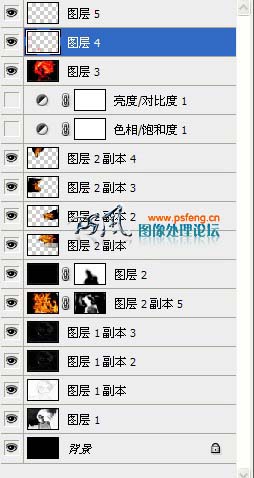
最终效果及图层参照。