272011362
2016-02-01 22:46
图老师小编精心整理的利用素材叠加调出照片怀旧暖色调希望大家喜欢,觉得好的亲们记得收藏起来哦!您的支持就是小编更新的动力~
原图
最终效果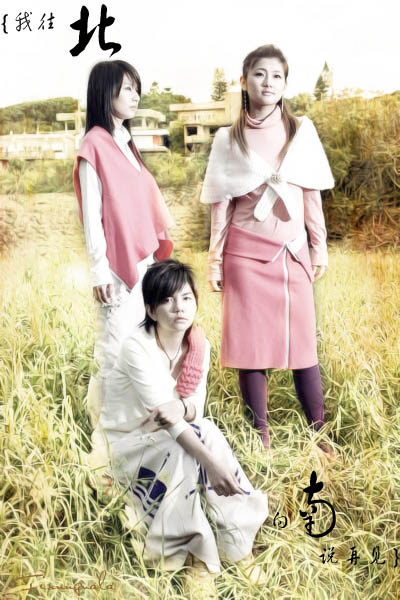
1、打开原图素材,按Ctrl + J把背景图层复制一层。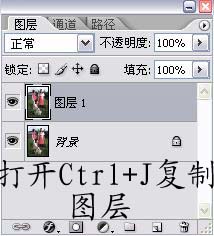
2、打开通道面板,按Ctrl点RGB通道调出高光选区(可直接按Ctrl + ALt + ~)。
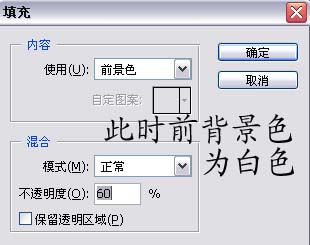
3、回到图层面板,把选区部分填充白色,填充(2-3次)。
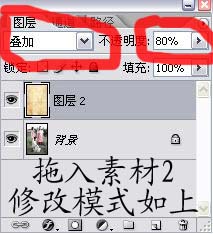
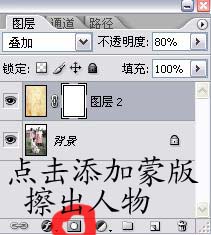
4、合并所有图层,打开下图所示的素材,拖进来把图层混合模式改为“叠加”,图层不透明度改为:80%。
5、给素材图层加上图层蒙版用黑色画笔把人物部分擦出来。
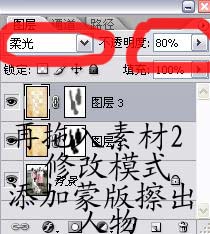
(本文来源于图老师网站,更多请访问http://m.tulaoshi.com/psxpcl/)6、再拖入素材2图层混合模式改为“柔光”,图层不透明度改为:80%,加上图层蒙版用黑色画笔把人物部分擦出来。
7、合并可见图层,然后用Topaz滤镜锐化一下,参数设置如图下图。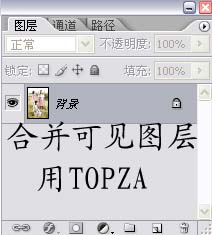

(本文来源于图老师网站,更多请访问http://m.tulaoshi.com/psxpcl/)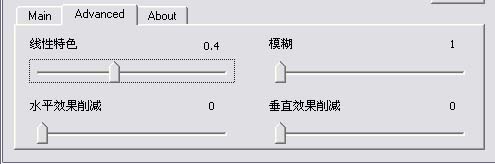
8、最终加上文字完成最终效果。


