get新技能是需要付出行动的,即使看得再多也还是要动手试一试。今天图老师小编跟大家分享的是Photoshop修复偏斜的照片及润色,一起来学习了解下吧!
本教程简单介绍偏斜照片的修正及照片润色处理。教程中很多关键的地方作者没有详细介绍,大家可以根据照片的效果来任意发挥。
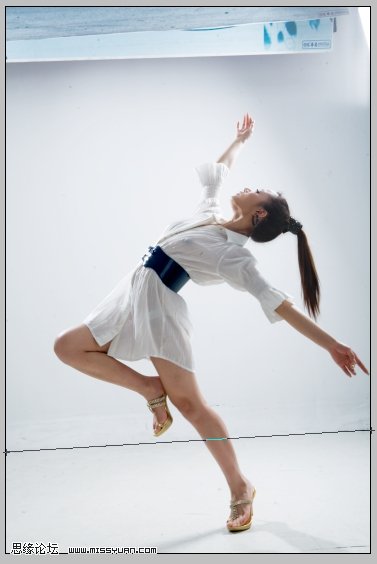
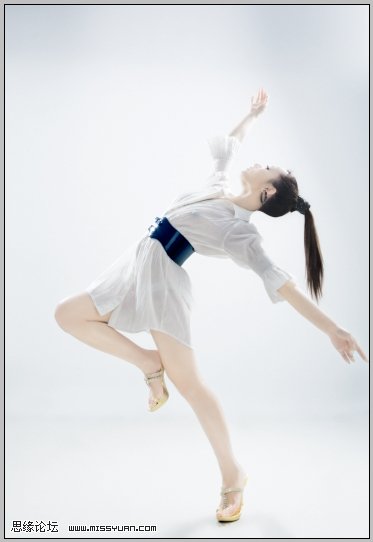
原图 
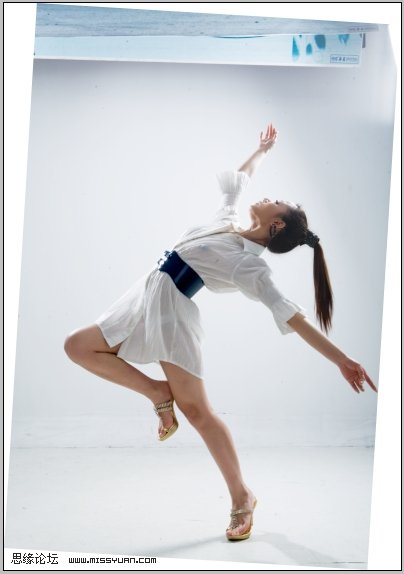
最终效果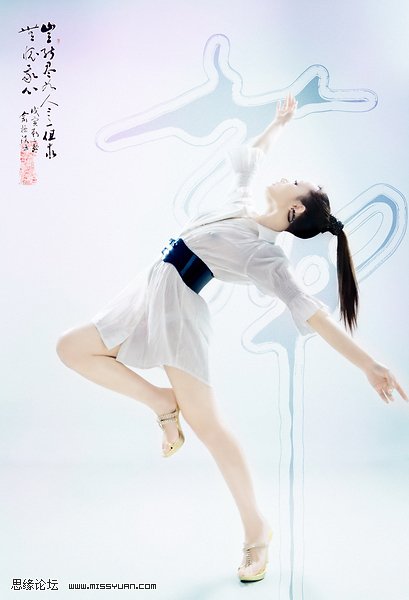
我们先看一下原图,重心、水平线不稳,背景穿邦: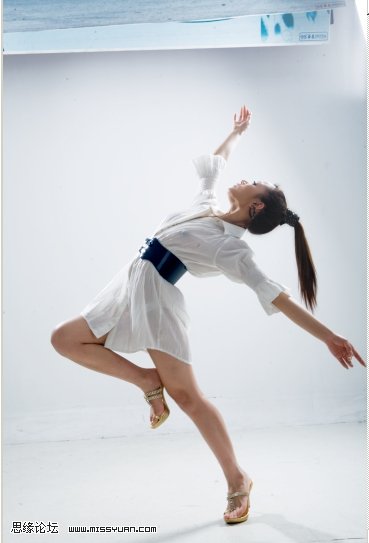
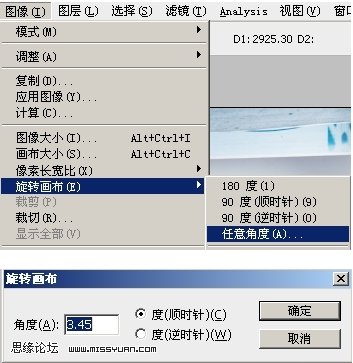
1、这边介绍一种技巧,“度量工具”它可以帮我们很准确调整旋转角度: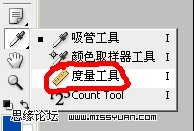
2、调整好人物重心后,我分别校正肤色,特别注意肤色的均匀和明暗的对比;接下来用液化工具来塑一下形体,然后用变换工具把人物的腿拉长了一点,这些基础的东东就此带过,呵呵: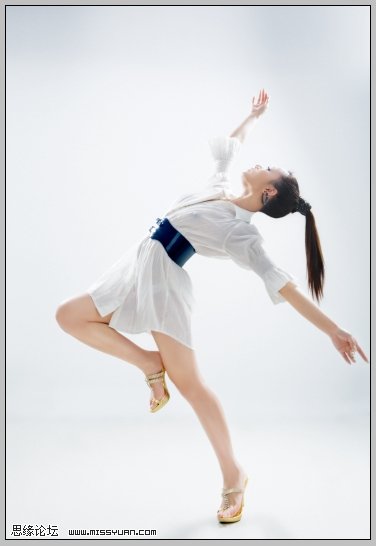
3、创建可选颜色调整图层,参数设置如下图: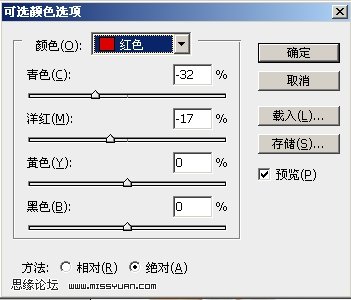
(本文来源于图老师网站,更多请访问http://m.tulaoshi.com/psxpcl/)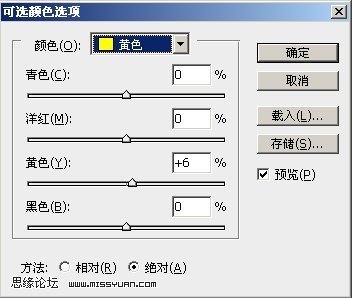
4、创建色相/饱和度调整图层,参数设置如下图: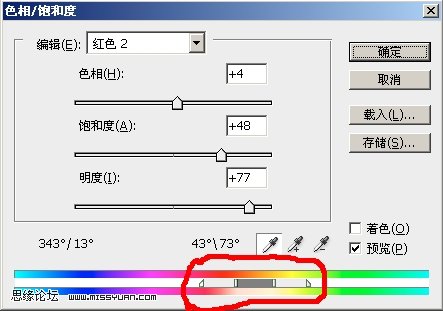
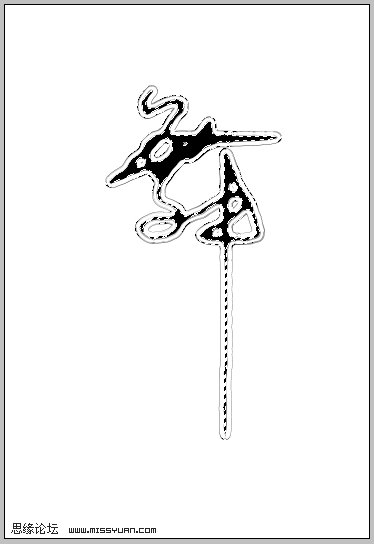
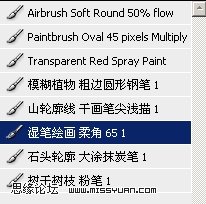
5、有了基本工之后,就要去锻炼自己的思维了,思想来自平常生活的再现,我用明度高的色彩来制作背景,过程中用到了画笔哦: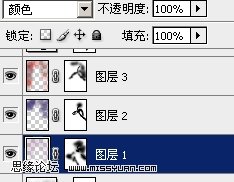
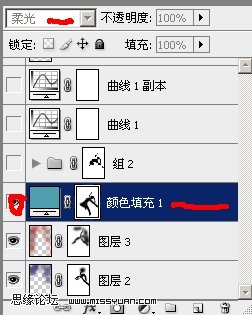
6、我用青色柔光来协调画面的色彩: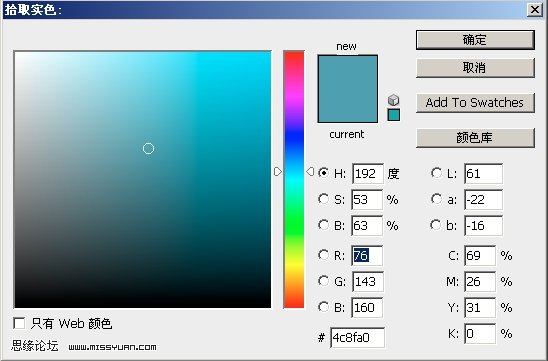
(本文来源于图老师网站,更多请访问http://m.tulaoshi.com/psxpcl/)7、接下来我们用曲线来控制一下照片的对比度,这个要注意一下模式和曲线节点的控制了哦: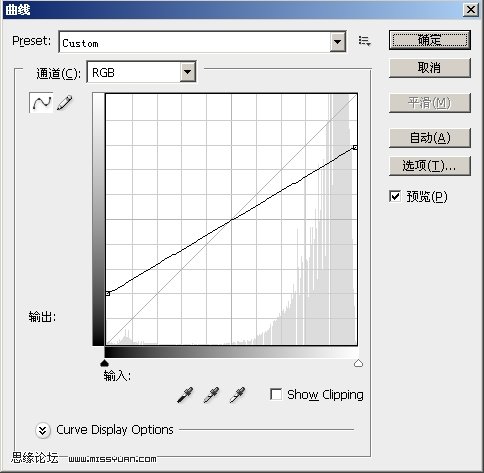
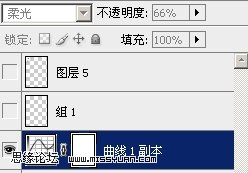
8、这样整体效果已经出来了,接下来在添加些素材来点缀一下: