只要你有一台电脑或者手机,都能关注图老师为大家精心推荐的Photoshop调出偏暗人物图片时尚的粉色调,手机电脑控们准备好了吗?一起看过来吧!
粉色调现在越来越流行,尤其是人物图片看上去非常的甜美,清爽,给人以非常舒服的视觉效果。这种图片调色的时候需需要控制好色彩,数值不要太大,淡淡的,看上去舒服就可以了。
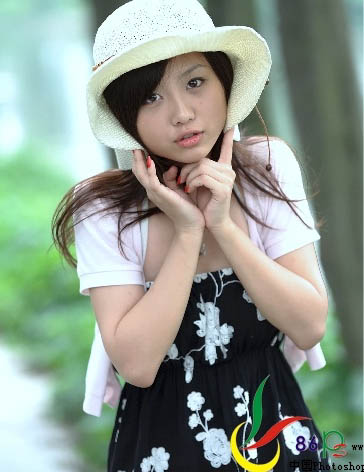
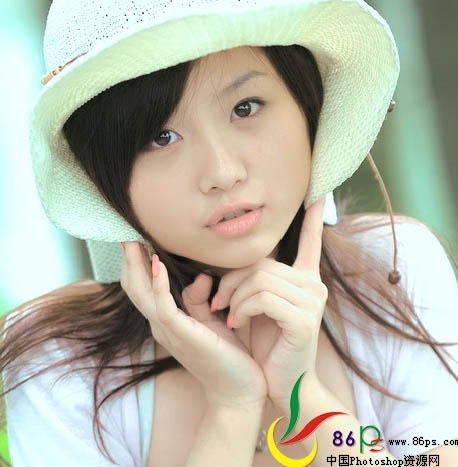
原图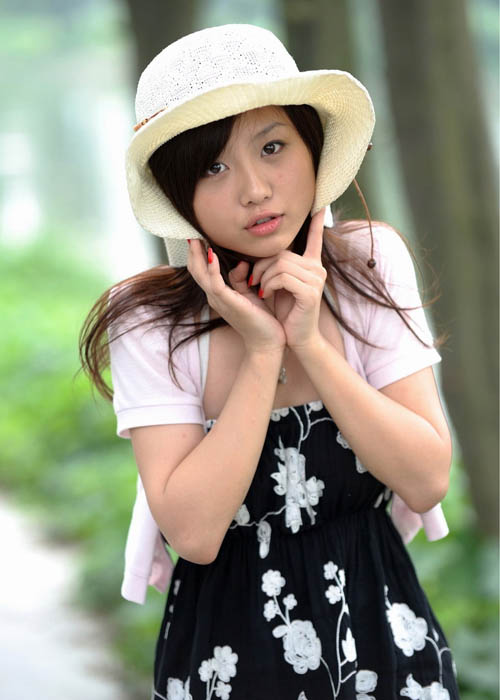
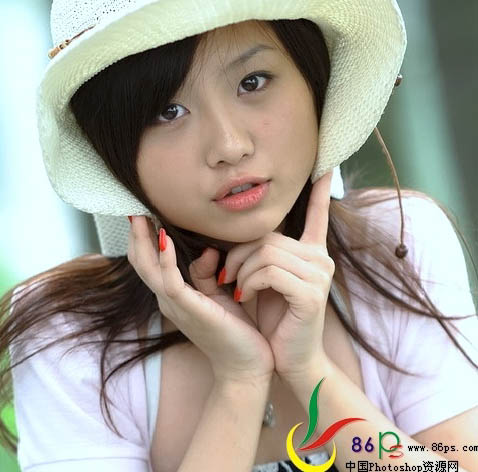
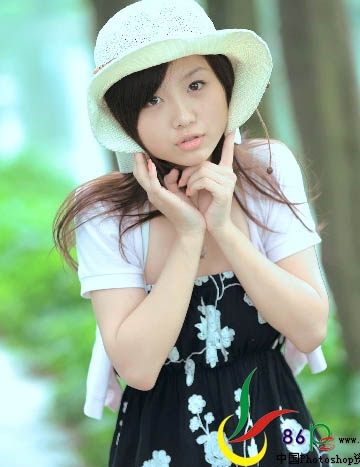
最终效果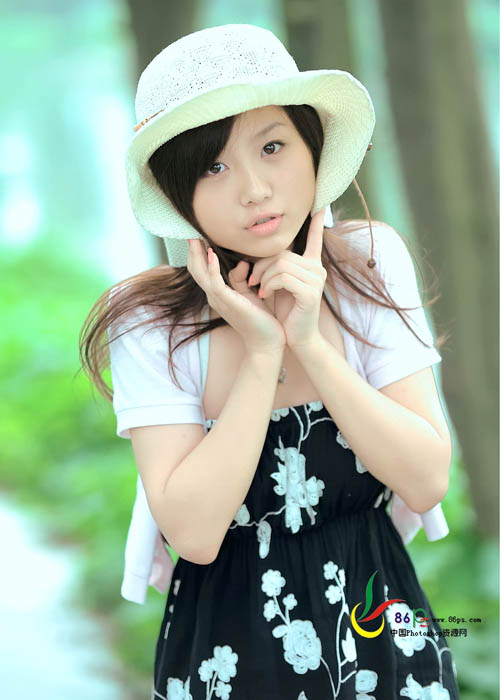
1、打开原图,复制一层,给图片祛噪磨皮处理。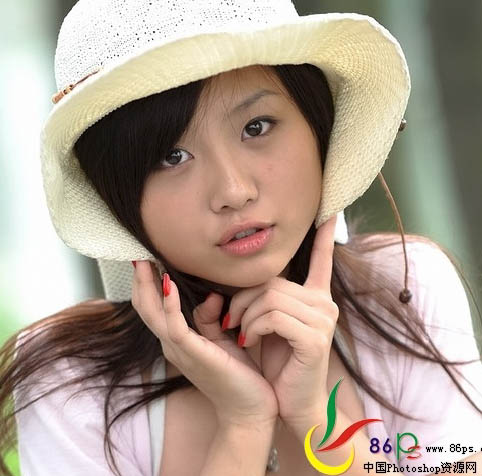
2、我用的是Topaz Denoise降噪滤镜,图片噪点较多的话,这个降噪滤镜效果非常不错。如果没有这款滤镜的话可以去网上下载。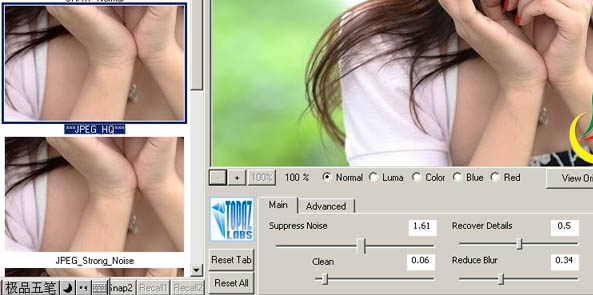
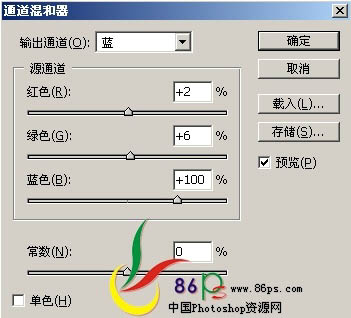
3、创建通道混合器调整图层,调整参数及效果如下图: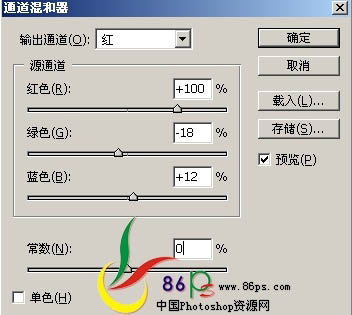
(本文来源于图老师网站,更多请访问http://m.tulaoshi.com/psxpcl/)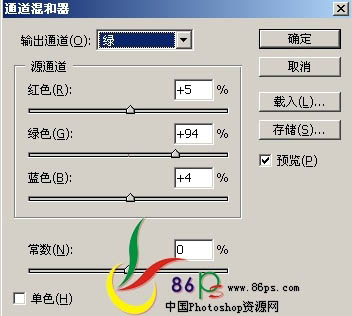
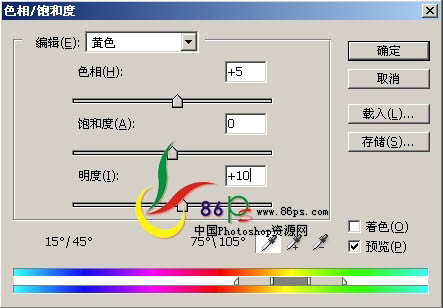
4、创建色相/饱和度调整图层,参数及效果如下图: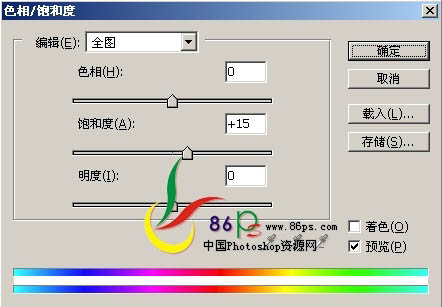

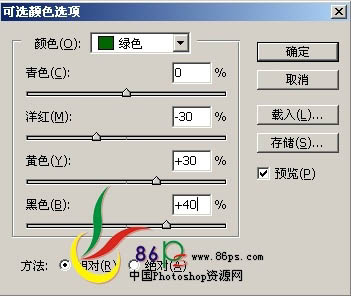
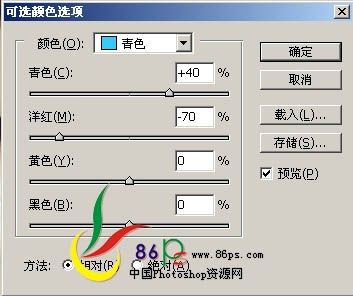
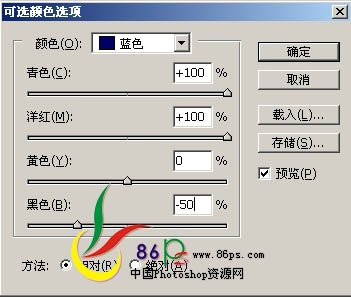
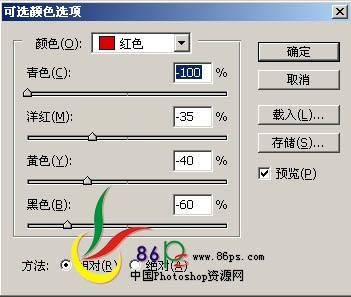
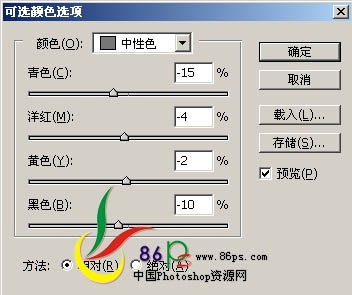
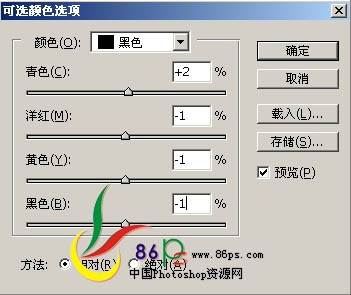
5、创建可选颜色调整图层,参数及效果如下图: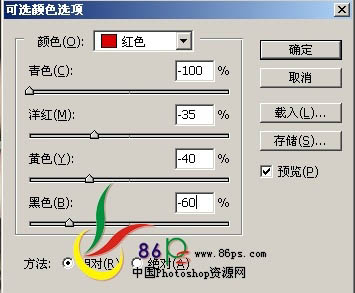
(本文来源于图老师网站,更多请访问http://m.tulaoshi.com/psxpcl/)
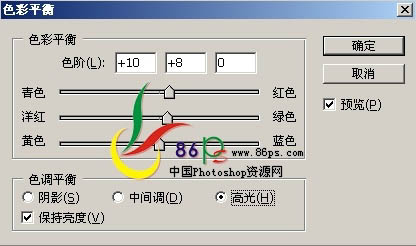
6、创建色彩平衡调整图层,参数及效果如下图: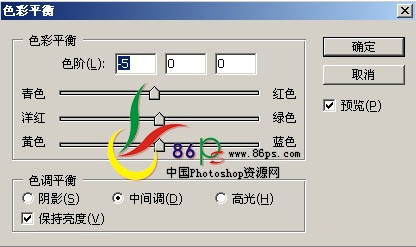
7、创建色阶调整图层,参数设置如下图: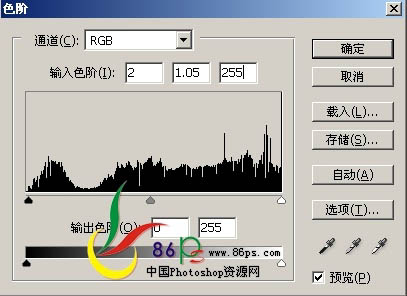
8、最后新建一个图层,盖印图层,适当锐化一下,完成最终效果: