下面是个超简单的Photoshop制作经典牛仔主题海报教程,图老师小编精心挑选推荐,大家行行好,多给几个赞吧,小编吐血跪求~
制作牛仔海报之前需要对牛仔文化有一定的了解。然后搜集一些相关的素材,再按照自己的思路去构图及处理细节。
最终效果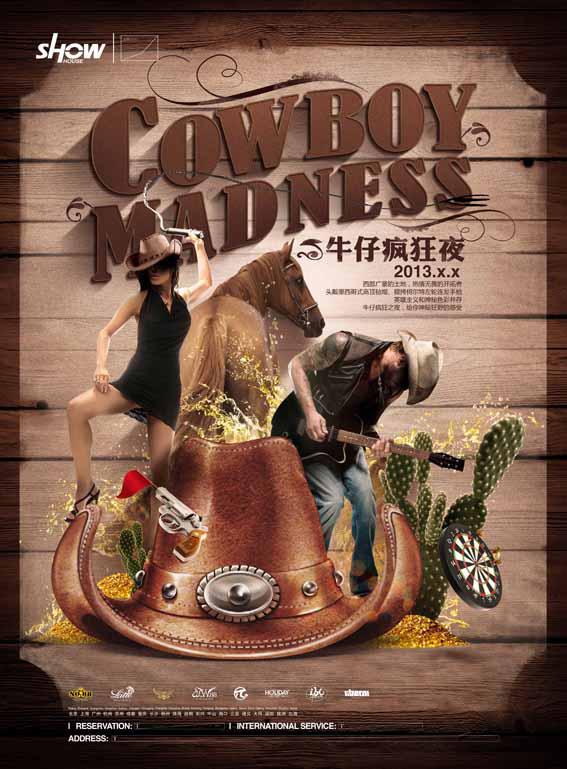
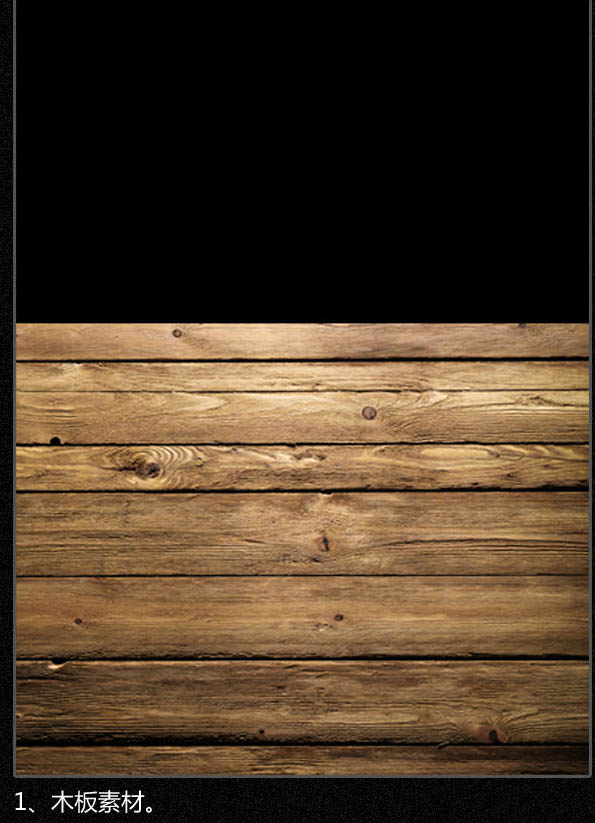
1、新建一个600 * 800像素的文件,背景填充黑色。打开木板素材拖进来,如下图。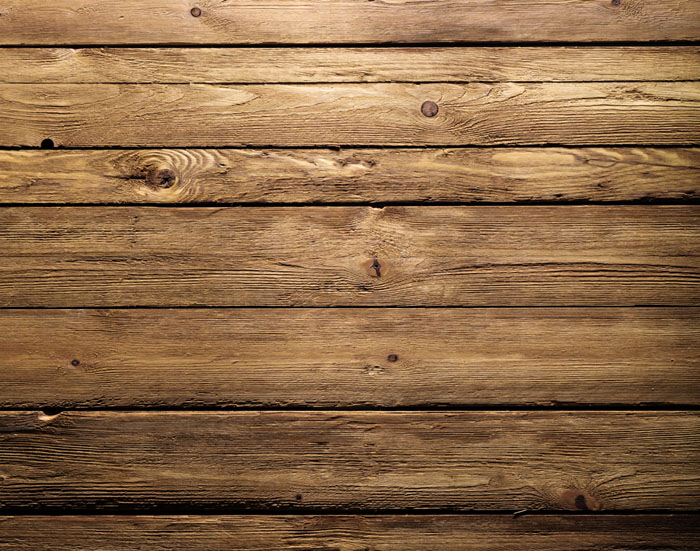
2、复制木板素材,选择菜单:编辑 变换 垂直翻转,然后移上去对接好。 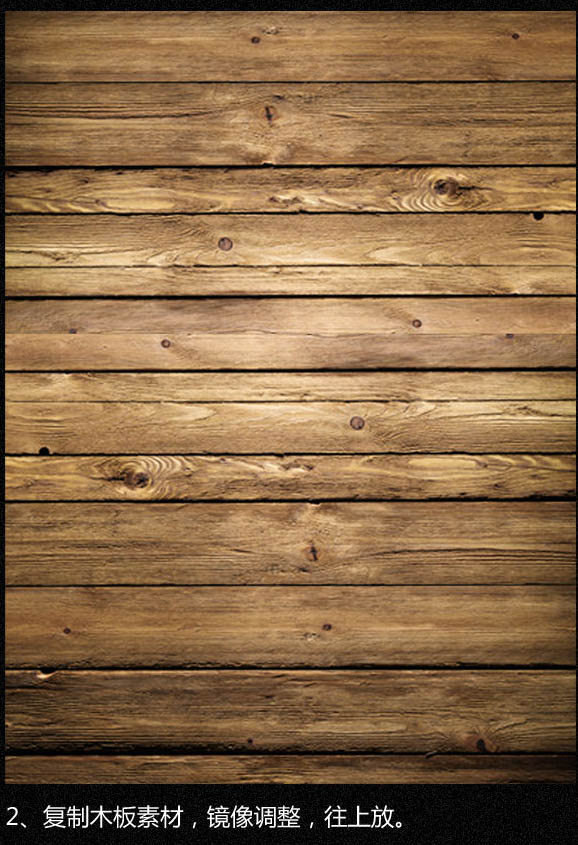
3、合并两个木板图层,涂抹衔接口,并简单调色。
4、新建一个图层,填充暗红色,混合模式改为“正片叠底”,不透明度改为:50%,效果如下图。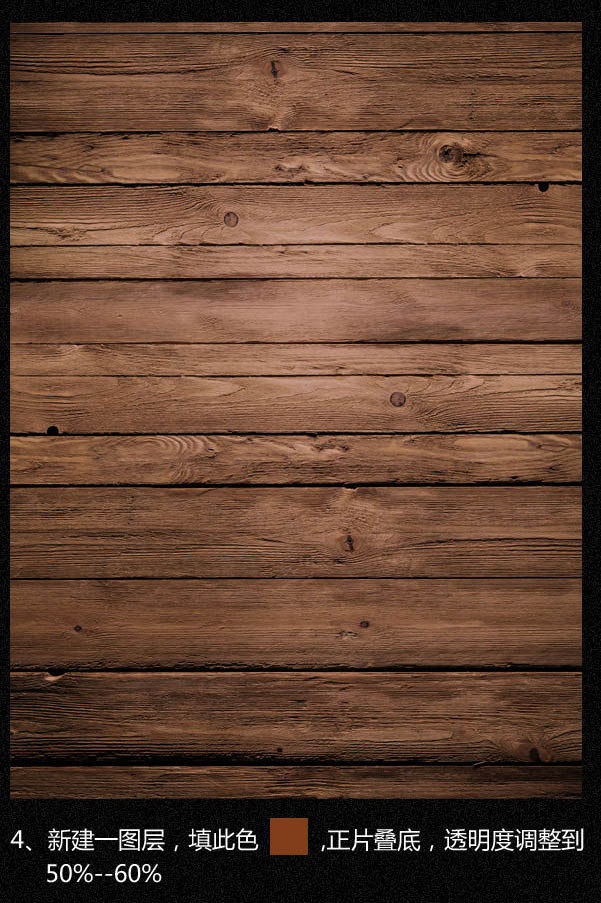
(本文来源于图老师网站,更多请访问http://m.tulaoshi.com)5、新建一个图层,给图片增加暗角。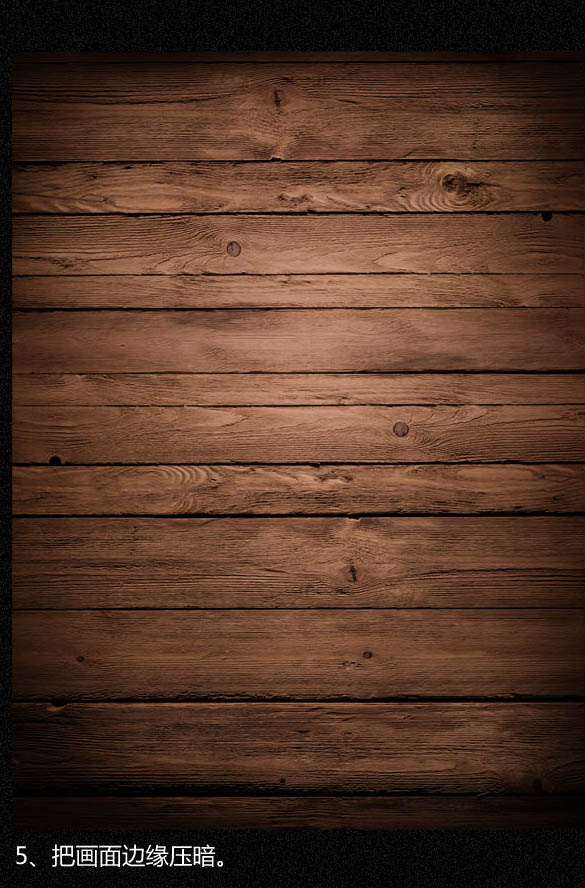
6、把底部的木板图层复制一层,移到图层的最上面,裁出下图所示的形状。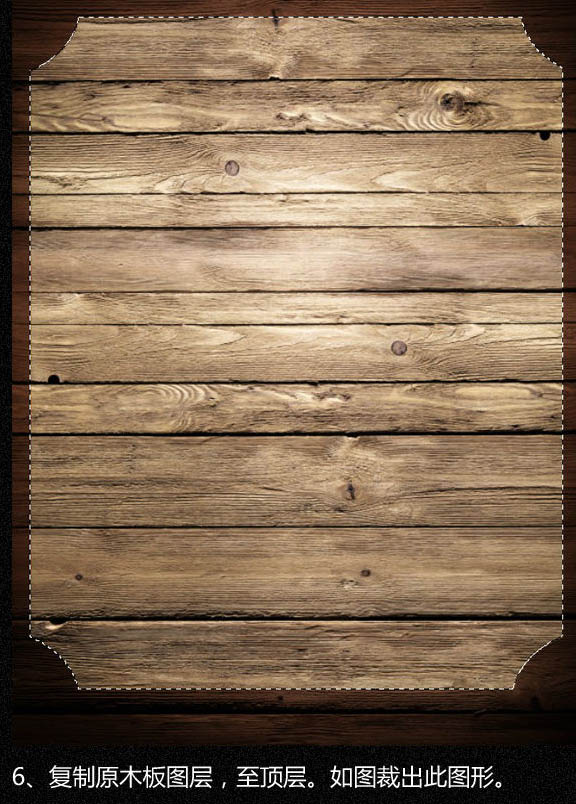
7、在这一层调整明度及色彩平衡。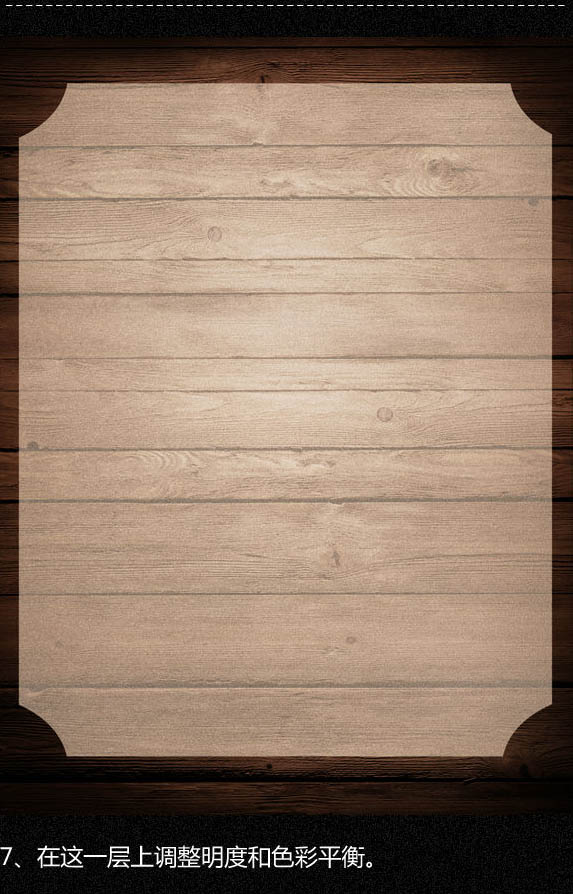
8、调色后,添加图层蒙版,用黑色画笔在边缘涂出一些纹理,增强立体感。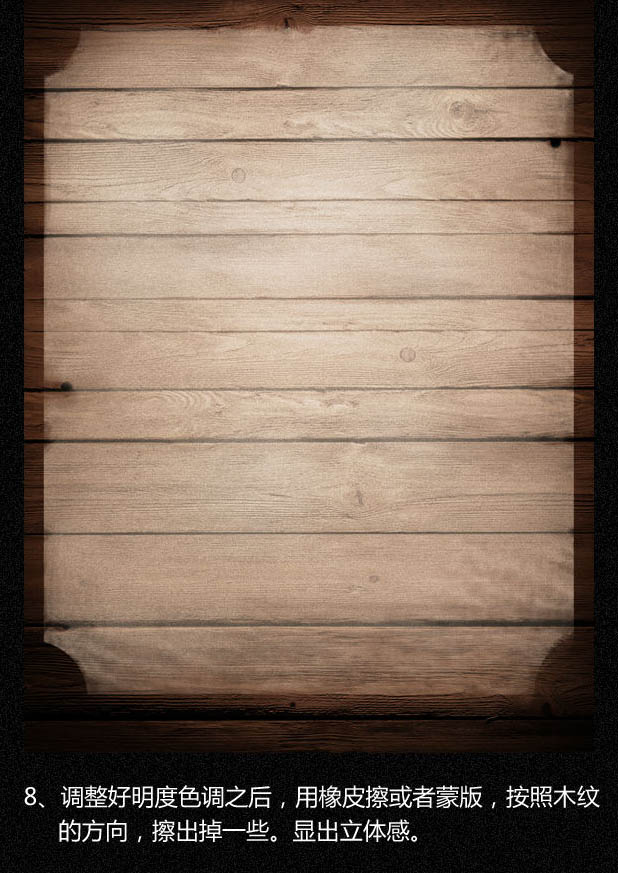
9、选择文字工具,打上想要的文字。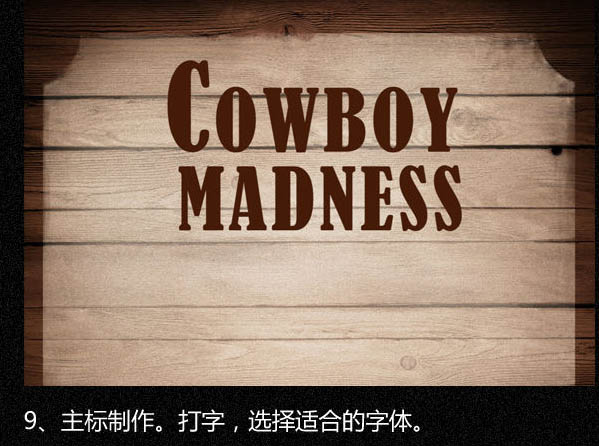
10、用变形工具,把字体变形调整。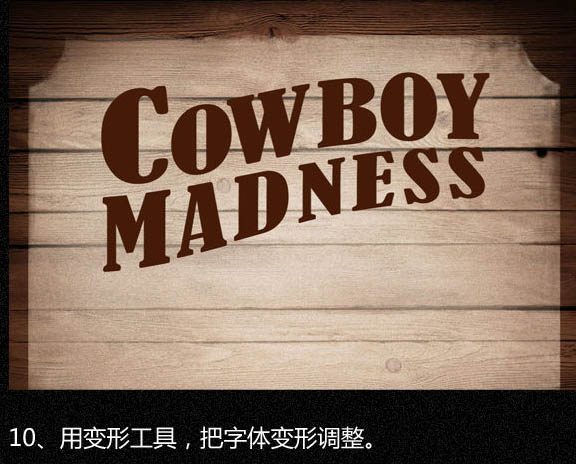
11、对文字局部调色,添加杂色及增加阴影。
12、复制文字,载入选区。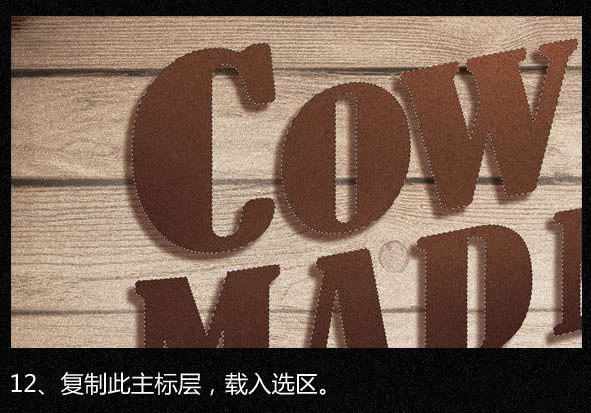
13、收缩选区,数值自定。
14、删除选区部分的色块,只留下一个边框,把边框填充一个较深的颜色。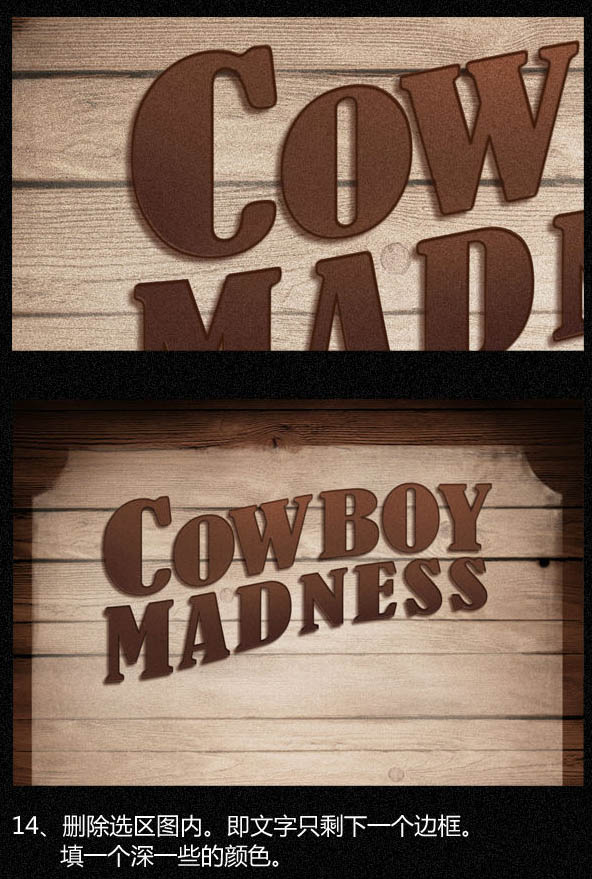
15、复制一层文字边框,至顶层,换一个浅色。文字的立体感就出来了。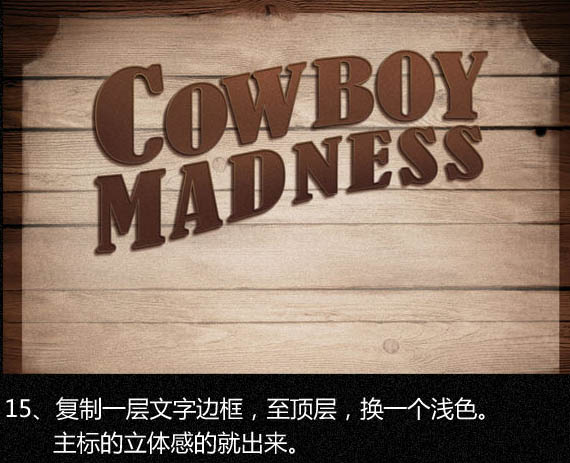
16、制作字体阴影。复制新图层,用矩形选框,渐变填充如图颜色。
17、图层混合模式改为“正片叠底”,变换工具摆好阴影的位置。阴影放置在字体下层。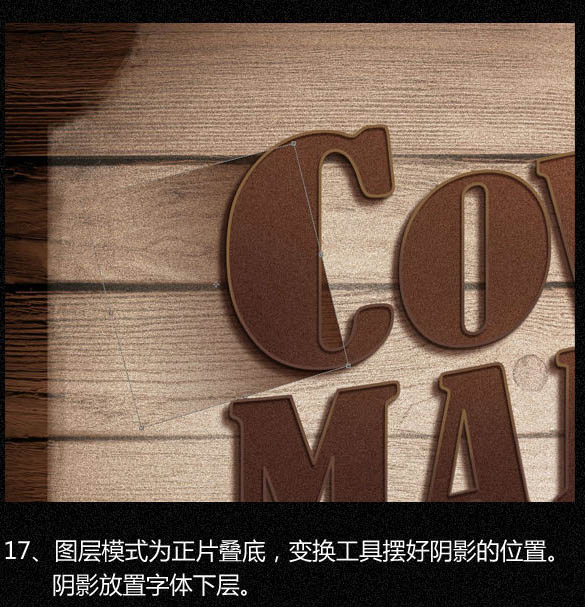
18、摆好之后,高斯模糊。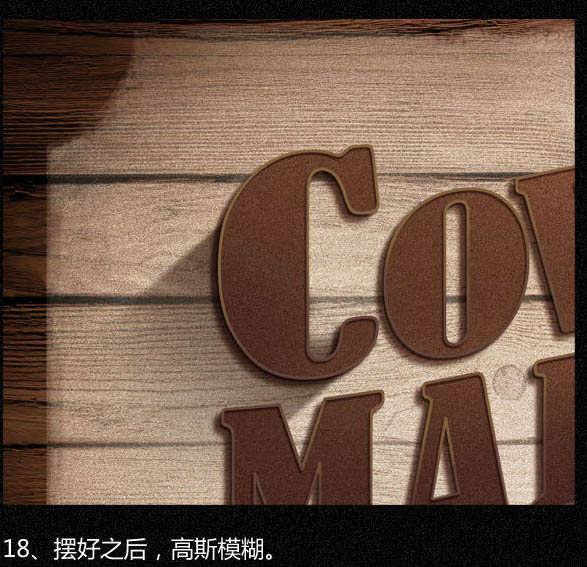
19、复制阴影层,使其有加深的效果。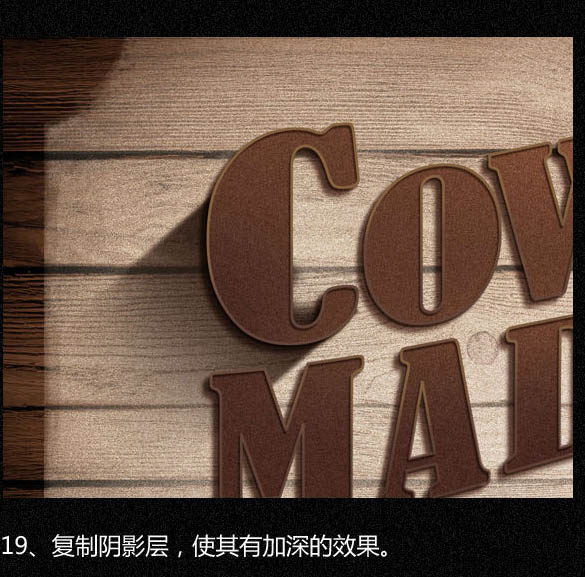
20、同样的方法,制作其它字体阴影效果。还有一个方法,花一个矩形,再动感模糊。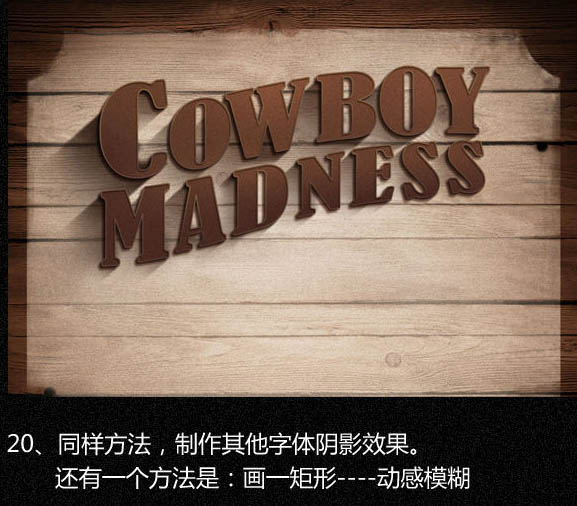
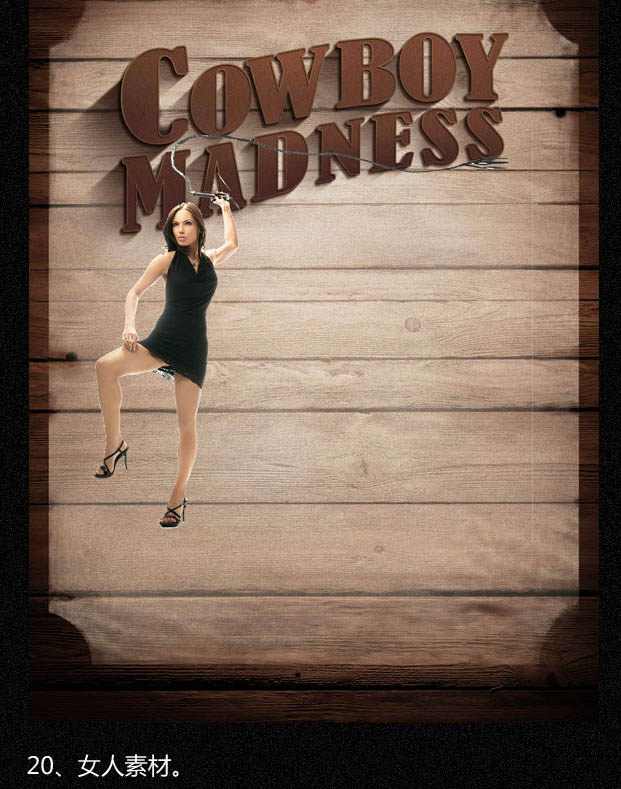
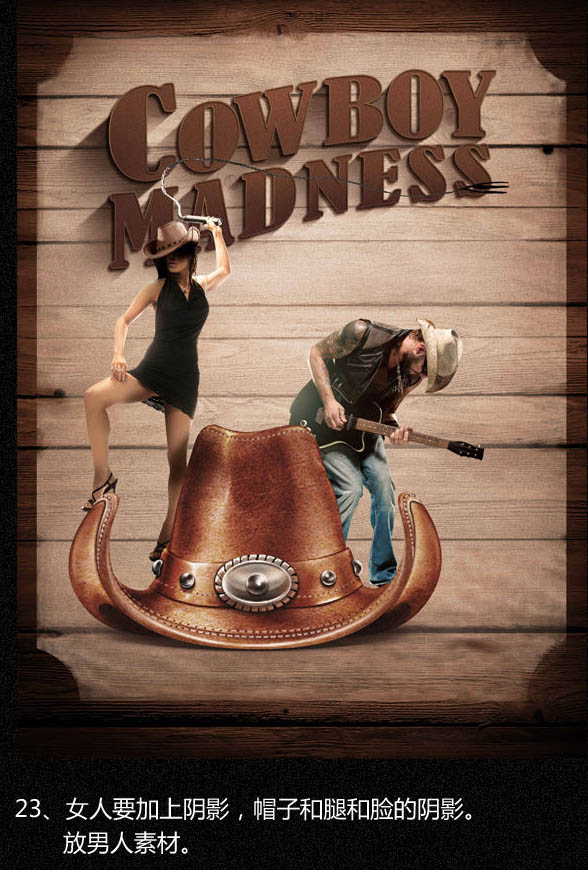
加入女士素材。 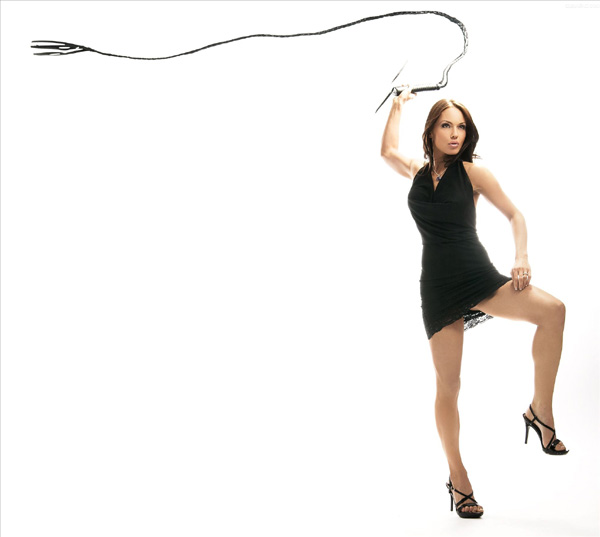
21、给她加深牛仔帽,并调色。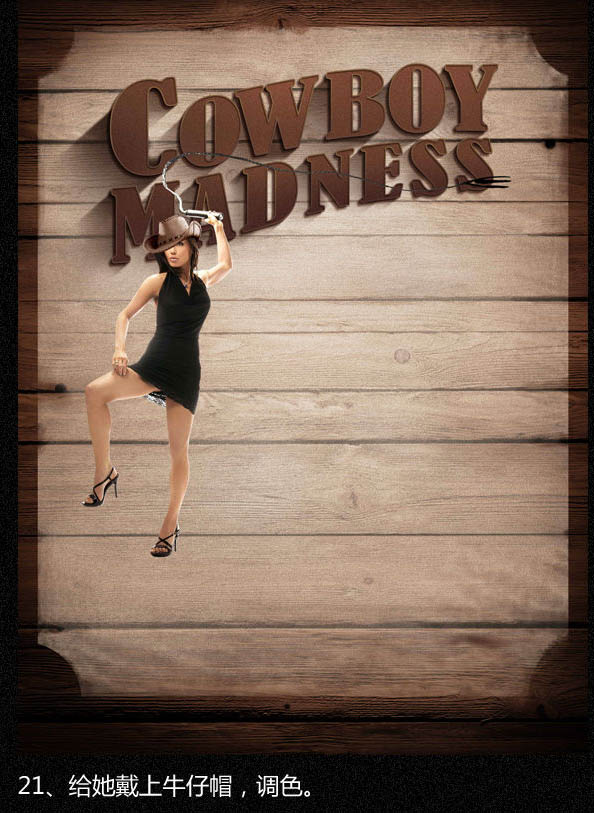
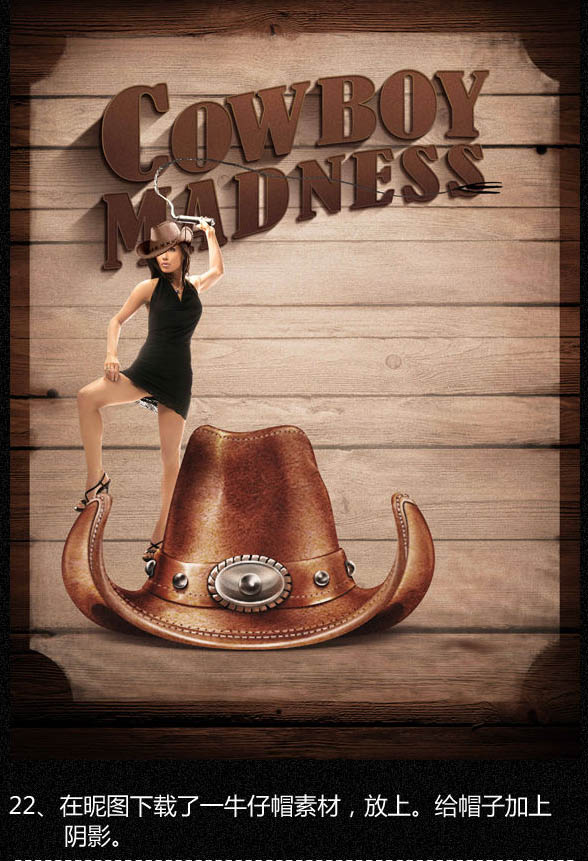
22、加入大的帽子素材,并加上投影。 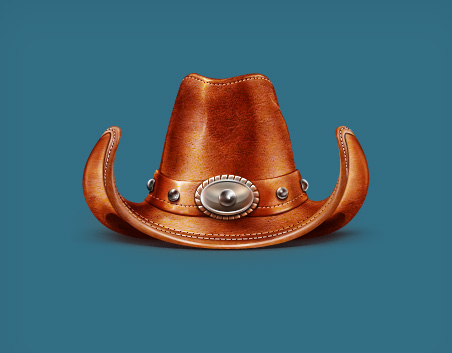
(本文来源于图老师网站,更多请访问http://m.tulaoshi.com)
23、女士局部需要增加阴影,加好后再放入男士素材。 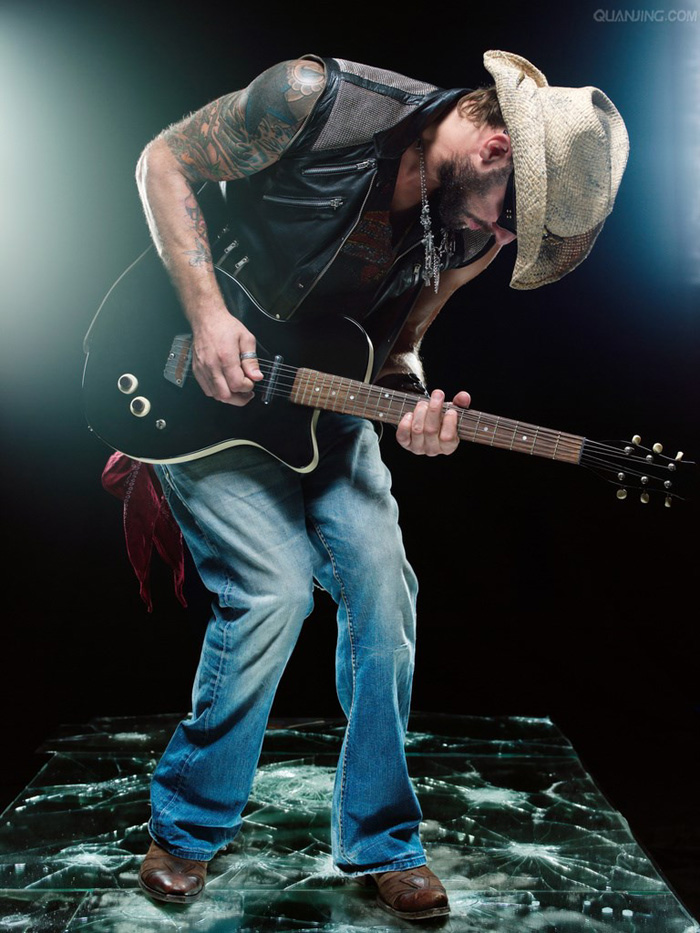
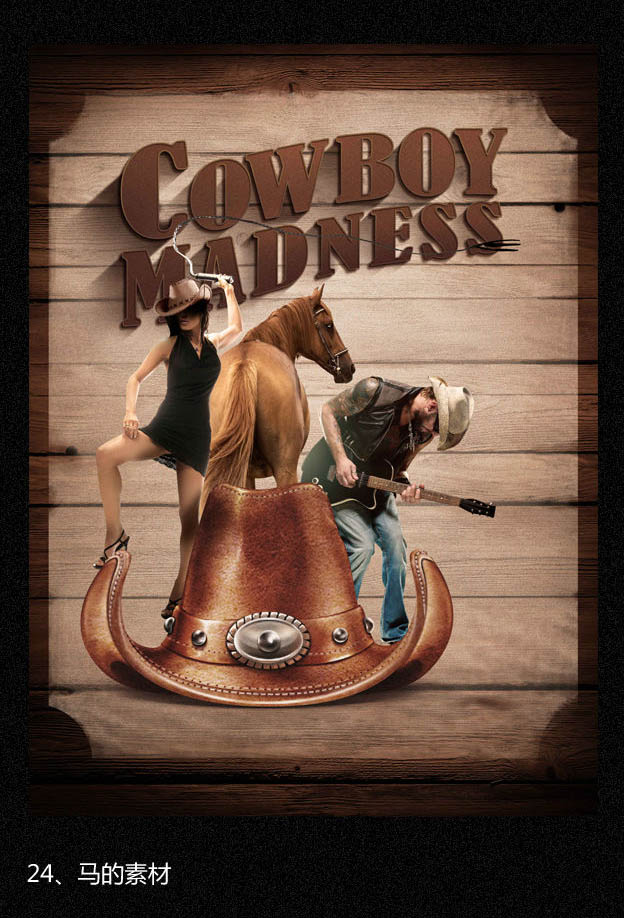
24、加入马匹素材。 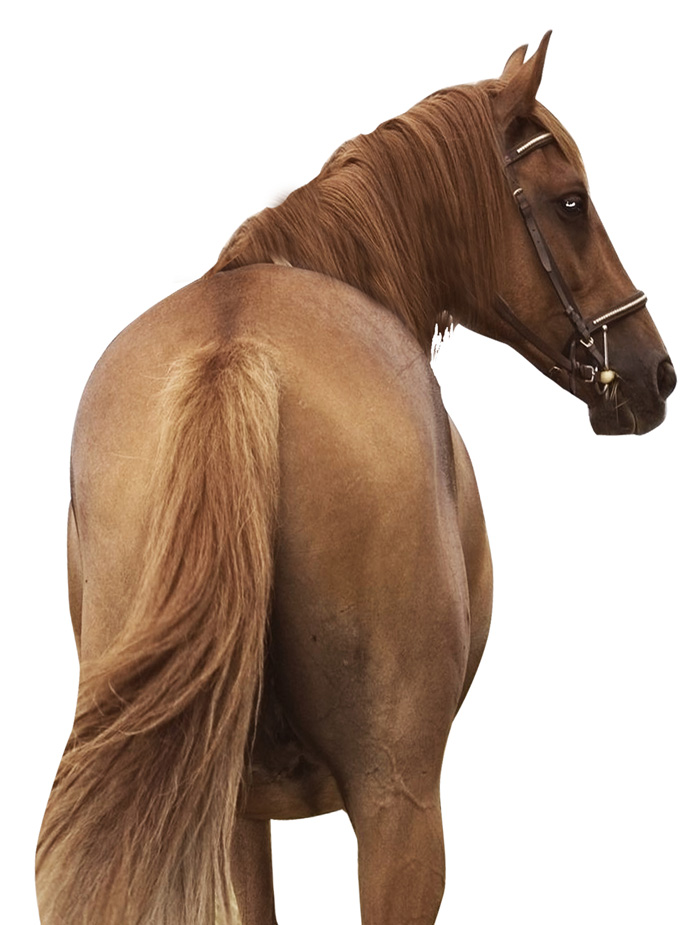
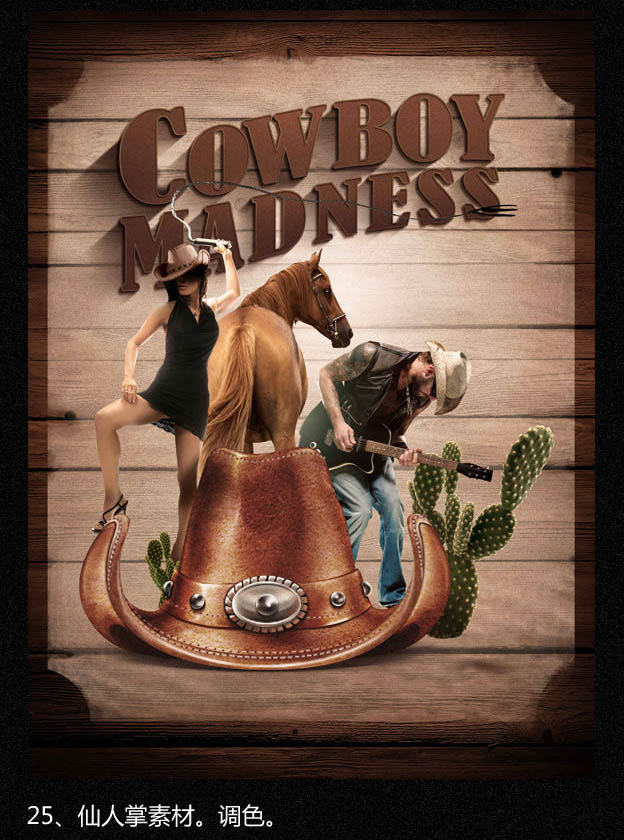
25、加入仙人掌素材,并调好颜色。 
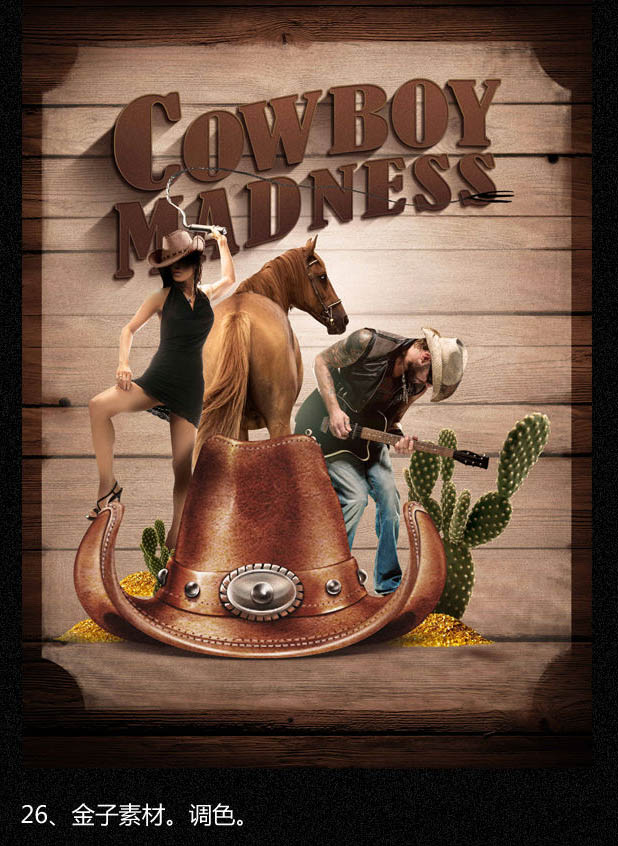
26、加入金子素材,并调色。 
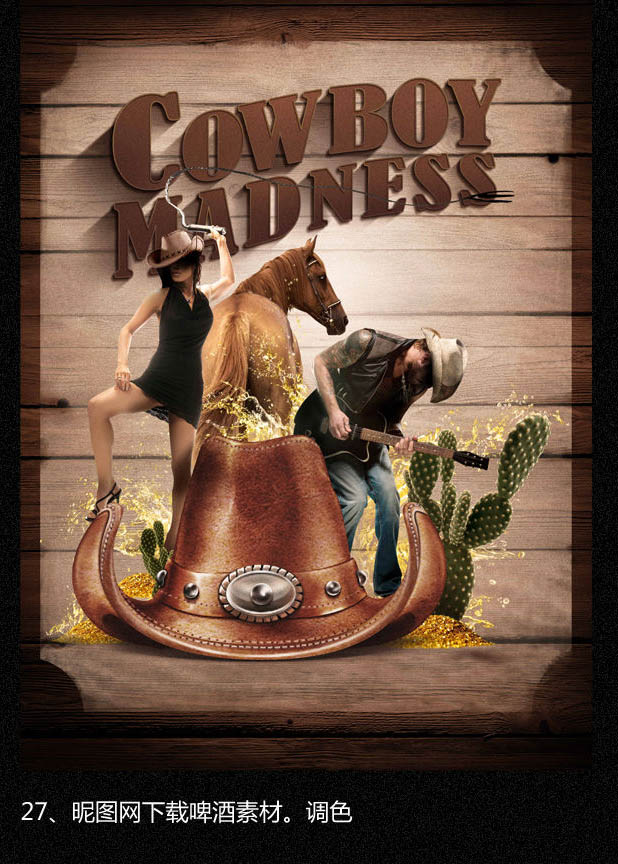
27、加入飞溅的啤酒素材。 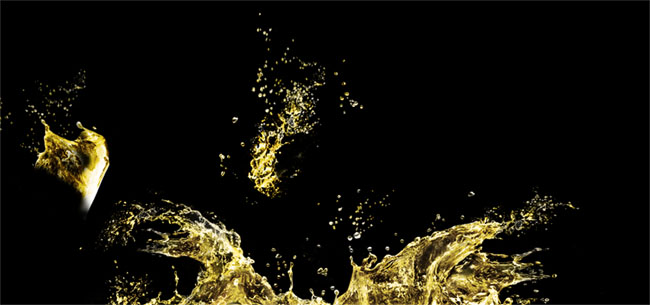
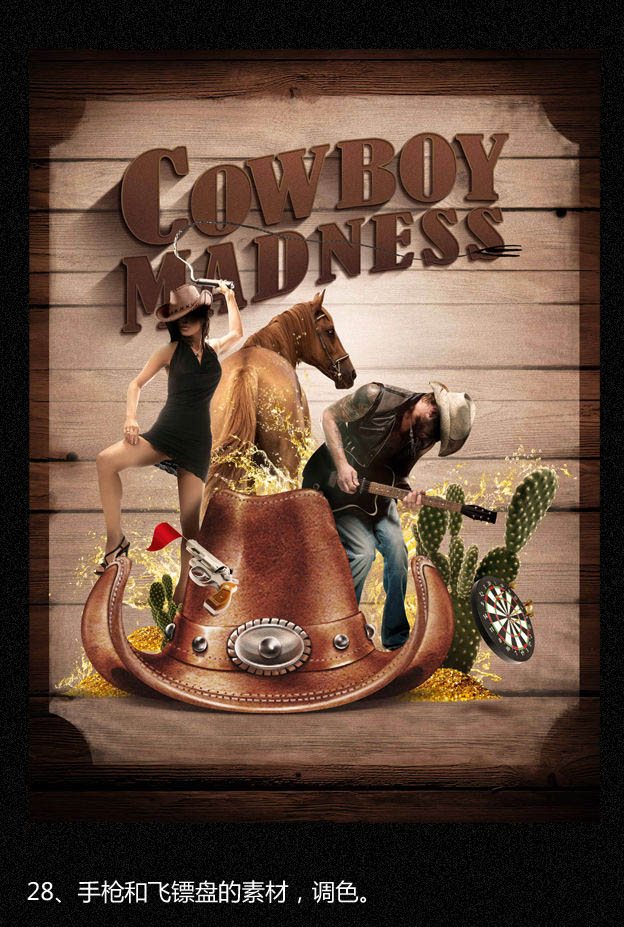
28、加入其它素材。 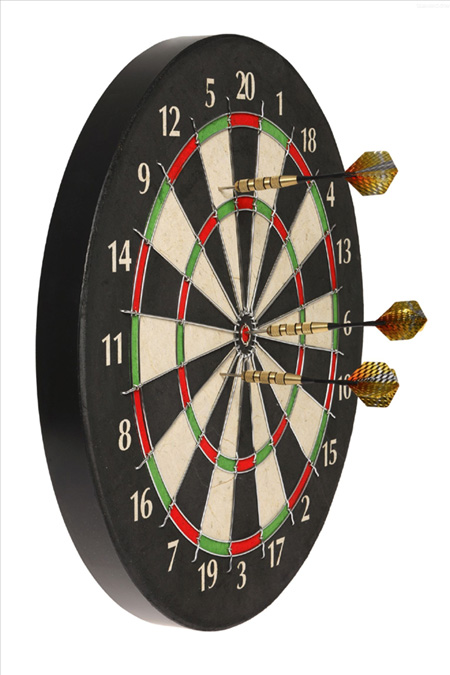

29、给人物和马加上阴影。再给文字添加花纹装饰。
最终效果:


