想不想get新技能酷炫一下,今天图老师小编就跟大家分享个简单的利用动作制作绚丽的手机壁纸教程,一起来看看吧!超容易上手~
同样是螺旋叠加效果,不过作者制作的时候用动作来控制图形的变化(如颜色、投影、大小等);这样出来的效果就更加内容丰富。
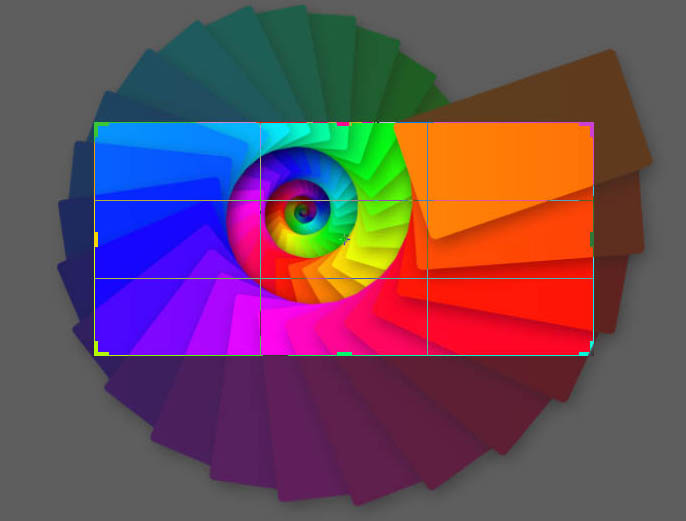
最终效果
1、打开PS(此处演示的版本位PS CS6),新建。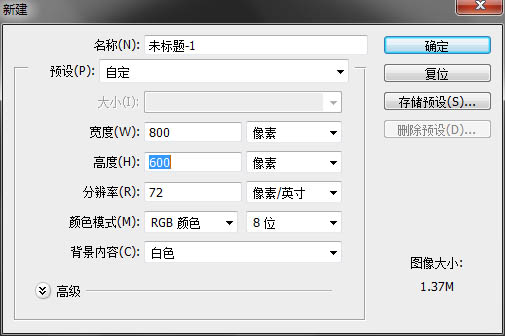
2、选择圆角矩形工具。
3、选择形状,不描边,半径设置成10,拉一个圆角矩形。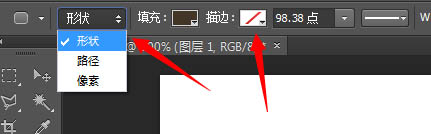

4、很显然,这个颜色不是我们想要的颜色,那就需要换色了。双击圆角矩形图层缩略图的右下角,弹出拾色器,选择想要的颜色,这里是#ff7906。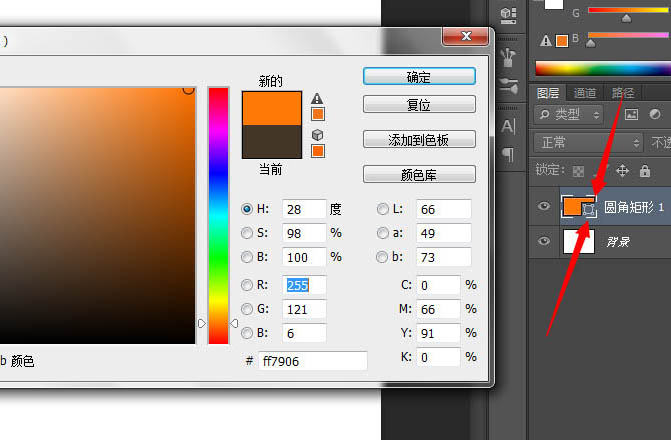
5、然后给圆角矩形加效果,先淡淡的一层投影,参数如图,距离大点,大小也大点,不透明降低。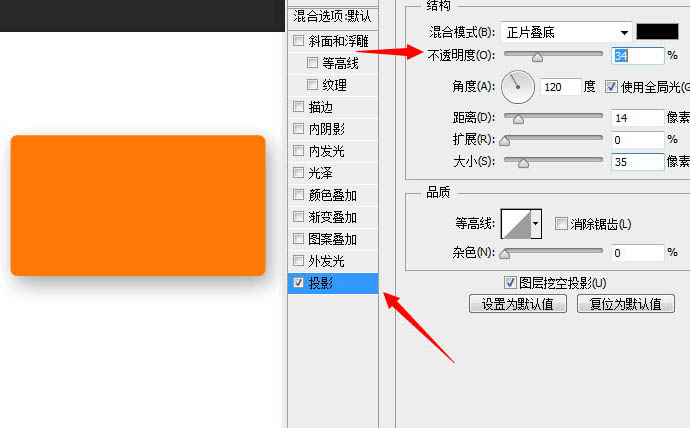
6、目测原图还有一个渐变,所以再加个渐变,默认的黑白,反向,混合模式叠加。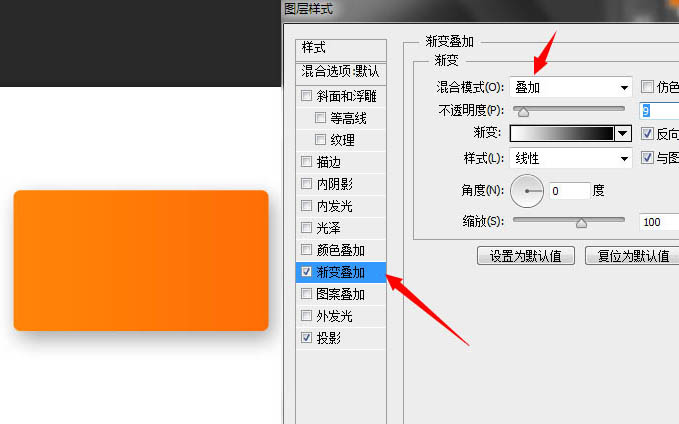
7、然后把圆角矩形移动到合适的位置。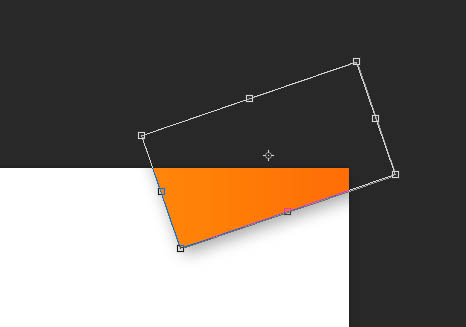
8、然后栅格化图层,这里栅格化的目的是等会要调节色相。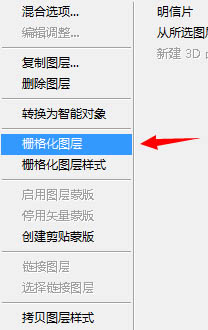
9、然后窗口---动作,调出动作面板。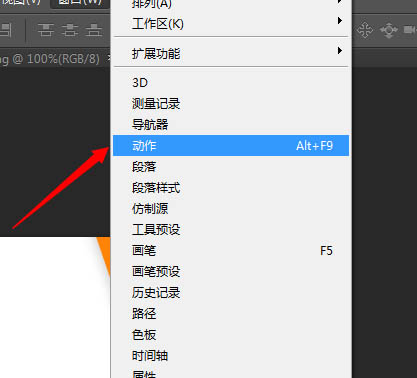
(本文来源于图老师网站,更多请访问http://m.tulaoshi.com)10、点击,新建,新建一个动作。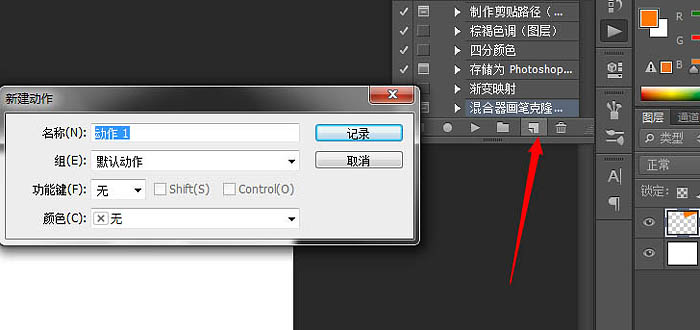
11、然后拷贝图层,现在做什么操作就可以在动作面板看到了。
12、然后调节刚刚新建的这个图层的色相,点击图像--调整--色相饱和度。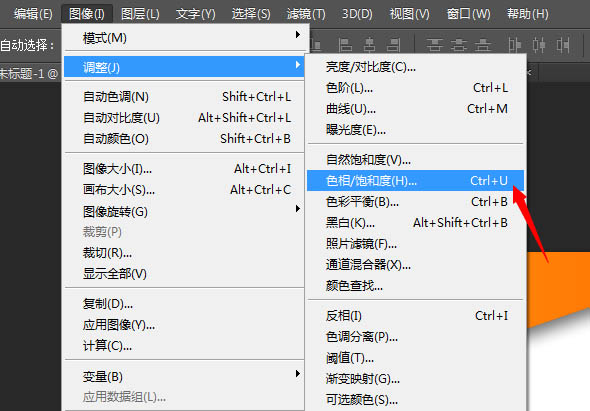
13、调节色相为-12。
14、调节完之后把这个图层移动到前一个图层的下方(这是为了后面复制的时候一直在次图层下方复制变换)。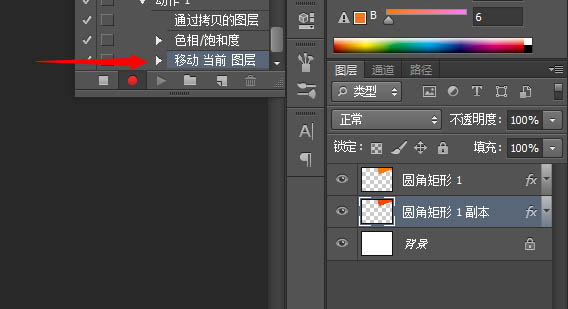
15、然后就是变换角度跟调节大小了,经过我的多次尝试之后,这是第一次,旋转角度有点小。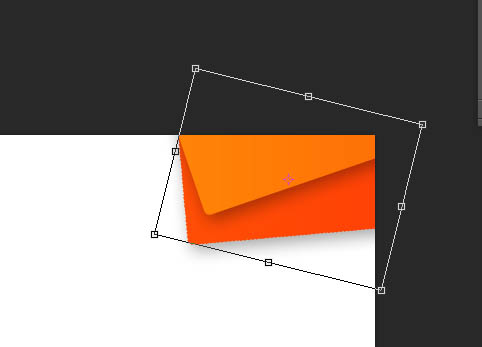
(本文来源于图老师网站,更多请访问http://m.tulaoshi.com)16、这个是缩小的不够。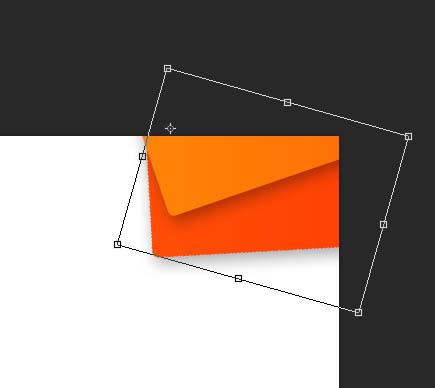
17、最后才得到想要的角度,虽然还是不太满意。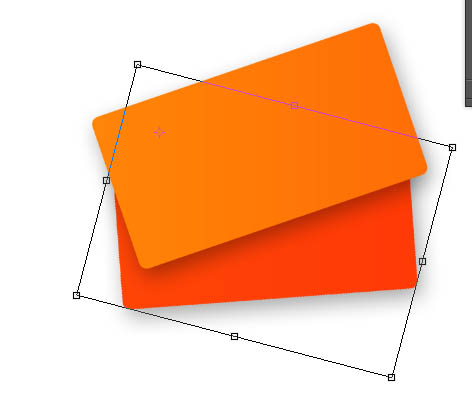
18、然后点击动作面板里面的停止。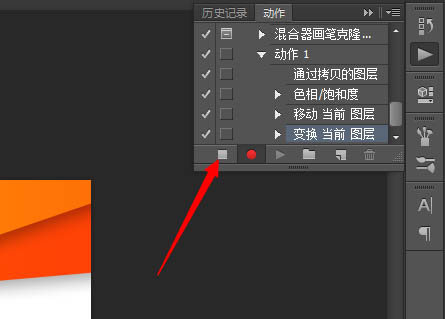
19、然后就是播放动作了。注意!此处截图有误,应该先点动作1然后再播放。否则会出现跟第一个矩形不衔接。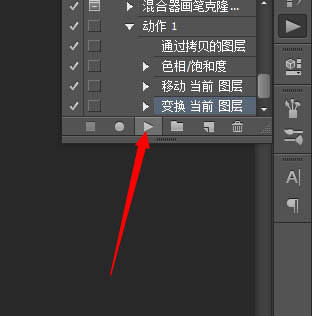
20、然后一直点击动作就好,此处非常费鼠标。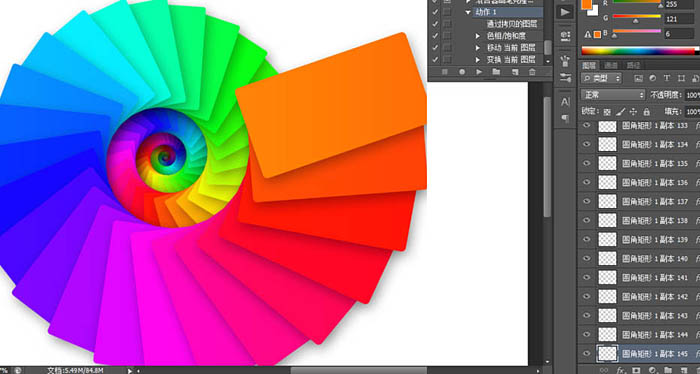
21、为了方便后面的操作,我把除背景外的图层建了一个组,操作的全选除背景外所有图层,然后CTRL+G。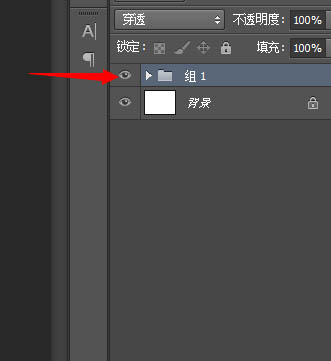
22、此时的效果,然后进行裁切。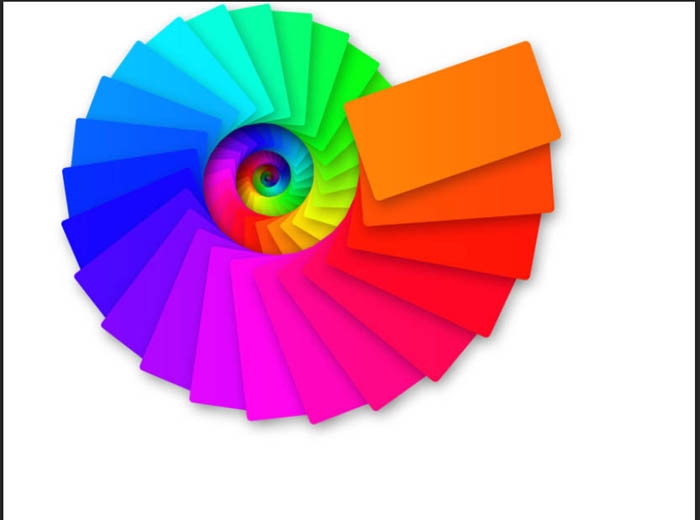
23、然后就是一些零碎的东西了,个人喜好加不加,此教程就不详细解释如何加的了。
最终效果: