下面是个PS给人物简单保细节磨皮并创建磨皮动作教程,撑握了其技术要点,学起来就简单多了。赶紧跟着图老师小编一起来看看吧!
本教程在介绍人物磨皮的同时也介绍了动作如何创建及使用。作者磨皮的方法为现在较为流行的计算通道法。很多教程都介绍过,大致过程:磨皮的时候我们在通道面板选择一个细节较多的通道并复制一份,然后对复制的通道执行一些滤镜及计算操作加强质感。最后用得到的通道选区给人物美白即可。
原图
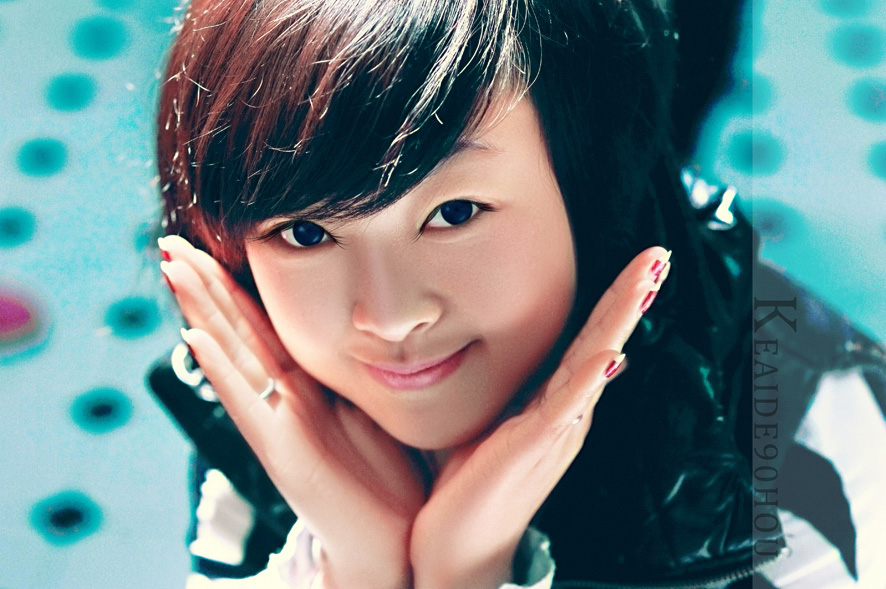
最终效果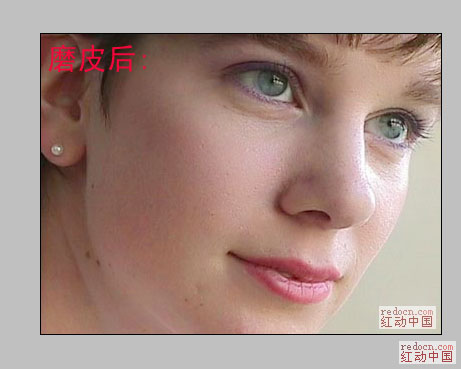
(本文来源于图老师网站,更多请访问http://m.tulaoshi.com/psxpcl/)
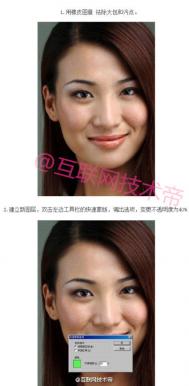
1、打开原图素材。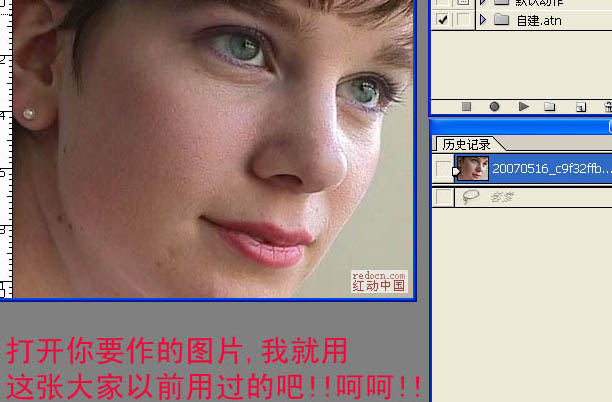
2、点动作面板(没有的选择菜单:窗口 显示动作),点面板下面的新建按钮新建动作,参数设置如下图。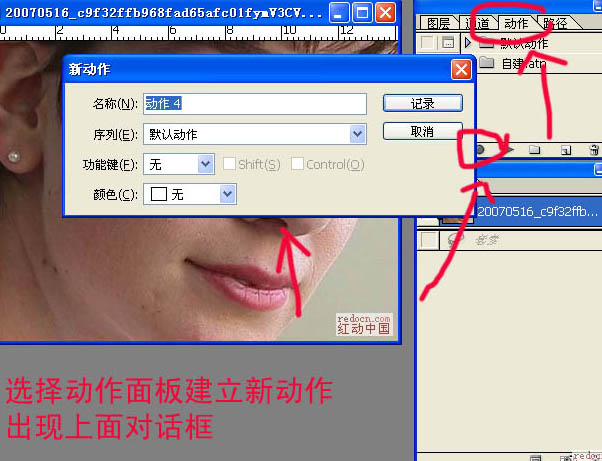
3、选择自己喜欢的动作控制快捷键。
4、输入动作名称。
5、进入通道面板,选择蓝色通道如下图。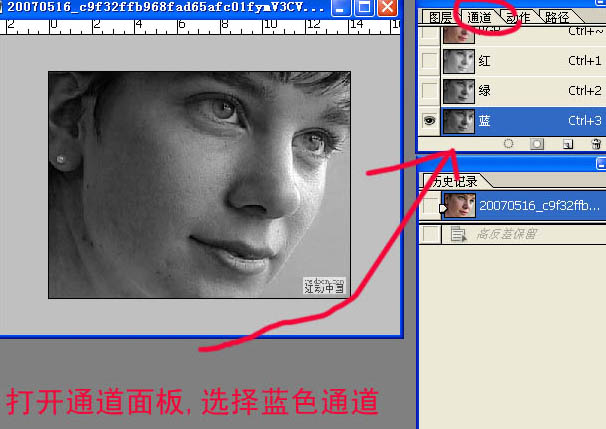
6、把蓝色通道复制一份,得到“蓝副本”通道,如下图。
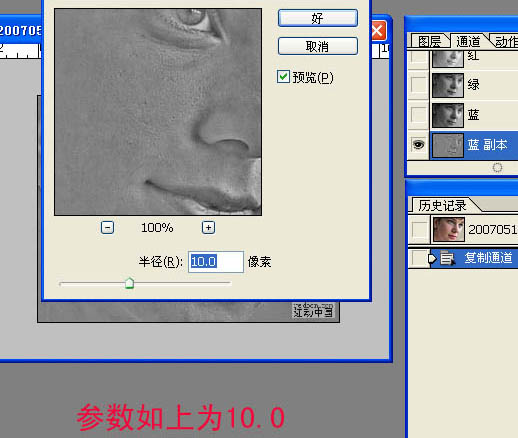
7、对“蓝副本”通道执行:滤镜 其它 高反差保留,数值设置为:10,如下图。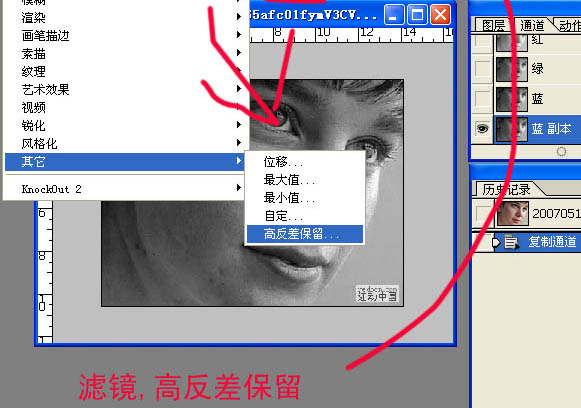
8、执行:图像 计算,把混合改为“叠加”,其它默认。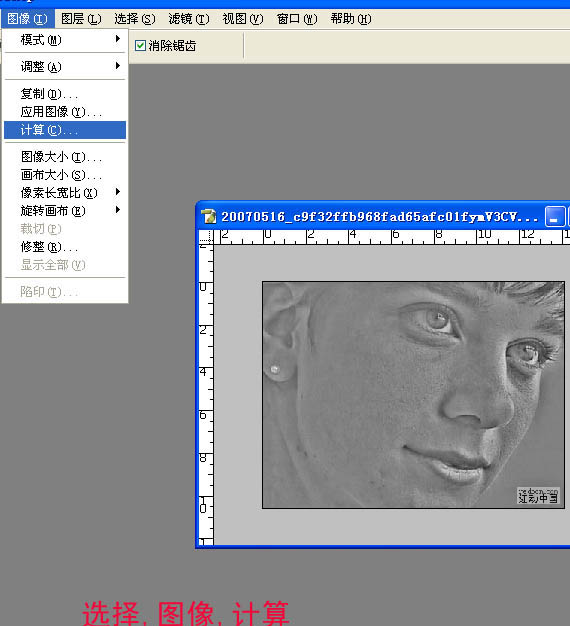
9、连续计算三次,大致效果如下图。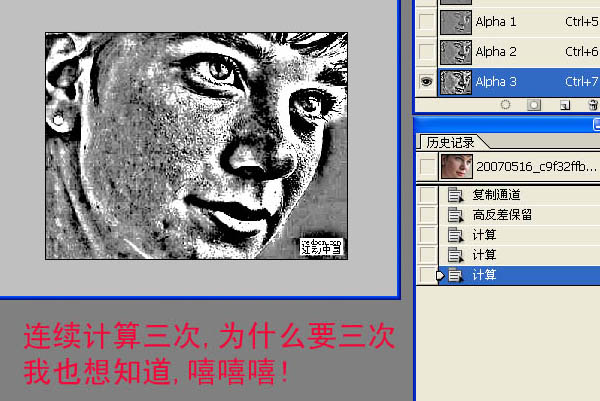
10、点面板下面的小圆圈载入选区,按Ctrl + Shift + I 反选选区。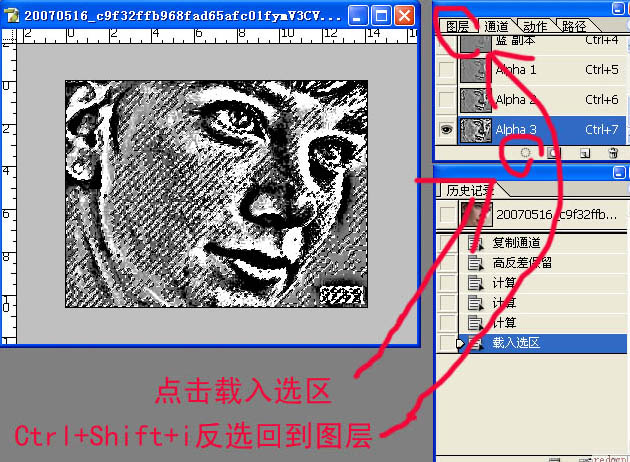
11、回到图层面板,按Ctrl + H 隐藏选区,按Ctrl + M 调整曲线,稍微调白一点,可以多调几次,自己满意为止。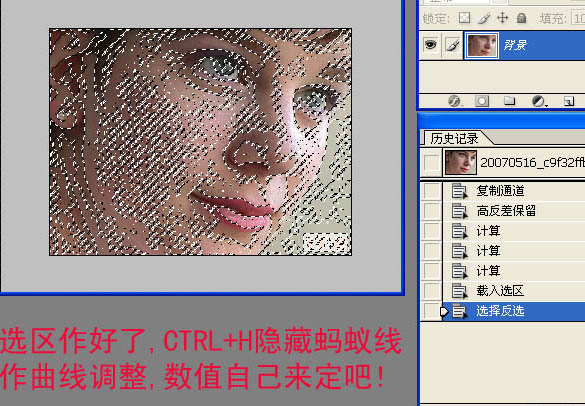
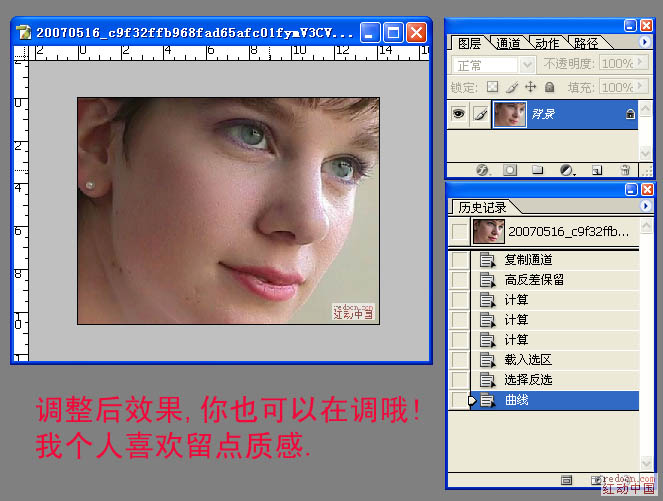
12、按Ctrl + D 取消隐藏的选区,按Ctrl + M 调整曲线,稍微调白一点,效果如下图。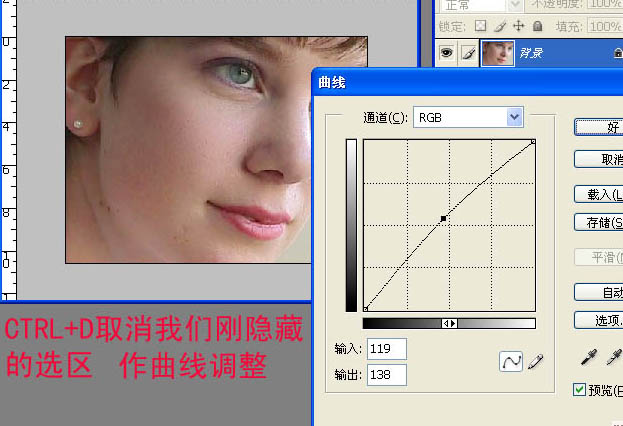
13、回到动作面板,点面板下面的圆形按钮停止记录。以后用的时候只要在动作面板点播放即可。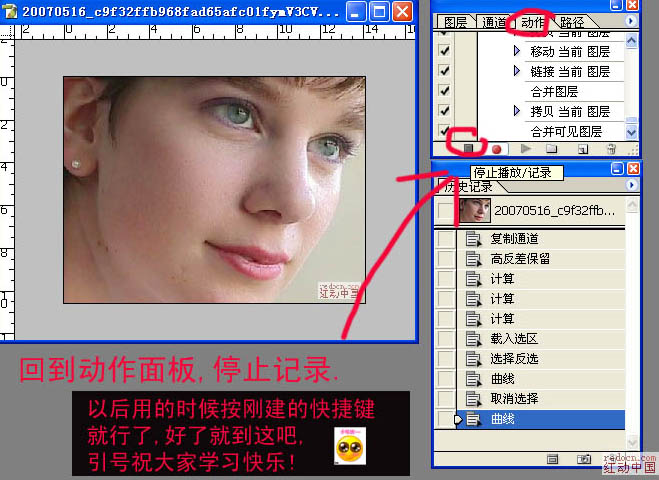
(本文来源于图老师网站,更多请访问http://m.tulaoshi.com/psxpcl/)最终效果:
(本文来源于图老师网站,更多请访问http://m.tulaoshi.com/psxpcl/)