QQ2990808685
2016-02-01 00:08
最近很多朋友喜欢上PS,但是大家却不知道如何去做,别担心有图老师给你解答,史上最全最棒的详细解说让你一看就懂。
制作真人潮流插画重点是如何装饰画面,可能用到的素材较多,制作之前最好是搜集一些潮流元素素材或笔刷。然后再构思画面,并用素材装饰,美化即可。
最终效果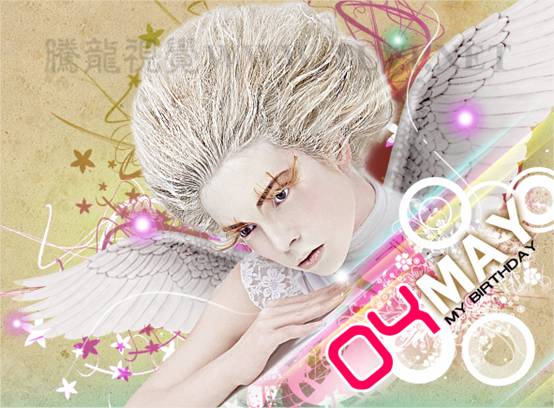
1、打开下图所示的背景素材。
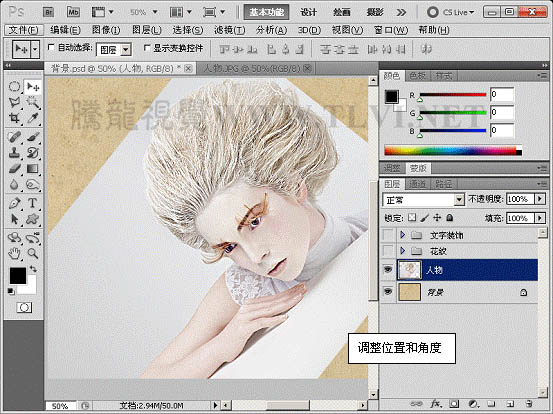
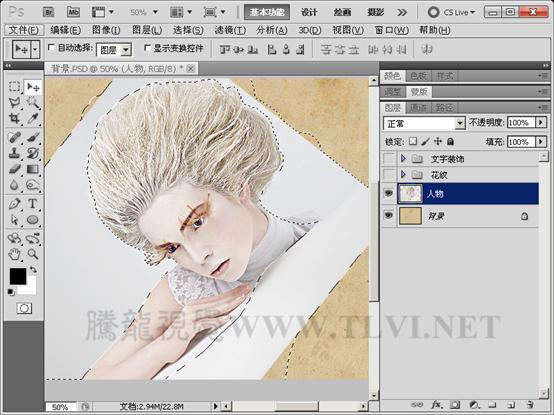
2、打开本实例配套素材“人物”文件,将该图像移动至“背景”文档中并对其位置角度进行调整。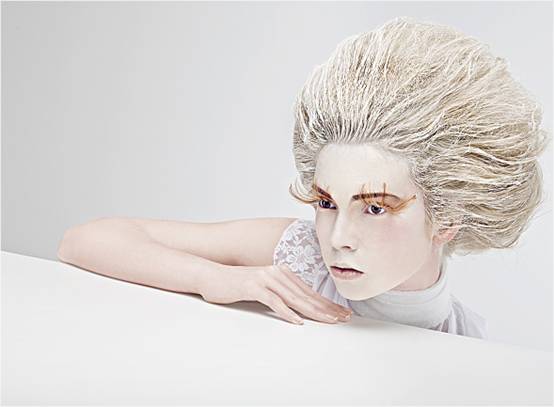
3、使用“魔棒”工具创建选区。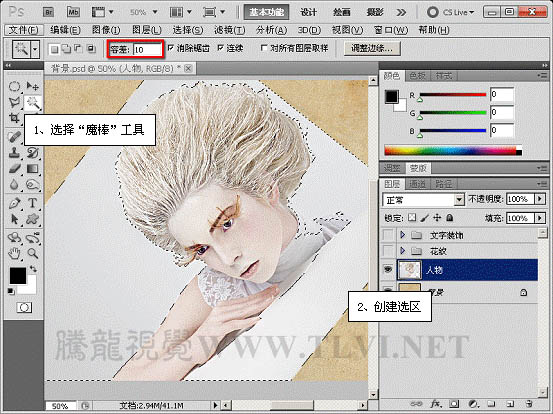
4、将选区反向选择,进入快速蒙版模式。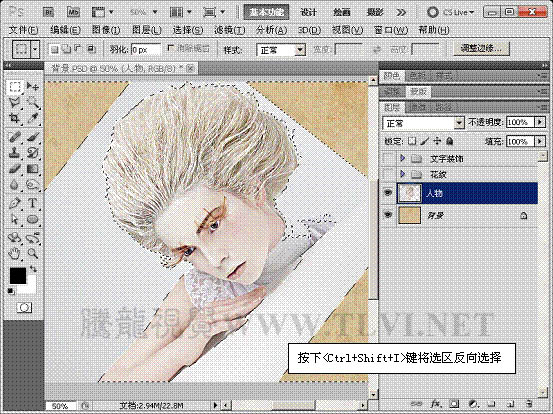
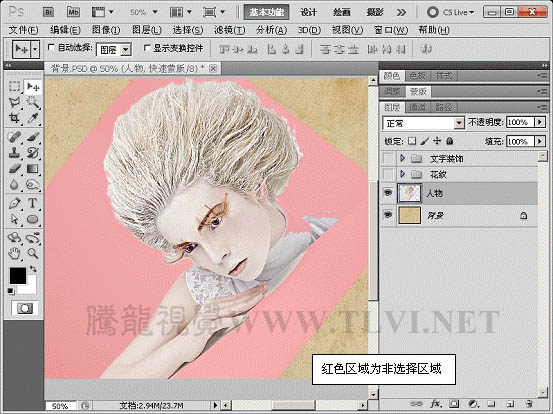
5、在快速蒙版模式中对蒙版选区进行编辑。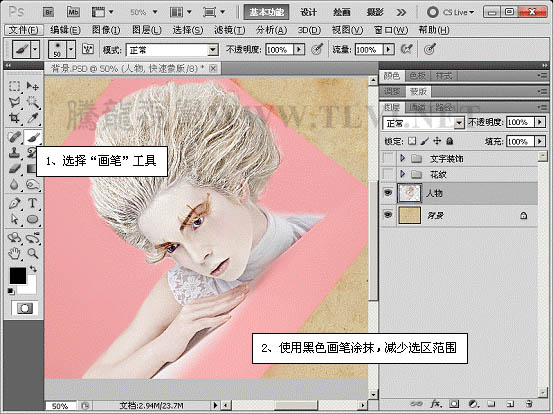
(本文来源于图老师网站,更多请访问http://m.tulaoshi.com/psxpcl/)
6、退出快速蒙版模式。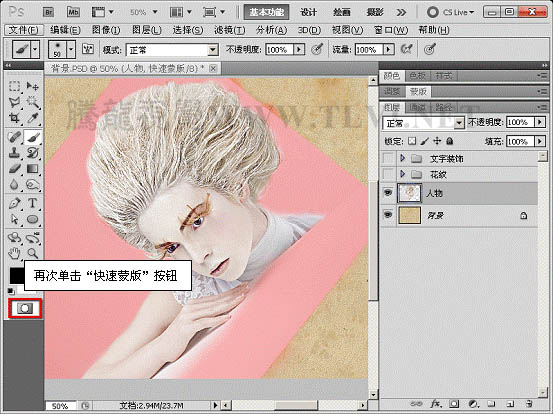
7、保持选区的选择状态,在“图层”调板中创建图层蒙版,方便对图像的修改,并遮盖选区中的图像。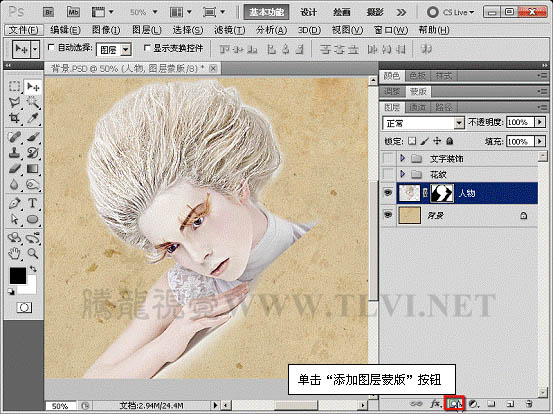
8、打开本实例配套素材“底纹”文件。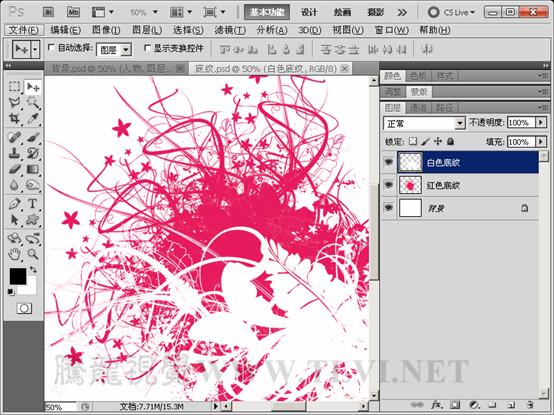

9、将底纹图像移动至“背景”文档中,调整图层顺序和底纹图像的位置。
10、分别为两个底纹图像添加图层蒙版。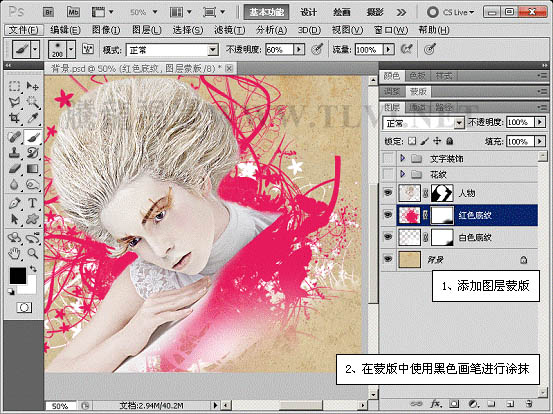
11、在“图层”调板中设置“红色底纹”图层的混合模式和不透明度。
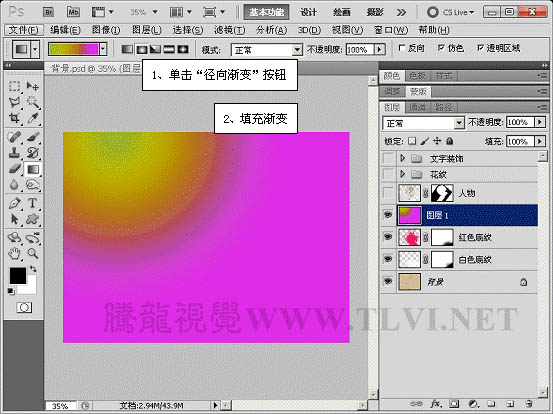
12、新建图层,使用“渐变”工具填充渐变。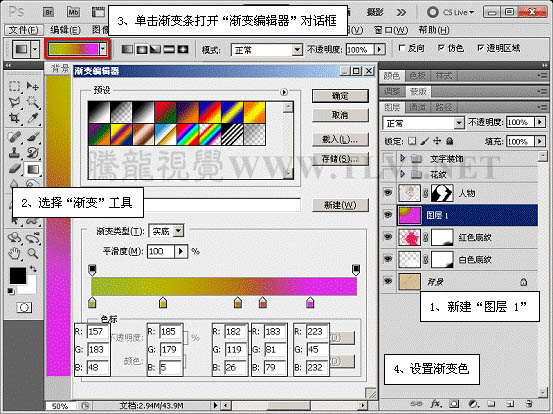
13、执行“图层”→“创建剪贴蒙版”命令。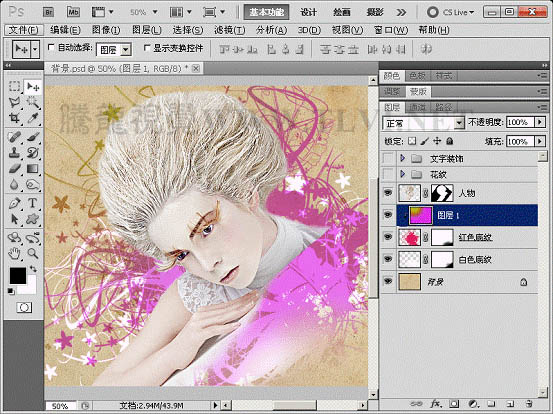
14、接着为该图层添加图层蒙版,屏蔽右下方图像。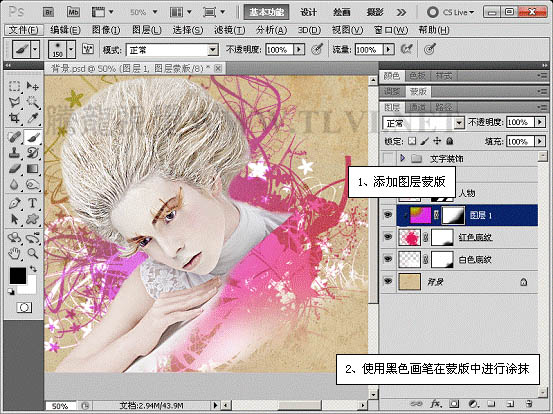
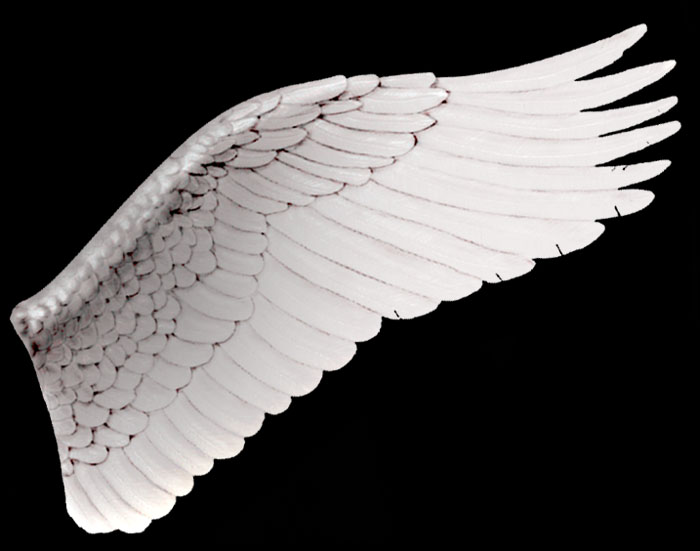
15、打开本实例配套素材“翅膀”文件。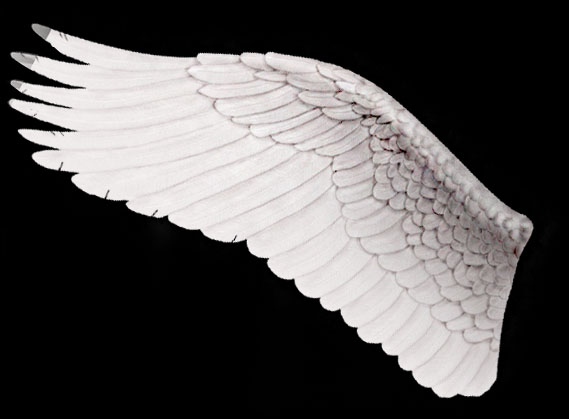
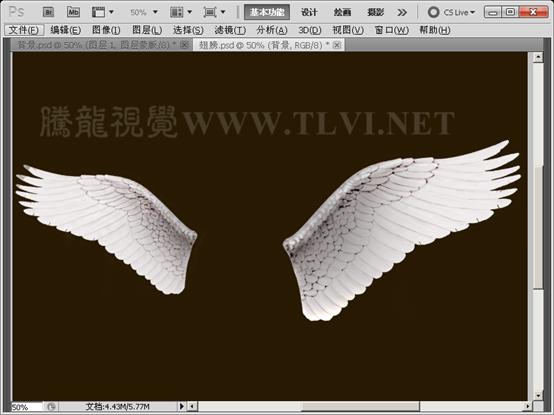
16、将翅膀图像移动至“背景”文档中合适位置,并对其进行调整。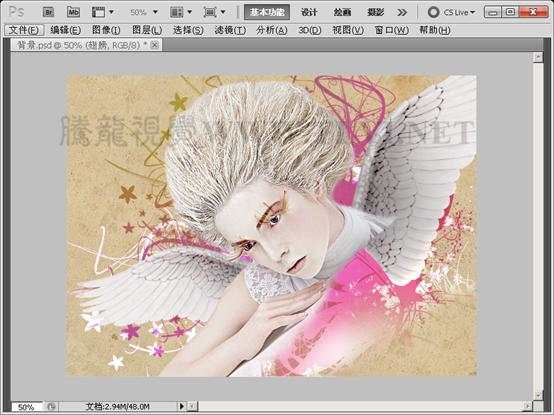
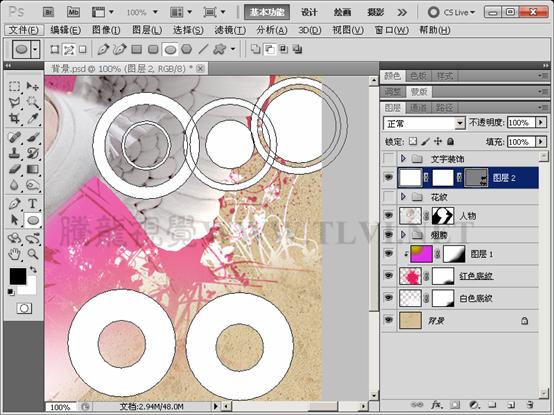
17、在“花纹”图层组的上方新建“图层 2”并填充白色。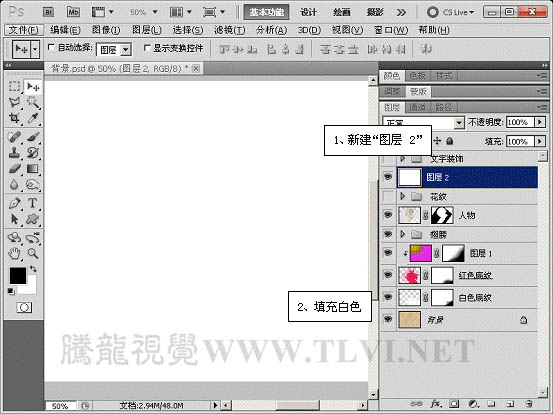
18、为该图层添加图层蒙版和矢量蒙版。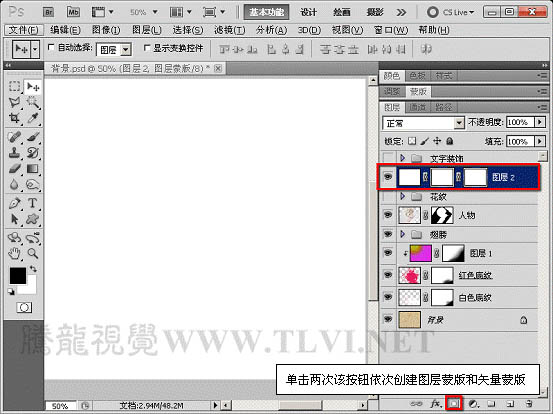
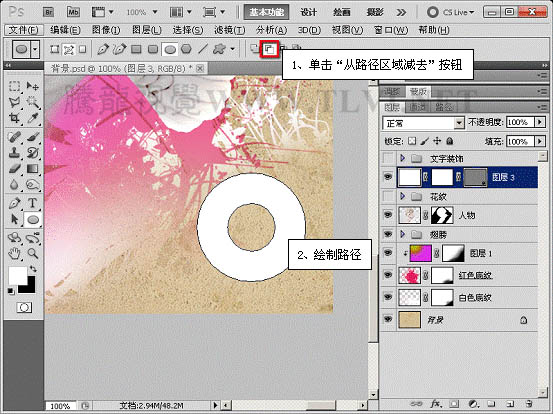
19、使用“椭圆”工具在矢量蒙版中绘制路径。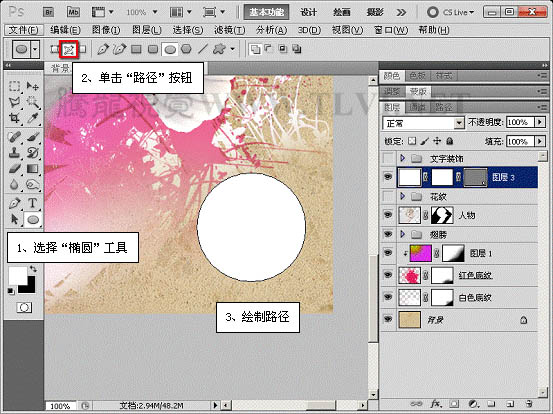
(本文来源于图老师网站,更多请访问http://m.tulaoshi.com/psxpcl/)
20、绘制完毕后使用“画笔”工具在其图层蒙版中进行涂抹,屏蔽部分图像。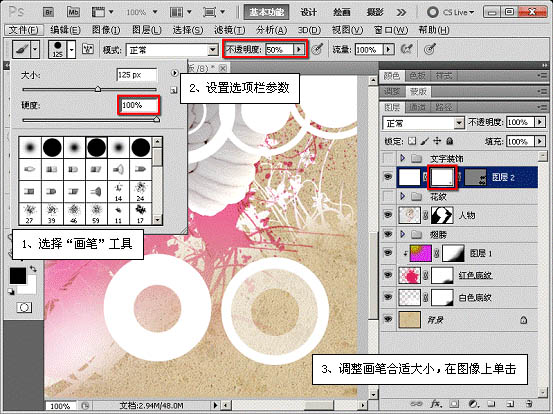
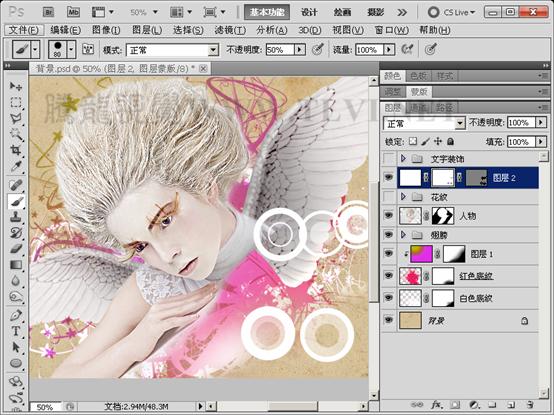
21、在“背景”图层的上方新建图层,使用不同颜色的画笔进行涂抹,使图像色彩更为丰富。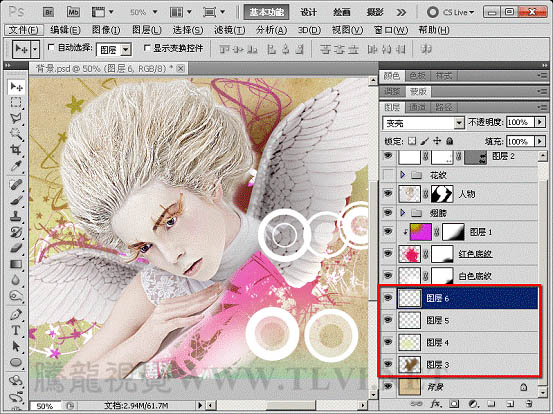
22、打开下图所示的文字及花纹素材,拖进来,放到图层的最上面。
调整一下细节,完成最终效果。


