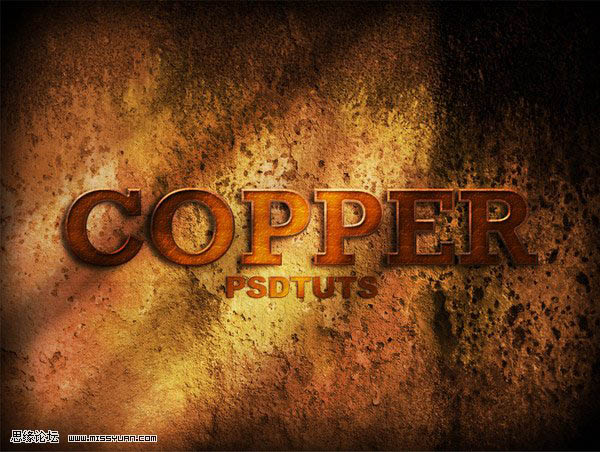
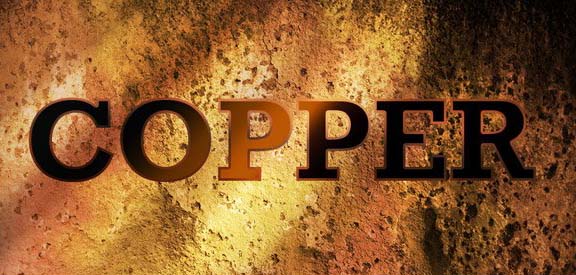
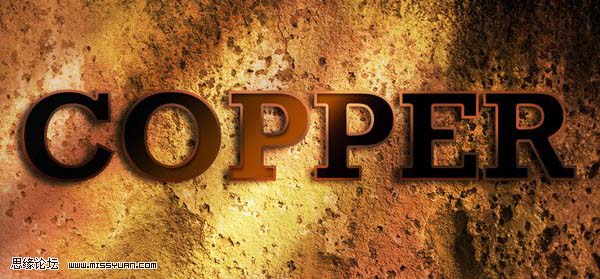
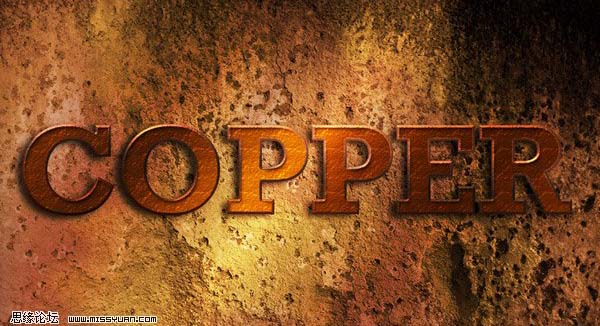
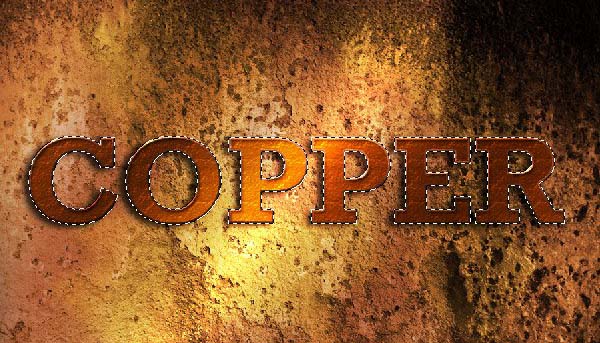
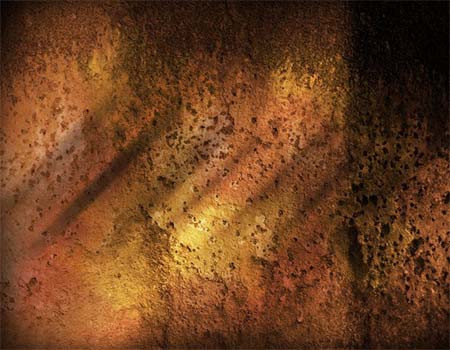
最终效果

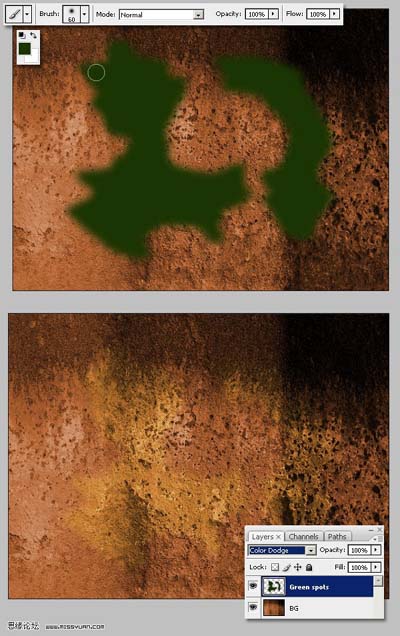
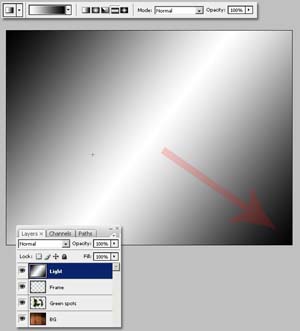
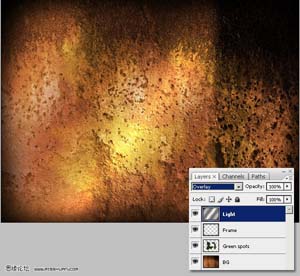
2、新建图层,green spot层,更改为【颜色减淡】模式,用柔角画笔 #1A3404 ,涂抹一些破旧的痕迹。
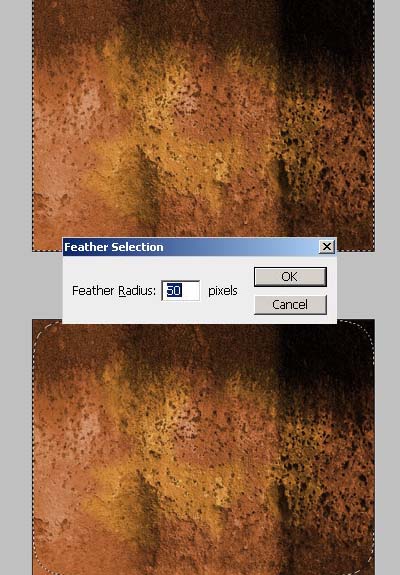
4、不要取消选区,反选,新建图层frame层填充选区范围黑色,取消选择,执行滤镜:滤镜-扭曲-波浪 。


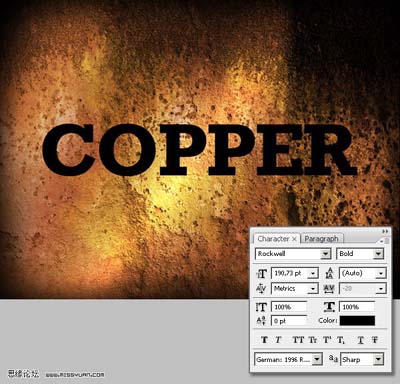
6、有趣的部分开始啦, 打上文字,这里选用的是 Rockwell 字体。
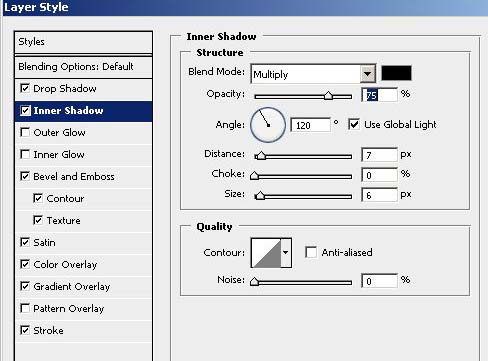
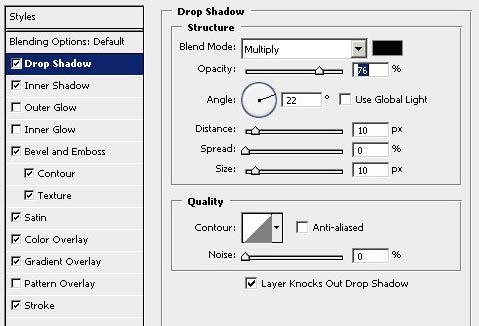
8、继续设置图层样式 【内阴影】 黑色, 模式=【正片叠底】 ,其他设置如图;【投影】 黑色 , 模式=【正片叠底】,其他设置如图
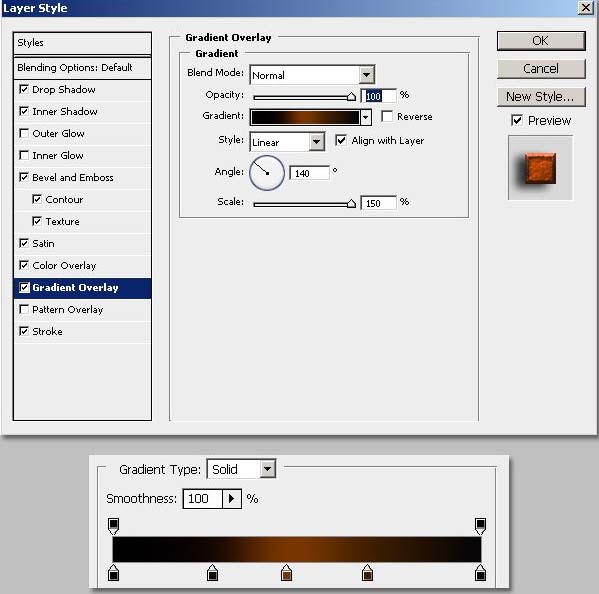
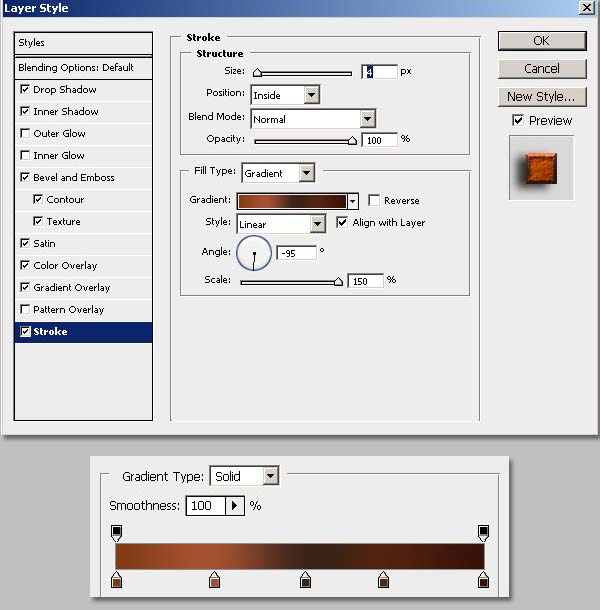
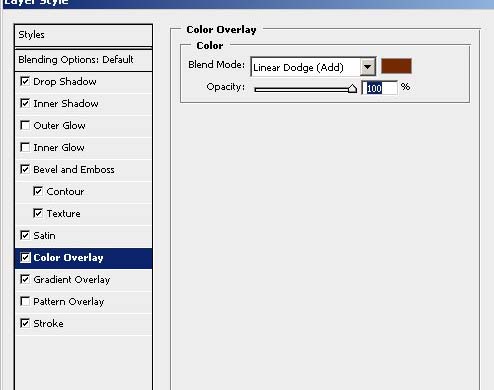
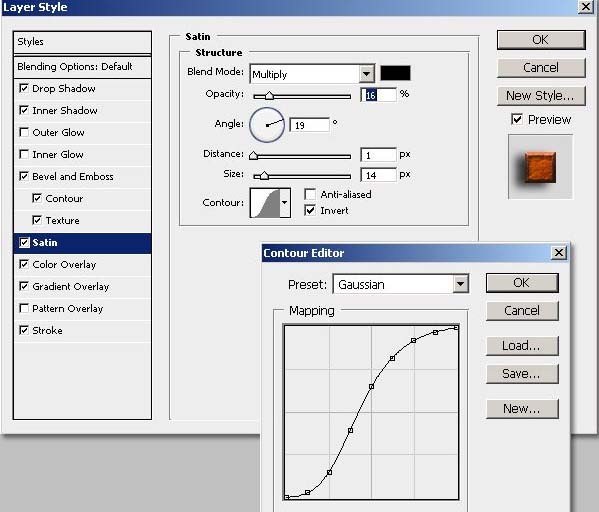
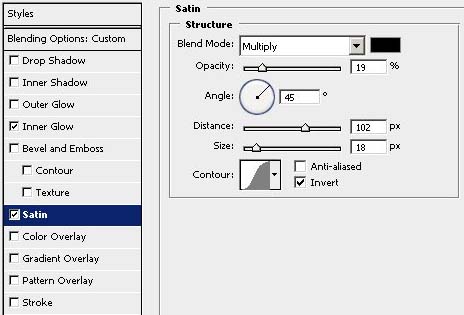
9、继续设置图层样式 【颜色叠加】 颜色=#742901, 模式=【线性减淡】 ,其他设置如图 ;【光泽】 黑色 , 模式=【正片叠底】,其他设置如图
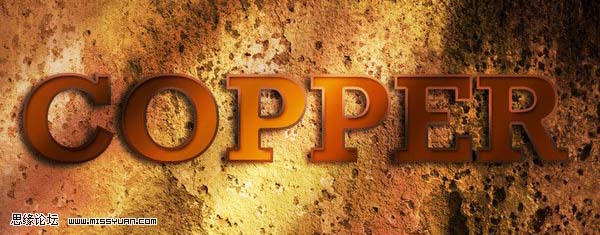
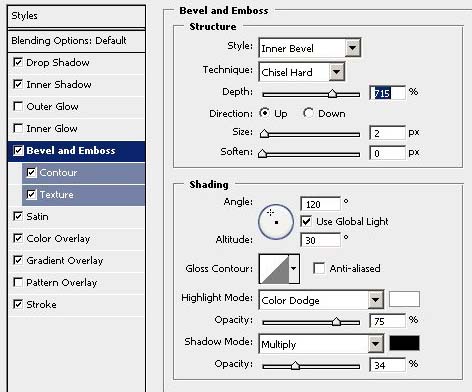
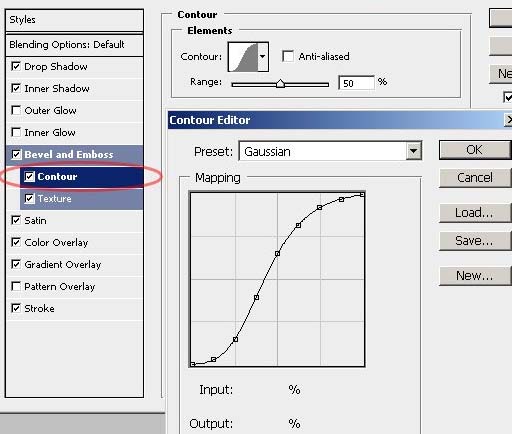
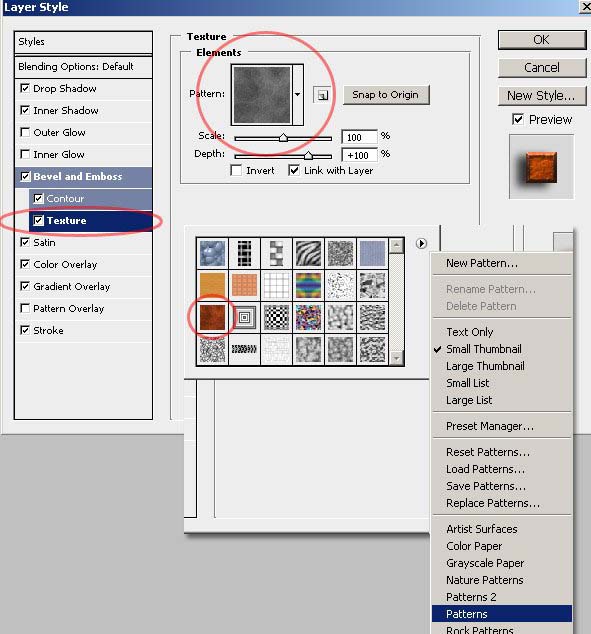
10、继续设置图层样式 【斜面和浮雕】 高光模式=颜色减淡 ,阴影模式=正片叠底 , 其他设置如图
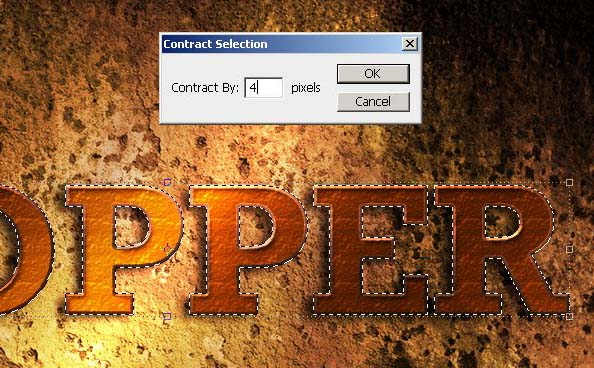
11、载入文字层选区,缩小选区4px

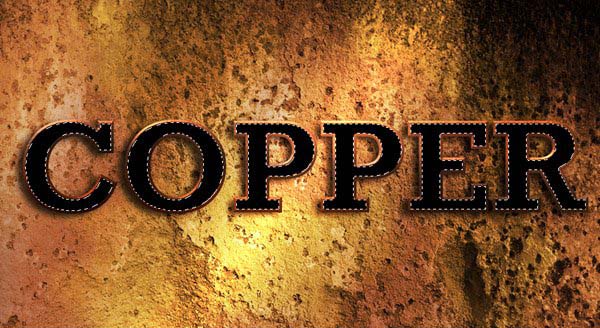
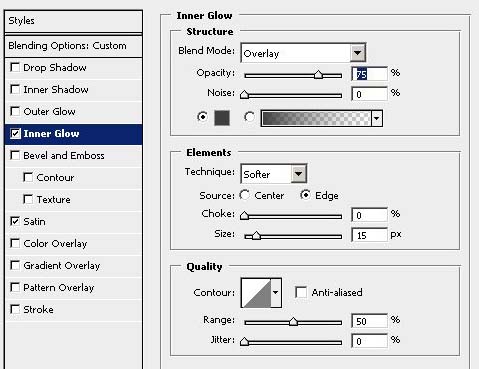
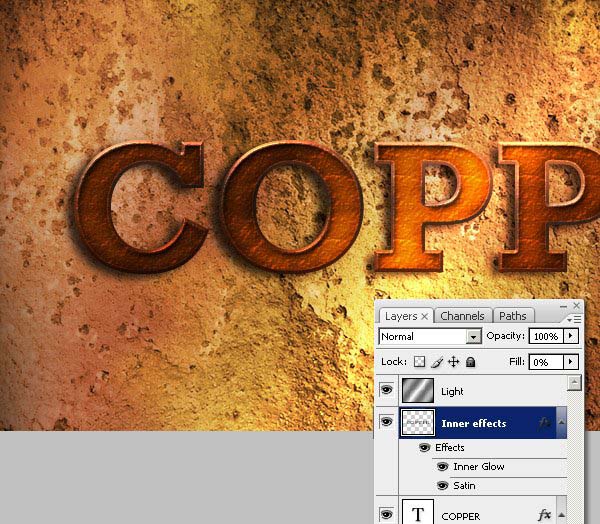
12、在文字层上新建图层(此时 Light层仍然置顶),命名为【内阴影】层,在选区内填充黑色,更改【填充】=0% , 设置图层样式 【内发光】 叠加模式 ,其他设置如图 ,【光泽】 正片叠底模式 ,其他设置如图。
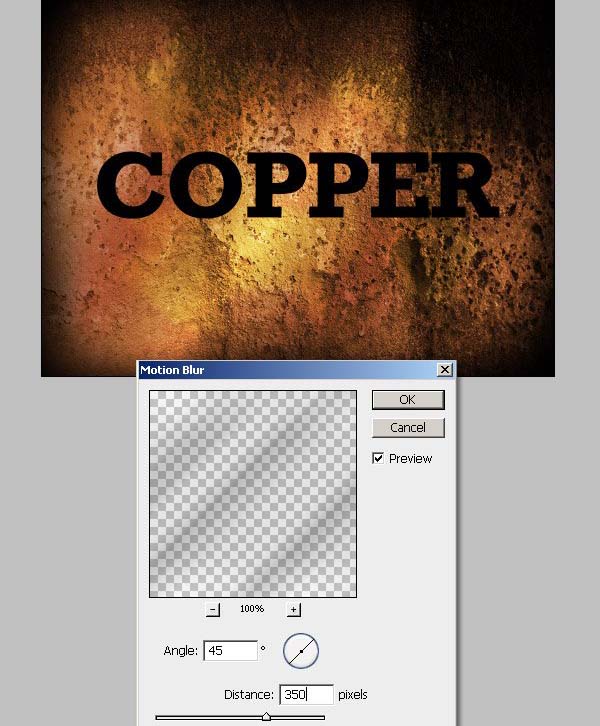
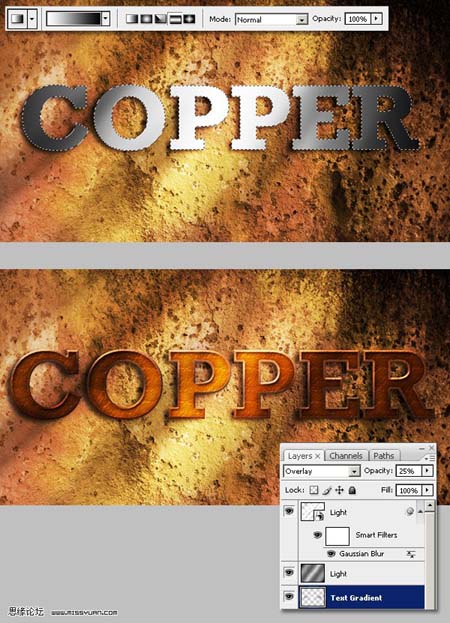
13、复制文字层,命名为 文字层阴影, 将副本放置于文字层下面,栅格化【文字层阴影】层,然后执行滤镜 滤镜-模糊-动感模糊载入文字层选区,反选,在【文字层阴影】层上 上除掉文字选区之外多余的部分 。

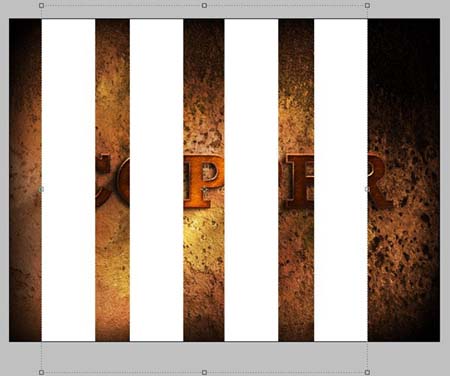
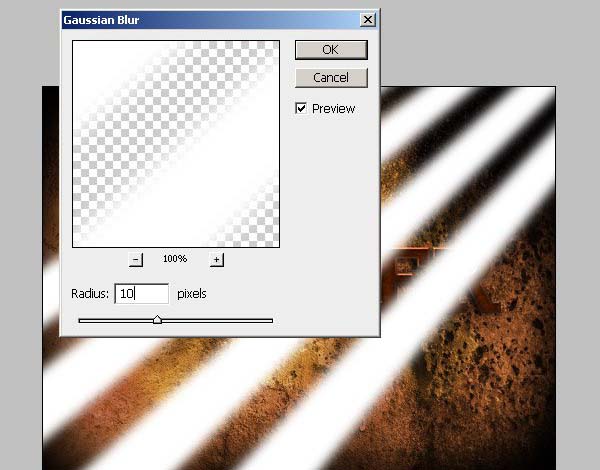
14、继续为文字增加光线效果,新建图层置为顶层 命名为 【光线效果】用选框工具会绘制一些矩形选区,填充白色然后,自由变换,执行滤镜,滤镜-模糊-高斯模糊,更改为【叠加】模式,不透明度=50%。


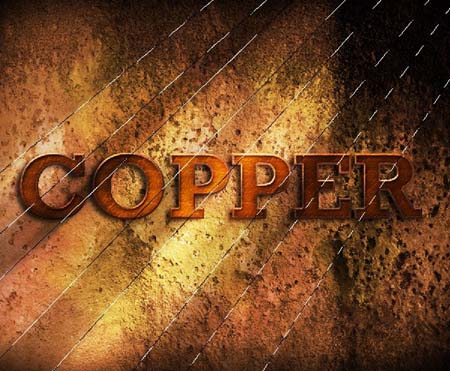
15、 载入【光线效果】层选区,选择 【文字层阴影】层,在上面删除选区部分。

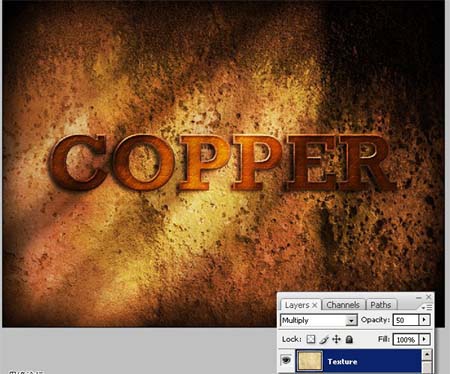
17、最后,将领一张素材图,放置在所有图层之上,更改为【正片叠底】模式, 不透明度=50%