最终效果
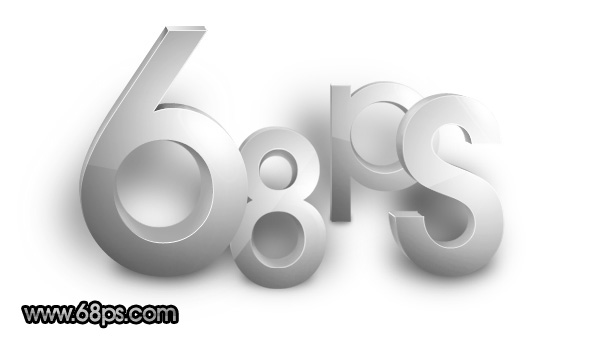

图1
2、把文字转为图层,然后锁定图层,选择渐变工具颜色设置如图3。
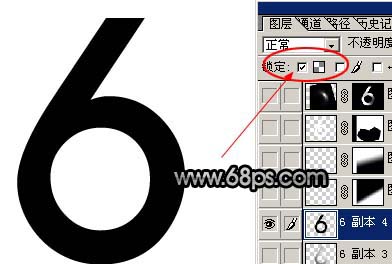
图2
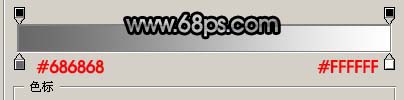
图3 3、然后由文字的右上角向左下拉出径向渐变,效果如图5。
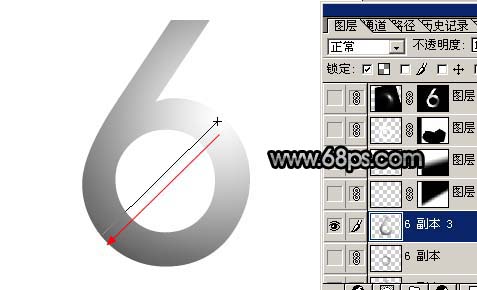
图4

图5
4、把文字图层复制一层,回到文字原图层,按Ctrl + T按比例缩小一点如图6,效果如图7。
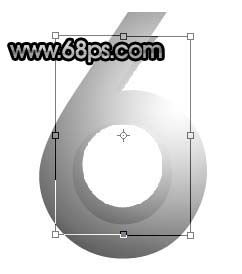
图6

图7 5、把文字填充颜色:#A7A7A7,用椭圆选框工具选区图8所示选区,按Ctrl + Shift + I反选,按Delete删除,适当把图层移动一下,如图9。

图8

图9
6、选择减淡工具参数设置如下图。
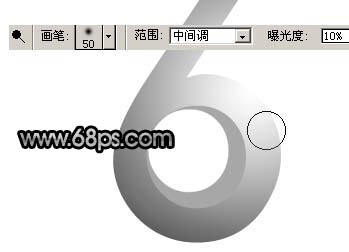
图10 7、把下图箭头所示部分涂亮一点。

图11 8、选择加深工具把下图箭头所示部分加深一点,效果如图13。
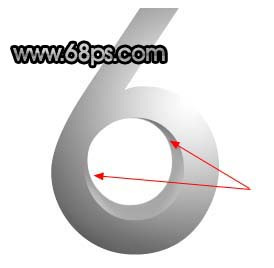
图12

图13
9、把文字副本复制一层,按Ctrl + Shift + [移到背景图层上面,填充颜色:#A7A7A7,再适当移开一点距离,效果如图14。

图14 10、用减淡/加深工具涂出高光和暗调,效果如图15。

图15 11、按Ctrl点图层面板文字副本缩略图调出文字选区,在最上面新建一个图层,执行:编辑 描边,参数设置如图16,确定后用套索工具勾选里面的小圆,反选后按Delete删除多余部分。加上图层蒙版稍微把上部涂掉,效果如图18。
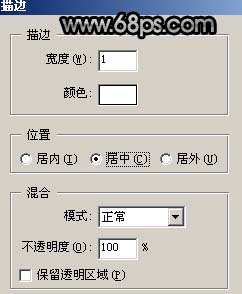
图16
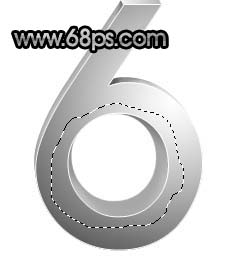
图17
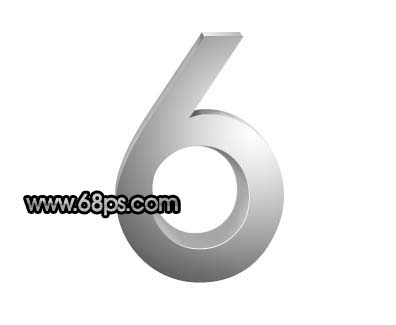
图18
12、同样的方法制作出上面的线光。

图19 13、按Ctrl点文字副本调出文字选区,在最上面新建一个图层填充白色,如图20。

图20 14、用钢笔工具随意勾出一块选区,如图21按Delete删除,然后把图层不透明度改为:20%,效果如图22。
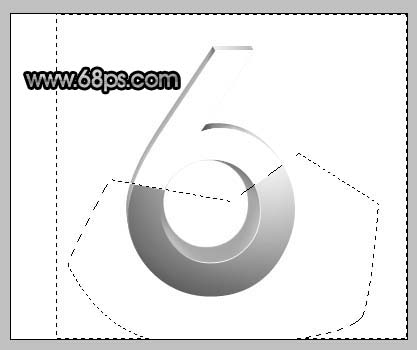
图21

图22
15、适当加点阴影如图23。

图23 16、同样的方法制作出其它文字,完成最终效果。
图24