最终效果

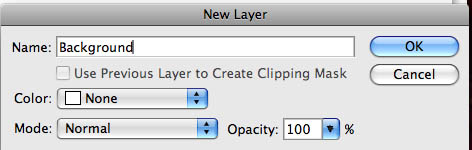
2、然后,我们要双击图层面板上的“背景”图层。默认为打开一个新文件。更改名为“背景”,按“确定”。
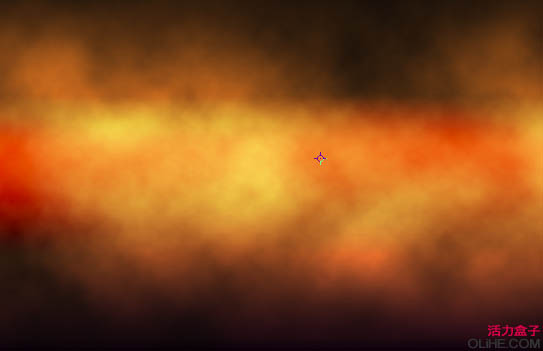
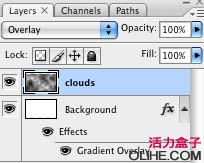
4、现在,在“背景”层上方创建一个新层,命名为“云”。按键盘上的D重置前景和背景设置。选择滤镜渲染云。设置“云”图层的混合模式为叠加:
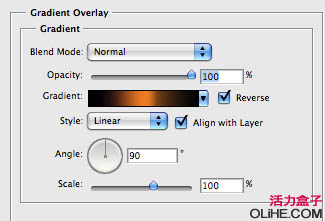
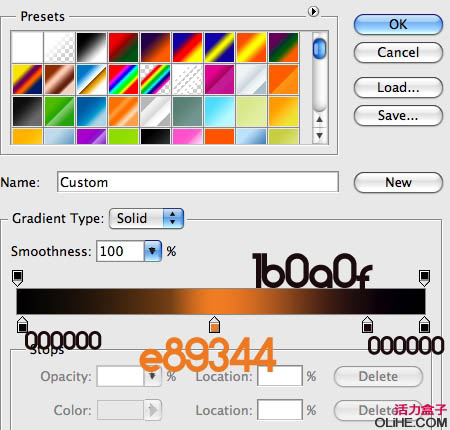
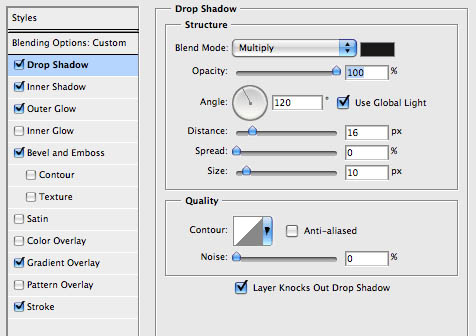
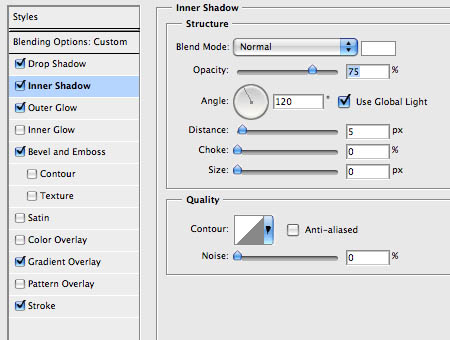
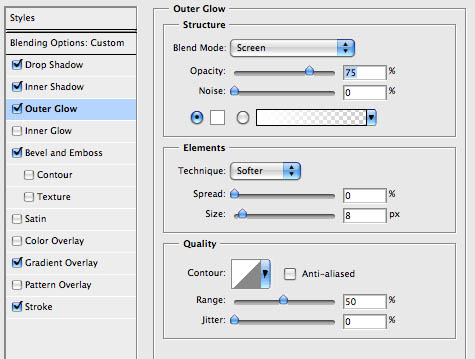
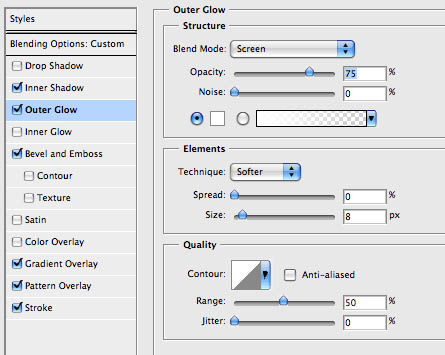
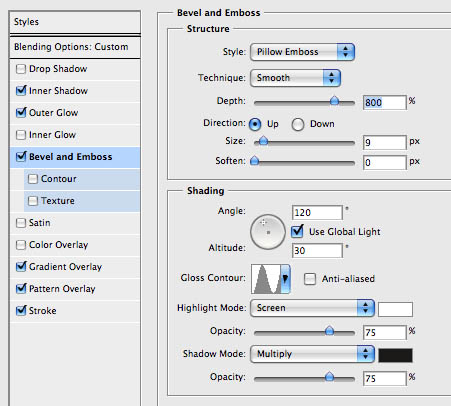
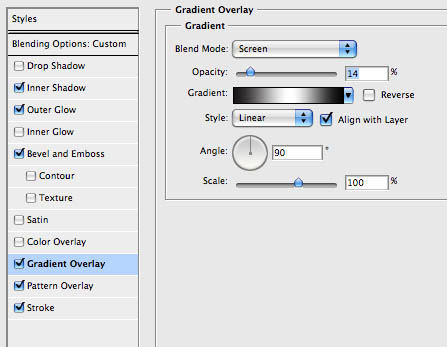
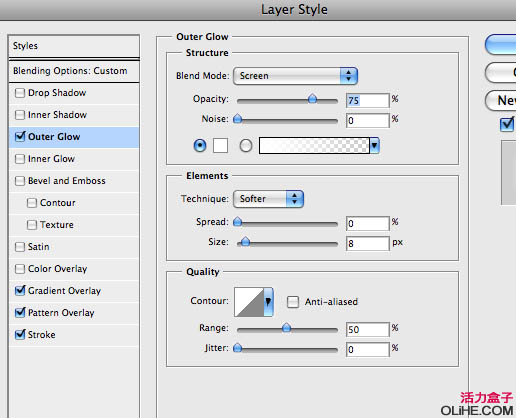
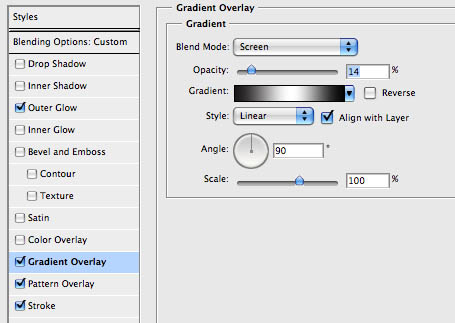
5、我们需要创建文本,我们使用的是“ZARAUTZ” 字体。打开混合选项,输入下图设置:
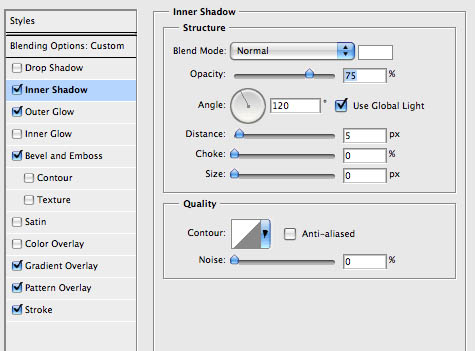
6、现在,按Command + J 复制文字层,删除之前我们设置的所有的混合模式。现在,在复制层上应用下列混合模式:(图案叠加的图案可以自己制作一些抽丝图案)
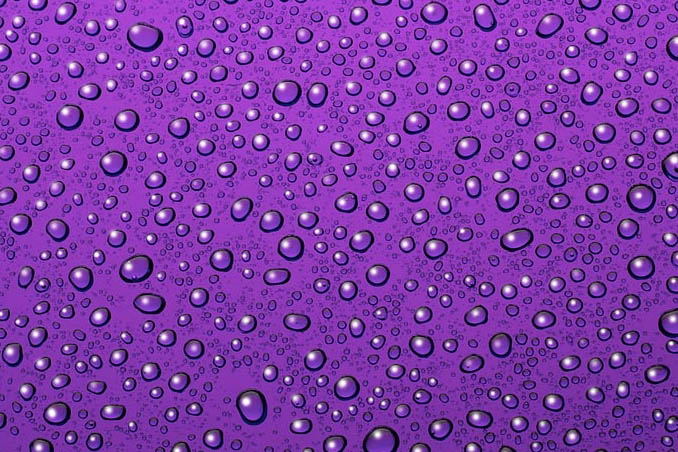
7、现在我们要添加我最喜欢的材质之一:露珠。在Photoshop中打开,并拖到文件里,并命名为“露珠”。设置混合模式为叠加。确保露珠层在云层之上。(见下图)

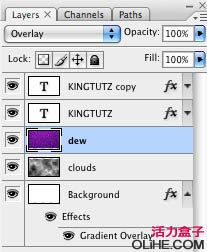
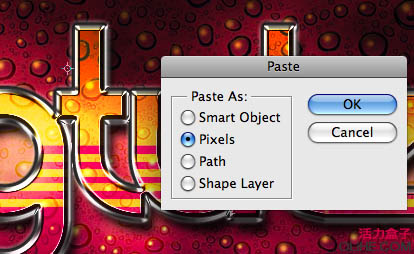
8、现在,我们要在文本后面添加一个花纹,使它更加流行。在Adobe Illustrator中打开它。按Command + C选择整个花纹,复制选区,然后切换到Adobe Photoshop中,按Command + V 将其粘贴。确保你粘贴的是“像素”,然后,一定要按Enter接受粘贴。

10、设置花纹层的混合模式为叠加,复制并调整花纹层得到你想要的效果:

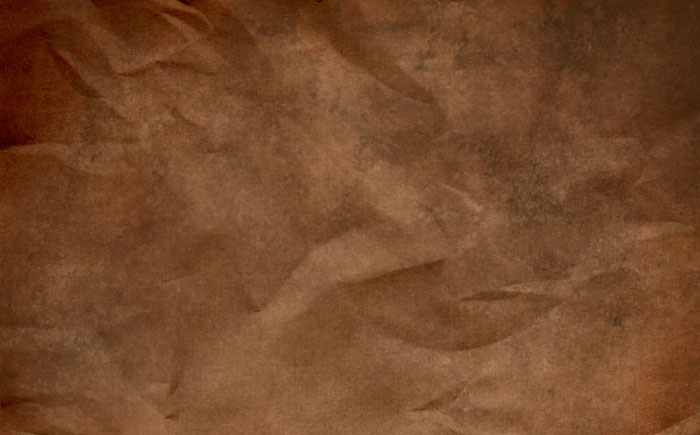
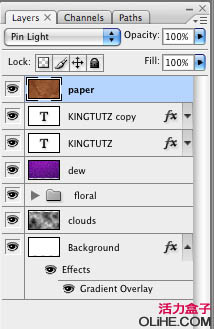
11、最后的修饰是在我们整体组合的顶端添加更多的纹理层。在Photoshop中打开,把它拖到我们的图像里,并确保该层在所有其他层的顶部。将它的混合模式设置为点光。