下面是个简单易学的Photoshop制作带有浮雕效果的毛笔字教程,图老师小编详细图解介绍包你轻松学会,喜欢的朋友赶紧get起来吧!
本教程介绍非常不错的类似毛笔笔画的纹理字制作方法。大致过程:先找好素材纹理背景,选择画笔工具适当设置笔刷的属性,然后路径工具勾出想要的纹理,再描边路径即可得到类似毛笔书写的文字,然后再稍微加上一些残缺及浮雕效果,字体效果就完成了。
最终效果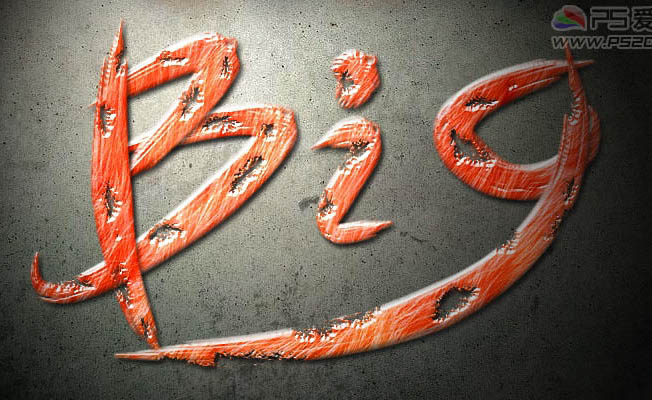
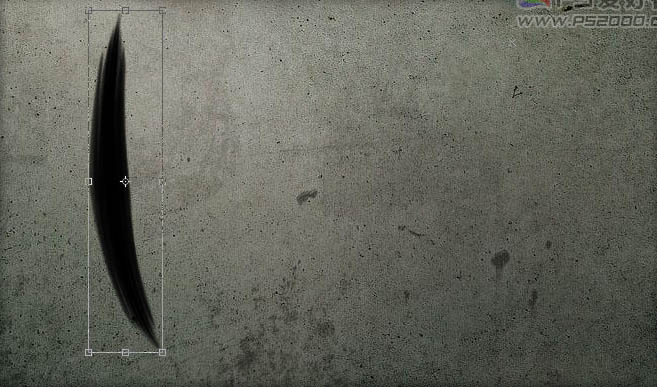
1、打开一张墙面素材,新建图层。选择画笔工具,我们选择25号圆点笔刷,将大小设为90px。

(本文来源于图老师网站,更多请访问http://m.tulaoshi.com/psxg/)
2、选择钢笔工具,绘制第一条路径,完成后对路径描边,过程及效果如下图。

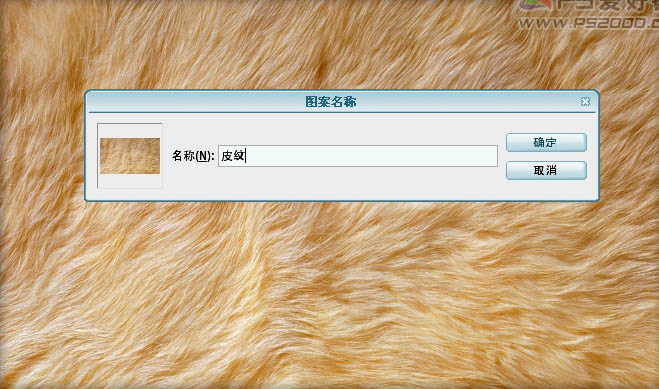
3、为了让文字不太单调,刚好手头有一张皮毛的图片,我们用来制作文字的图案。打开皮毛图片后定义为图案。
4、还回到刚刚的文档,依次添加图层样式。投影默认值即可,斜面和浮雕参数见下图说明:
(本文来源于图老师网站,更多请访问http://m.tulaoshi.com/psxg/)
5、图案叠加就用刚刚制作的皮毛纹理: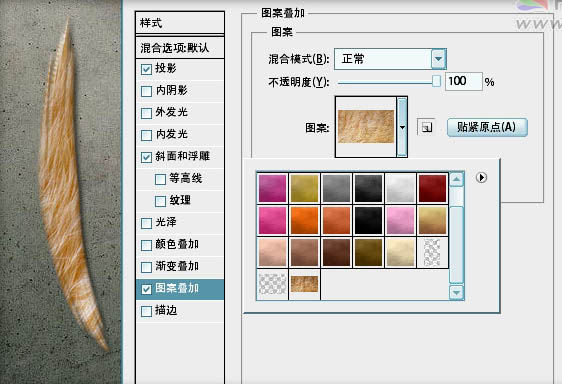
6、颜色叠加为红色,记得混合模式为“柔光”。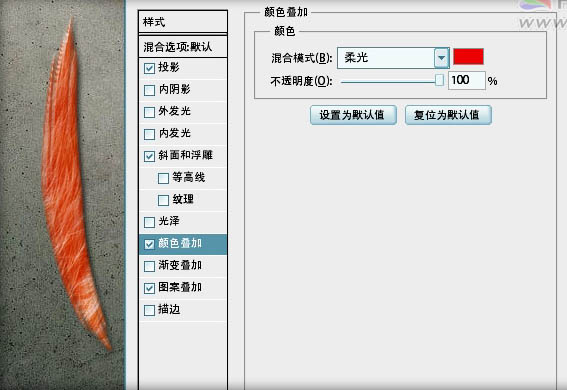
7、新建图层,同样制作出其它的线条。将图层样式复制后粘贴到新绘制的图层。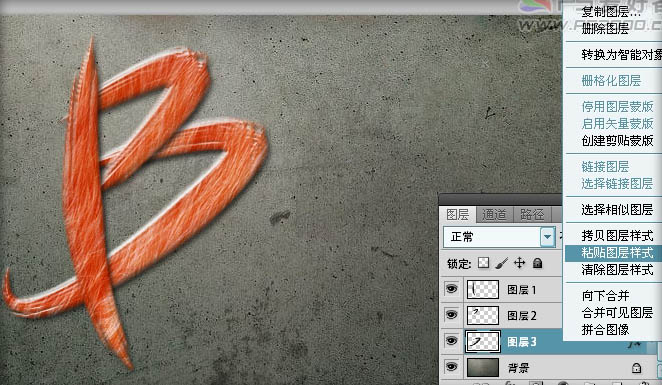
8、同法制作出其它的字母。为了便于管理,可以将每一个字母放至一个图层组。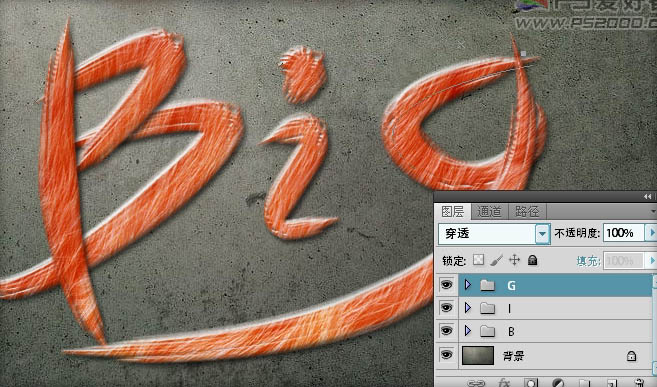
9、对第一个图层添加图层蒙版。选择画笔,仍用刚刚的画笔,勾选“形状动态”,设置见下图: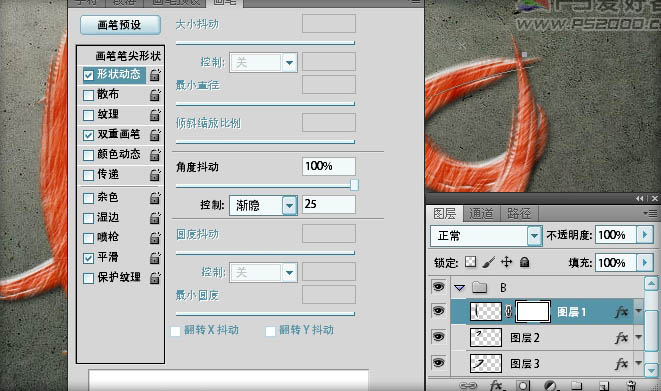
10、勾选“双重画笔”。设置见下图:
11、鼠标在图层蒙版上任意拖出一些破洞(注:此时前景色必须为黑色)。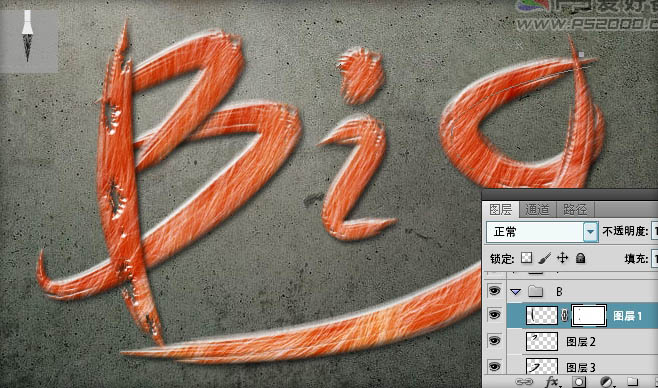
12、逐一对其它文字进行处理。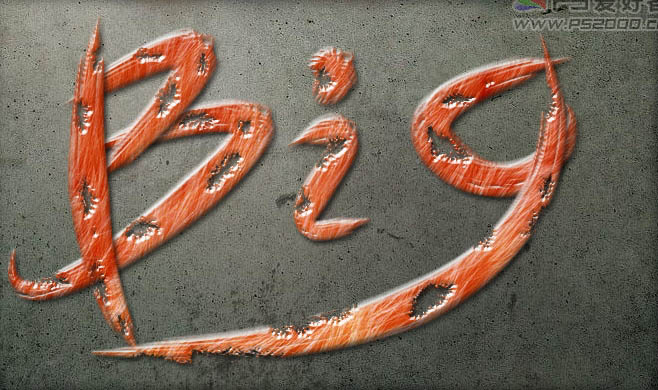
13、隐藏背景层,ctrl+shift+alt+E盖印文字图层。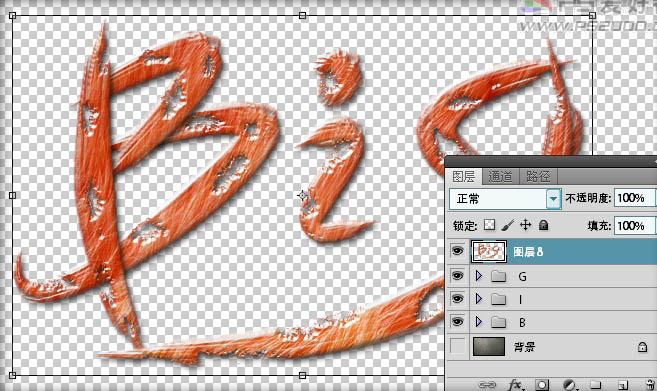
14、添加投影效果。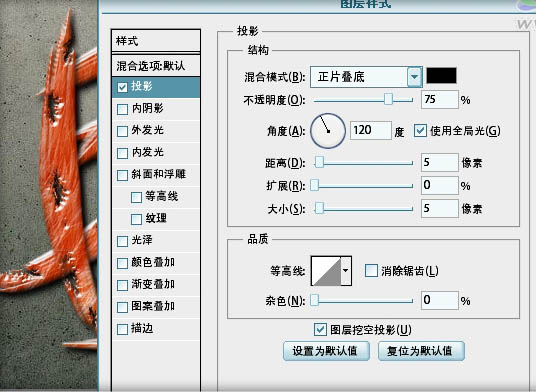
15、对文字和背景添加光照效果。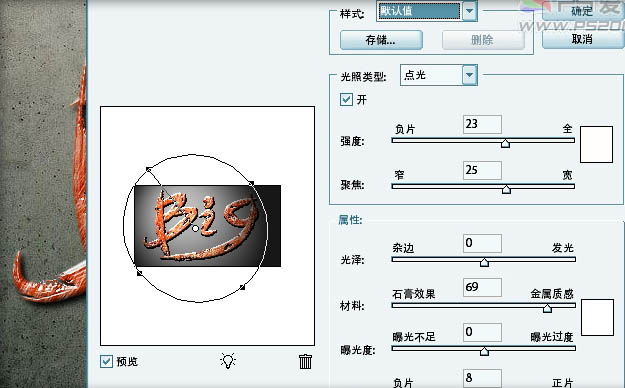
最终效果如下:


