xiaojinyuzhu
2016-01-31 19:10
今天图老师小编要跟大家分享利用渐变打造梦幻的紫红色建筑图片,精心挑选的过程简单易学,喜欢的朋友一起来学习吧!
本教程的调色部分不需要用调色工具来调整,直接用渐变就可以完成。大致过程:先选择好素材,设置好想要的渐变色,然后按照自己的喜好拉出渐变色,再改变渐变色的混合模式就得到想要效果图。如果一种渐变还不满意可以多叠加几层不同的渐变色。 原图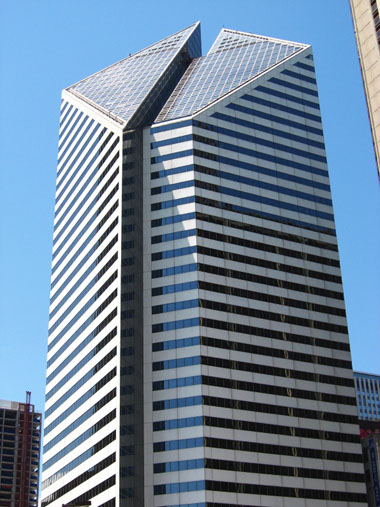
最终效果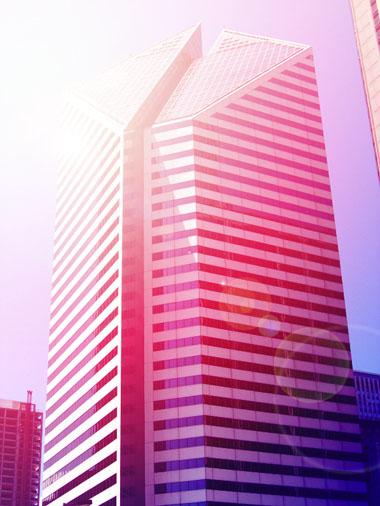
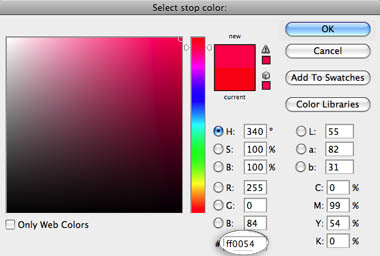
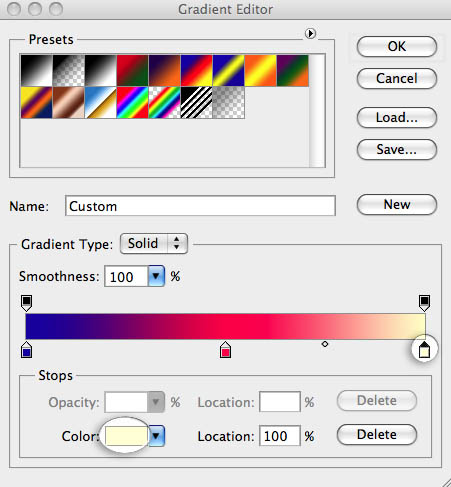
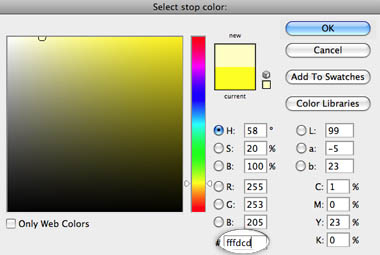
1、选择渐变工具,选择渐变里的默认渐变如图,修改该渐变中间和右边颜色设置,中间为#ff0054右边为#fffdcd。

(本文来源于图老师网站,更多请访问http://m.tulaoshi.com/psxpcl/)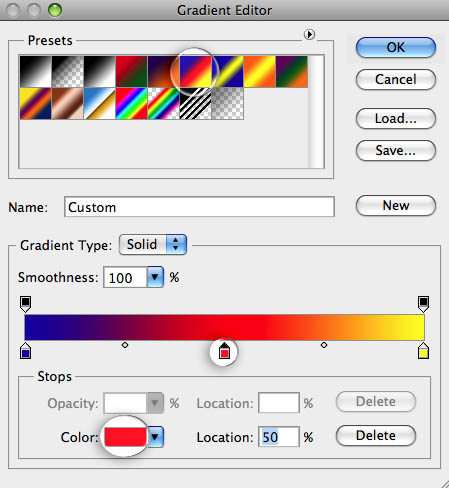
2、选择更改径向渐变,模式为滤色,以及90%的不透明度。
3、对图象从右下向左上拉渐变,确保光源在左上角。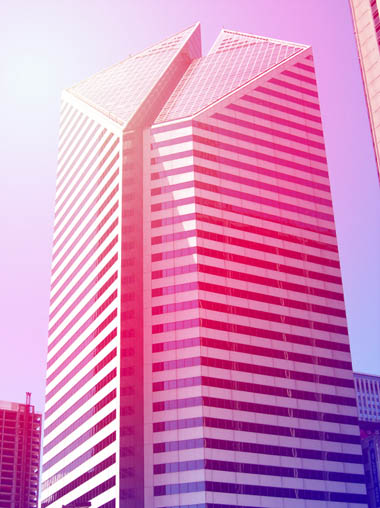
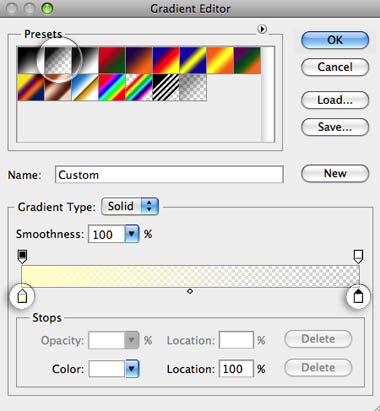
4、增加渐变填充,打开渐变编辑器,并选择第二个预设。 更改颜色相同的黄色,#fffdcd。
5、设置样式为线性,角度为125,规模为100%,并勾选反向。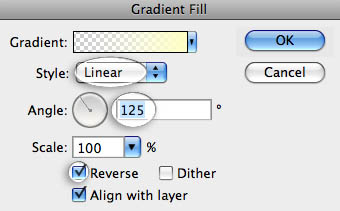
6、在图层面板中更改渐变图层的混合模式为滤色,它的不透明度为90%。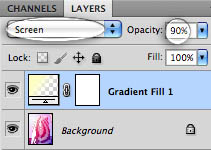
7、现在我们将添加另一个渐变调整图层,变暗图像的右下角。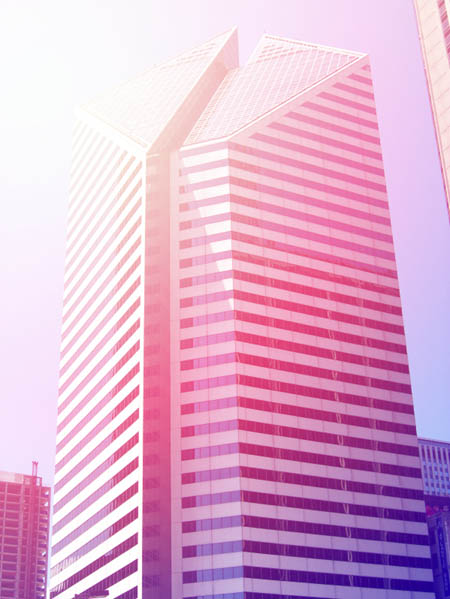
8、使用相同的梯度变化,但预设颜色为黑色。 设置为线型,角度-60,规模为100%,并勾选反向按钮。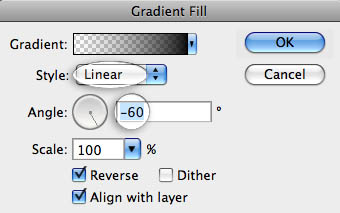
9、设置图层的混合模式为叠加,它的不透明度为80%。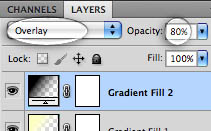
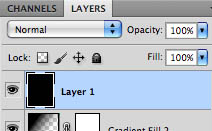
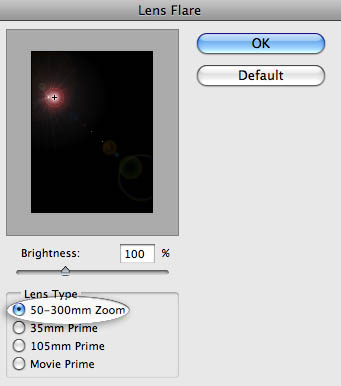
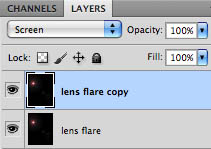
10、最后,我们将增加一个镜头眩光。点击新建图层按钮,使用油漆桶工具,填充黑色层。到滤镜“渲染”镜头眩光。 选择第一个设置,设置为100%的亮度,使用预览框中拖动镜头相同的位置上。
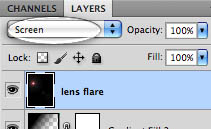
11、更换镜头光晕的混合模式为滤色。重复镜头光晕层,以加强它。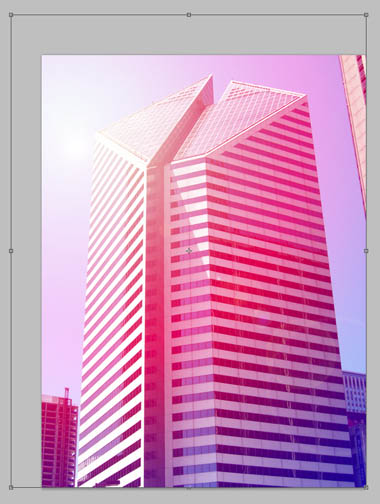
(本文来源于图老师网站,更多请访问http://m.tulaoshi.com/psxpcl/)最终效果:


