下面图老师小编跟大家分享利用PS自带的3D滤镜制作潮流立体字,一起来学习下过程究竟如何进行吧!喜欢就赶紧收藏起来哦~
本教程需要CS4及以上版本支持。制作的时候只需要把文字分层排好版,然后直接用3D滤镜立体化,后期再渲染一下颜色,调整好透视即可。
最终效果
(本文来源于图老师网站,更多请访问http://m.tulaoshi.com/psxg/)1、新建文档1280x1024像素,建新层,填充#e0f8ff,添加蒙版,用黑色柔角笔刷涂抹边缘部分。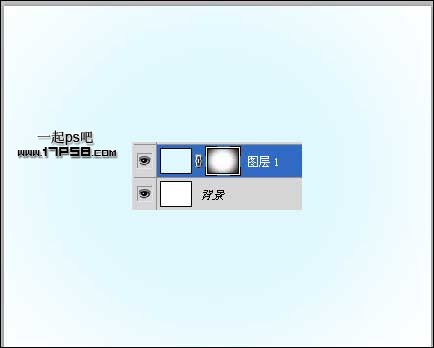
2、输入文字happy。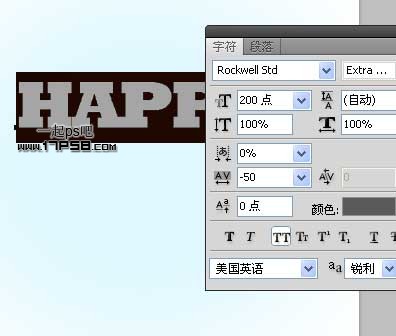
3、输入文字new。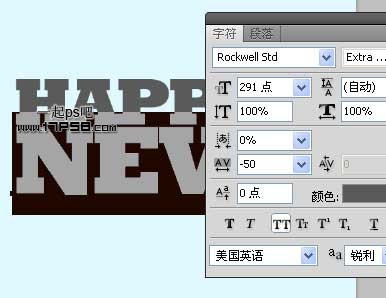
4、输入文字year。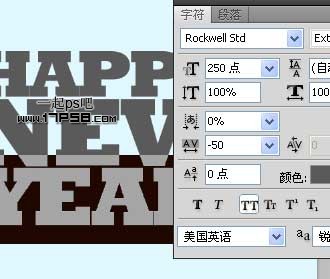
5、刚才截图的时候忘了显示蒙版,整体效果如下。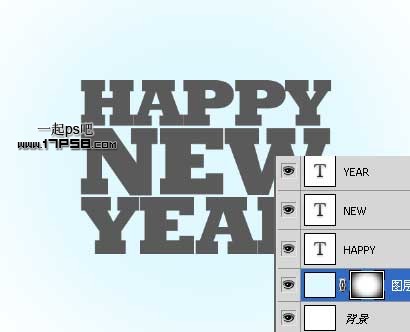
6、选择文字happy层,隐藏其他文字层,窗口3D,之后点击创建按钮。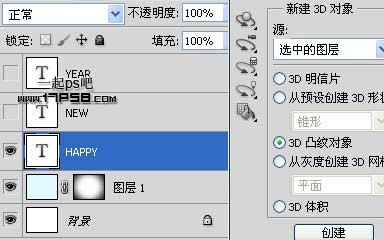
7、之后会出现一个界面,选择红框内的图标,其它设置默认即可。
8、我们看到,3D效果已经出来了。
9、设置3D场景,画面会出现一个方向轴,将文字旋转如下。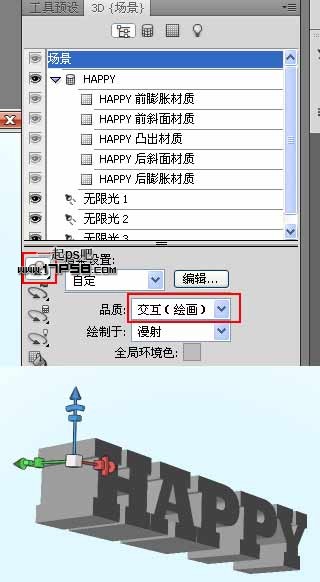
10、接着设置,将发光改成白色,其它不变。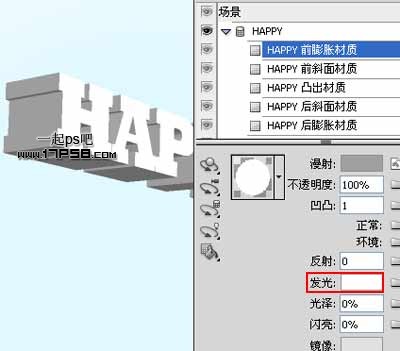
11、红框内的选项设置不变。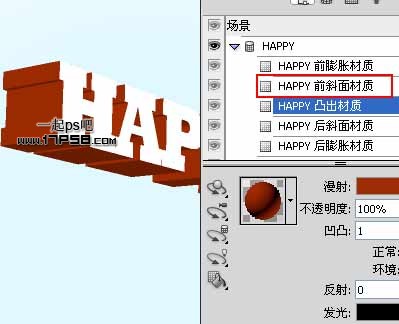
12、显示NEW文字层。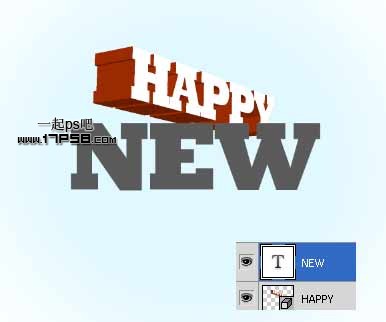
13、同样的方法做出立体字效果,调整好角度和位移,设置光照角度,改变凸出材质的颜色。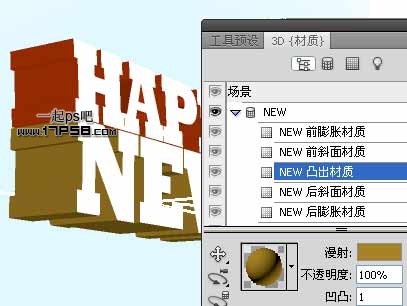
14、同样的方法做出立体字效果,调整好角度和位移,设置光照角度,改变凸出材质的颜色。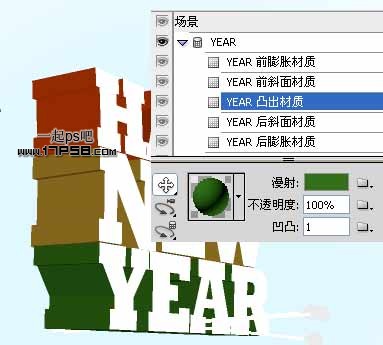
(本文来源于图老师网站,更多请访问http://m.tulaoshi.com/psxg/)15、点击场景,品质选择光线跟踪最终效果,这是会出现一个蓝色田字格在画面上晃悠,类似3D软件渲染,过30秒左右即可完成,根据电脑配置。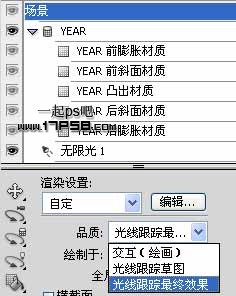
16、建新层,前景色# F7189B画一个正圆,图层不透明度19%。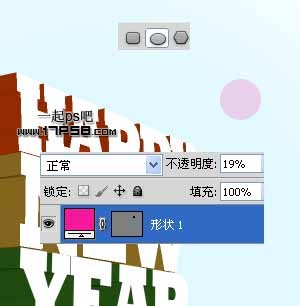
17、复制一些层,改变大小、颜色和位置。并把这些彩球层合并,放于浅蓝色蒙版层之上。
18、复制year文字层,ctrl+T垂直翻转,位置如下。
19、添加蒙版,黑白直线渐变,图层不透明度40%左右。
20、如果愿意你也可以复制彩球层,重复刚才的步骤,做出倒影。立体字底部建新层,画一椭圆选区,填充# 153208。
21、Ctrl+T压扁,高斯模糊1.5像素,添加蒙版使2端渐隐,再添加一个曲线调整层加暗图像,处理其它细节,最终效果如下。
(本文来源于图老师网站,更多请访问http://m.tulaoshi.com/psxg/) 


