今天天气好晴朗处处好风光,好天气好开始,图老师又来和大家分享啦。下面给大家推荐Photoshop制作通透的香蕉果肉字,希望大家看完后也有个好心情,快快行动吧!
本教程介绍较为复杂的果肉文字制作方法。大致过程:先做好简单的背景,然后用图层样式及滤镜等作出大致的果肉效果,然后再局部润色并增加立体效果等即可。
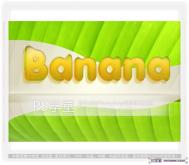
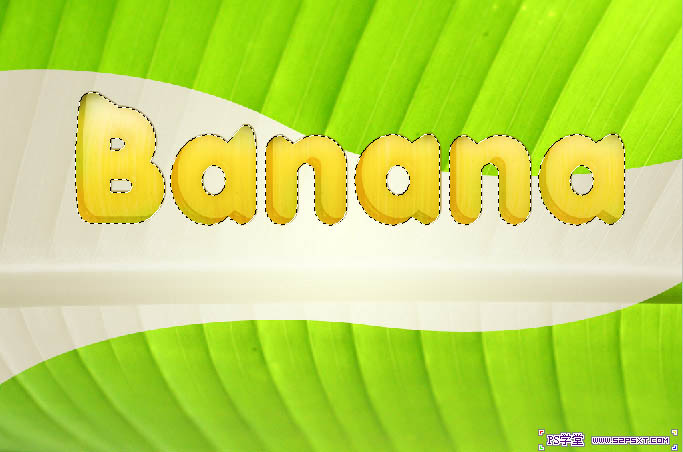
最终效果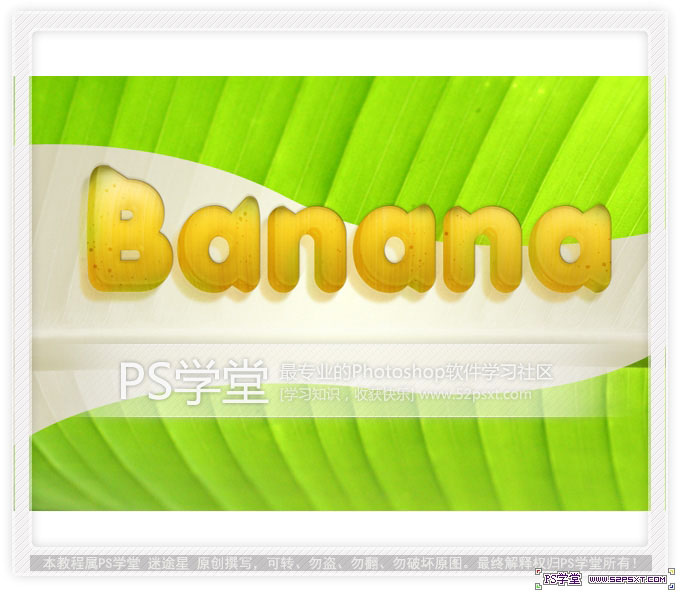
(本文来源于图老师网站,更多请访问http://m.tulaoshi.com/psxg/)1、新建画布。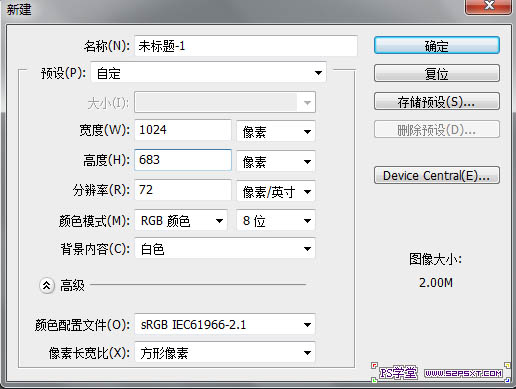
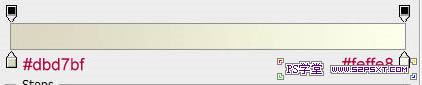
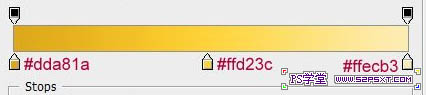
2、双击解锁,然后改图层样式。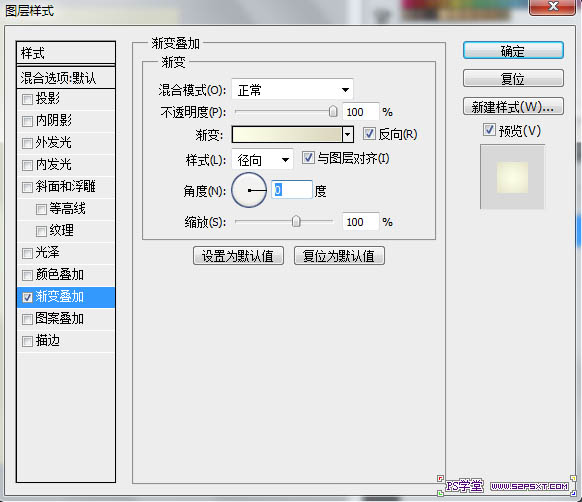
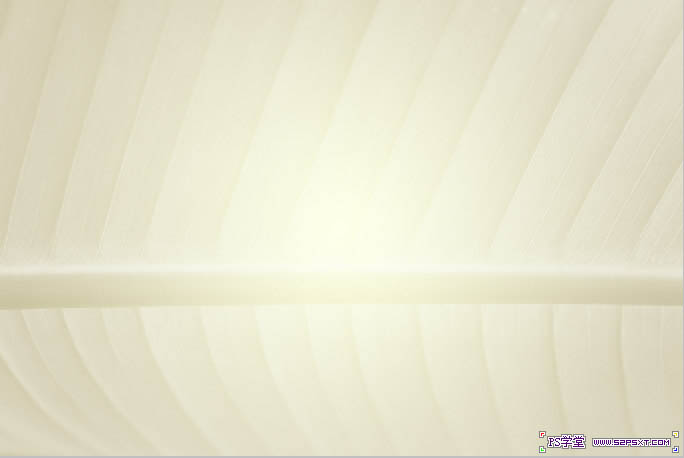
3、将素材图拖进来,命名为“原图”,隐藏图层,然后复制一层,放在原图下面,取名“黑白”,在黑白成上面执行 图像--调整--黑白,数值默认。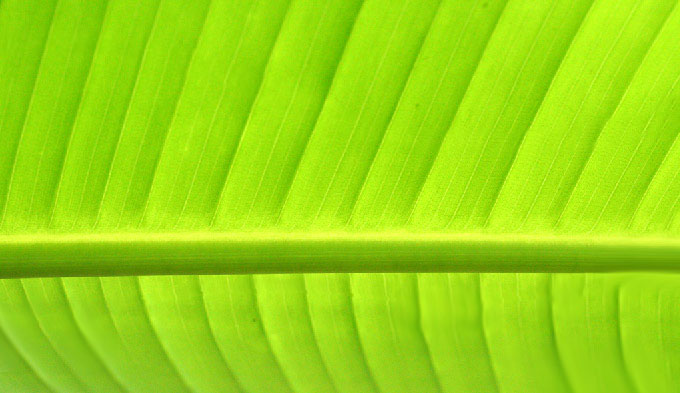
4、显示原图层,用钢笔工具画出如图形状。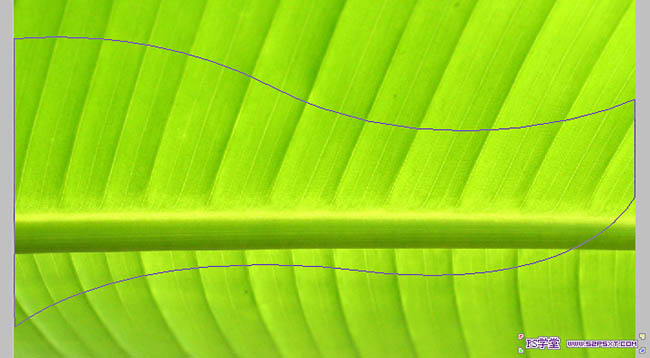
5、按ctrl+enter转化为选区。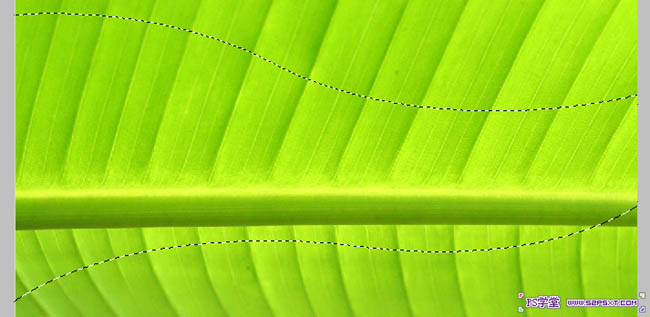
6、按住alt点击添加图层蒙板按钮,如图。
7、用Anja Eliane字体,打上Banana字样,字体设置如下。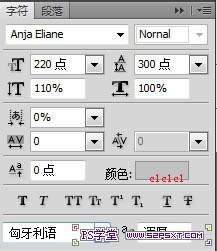
8、在字体层上面右键,转化为形状,取名为Banana副本层,隐藏字体层,然后用钢笔工具,按住ctrl去调节,配合shift和alt键哦,如图。
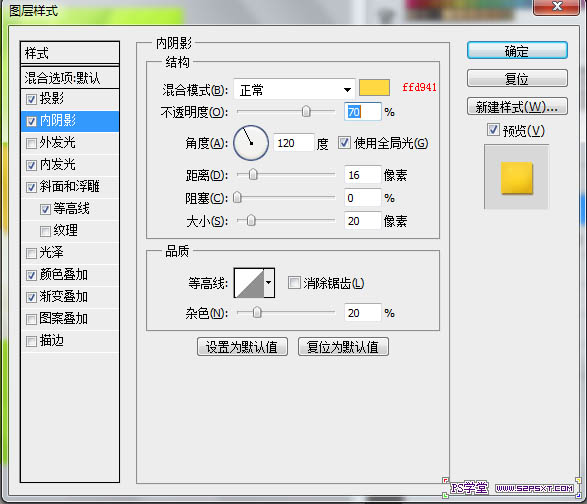
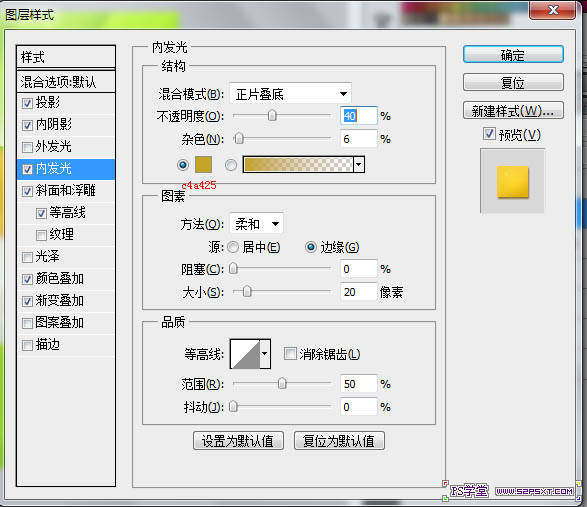
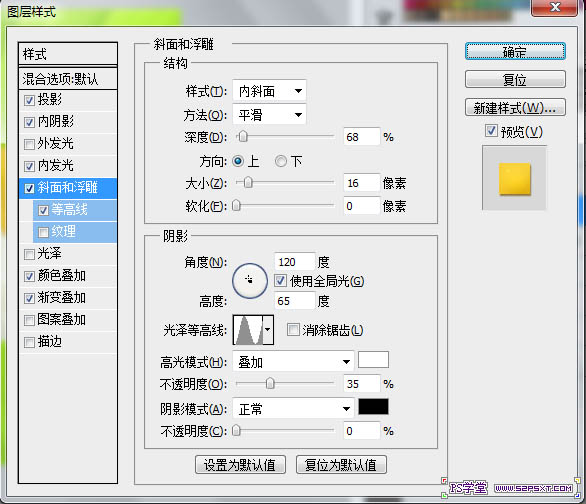
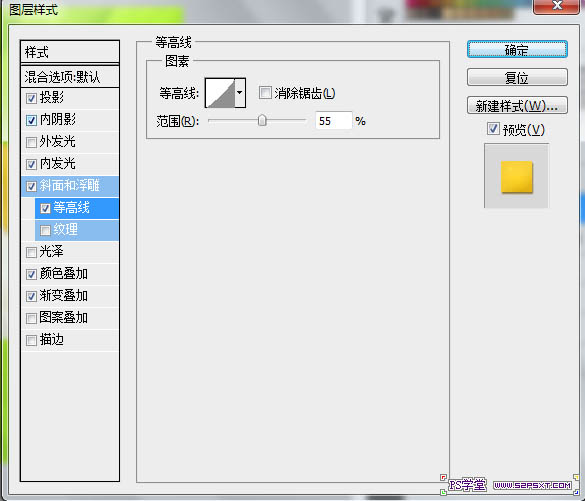
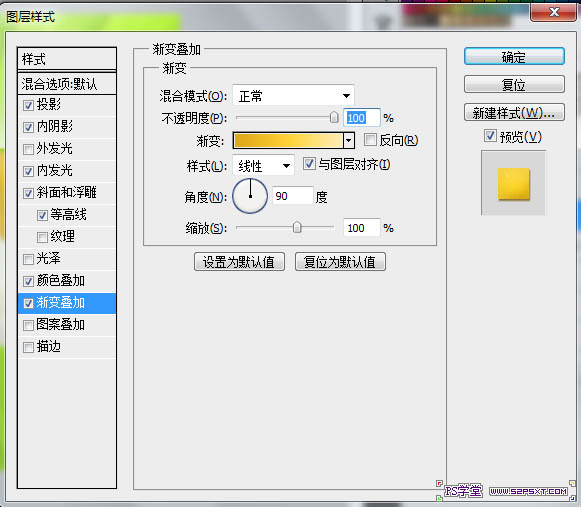
9、添加图层样式。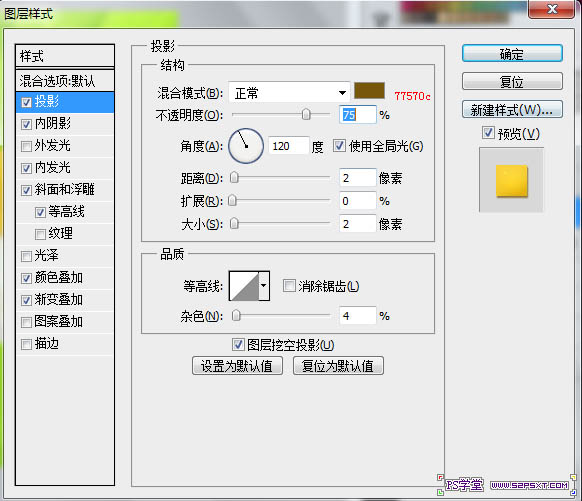

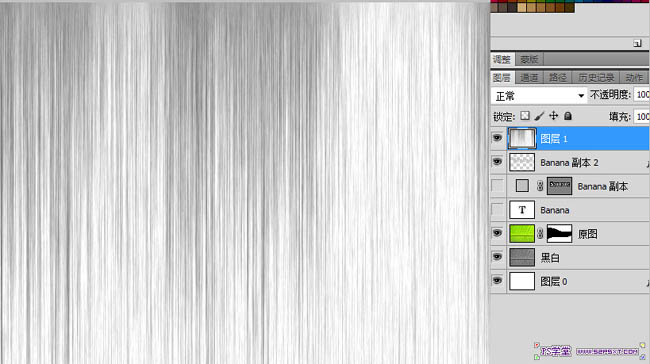
10、在副本层上面新建一层,填充白色,然后滤镜--杂色--添加杂色,设置如下,然后运用滤镜--模糊--高斯模糊。

11、然后滤镜--渲染--纤维,然后点随机化按钮,知道出现的图和我的效果图一样。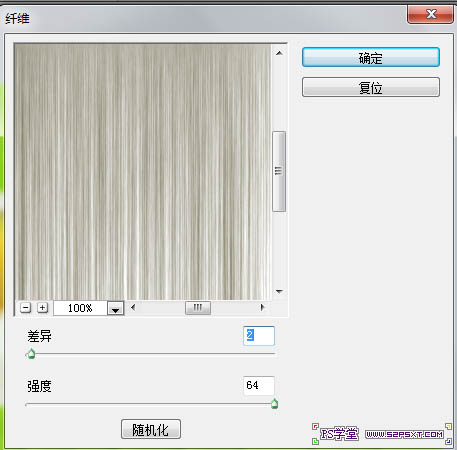
12、将图层不透明度改成58%,图层模式为颜色加深,然后用椭圆选框工具画个椭圆,要把字全部包含进去哦,然后执行 滤镜--扭曲--球面化,调出字体选区,点下创建图层蒙版按钮。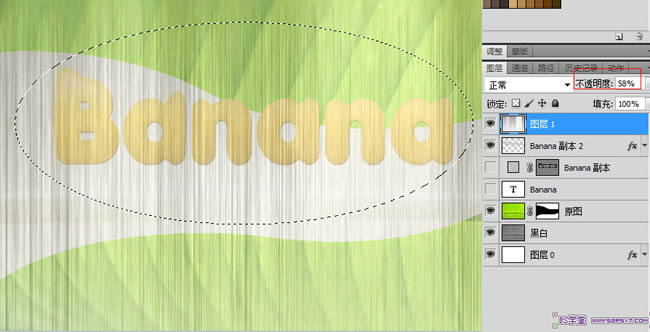
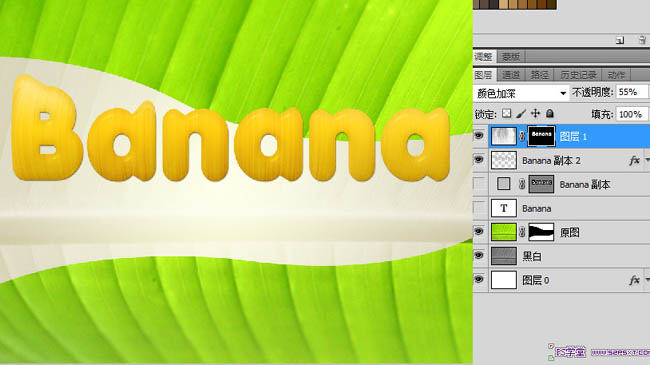
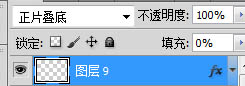
13、复制原图层,即字体层,去掉图层样式,重新设置图层样式,然后改填充为0。
(本文来源于图老师网站,更多请访问http://m.tulaoshi.com/psxg/)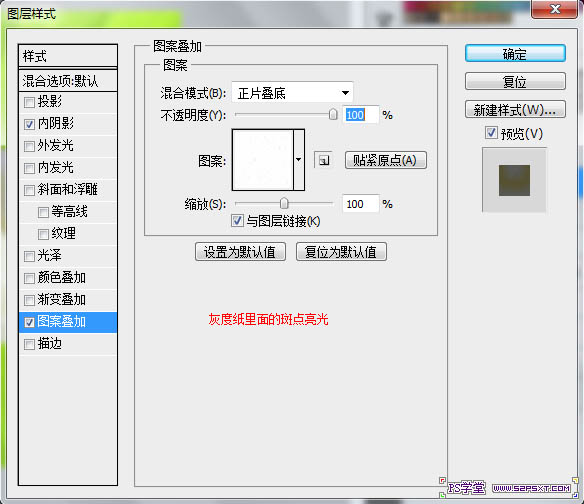

14、调出字体选区,新建一层,将画笔工具设置为如下,前景色设置为#7dc603,在字体边沿涂抹,然后将图层模式改为颜色,不透明度为65%。
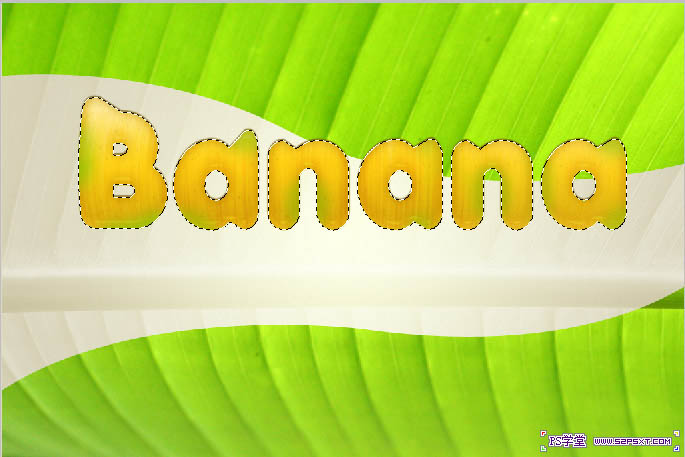

15、继续新建一层,用#766d08去涂抹,将图层模式改成正片叠底,不透明度60%。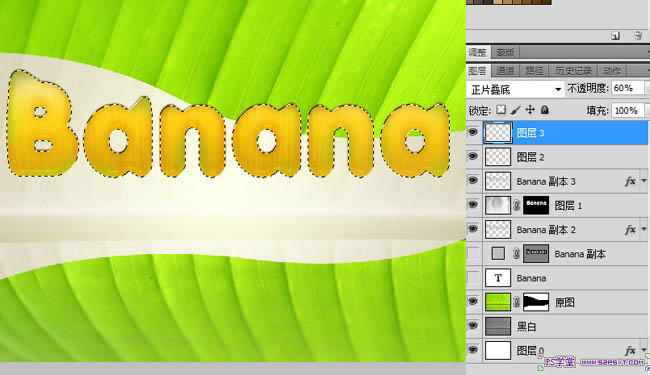
16、继续新建一层,用#453b06去涂抹尖角部分。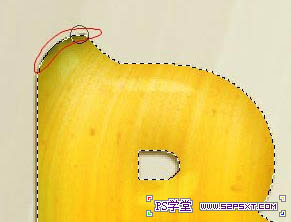
17、调出字体选区,通过加减选区做出如图形状,新建一层,填充白色,图层模式改成柔光,填充为50%。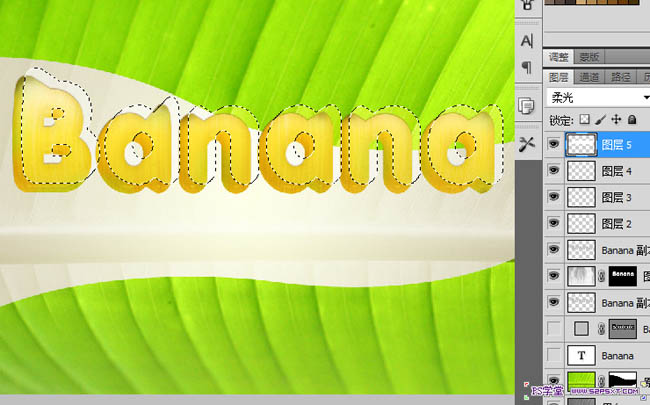

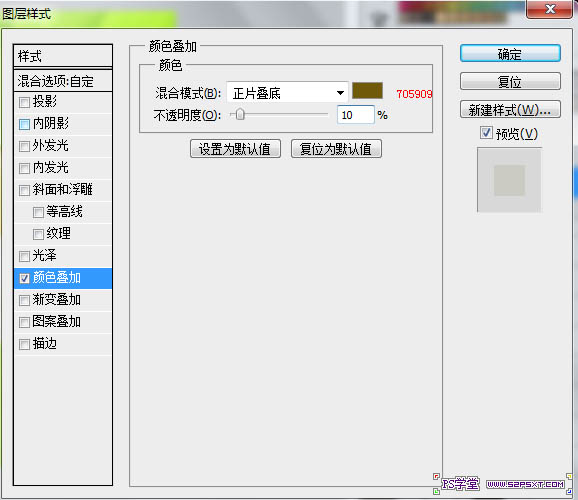
18、添加图层样式。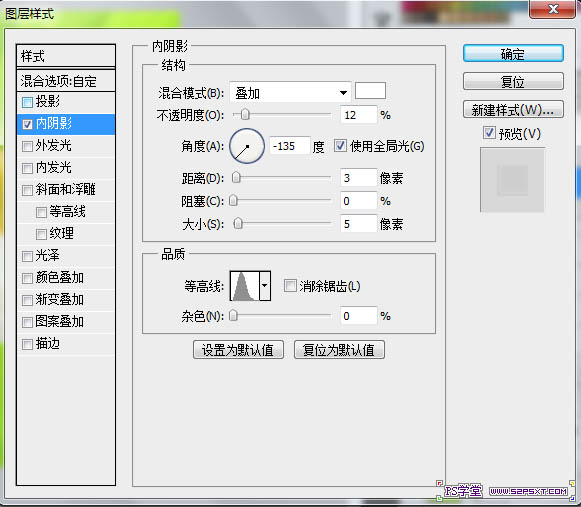
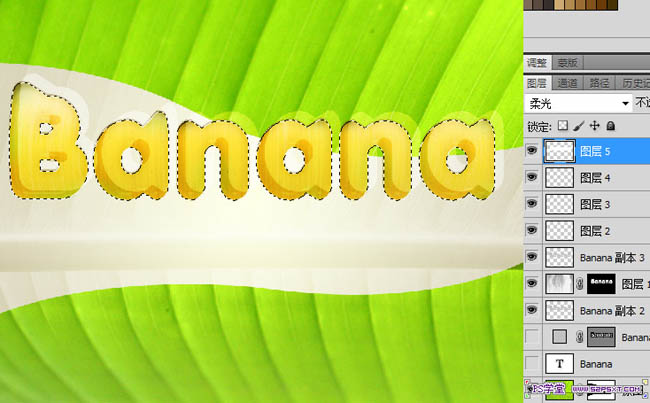
19、新建一层,调出字体选区,是变形后的,填充白色,向下移动一点,隐藏图层,然后通过ctrl+alt+点击图层缩略图 以及 ctrl+shift+点击图层缩略图进行选区加减,配合着调出如图选区,新建一层,填充白色,改变图层样式,混合模式和填充。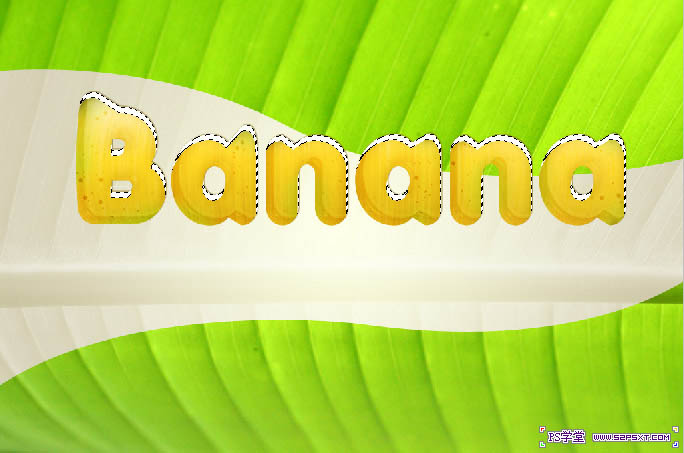
20、复制一开始的字体层,将投影效果隐藏,如图。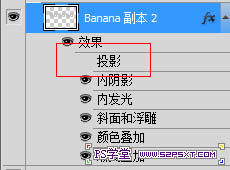
21、然后把出了背景层外的所有图层合在一个组里面,复制组,得组1副本,然后合并副本组里面的所有图层。
22、将合并好的图层拖到背景与组1之间,移动合并好后的图层如图。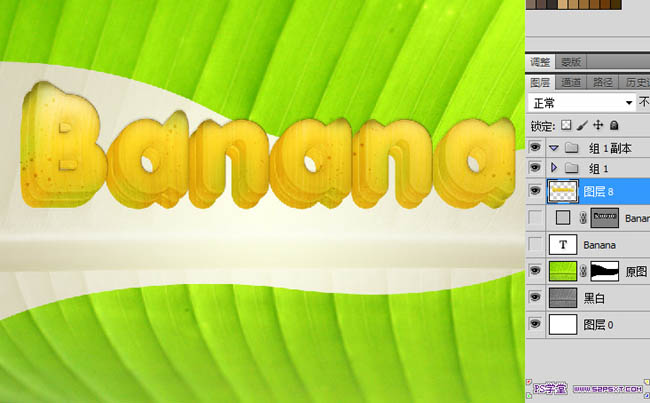
23、执行滤镜--模糊--高斯模糊,2px,然后滤镜--杂色--添加杂色,数值为4改变其不透明度为30%。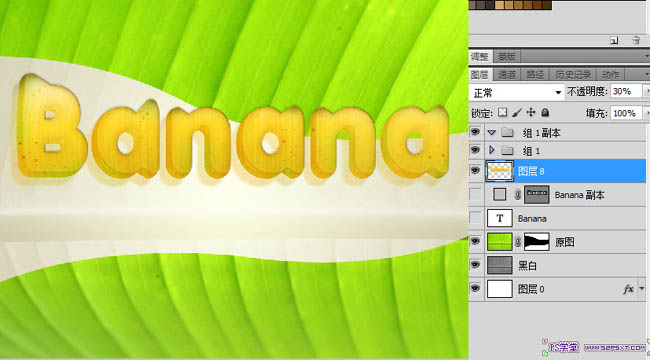
24、在最上面新建一层,调出变形好后的字体选区,填充#2f2600。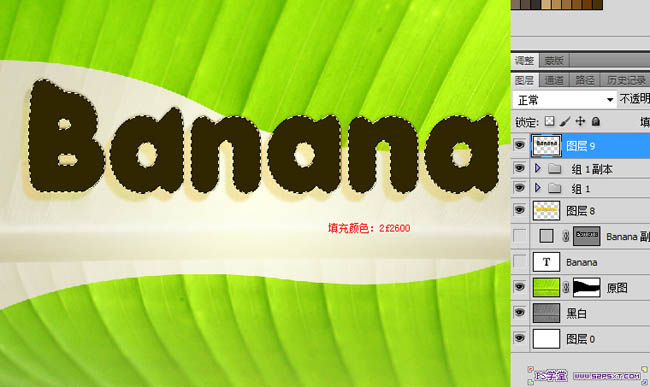
25、滤镜--模糊--动感模糊。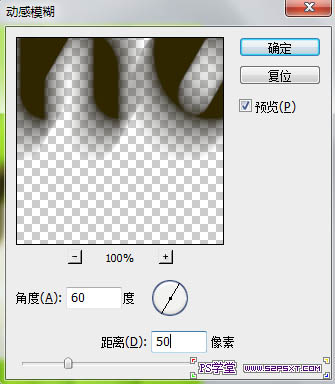
26、设置图层样式。

最终效果:
(本文来源于图老师网站,更多请访问http://m.tulaoshi.com/psxg/)