下面是个超简单的利用CS6制作漂亮的发光彩丝字教程,图老师小编精心挑选推荐,大家行行好,多给几个赞吧,小编吐血跪求~
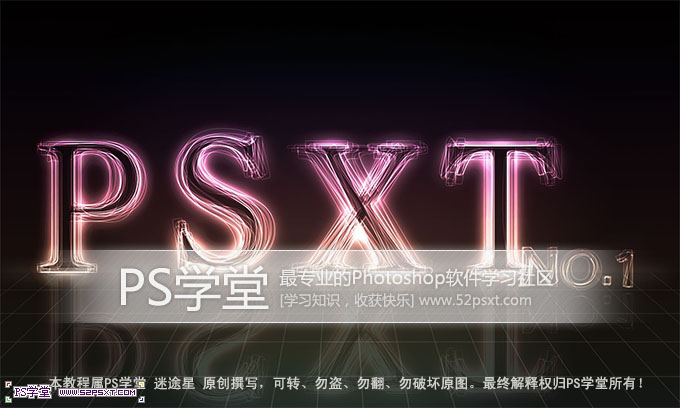
光丝字放在较暗的背景上非常漂亮。其实较为复杂的光丝都是较为简单的单光丝变形及复制得到的。制作之前,我们只需要用简单的图层样式做出单条较暗的光丝,并适当减低图层填充度,然后复制、变形就可以得到非常不错的叠加光丝。 最终效果
(本文来源于图老师网站,更多请访问http://m.tulaoshi.com/psxg/)
1、新建一个1200px * 2000px画布。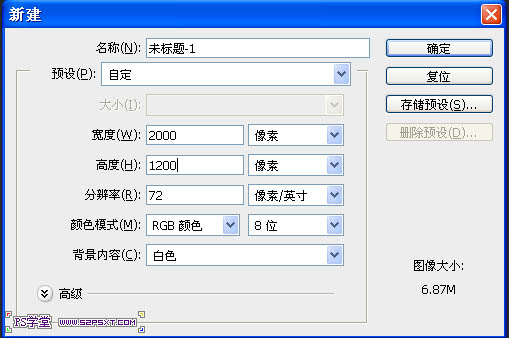
2、选择渐变,深灰色(#464646)到黑色(#000000),拉线性渐变,如图。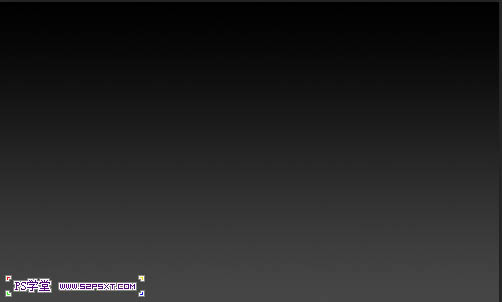
3、新建一层,选择渐变工具,渐变设置如下。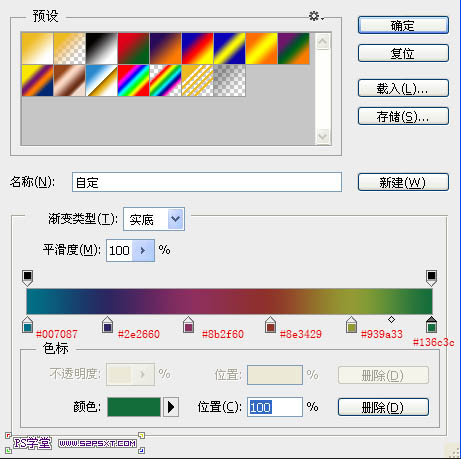
4、拉线性渐变,图层模式改成颜色,填充改成25%。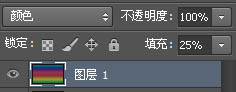
(本文来源于图老师网站,更多请访问http://m.tulaoshi.com/psxg/)
5、新建一层,继续用渐变,添加暗角,渐变设置如图。
6、选择径向渐变,拉从外到中心的径向渐变。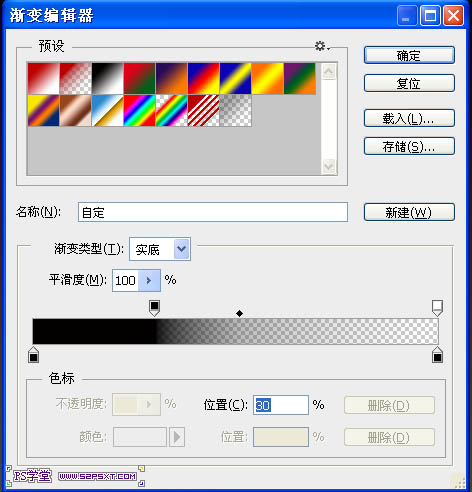
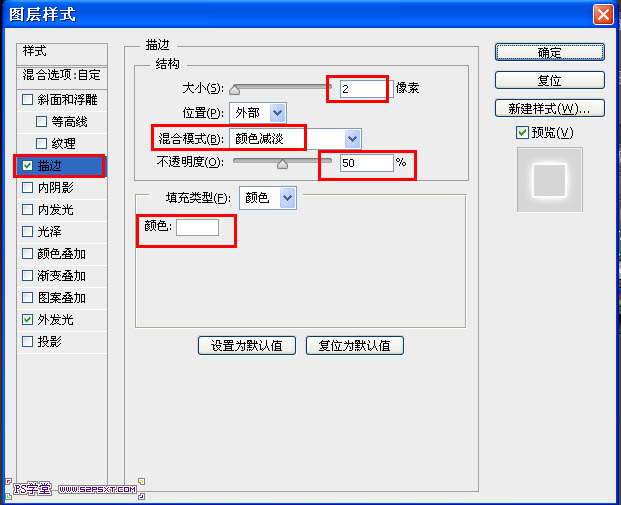
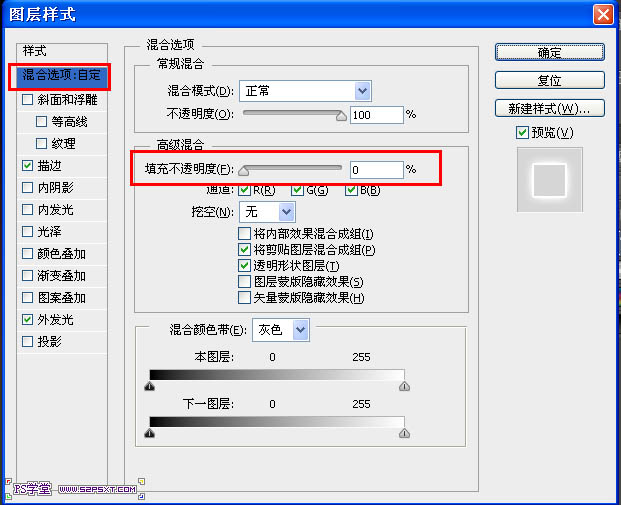
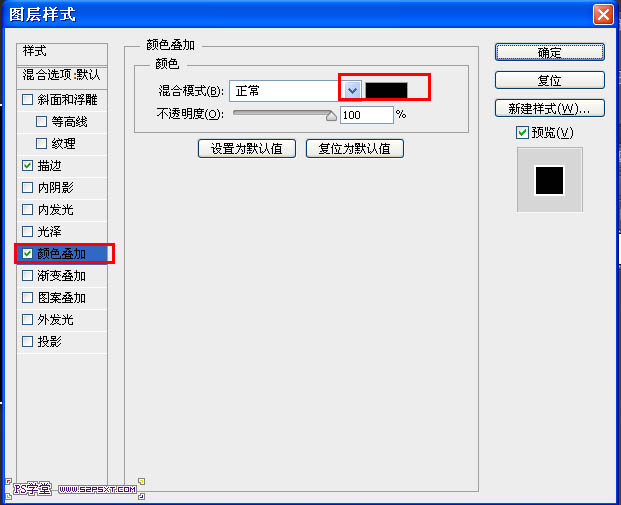
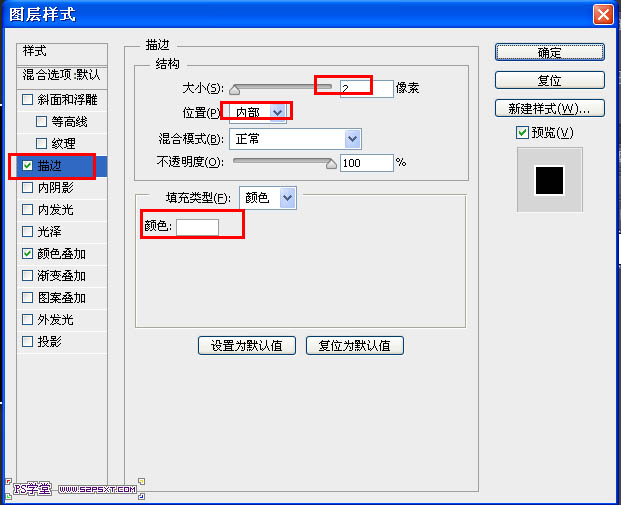
7、开始字体的制作,我们要制作PS学堂的缩写字母“PSXT”,先输入P,设置图层样式,这里要注意,我用的是Photoshop CS6,图层样式的顺序和之前版本的不一样,自己仔细对照。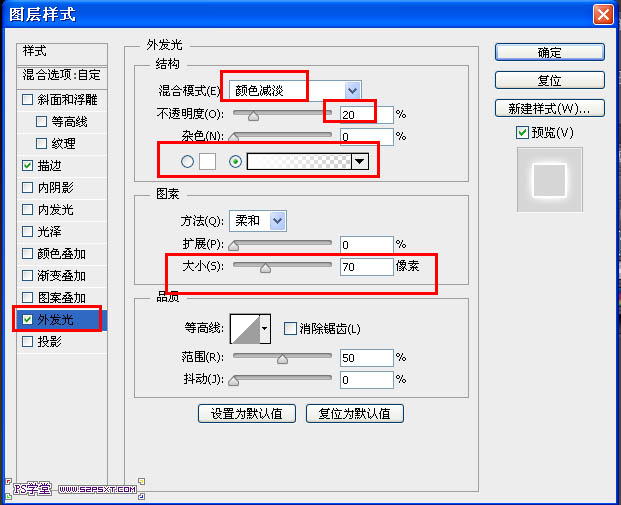

8、然后复制字体层,换一个字体,然后进行ctrl+T变换,进行调节,不要和第一个字母相差太大,变换中心点可以移到字体最下面。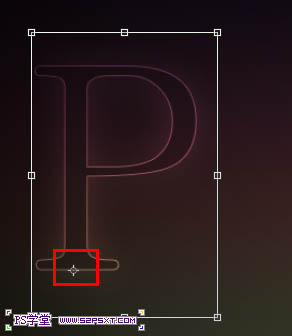
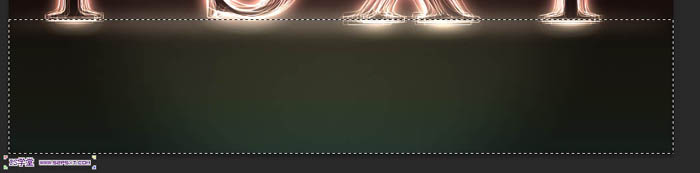
9、这样不断的复制和修改字体,用各种字体,进行20次重复操作后,就差不多成型了,然后其他几个字母一样操作,你将得到如图效果。
10、用椭圆选区做出如图选区。
11、羽化20,填充白色,模式改成柔光。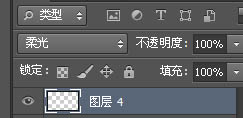
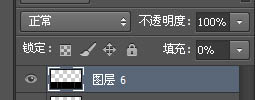
12、新建一个300X300像素的画布,双击图层解锁,添加图层样式,这里要注意,我用的是Photoshop CS6,图层样式的顺序和之前版本的不一样,自己仔细对照。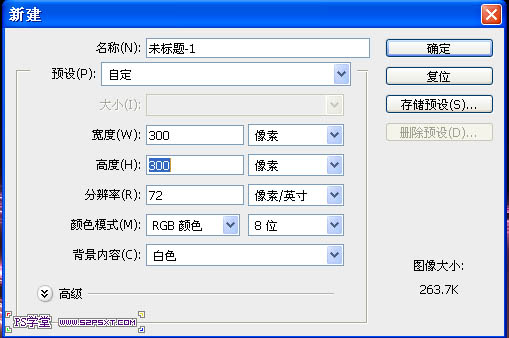
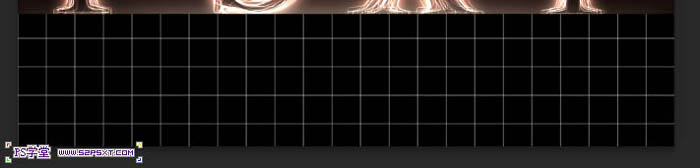
13、将上面做的自定义图案,之后我们将用到。 14、回到原来的画布,做出如图选区。
15、新建一层,填充黑色,填充改成 0% ,添加图层样式,图案是之前我们自定义的图案,这里要注意,我用的是Photoshop CS6,图层样式的顺序和之前版本的不一样,自己仔细对照。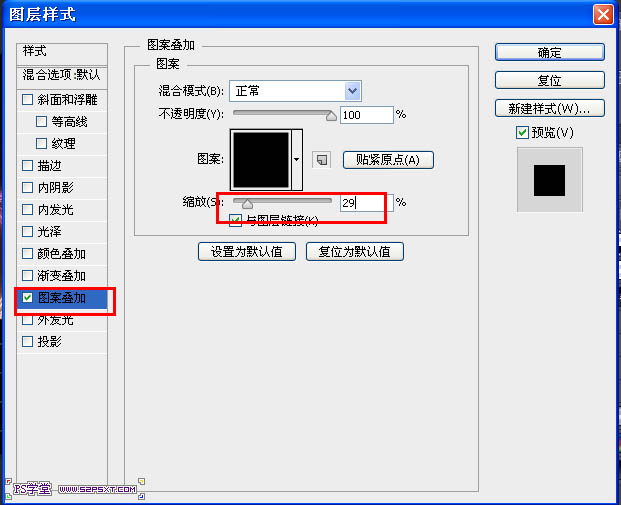
16、新建一层,和刚才的层进行合并。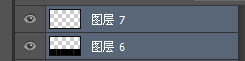
17、进行自由变换,右键选择透视。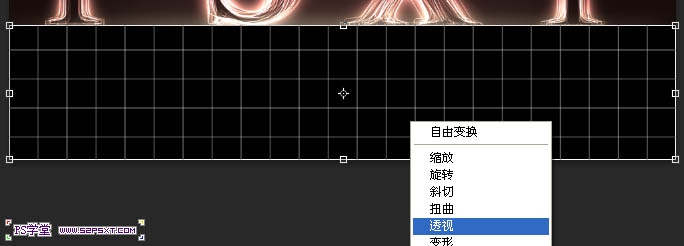

18、改下不透明度,改成15%。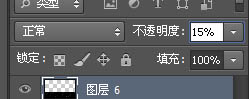
19、将字体层合成一个组,复制组,然后自由变换,垂直翻转,将组移动字体底部,设置不透明12%,做倒影效果。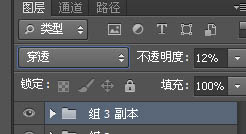
最终效果:


