今天图老师小编给大家精心推荐个Photoshop给绿荫下的美女增加日系淡冷色教程,一起来看看过程究竟如何进行吧!喜欢还请点个赞哦~
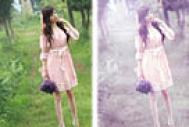
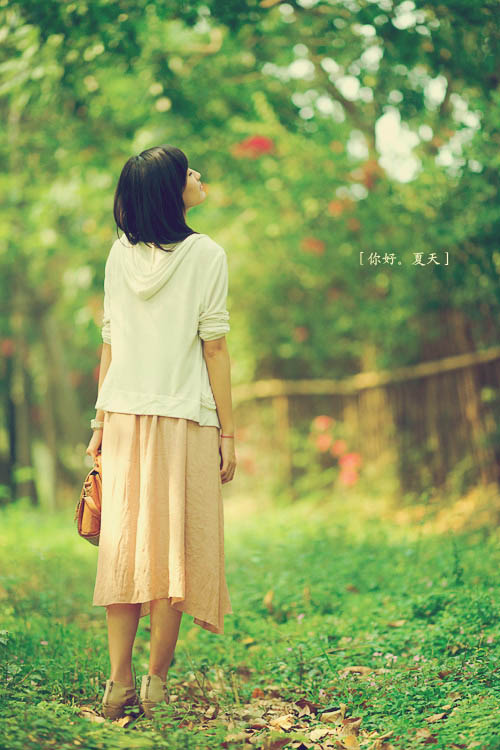
效果图比较朦胧有点类似日系颜色。调色过程也比较简单,先确定大致的主调,然后沿着自己的思路调整,暗部及高光颜色需要增亮,这样图片看上去比较朦胧。 原图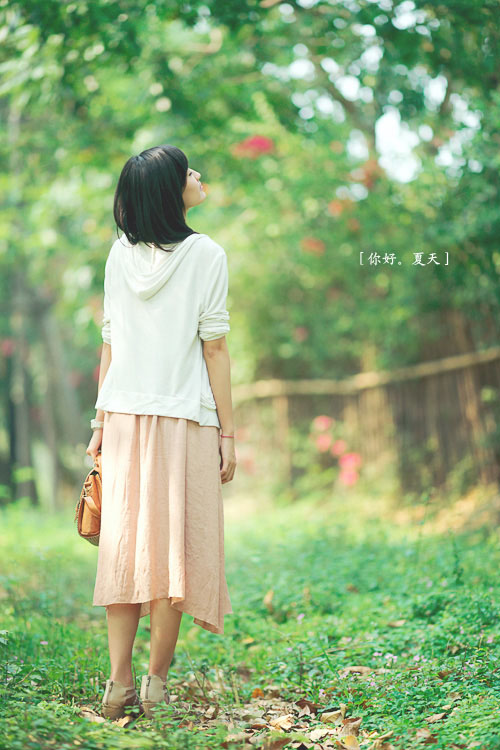
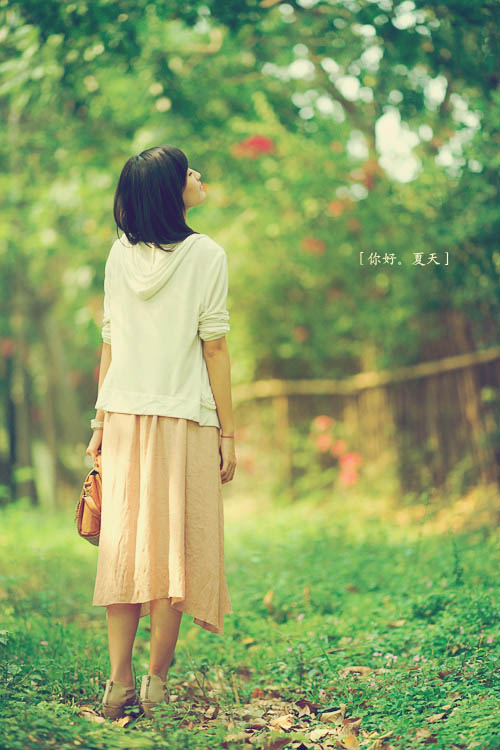
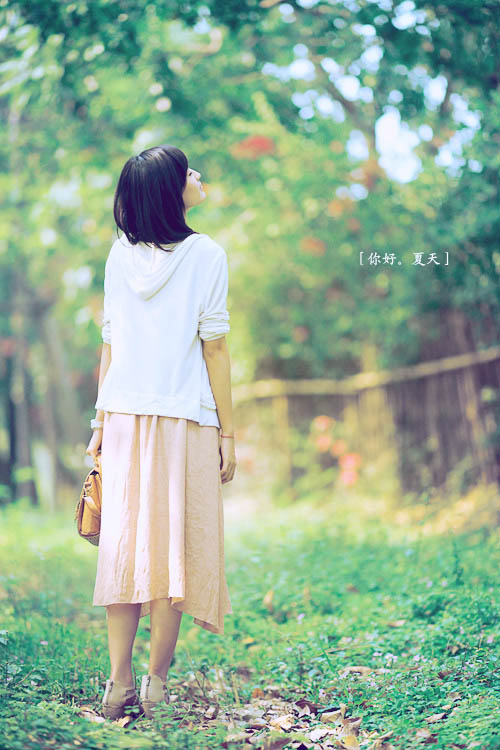
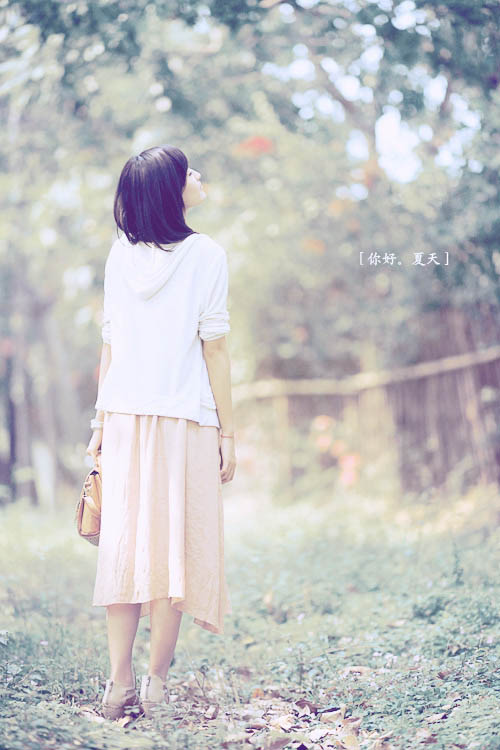
(本文来源于图老师网站,更多请访问http://m.tulaoshi.com/psxpcl/)最终效果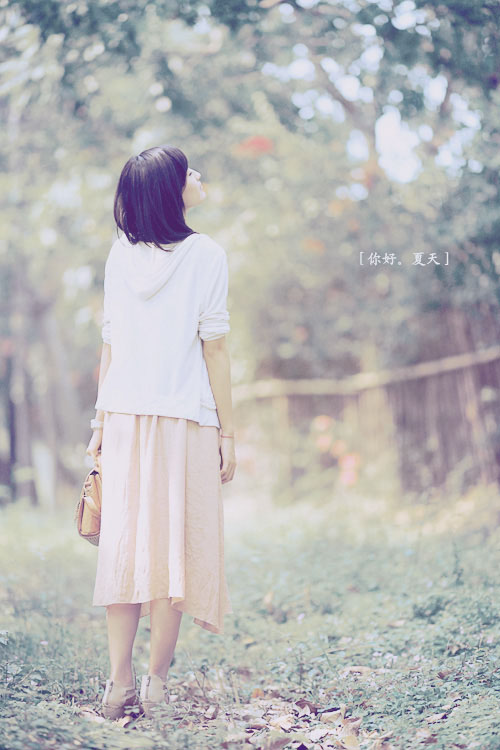
(本文来源于图老师网站,更多请访问http://m.tulaoshi.com/psxpcl/)
1、添加一个纯色填充层,颜色代码 #112787,设置图层混合模式为“差值”,不透明度为:36%。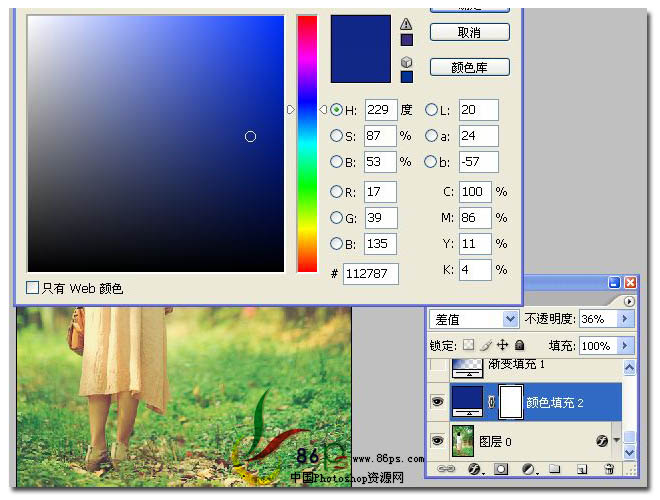
2、添加一个渐变填充层,渐变设置为 从 蓝色 到 透明 的渐变,确定后设置图层的混合模式为“柔光”,不透明度为:59%。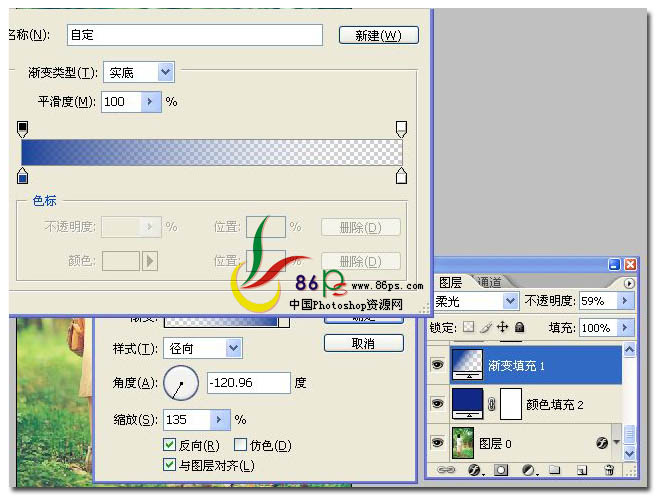
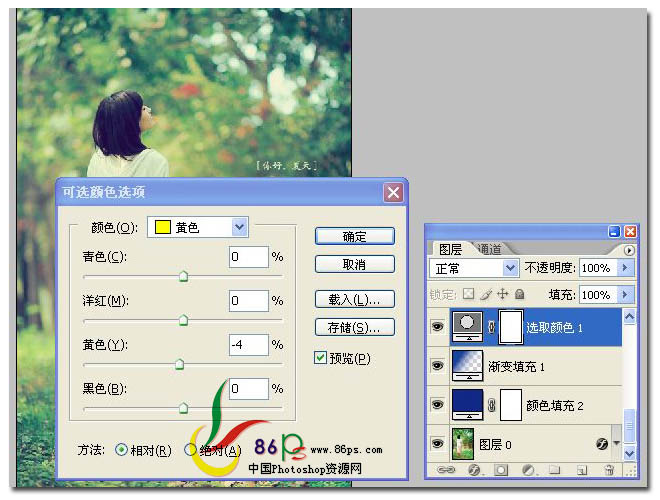
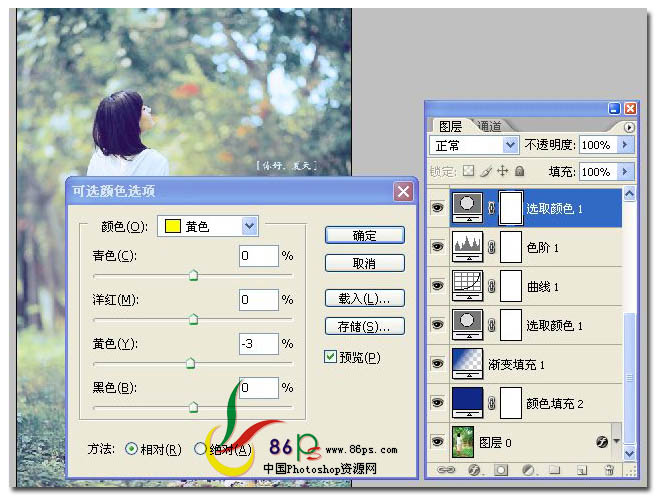
3、添加一个可选颜色调整层,参数及效果如下图。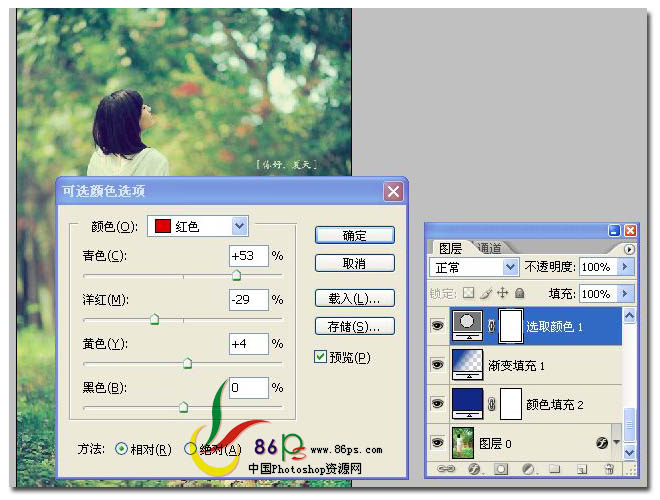

4、添加一个曲线调整层,参数设置如图。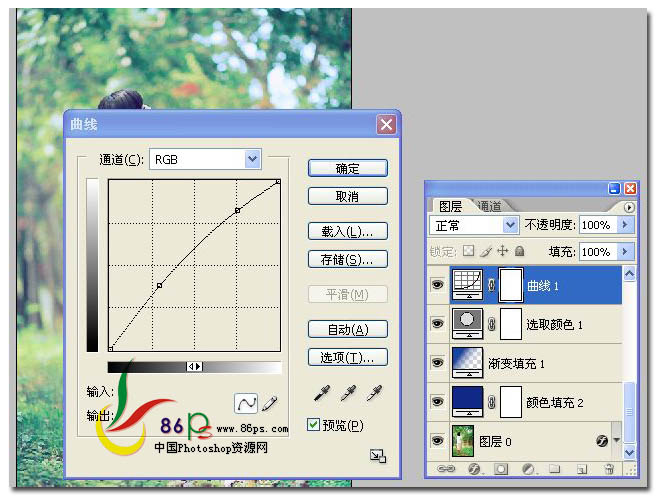
5、添加一个色阶调整层,参数设置如图。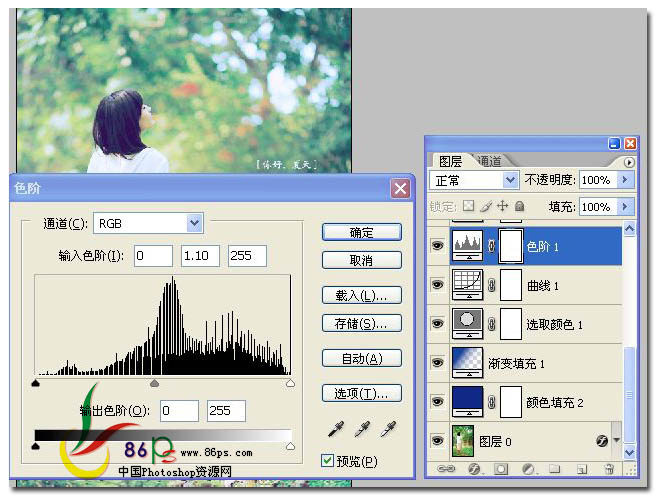

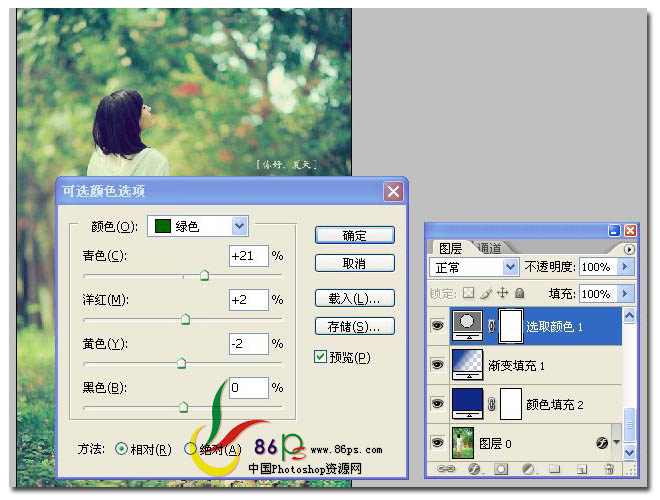
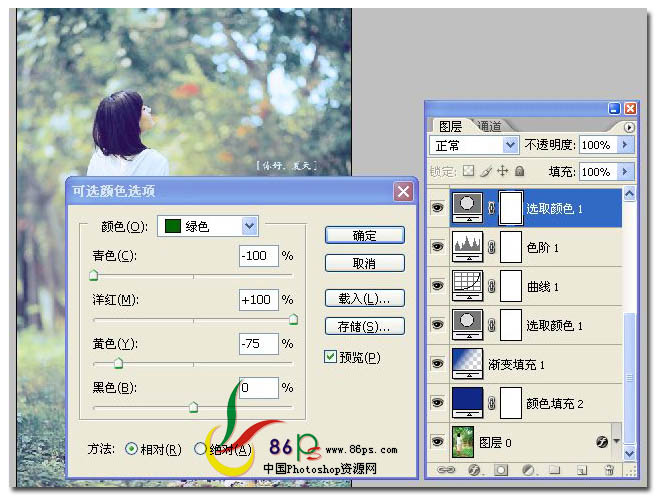
6、继续添加一个可选颜色调整层。

7、添加一个曲线调整层,参数如图。

8、添加一个色相饱和度调整层,参数如图。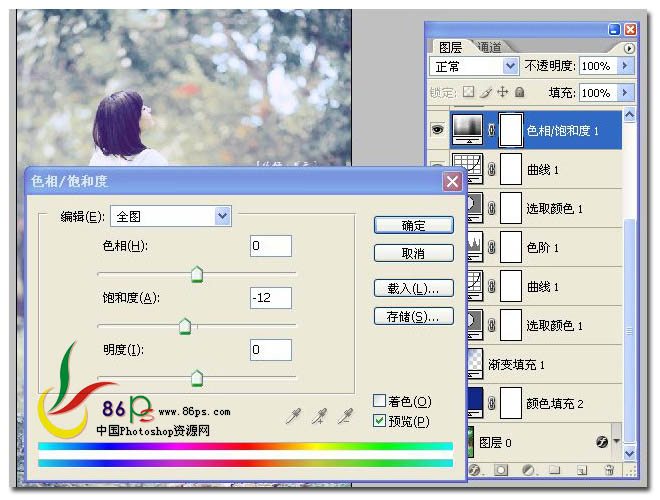
9、添加一个曲线调整层,参数如图。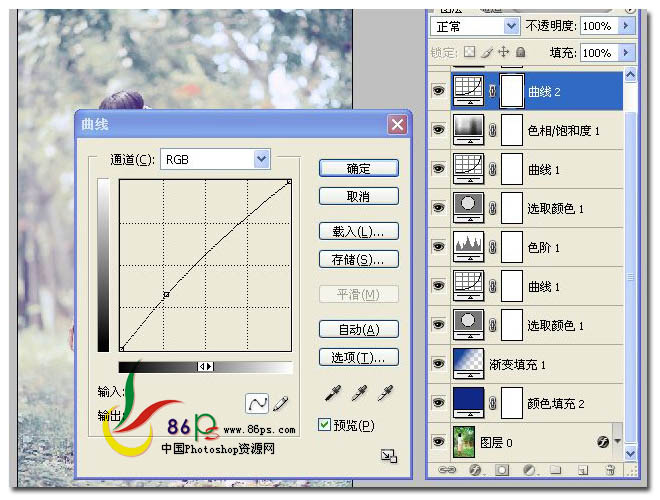
10、添加一个纯色填充层,颜色代码:#b3b3b3,图层混合模式为“正片叠底”,不透明度:22%。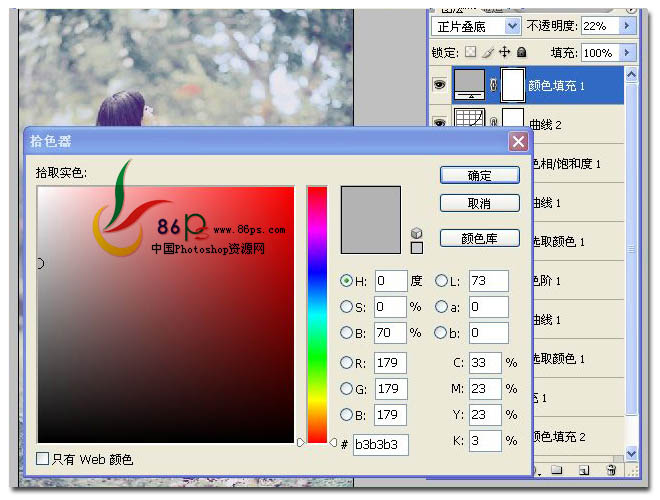
最终效果:
(本文来源于图老师网站,更多请访问http://m.tulaoshi.com/psxpcl/)