
1、首先打开下图所示的素材大图,保存后用PS打开。

2、新建一个组,命名为“参照”,不透明度改为:30%,如下图。

图1
3、保存图2所示的文字素材,用PS打开,拖到新建的组里面,调整好位置,如图3。

图2
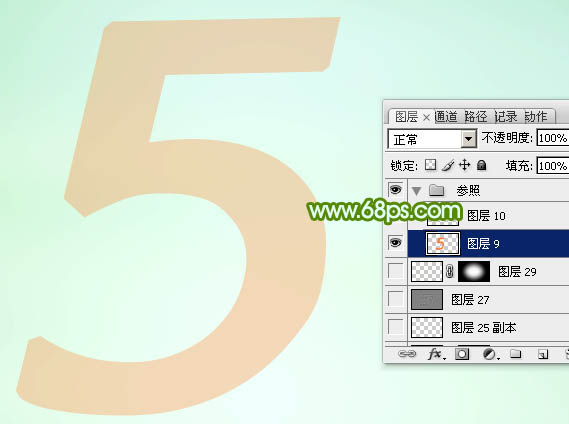
图3 4、按住Ctrl 键鼠标左键点击文字缩略图载入文字选区。新建一个图层,选择菜单:编辑 描边,参数设置如图4,取消选区后把原文字图层隐藏,效果如图5。
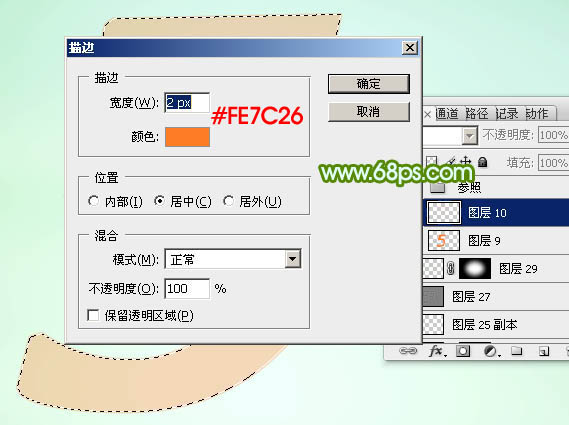
图4
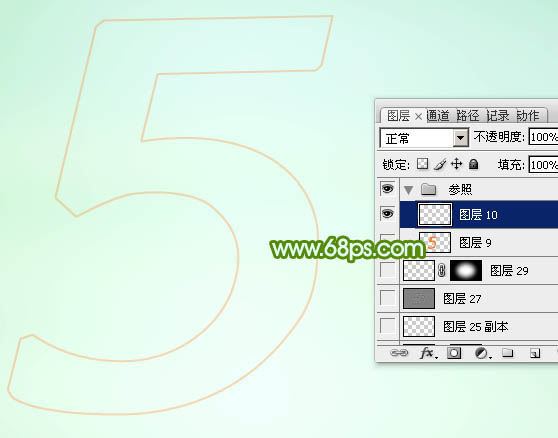
图5 5、在背景图层上面新建一个组,命名为“文字-初步”。
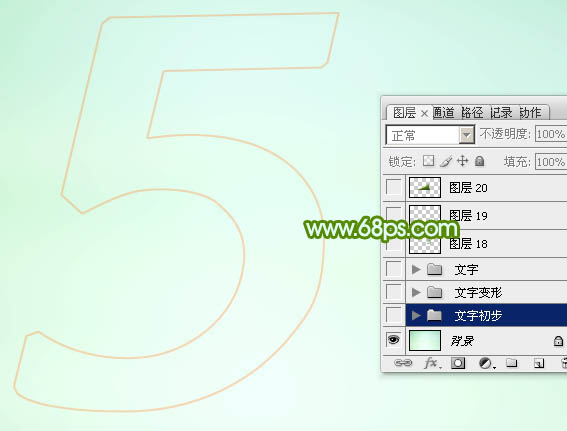
图6
6、我们在这个组里面只需要完成文字的初步变形处理,需要完成的效果如下图。

图7 7、保存下图所示的竹竿素材,图片为PNG格式,用PS打开拖到刚才新建的组里面。
![]()
图8 8、先把竹竿放到文字的顶部,如下图。
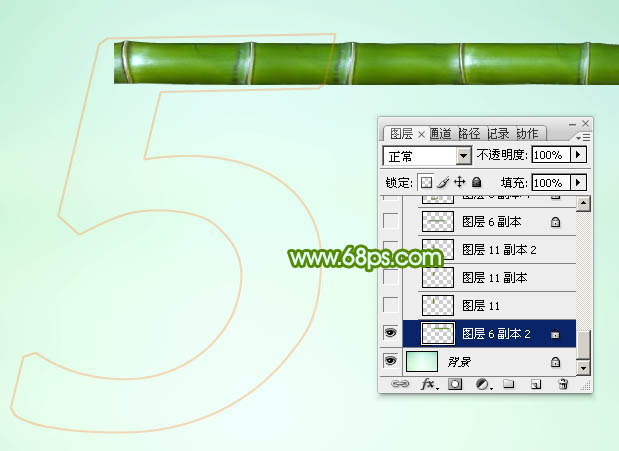
图99、选择矩形选框工具,拉出下图所示的选区,按Ctrl + J 把选区部分的竹节复制到新的图层。
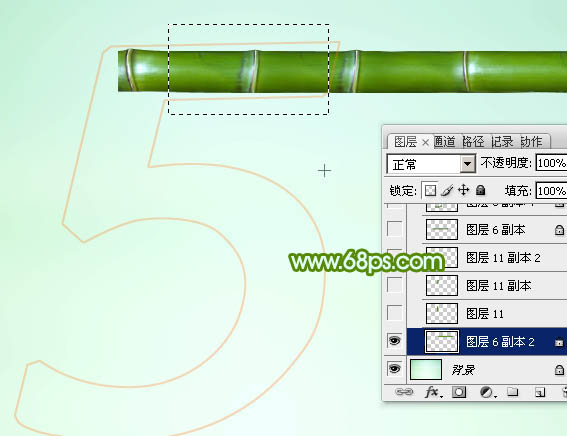
图10 10、按Ctrl + T 旋转一下角度,变成竖直的,然后回车确定。

图11
11、按Ctrl + J 把当前图层复制一层,原图层隐藏,如下图。
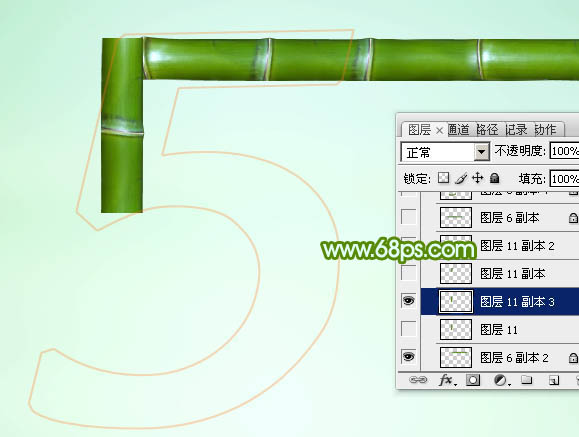
图12 12、这一步非常关键,用变形工具来变形竹节,达到我们想要的效果。
按Ctrl + T对复制的竹节进行变形处理,先旋转一点角度,跟文字笔画方向一致。
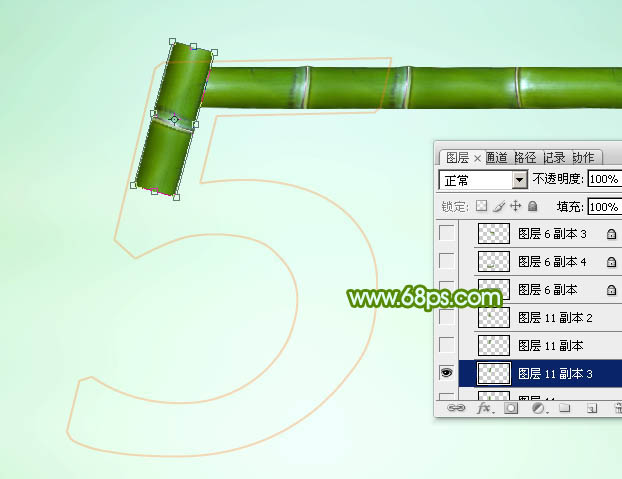
图13 13、在变形区域右键选择“变形”,如下图。
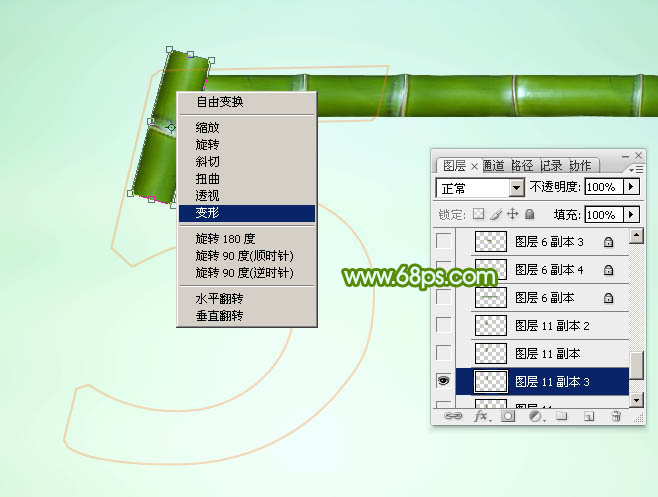
图14 14、调整各节点,按照笔画走势变形处理,这跟钢笔工具有点类似,调整的时候有点难度,需要保持耐心,过程如图15 - 18。
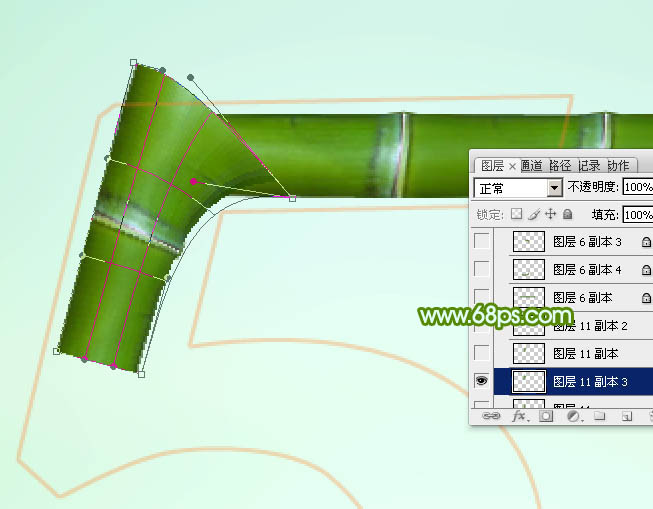
图15
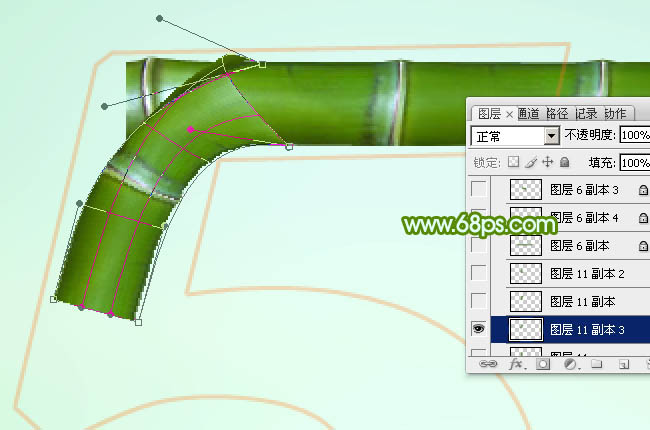
图16
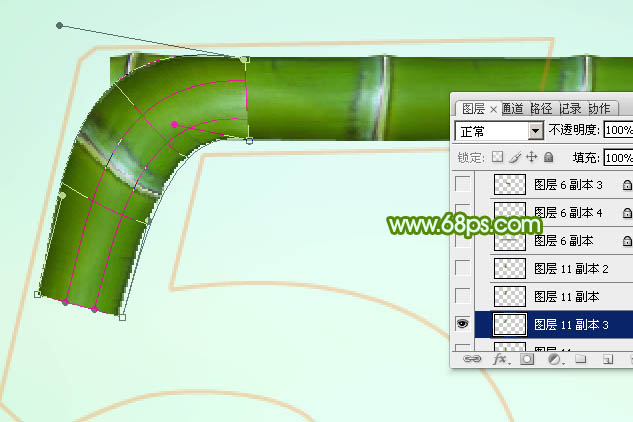
图17

图18
15、回车确定后得到下图所示的效果,现在不用处理接口处,后面会慢慢细化。

图19 16、同样的方法制作下图所示的效果。
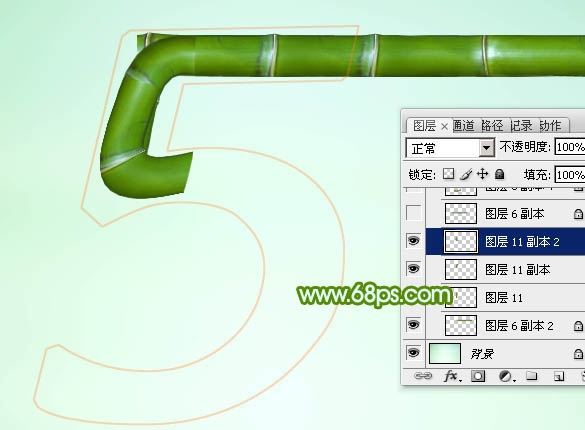
图20 17、其它弧度平滑一点的位置可以用稍长的竹节来变形处理,如图21,22。

图21

图22 18、在组缩略图上右键选择“复制组”,再命名为“文字-变形”,把原组隐藏。
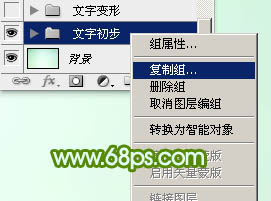
图23
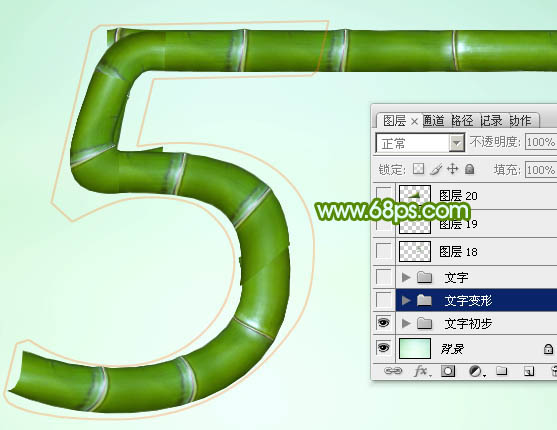
图24
19、这一步就比较容易,选择涂抹工具,把接口位置涂抹一下,得到一个比较完整的文字,如下图。
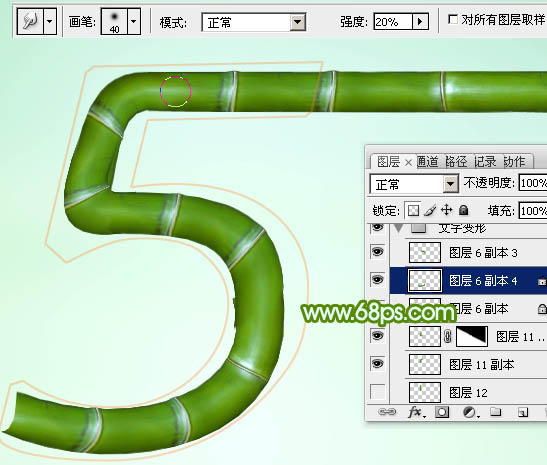
图2520、新建一个组,命名为“文字”,如下图。
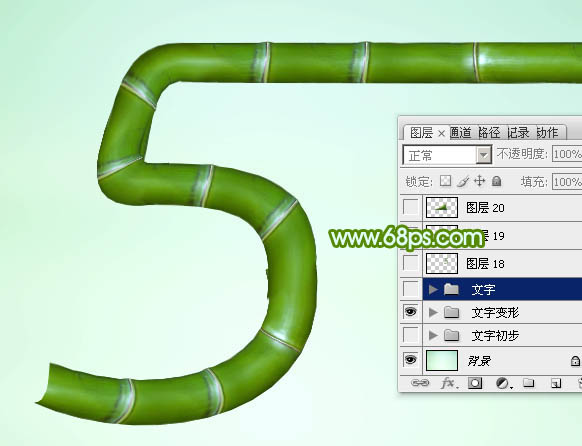
图26 21、把背景图层隐藏,在“文字”组里面新建一个图层,按Ctrl + Alt + Shift + E 盖印图层,如下图。
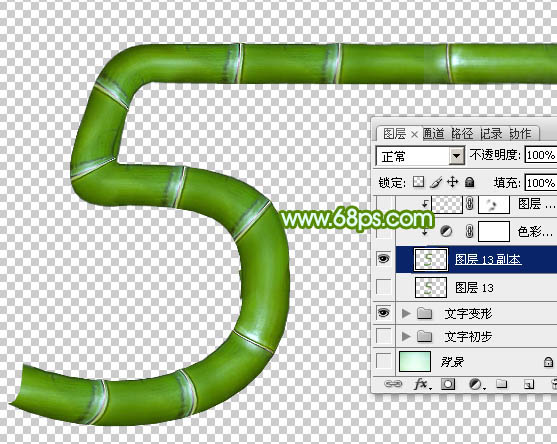
图27 22、把文字区域以外的竹节删除,局部有超出的部分,用钢笔勾出后删除,得到下图所示的效果。

图28 23、保存图29所示的切面素材,拖进来,如图30。

图29
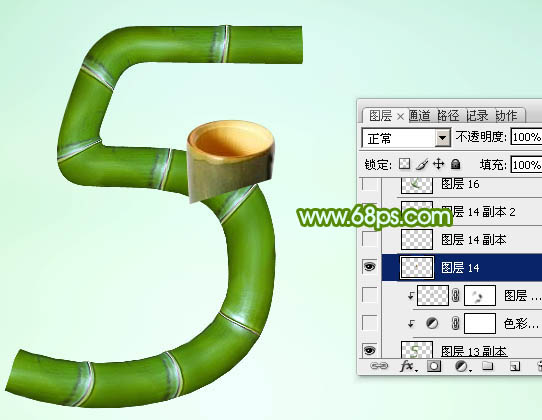
图30
24、把切口素材复制一份,移动文字截面位置,变形,旋转角度。用橡皮或蒙版擦掉不需要的部分,效果如下图。

图3125、另一个截面的制作方法相同,效果如下图。
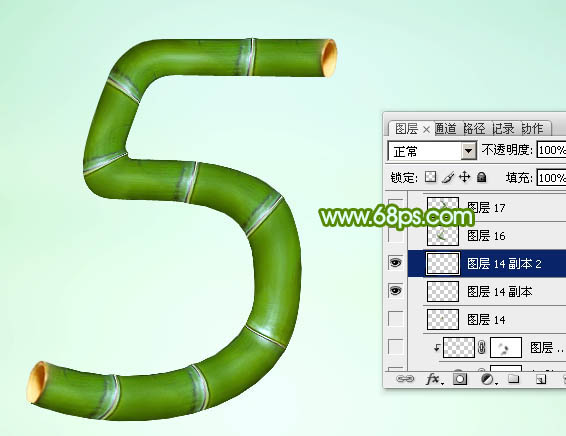
图32 26、加上竹叶和投影效果,文字部分就基本完成。

图33
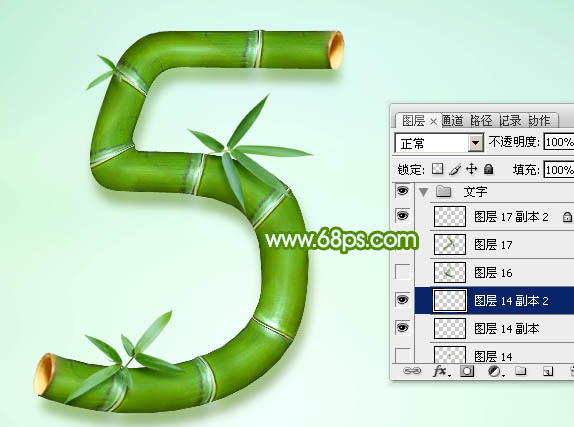
图34 27、另一个文字就直接复制刚才做好的效果,调整好大小。然后加入一些水墨、蝴蝶、水珠、粽子等作为装饰。

图35
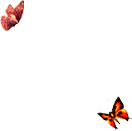
图36
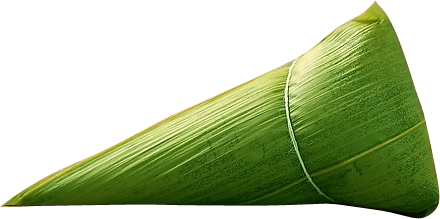
图37 最后微调颜色,修饰细节,再整体锐化一下,完成最终效果。


