下面图老师小编跟大家分享Photoshop打造浪漫的暗调蓝紫色外景婚片,一起来学习下过程究竟如何进行吧!喜欢就赶紧收藏起来哦~
蓝紫色是比较梦幻及浪漫的颜色,调色方法有很多。这里介绍一种非常不错的方法。大致过程:先简单的美化细节,然后用调色工具调出主色,后期再添加一些梦幻装饰元素即可。
原图
最终效果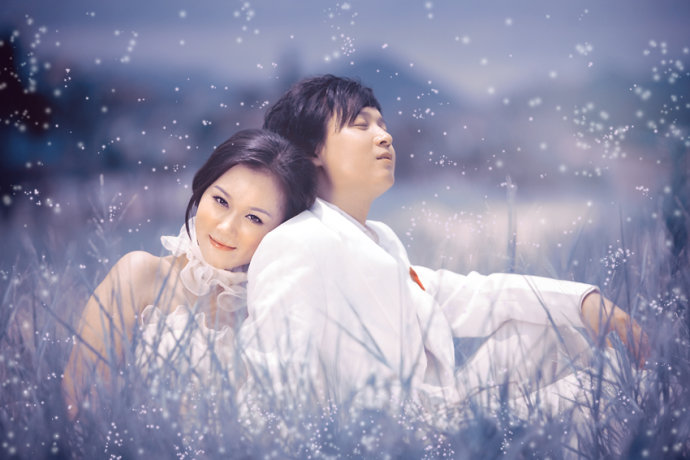
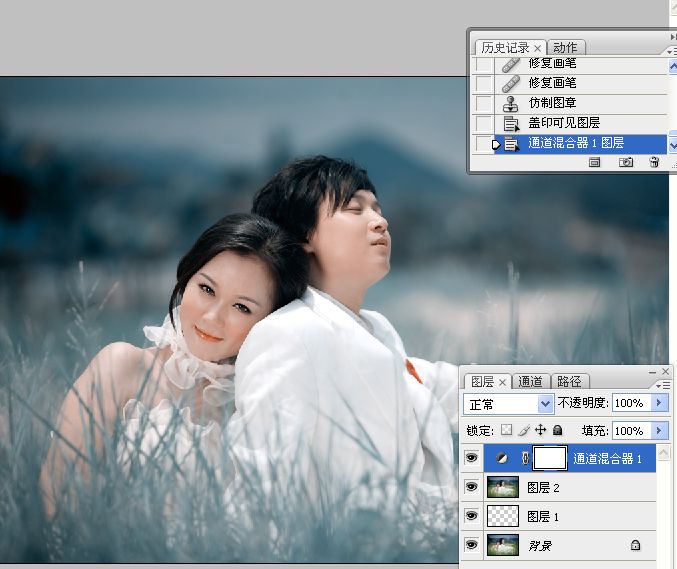
1、新建一空白图层,使用修复画笔工具和仿制图章工具清除皮肤污点。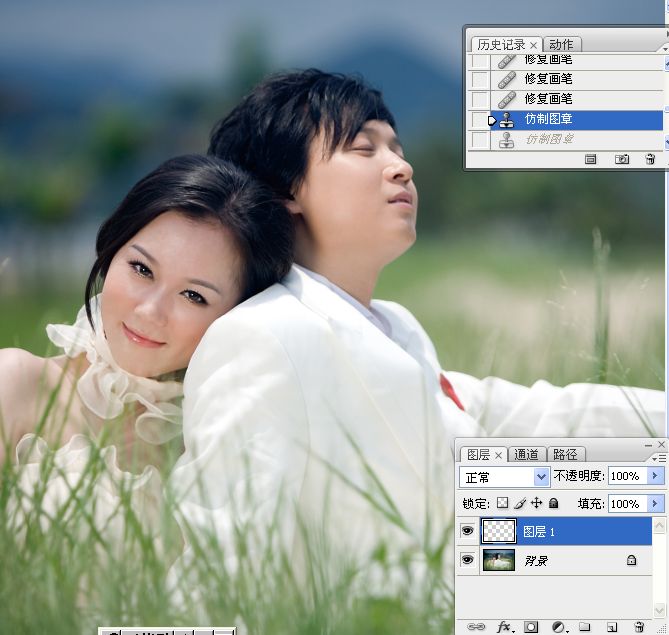
2、盖印可见图层。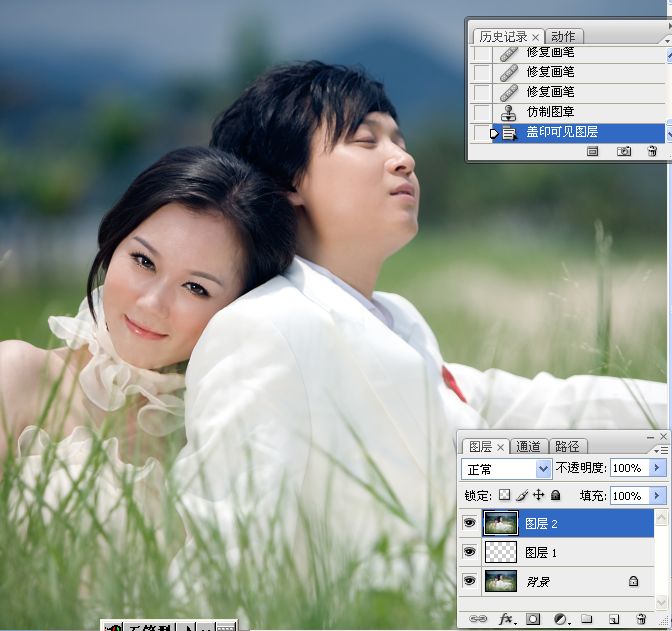
3、执行调整图层/通道混合器命令。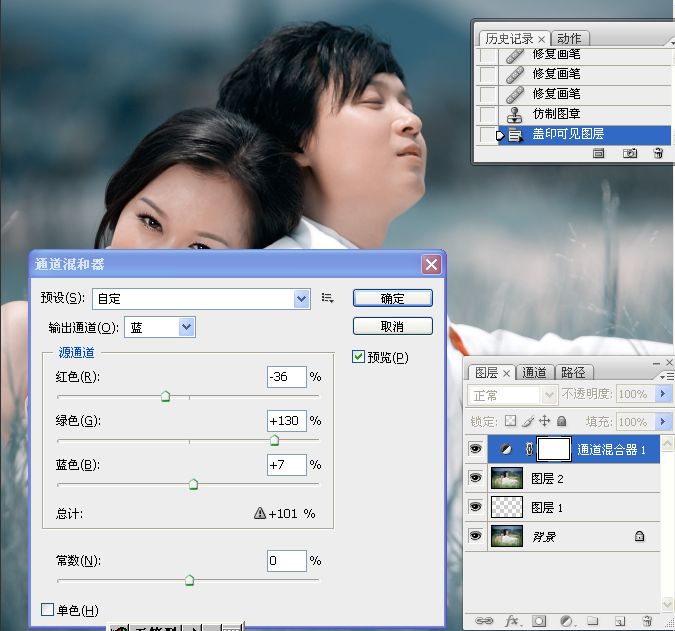
4、执行调整图层/填充纯色命令。图层混合模式为线性光,不透明度为44%。

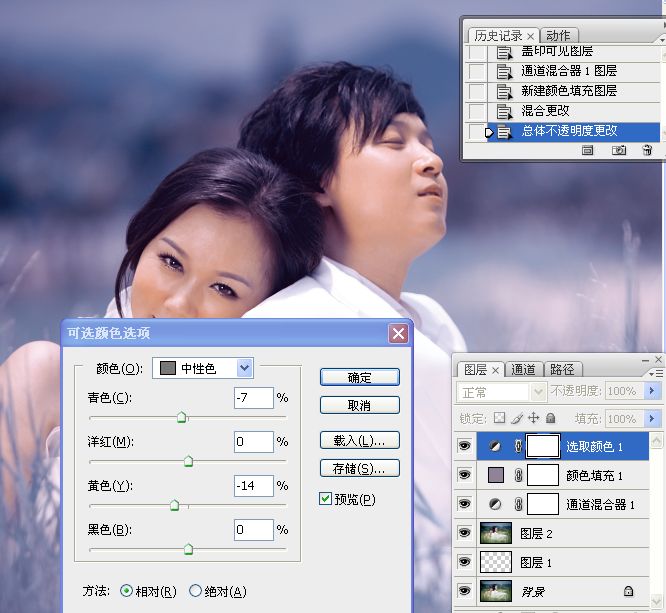
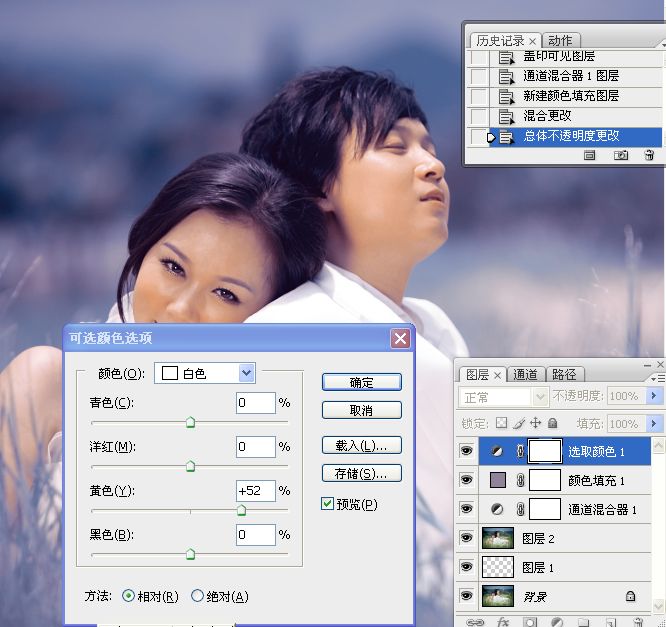
5、执行调整图层/可选命令。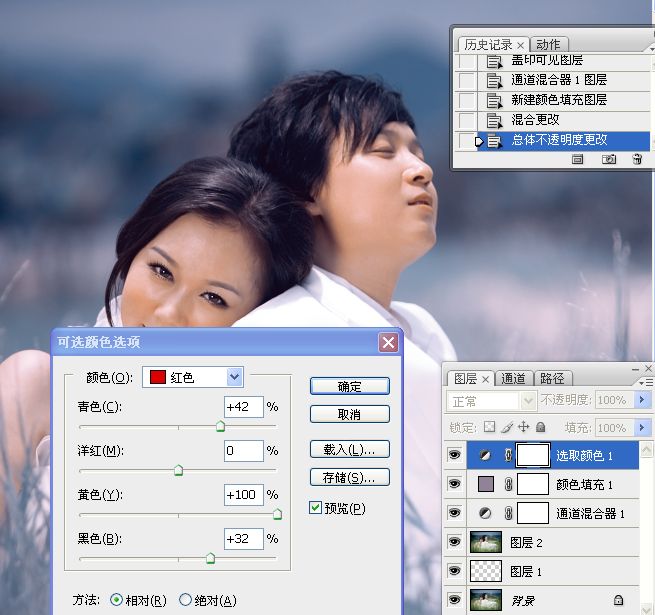

6、执行调整图层/色相饱和度命令。编辑红色,用吸管在人物皮肤上吸取。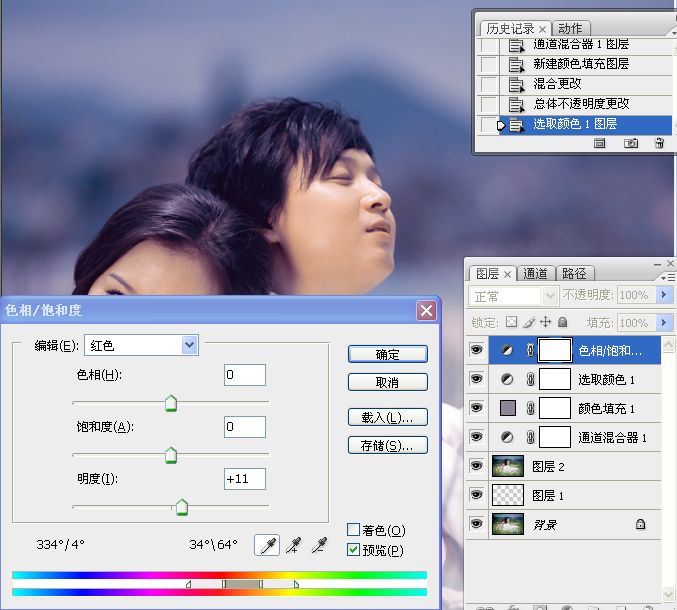
7、用快速选择工具将女士脸部选取出来,习习化30像素。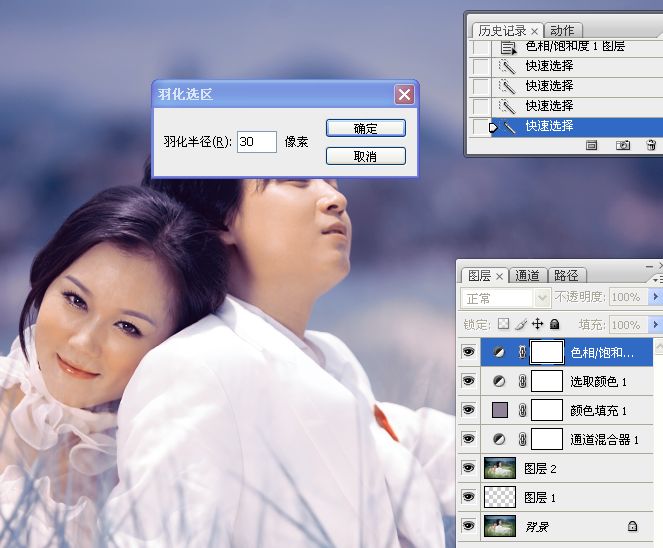
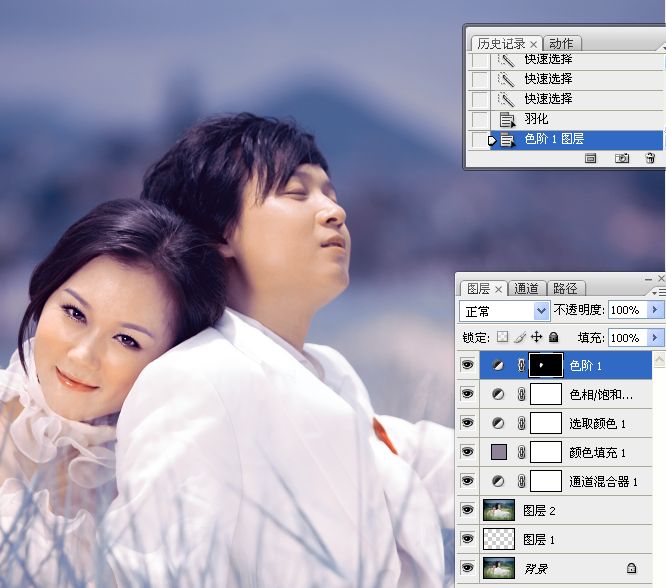
8、执行调整图层/色阶命令,将女士脸部提亮。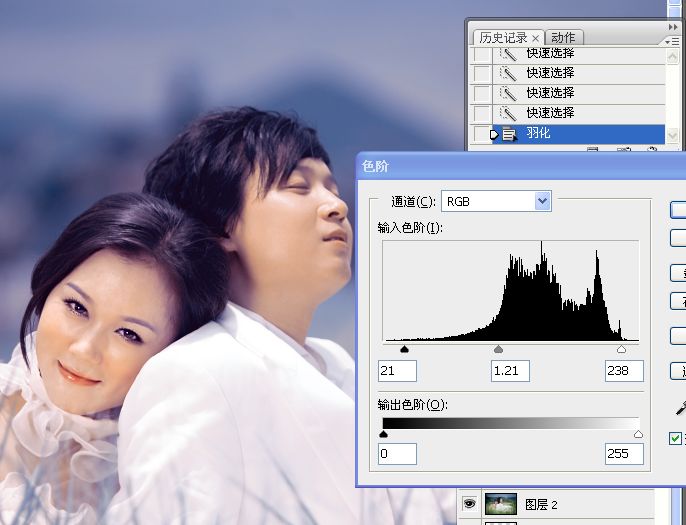
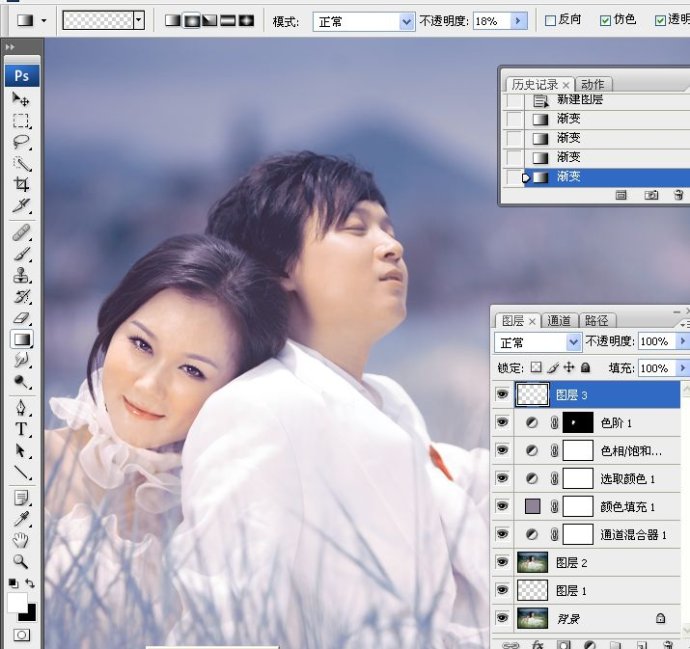
9、新建一空白图层,设置渐变工具,径向渐变,不透明度为18%,前景色为白色。用设置好的渐变工具在图片上拉出渐变的白色,主要营造一种雾蒙蒙的效果。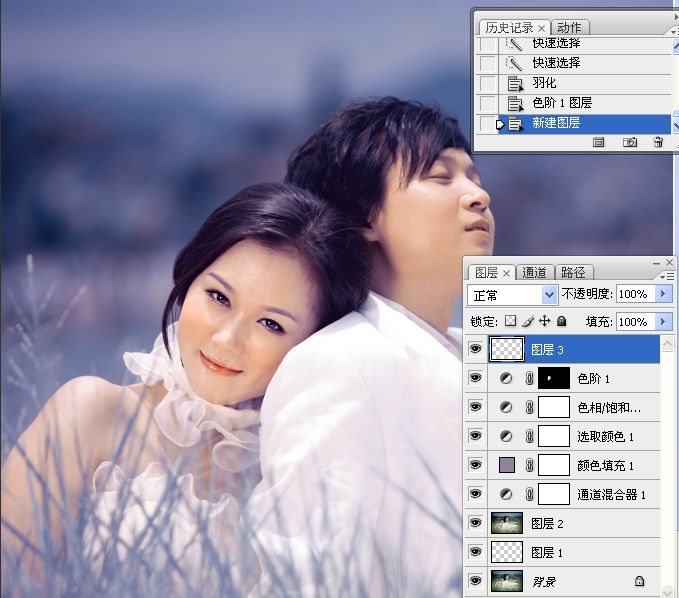
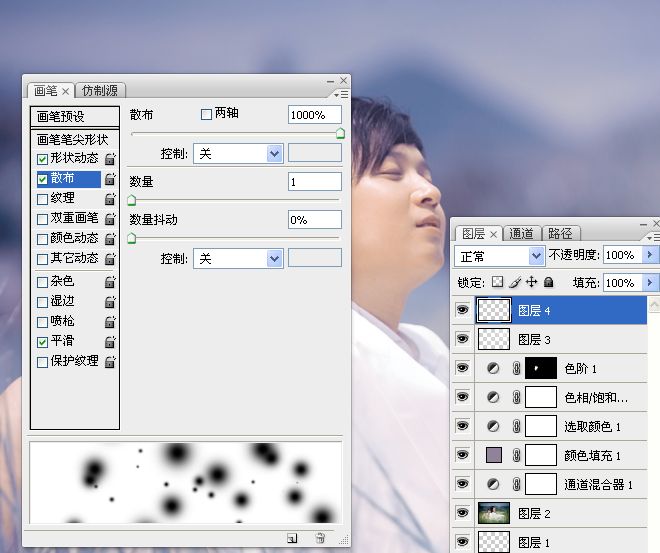
10、新建一空白图层,设置画笔工具如下。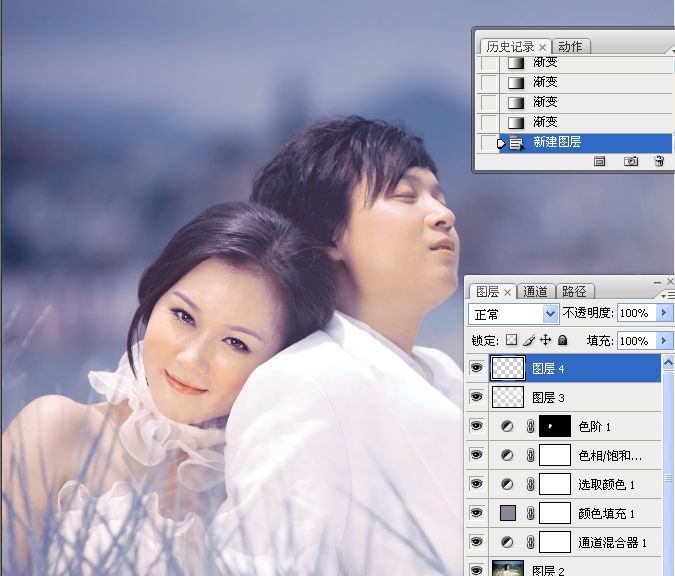
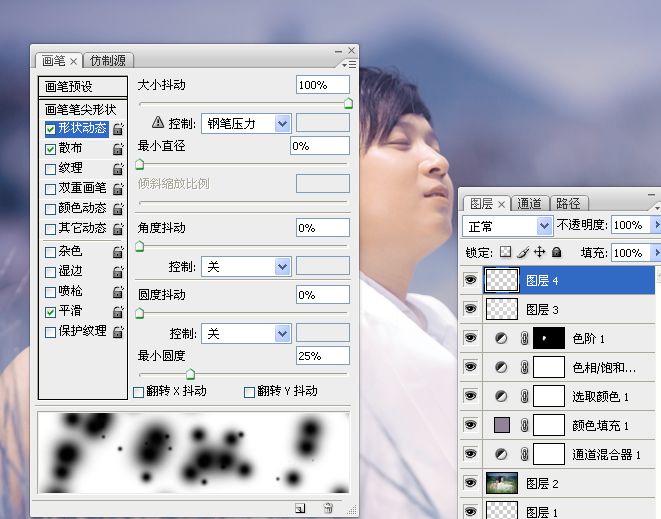
11、调置前景色淡紫色,用画笔在新建图层上,在人物周围画出梦幻飞絮。
12、将前景色设置为白色,将画笔的不透明度更改为45%,直径为70,硬度为0%,继续在画面上适当画出梦幻飞絮。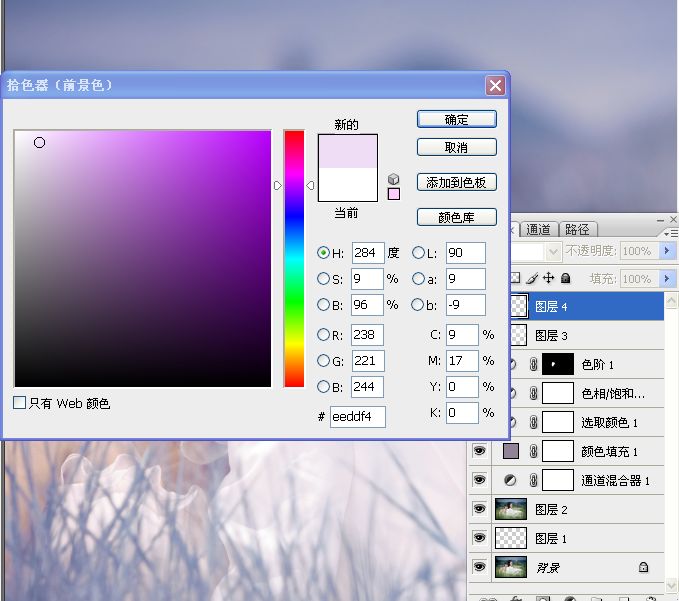
(本文来源于图老师网站,更多请访问http://m.tulaoshi.com/psxpcl/)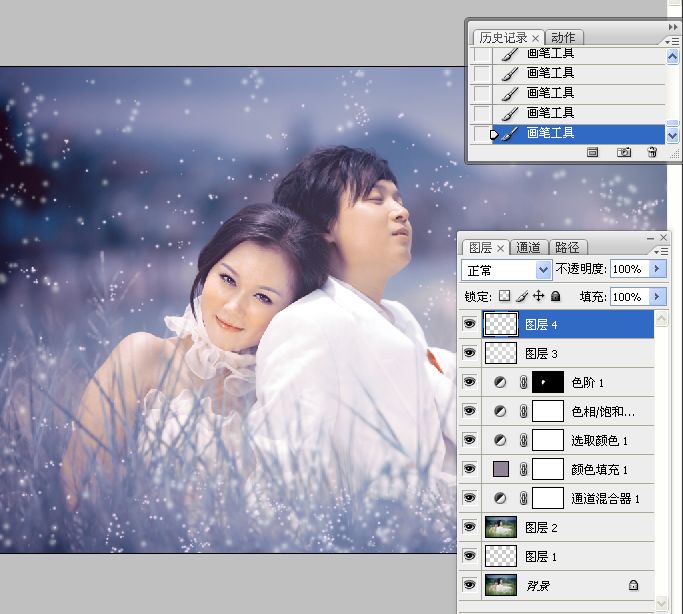
(本文来源于图老师网站,更多请访问http://m.tulaoshi.com/psxpcl/)13、盖印可见图层,用减淡工具和加深工具在画面上做出光效。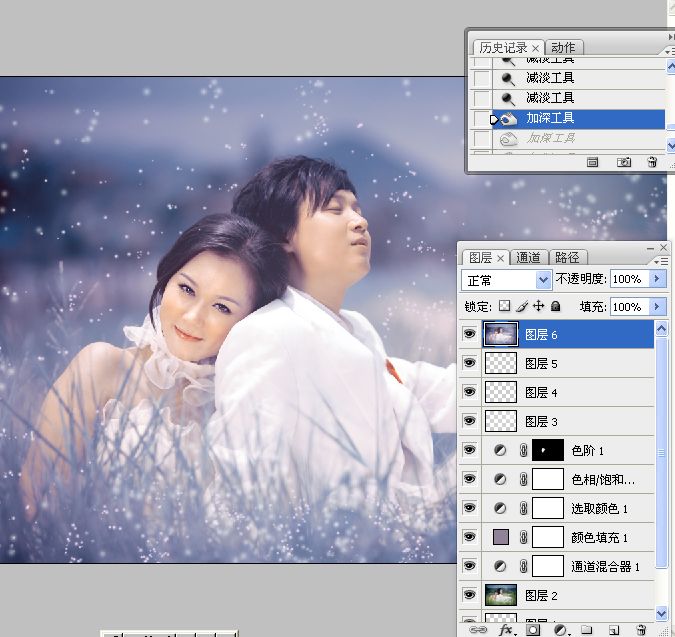
14、适当锐化。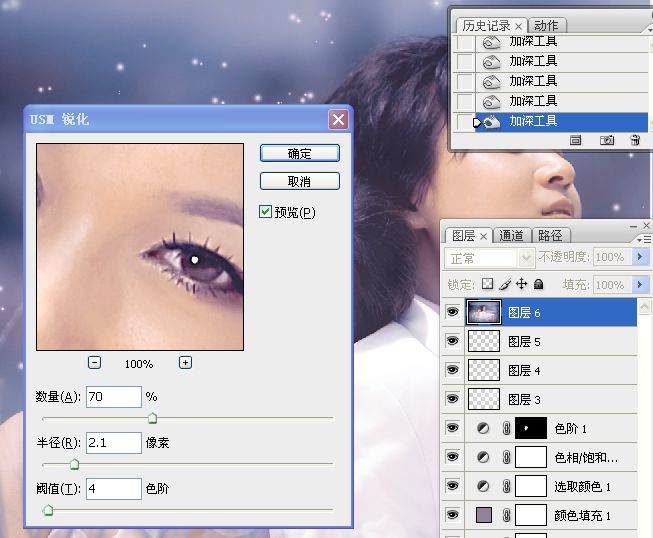
最终效果:


