下面图老师小编要跟大家分享巧用滤镜给照片加上四射的光芒,简单的过程中其实暗藏玄机,还是要细心学习,喜欢还请记得收藏哦!
本教程巧妙的利用滤镜制作出放射的光芒。制作的过程非常简单仅用到两次滤镜效果,不过效果非常经典,减少了很多不必要的步骤,非常值得学习。
原图 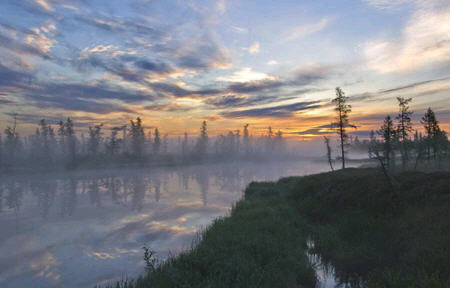
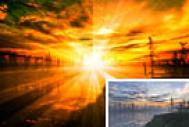
最终效果
1、打开图像素材。
2、创建新图层,并使用渐变工具颜色设置为黑白渐变,然后填充画布。 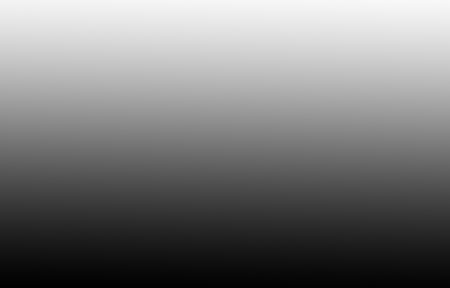
3、滤镜 扭曲 波浪。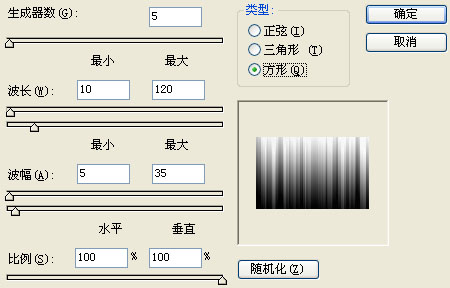
(本文来源于图老师网站,更多请访问https://m.tulaoshi.com)4、滤镜 扭曲 极坐标,平面到极坐标。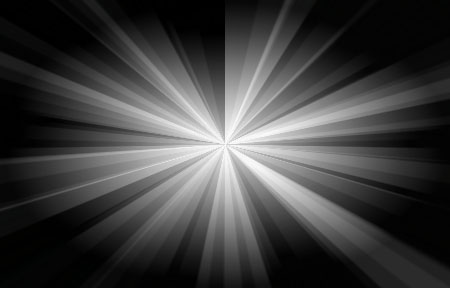
5、滤镜 模糊 径向模糊。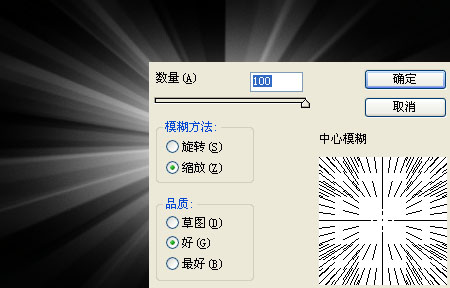
(本文来源于图老师网站,更多请访问https://m.tulaoshi.com)6、将图层混合模式设为“叠加”。
7、创建新图层,使用径向渐变填充画布。
8、将图层混合模式设为“叠加”,得到最终效果。