想不想get新技能酷炫一下,今天图老师小编就跟大家分享个简单的Photoshop制作逼真的碟子及鸡蛋教程,一起来看看吧!超容易上手~
本教程的制作效果非常逼真,不管是颜色还是外形都非常真实。可见作者的对物体的观察深入,制作技巧娴熟。制作的过程有很多细节需要处理,很多过程作者只介绍了制作的内容,没有详细的方法。需要大家去慢慢摸索。
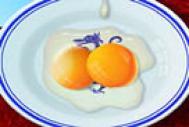
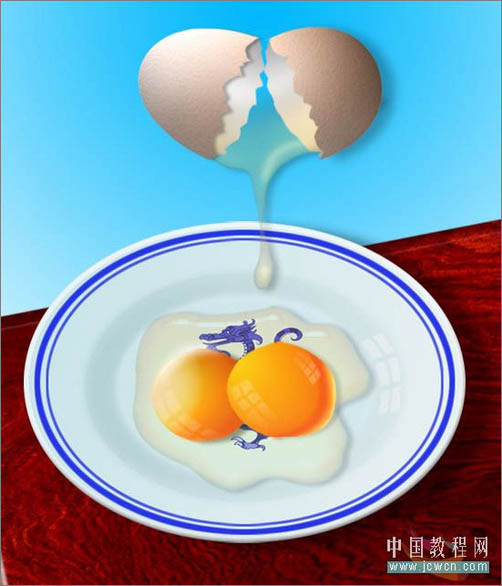
最终效果
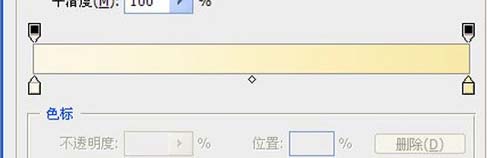
1、新建文档(尺寸自定 ),拖进背景图。建立椭圆选区并实施渐变。
2、新建图层,依次打开【选择—变换选区】,按住【Shift+Alt】键,缩小选区并实施渐变。

3、新建图层,依次打开【选择—变换选区】,按住【Shift+Alt】键,再次缩小选区并实施渐变。
(本文来源于图老师网站,更多请访问https://m.tulaoshi.com)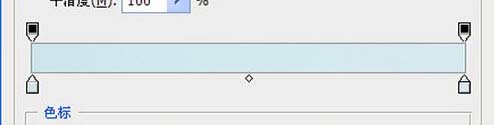
4、对大盘边沿和内右侧进行高光处理(描边羽化等)。
5、新建图层,选取大盘,连续两次收缩选区,分别描边(颜色自定,像素适当)。拖进图案并调整大小和色相饱和度。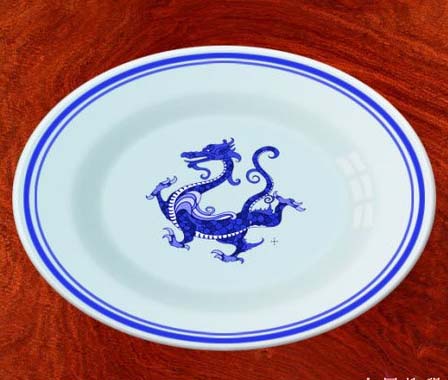
6、建立椭圆型选区。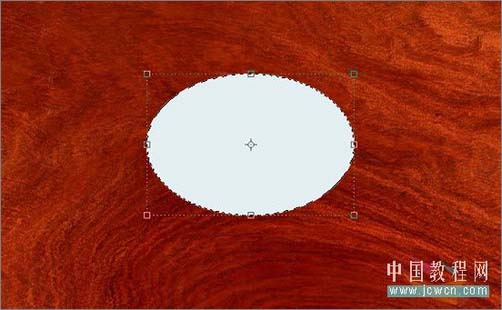
7、依次打开【编辑—变换—变形】,对选区进行变形处理。
8、选取刚变形的图层并实施渐变。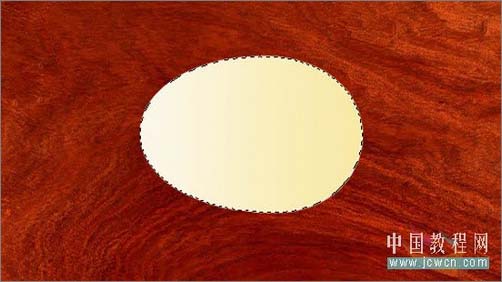
9、依次打开【滤镜—杂色—添加杂色】,设置参数。
10、依次打开【滤镜—渲染—光照效果】,设置参数。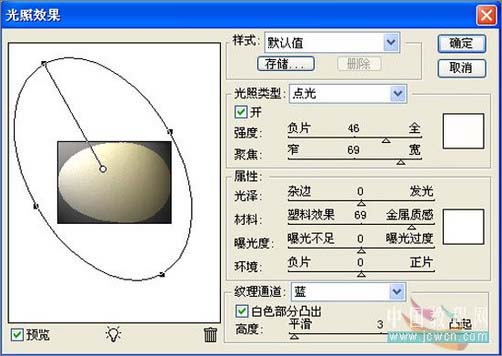
11、依次打开【图像—调整—色相/饱和度】,调整参数。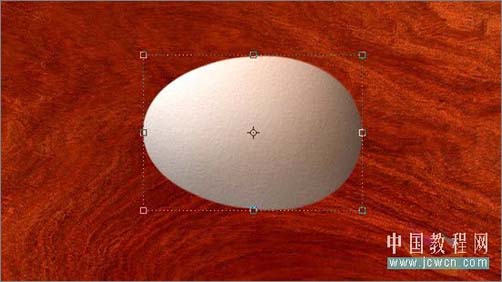
12、用【钢笔工具】勾出【路径】。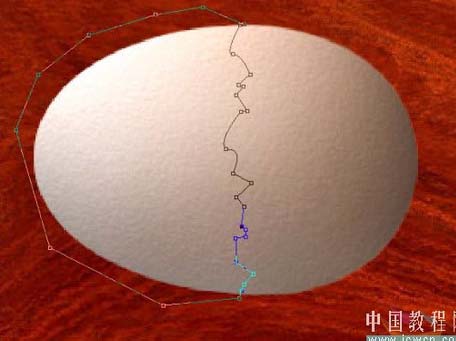
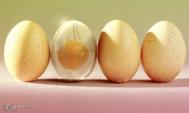
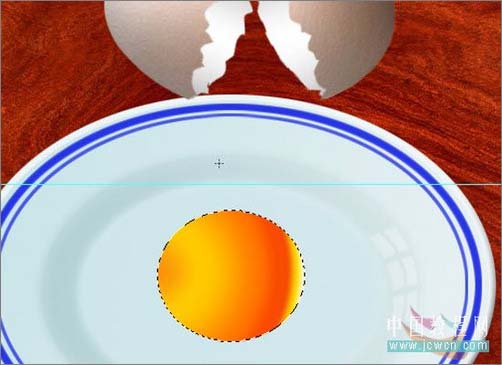
13、将【路径】转换为选区并按【Ctrl+J】保存,保留选区,同时点按全鸡蛋,将左半鸡蛋删除,这样就产生了左右两半蛋壳。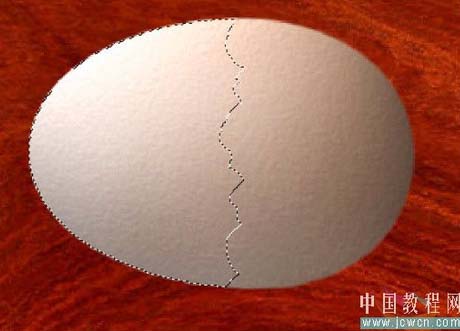
14、新建图层,选取鸡蛋,在新图层上实施黑白(将颜色调的淡一点)渐变,参照第12步实施。
15、将刚作好的两半蛋壳衬里置于两半蛋壳下方并分别连接,同时调整蛋壳角度,参照第7步实施。
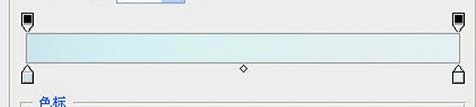
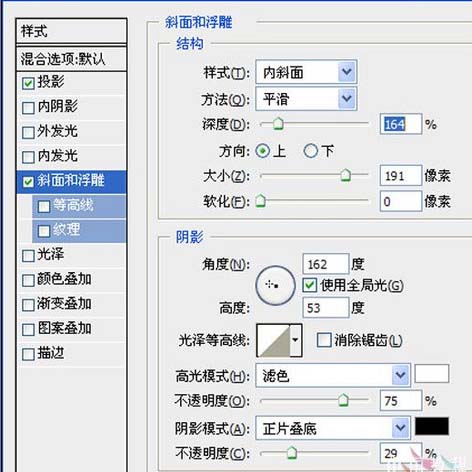
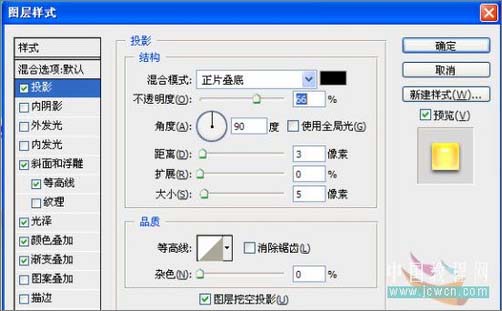
16、打开【渐变编辑器】,设置渐变参数并执行【径向渐变】。接着打开图层混合选项,实施【斜面和浮雕】【投影】。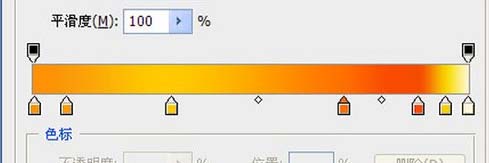
(本文来源于图老师网站,更多请访问https://m.tulaoshi.com)
17、参照第7步实施。
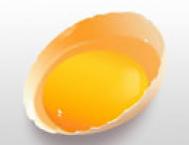
18、给蛋黄加点高光。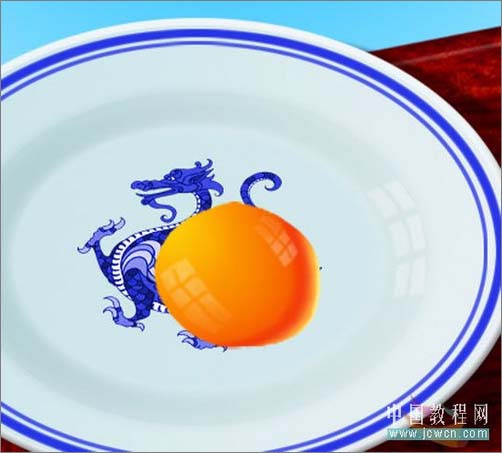
19、新建图层,建立椭圆型选区,填充颜色(如图)。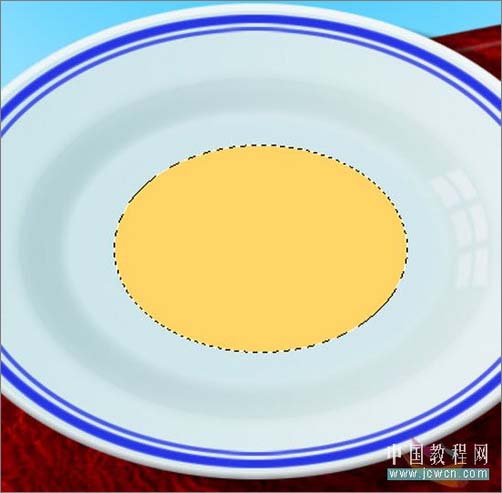
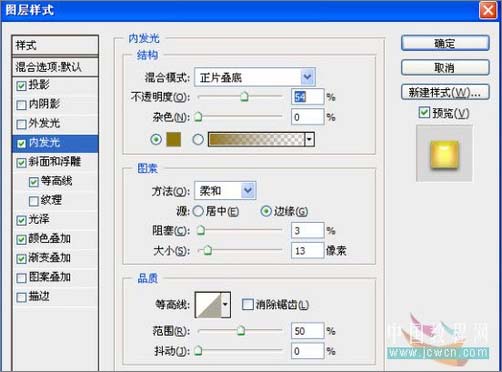
20、对图层作变形处理。打开图层【混合选项】面板,对蛋青添加图层样式(如图)效果。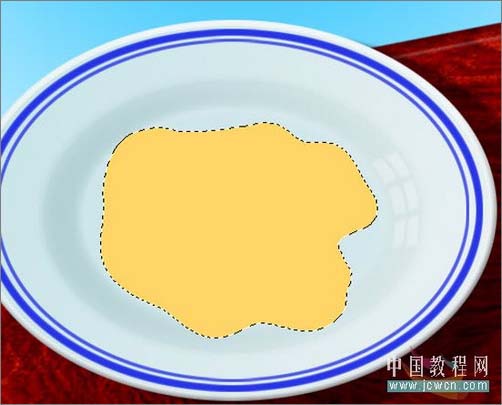


继续添加图层样式。
21、调整蛋青不透明度(参数适当)并复制,将复制层置于里外蛋壳之间,参照第7步实施。

最终效果。