图老师电脑网络栏目是一个分享最好最实用的教程的社区,我们拥有最用心的各种教程,今天就给大家分享Photoshop制作创意的饮料海报的教程,热爱PS的朋友们快点看过来吧!
本教程制作难点在饮料罐部分制作,为了体现出质感部分,作者多次利用渐变及图层样式。饮料罐部分完成后后面就是创意广告部分的设计。教程中有部分参数为英文的,大家需要多对照中文。
最终效果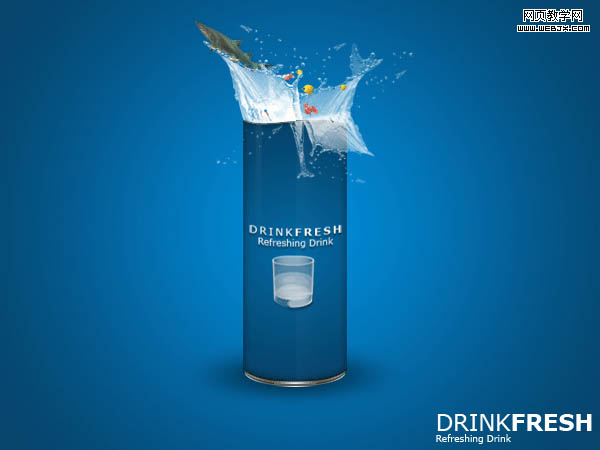
1、新建立文件,制作一个渐变背景颜色有蓝色到深蓝色,如下图。
(本文来源于图老师网站,更多请访问https://m.tulaoshi.com)2、新建一个图层,绘制一个小椭圆填充白色。
3、矩形选择工具选择一个区域。
(本文来源于图老师网站,更多请访问https://m.tulaoshi.com)4、填充选择区域白色。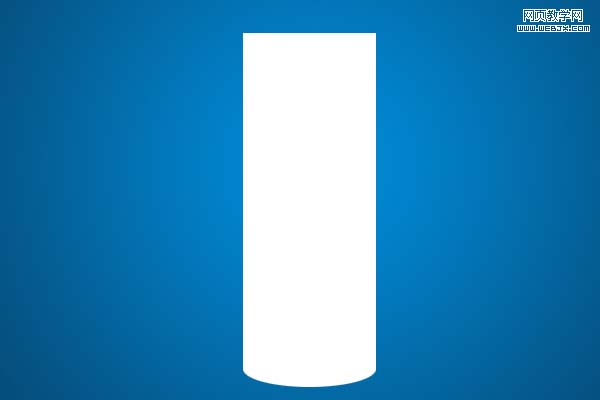
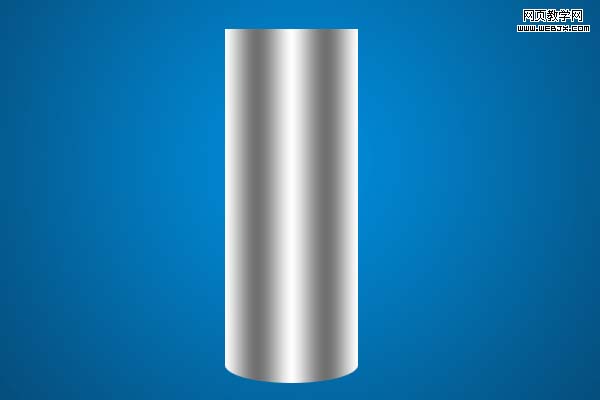
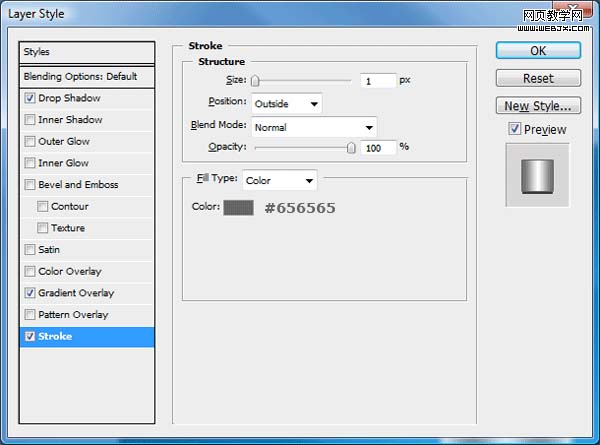
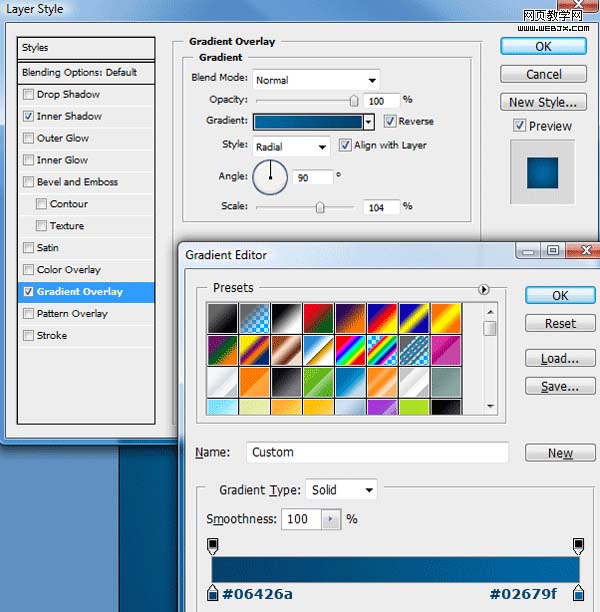
5、设置图层样式,参数及效果如下图。
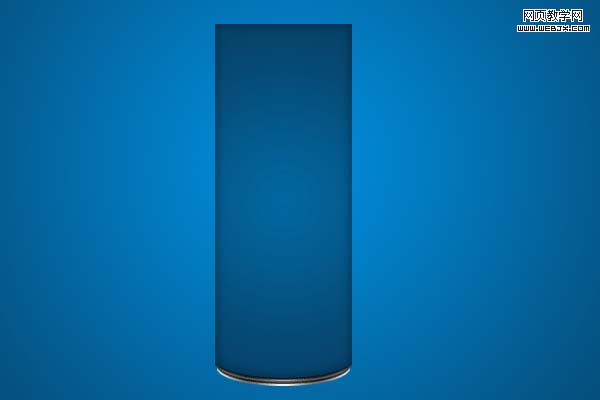
6、复制形状层,向上移动2-4个像素,设置图层样式,参数及效果如下图。
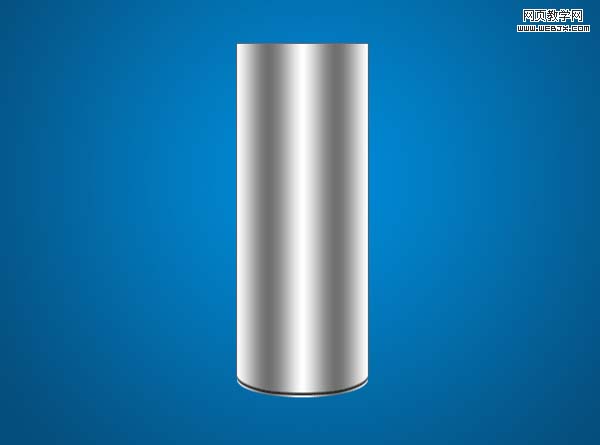
7、复制刚才的复制图层,然后向上移动1-2个像素,选择矩形选择工具如下图。
8、效果如下。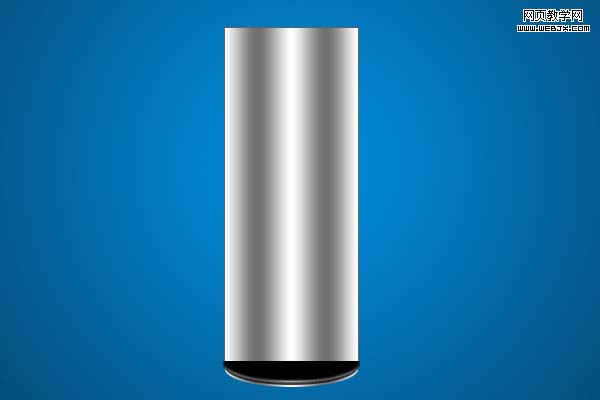
9、复制你的形状再次向上移动1-2个像素,设置图层样式,参数及效果如下图。
10、像下图一样建立一个选区。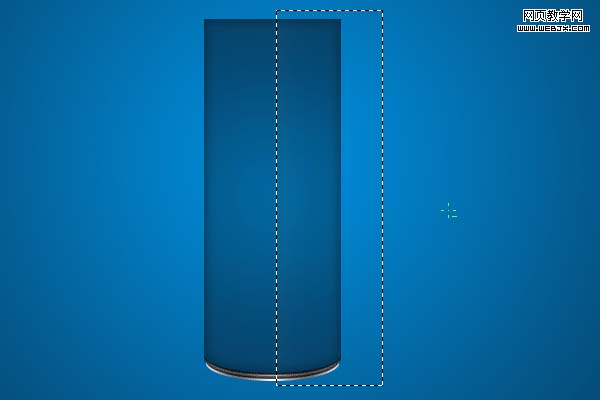
11、线性渐变填充。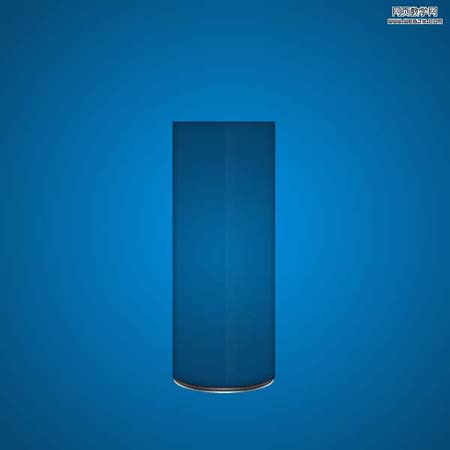
12、同样方法处理右边。
13、再继续多做一些渐变条,如下图。
14、底部用渐变工具添加阴影。
15、顶部让有波纹。
16、把水的图片放过来。
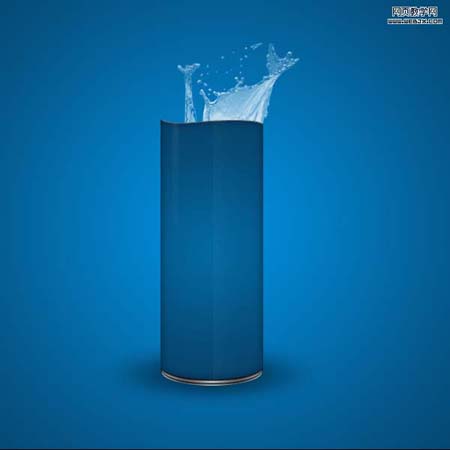
17、复制后再旋转。
18、最终水达到下面结果。
19、再弄点小鱼、水果之类的,完成最终效果。