今天图老师小编要向大家分享个Photoshop制作漂亮的彩色气泡效果教程,过程简单易学,相信聪明的你一定能轻松get!
本教程主要是利用图层样式来制作气泡效果。大致方法:先用选框工具拉出正圆选区,填充颜色把填充改为0,然后设置图层样式,制作出简单的气泡,再适当加点高光,效果就出来了。 最终效果 ![](https://img.tulaoshi.com/image/20160205/e7e9c4311fec4835b049295ec5fc77d7.jpg)
![](https://img.tulaoshi.com/image/20160205/a92e35d12251ad09f311040157ba8499.jpg)
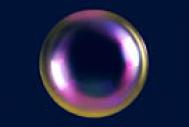
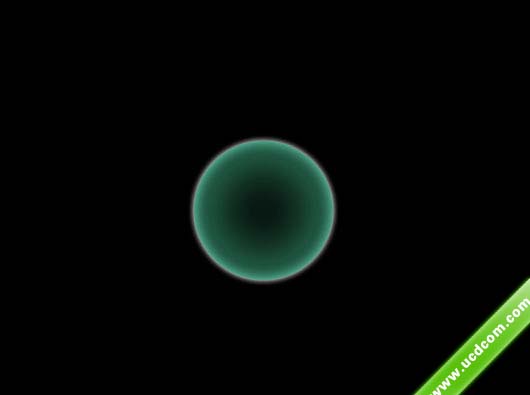
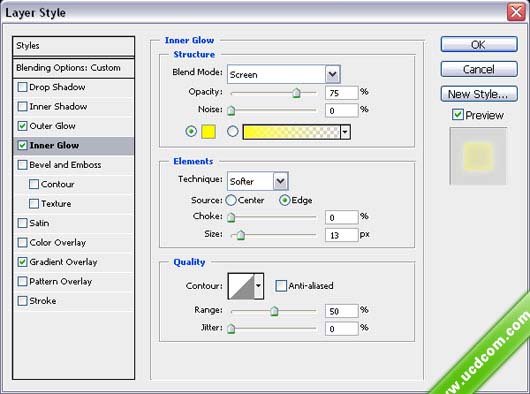
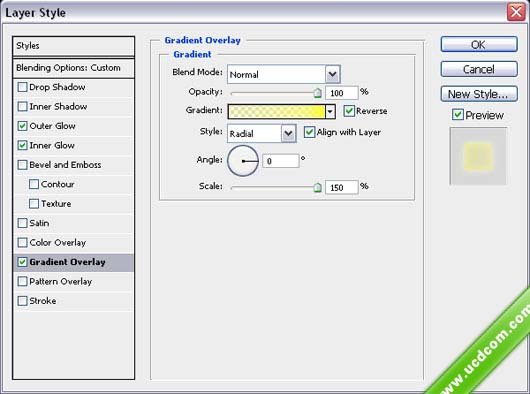
(本文来源于图老师网站,更多请访问https://m.tulaoshi.com)(本文来源于图老师网站,更多请访问https://m.tulaoshi.com)1、新建文件背景色为黑,新建一个图层,用椭圆选框工具拉一个正圆选区,然后填充白色,把填充改为:0%,然后取消选区,创建图层调出图层样式,参数及效果如下图。![](https://img.tulaoshi.com/image/20160205/8f6a24e97854a0708c358c4c5e2b1cb0.jpg)
![](https://img.tulaoshi.com/image/20160205/4e0331207173793a566a3397ae3be9bc.jpg)
![](https://img.tulaoshi.com/image/20160205/40ed08a8b6a7788f00eafea302f0ddfc.jpg)
![](https://img.tulaoshi.com/image/20160205/7dbcf8acec6245facf67a2b7db4508de.jpg)
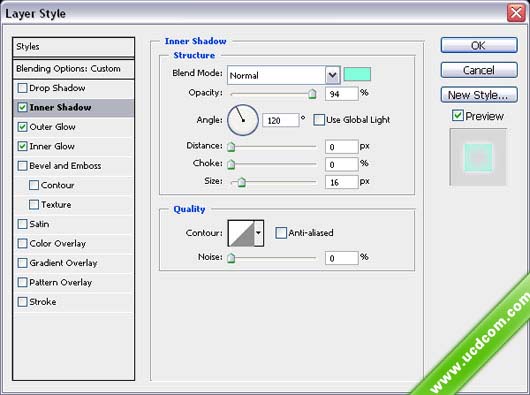
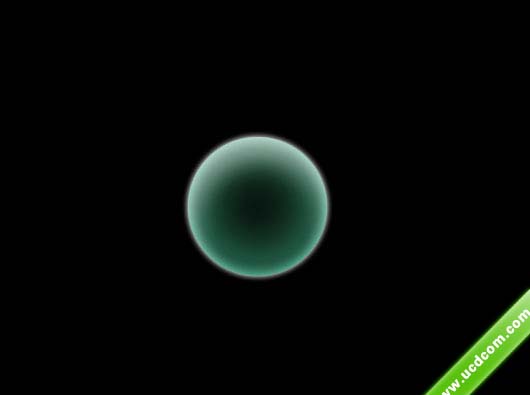
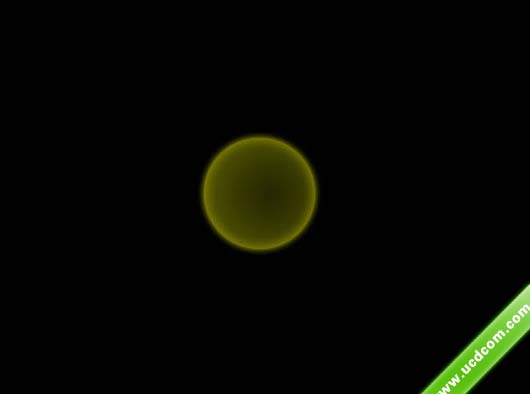
2、新建层,调出正圆选区填充白色,把填充改为:0%,双击图层调出图层样式做发光效果。。
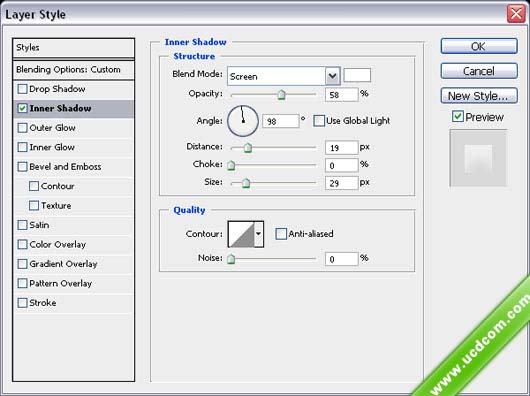
![](https://img.tulaoshi.com/image/20160205/cf4a11f0c96a21c301d25a3a3af58ba5.jpg)
![](https://img.tulaoshi.com/image/20160205/db0c9cc73367c98067266509bad53725.jpg)
3、新建层选择笔刷,做颜色反光效果。![](https://img.tulaoshi.com/image/20160205/741e58e800b056fa67c7e1ec32230600.jpg)
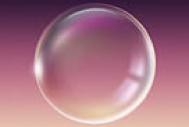
4、新建层做第二个气泡,方法同上,加图层样式如图。![](https://img.tulaoshi.com/image/20160205/62f9202e19d81129922632ae1fa3227d.jpg)
![](https://img.tulaoshi.com/image/20160205/f7789342fc12b71932960baf0841cfde.jpg)
![](https://img.tulaoshi.com/image/20160205/6250b086c4737ded3bede5ae65d70bcf.jpg)
![](https://img.tulaoshi.com/image/20160205/14350cb8d92081b64a8292224dd9dfee.jpg)
5、做出不同颜色很多气泡如图。![](https://img.tulaoshi.com/image/20160205/dac3865681176d21c2b03544786e332c.jpg)
6、用笔刷在背景层上新建一层刷上颜色,完成最终效果。![](https://img.tulaoshi.com/image/20160205/a92e35d12251ad09f311040157ba8499.jpg)
(本文来源于图老师网站,更多请访问https://m.tulaoshi.com)(本文来源于图老师网站,更多请访问https://m.tulaoshi.com)